
How to Remove Air From a Tire: Safe Step-By-Step Methods
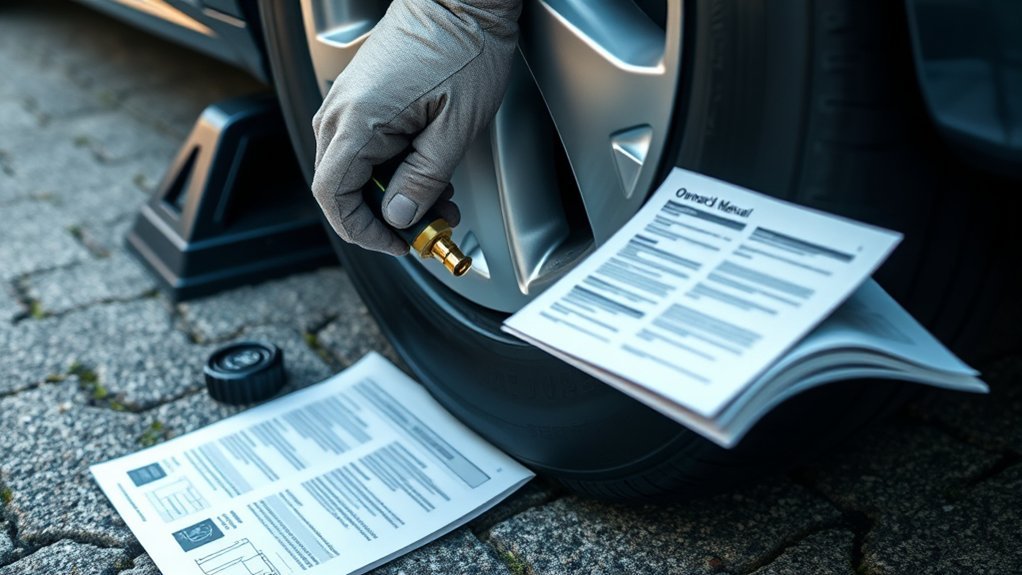
Letting air out of a tire is simple, but the safe target depends on why you are doing it. If the tire is overinflated for normal driving, reduce it to the vehicle manufacturer’s recommended cold PSI listed on the driver’s door placard or in the owner’s manual. If you are airing down for off-road traction, lower pressure only for slow off-road use, check PSI often, and reinflate before driving on pavement.
Quick Answer
Park on level ground, turn off the engine, remove the valve cap, and check the current PSI with a tire gauge. Press the Schrader valve pin in short bursts to release air, then recheck pressure every few seconds. Stop at your target PSI and replace the valve cap tightly.
Key Takeaways
- For regular road driving, use the cold tire pressure on the vehicle placard, not the maximum PSI printed on the tire sidewall.
- Use a tire pressure gauge before, during, and after deflating so you do not overshoot your target.
- Press the valve pin for slow air release, use a preset tire deflator for repeatable off-road adjustments, or use a valve core tool only when you need faster deflation.
- Do not drive at low off-road PSI on pavement. Reinflate before returning to normal road speeds.
- Replace the valve cap when finished because it helps protect the valve core from dirt, moisture, and contamination.
At a Glance
| Time Required | 2 to 10 minutes per tire, depending on the tool and how much pressure you need to release. |
| Difficulty | Easy, as long as you use a gauge and release air slowly. |
| Tools Needed | Tire pressure gauge, valve cap, optional tire deflator, optional valve core tool, and an air compressor for reinflating. |
| Cost | $0 if you already have a gauge; usually low-cost for a basic gauge or deflator; more if you buy a portable compressor. |
Before You Let Air Out: Know Your Target PSI
Start by deciding why you need to remove air. If the tire is simply overinflated for normal driving, the target is the recommended cold tire pressure on the vehicle’s Tire and Loading Information label, usually on the driver’s door edge or door jamb. The National Highway Traffic Safety Administration explains that the correct tire pressure is the vehicle manufacturer’s listed pressure, not the number printed on the tire sidewall.
The sidewall PSI is usually a maximum inflation limit for the tire, not the everyday pressure for your vehicle. For the most accurate reading, check pressure when the tires are cold, meaning before driving or after the vehicle has been parked for at least three hours. Michelin recommends checking cold tires because driving heats the tire and can raise the reading.
Warning: Do not drive at low off-road tire pressure on normal roads. Low pressure can increase heat buildup, reduce handling, damage the tire, and may unseat the bead on some wheels. Air down only for the situation that requires it, then reinflate before returning to pavement.
[Products Worth Considering]
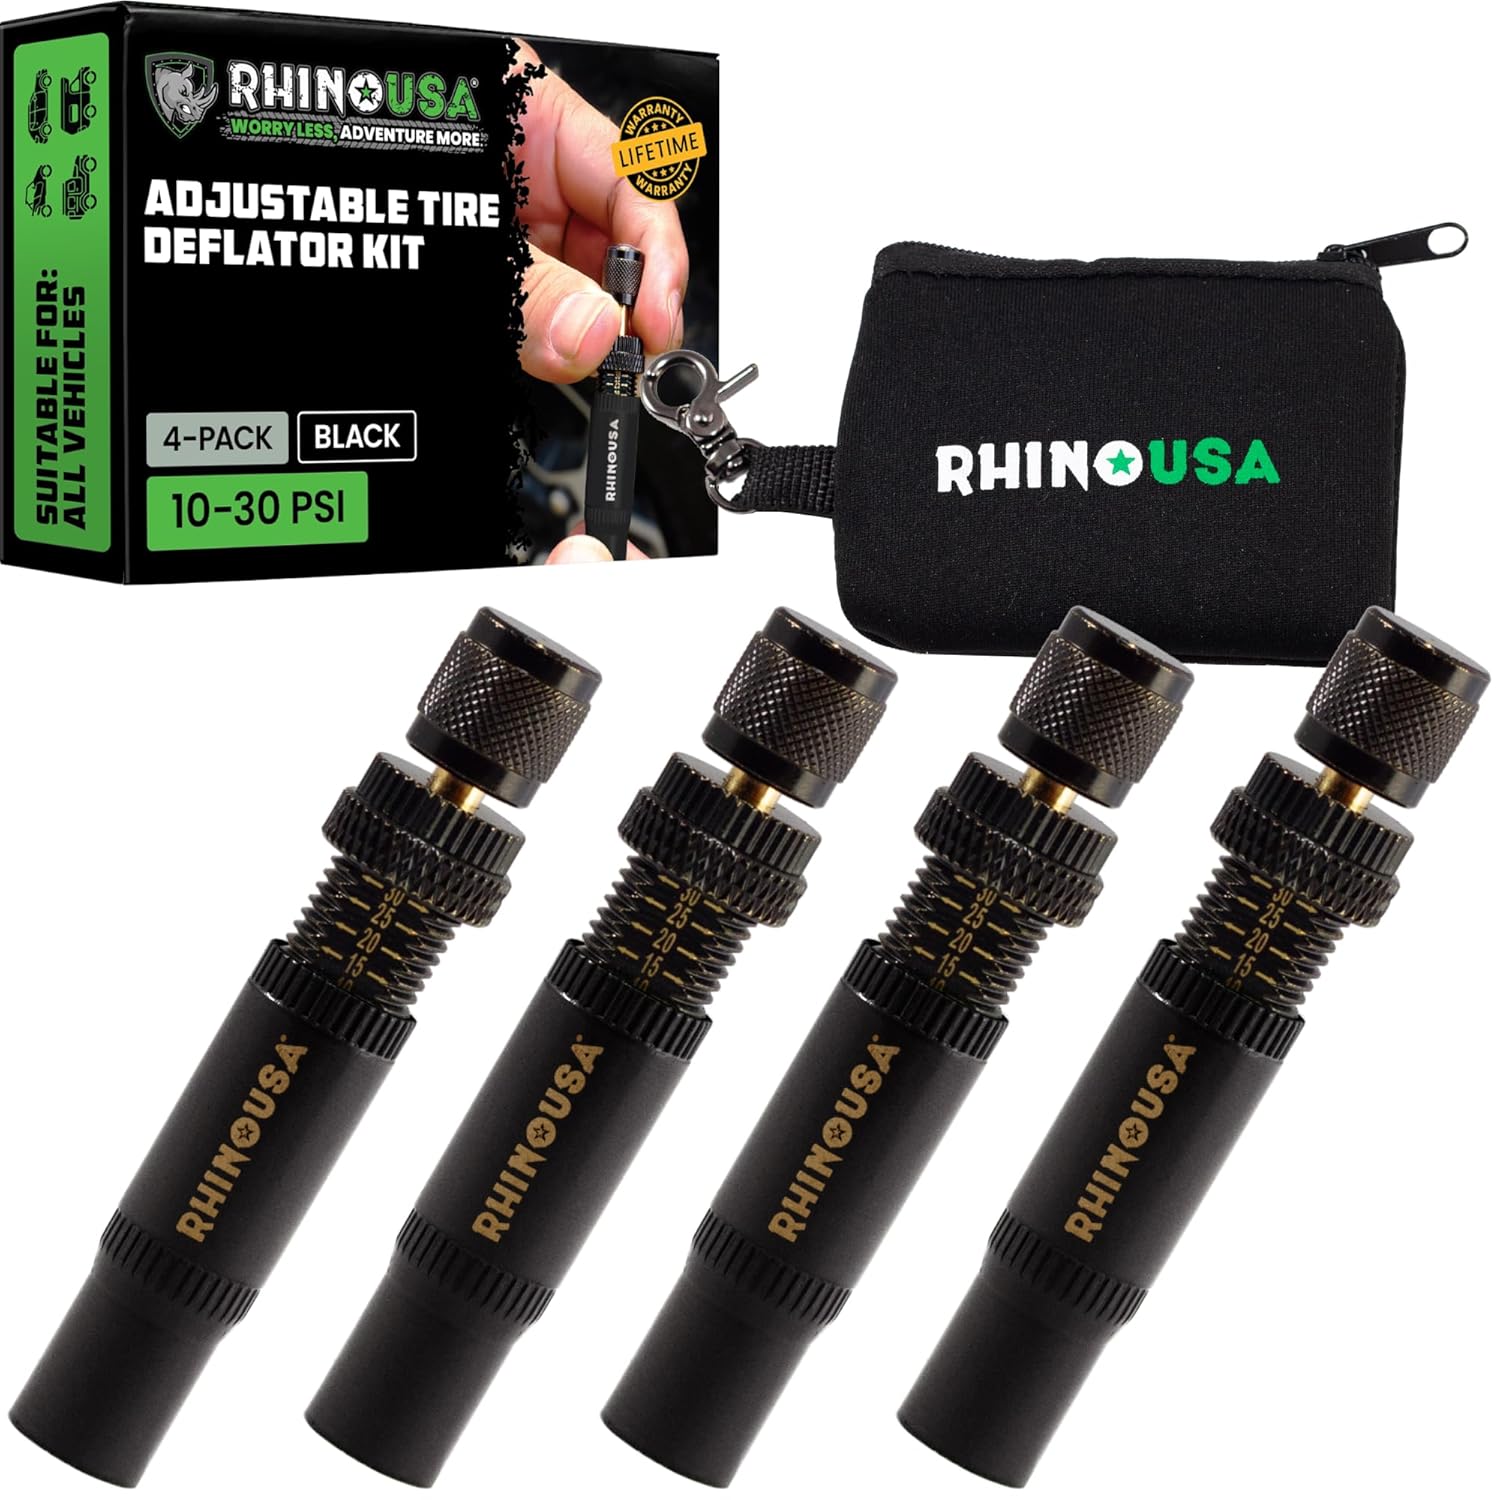
Use the Rhino USA adjustable tire deflators to air down all four tires at once by screwing one deflator onto each valve stem, letting you step away while the tires reach your preset pressure. Each deflator independently adjusts across a 10–30 PSI range with laser-etched indicators for quick setup and verification, making it ideal for beach, sand, and rocky off-road trails.

This multi-function tire valve stem removal tool set makes it fast to remove, install, bleed, and clean valve cores for easier tire maintenance. It includes valve core removers, a 4-way spool tool, replacement valve caps, and spare cores to handle replacements and repairs with confidence. Universal compatibility suits cars, trucks, motorcycles, bicycles, and more for roadside convenience.

This 4-in-1 tire valve core removal tool helps you deflate, unblock, and remove or install valve cores quickly for easier tire repair. The multifunction design also supports re-taping damaged threads and reaming inside the valve stem for smoother service. Included as a 2-pack, it’s compact for convenient carry and works for cars, bicycles, and motorcycles.
How to Remove Air From a Tire Safely
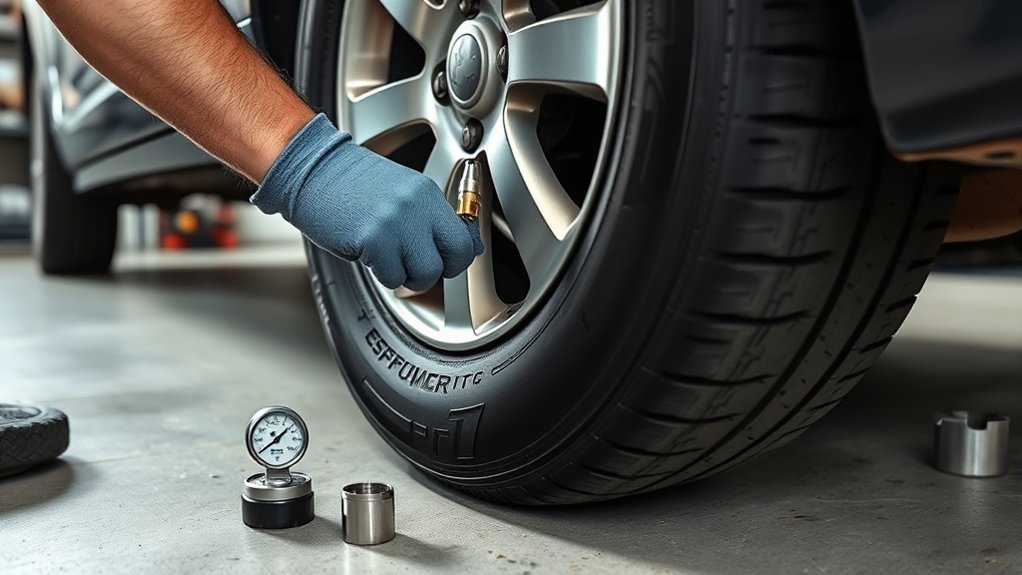
Park on level ground, set the parking brake, turn off the engine, and stay away from moving traffic. Locate the valve stem, then remove the valve cap and place it somewhere clean so it does not roll away. Use a tire pressure gauge to check the current PSI before you begin to deflate tires.
To release air slowly, press the small pin inside the Schrader valve with the end of a tire gauge, a flathead screwdriver, a key, or another blunt tool that fits cleanly. You should hear a steady hiss. Release air in short bursts, then check the pressure again. This slow method gives you better control and lowers the risk of going below your target.
If you need a faster drop, use a valve core removal tool, but work carefully. Removing the valve core releases air very quickly, and the core is small enough to lose in dirt or gravel. When you reach the desired level, reinstall the valve core firmly and replace the valve cap to protect the valve stem from dirt, moisture, and damage. Regular tire rotation and basic maintenance also support tire longevity.
Note: Tire pressure naturally changes over time and with temperature. Michelin says tires can lose up to 1 PSI per month, and Bridgestone notes that pressure changes roughly 1 PSI for every 10°F temperature change.
Tools You Need to Deflate a Tire
You only need a few basic tools to deflate a tire accurately and safely. The most important tool is a tire pressure gauge, because it tells you where you are starting and helps you stop before you over-deflate. Digital gauges are easy to read, dial gauges are durable, and pencil-style gauges are compact and inexpensive.
For controlled air release, you can press the valve pin with the release nub on a tire gauge, a flathead screwdriver, a key, or a similar blunt object. For off-road use, a preset tire deflator is more convenient because it can release air to a chosen PSI with less repeated checking. For fast or complete deflation during tire service, a valve core tool unscrews the valve core from the valve stem.
Wear gloves and eye protection if you are using a valve core tool or working around dirt, debris, or damaged tires. It is also smart to keep a portable air compressor or access to an air pump nearby, especially if you are airing down away from home. A spare tire kit can also help you handle unexpected tire issues.
How to Monitor Tire Pressure
Use a tire pressure gauge before you start, during deflation, and after you stop. For small pressure changes, check every few seconds. If you are using a valve core tool and air is leaving quickly, check even more often because the tire can drop faster than expected.
The Tire Industry Association recommends checking tire pressure at least once a month and before long trips because underinflated or overinflated tires can affect safety. Make the same habit part of any deflation job: measure first, release a little air, measure again, then adjust.
Gauge Types and Accuracy
Digital gauges give quick numerical readings and are useful when you want precise control. Dial gauges are easy to see and often include a built-in bleeder valve. Pencil gauges are simple, compact, and reliable when used correctly. Any gauge can be wrong if it is damaged, dirty, or poorly calibrated, so replace a gauge that gives inconsistent readings.
For normal road use, compare the reading to the recommended cold PSI on the vehicle placard. For off-road use, compare the reading to your planned temporary trail pressure and adjust for tire size, load, wheel type, and terrain. UTQG ratings and tire category information can help you understand general tire design, but they are not a replacement for correct pressure checks or safe tire setup.
Check Pressure Frequently
Check the pressure frequently as you deflate, especially when you are close to your target. If you only need to drop 2 or 3 PSI from an overinflated tire, release air in very short bursts. If you are airing down for off-road use, check all four tires so the vehicle stays balanced.
Pro Tip: Write down your starting road PSI, your off-road PSI, and the pressure that felt best on each terrain. That small note makes future air-downs faster and helps you avoid guessing.
Best Ways to Let Air Out of a Tire
The best way to let air out of a tire depends on how much pressure you need to remove and how precisely you need to control it. For a small correction, the simplest method is to press the Schrader valve pin and recheck with a gauge. For repeatable off-road pressure changes, a preset tire deflator is usually faster. For rapid air removal during repair or tire service, a valve core tool is the quickest method.
Method 1: Press the Valve Pin
Remove the valve cap, place the end of a tire gauge or small blunt tool on the valve pin, and press lightly. Air will hiss out. Stop after a second or two, then recheck the PSI. This is the safest method for correcting overinflation because it is slow and easy to control.
Method 2: Use a Tire Deflator
A dedicated tire deflator attaches to the valve stem and releases air more efficiently than pressing the pin by hand. Some deflators can be preset to stop around a target pressure, which is useful when you air down for sand, mud, snow, or rocks. This method gives repeatable results and helps reduce over-deflation mistakes.
Method 3: Remove the Valve Core
A valve core removal tool unscrews the valve core and allows air to escape very quickly. This is useful when you need a fast drop or when preparing a tire for certain repairs, but it requires attention. Keep the valve core in your hand or in a clean tray, stay clear of the escaping air path, and reinstall the core before checking final pressure.
Whichever method you choose, move deliberately and check pressure often. Maintaining proper inflation after the job is still one of the best ways to support safety, handling, and maximizing tread life.
Step-By-Step Tire Deflation With a Valve Tool
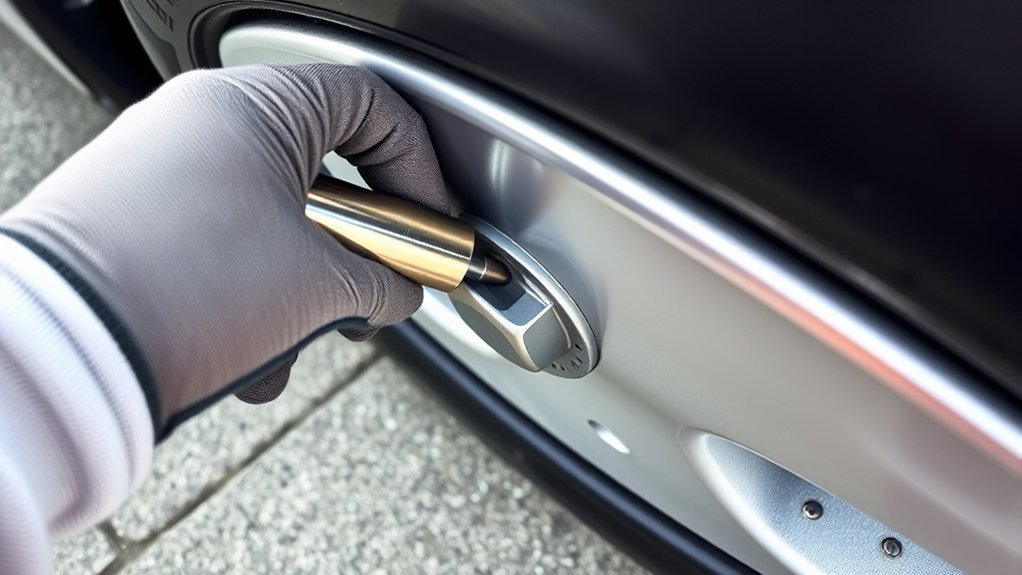
If you need to drop tire pressure quickly and with control, a valve core tool gives you a direct way to do it. Use this method only when you are ready to monitor the tire closely and reinstall the valve core promptly.
- Park safely. Choose level ground, set the parking brake, and turn off the engine.
- Check the starting PSI. Use a gauge before removing anything from the valve.
- Remove the valve cap. Put it in a pocket or clean tray so it does not get dirty or lost.
- Insert the valve core tool. Seat it on the valve core and turn counterclockwise slowly.
- Control the air release. Once the core loosens, air will escape quickly. Keep your face and eyes away from the valve.
- Check pressure often. Pause and measure every few seconds so you do not go below your target.
- Reinstall the valve core. Turn it clockwise until snug. Do not overtighten it.
- Check for leaks. Listen for hissing or use soapy water if you suspect a leak.
- Replace the cap. A sealing valve cap helps protect the valve core from moisture, dirt, and other contaminants.
This is the fastest method, but it is not always the best method for small adjustments. If you only need to remove a few PSI, pressing the valve pin is easier and safer. A tubeless tire repair kit can be useful if you are lowering pressure as part of puncture repair preparation.
How Low Should You Air Down?
How low you should air down depends on the tire, wheel, vehicle weight, load, terrain, and your driving speed. For normal road driving, do not air down below the placard pressure. If you are correcting overinflation, release air until the tire matches the recommended cold PSI on the door placard or owner’s manual.
For off-road driving, airing down can increase the tire’s footprint and improve ride comfort on soft or uneven ground. BFGoodrich describes airing down as an important off-road technique because it increases the tire footprint and helps the tire conform to uneven terrain. Still, very low PSI can damage a tire or unseat the bead if the setup is not designed for it.
| Situation | Safer Starting Point | Important Note |
| Overinflated road tire | Vehicle placard cold PSI | Do not use off-road PSI for normal driving. |
| Light trails or gravel | A modest reduction from road PSI | Keep speed low and reinflate before pavement. |
| Sand, mud, snow, or rocks | Often around 18–25 PSI for many 4×4 setups | Tread Lightly advises typically not less than 20 psi for general 4×4 traction guidance. |
| Specialized off-road setups | Lower pressures only with the right tire, wheel, and experience | Consult your tire manufacturer or a tire professional before going very low. |
Larger tires can sometimes run lower pressure off-road than smaller tires, but load matters. A heavy SUV, truck, trailer tongue weight, rooftop tent, or cargo load may need more pressure than a light trail vehicle. Choosing the right all-season tires or all-terrain tires also affects how the vehicle handles different surfaces.
[Products Worth Considering]

EVOULTES heavy duty tire inflator with an integrated gauge delivers accurate pressure readings from 10–120 PSI, helping you inflate, deflate, and check tires in one tool. The 16.5-inch extended dual-head air chuck with swivel base reaches hard-to-access dual wheel valves on trucks and RVs. A brass trigger core and side-mounted air release valve make operation smooth, with standard 1/4" NPT threading and quick-connect compatibility for easy setup.

The AstroAI 2 pack air chucks provide a heavy-duty, closed-flow locking design that helps keep air flowing during inflation while securely attaching to the valve stem. Built with 250 PSI rated brass components and compatible with Schrader valves, they feature 1/4" female NPT threads for a wide fit with common inflators. The straight tip and locking clip make filling tires and monitoring pressure more convenient.
When to Use a Tire Deflator Kit
You should use a tire deflator kit when you need quick, controlled pressure changes for off-road conditions or when you want each tire to end up at the same PSI. A deflator kit is more consistent than pressing the valve pin by hand and more controlled than removing the valve core.
Best Times to Deflate
Deflate a tire only when there is a clear reason. Common examples include correcting overinflation, improving off-road traction at low speeds, preparing for certain tire repairs, or making a tire easier to work with during service. Always check cold tire pressure first, then decide how much air you actually need to remove.
For off-road driving, lower pressure can improve traction and comfort on rough ground, but it also changes how the tire supports the vehicle. Keep speeds low, avoid sharp steering inputs, and inspect the sidewalls if you hit rocks, roots, or trail debris.
Off-Road Pressure Adjustments
For off-road pressure adjustments, use a tire deflator kit when sand, mud, snow, or rocks demand more tire flexibility and grip. Lowering pressure can help the tread conform to the terrain, but the exact PSI is not universal. Tire size, wheel width, sidewall strength, bead design, vehicle weight, and driver experience all matter.
Do not guess your way to very low pressure. Start conservatively, test traction at slow speed, and reduce in small steps only if needed. If the steering feels sloppy, the sidewall folds heavily, or the bead area looks stressed, stop and add air.
Faster, Safer Air Release
For faster, safer air release, a tire deflator kit lets you drop pressure quickly and with control. Some kits use preset screw-on deflators, while others include a gauge and bleed valve so you can watch the pressure fall in real time.
- A screw-on deflator opens the valve and releases air in a controlled hiss.
- A preset deflator helps stop near your target PSI for repeatable trail setup.
- A gauge-style deflator lets you bleed air and check pressure without removing the tool repeatedly.
Compared with manual methods, a tire deflator kit saves time and reduces over-deflation risk. It also helps you get consistent tire performance across all four tires.
Common Mistakes and Troubleshooting
The most common mistake is releasing too much air. If you accidentally go below your target, do not drive on the tire as if nothing happened. Add air with a compressor or air pump until the tire reaches a safe pressure for the situation.
If You Over-Deflate the Tire
Stop releasing air immediately and add air back in short bursts. If the tire looks visibly collapsed, the sidewall is folding, or the bead has separated from the wheel, do not drive on it. Use a compressor, install the spare, or call roadside help.
If Air Keeps Leaking
Check that the valve core is snug and the valve cap is clean. If you hear a leak, apply soapy water around the valve stem and tread area. Bubbles can reveal a leaking valve, puncture, or bead issue. If the leak continues, have the tire inspected by a tire professional.
If You Lose the Valve Cap or Valve Core
A missing valve cap does not usually cause instant pressure loss, but it leaves the valve core exposed to dirt and moisture. The U.S. Tire Manufacturers Association says a sealing valve cap helps prevent moisture, dirt, and other contaminants from entering the valve core and also provides an additional seal. Replace missing caps promptly. If you lose the valve core, the tire will not hold air until a compatible core is installed.
How to Reinflate a Tire After Deflating
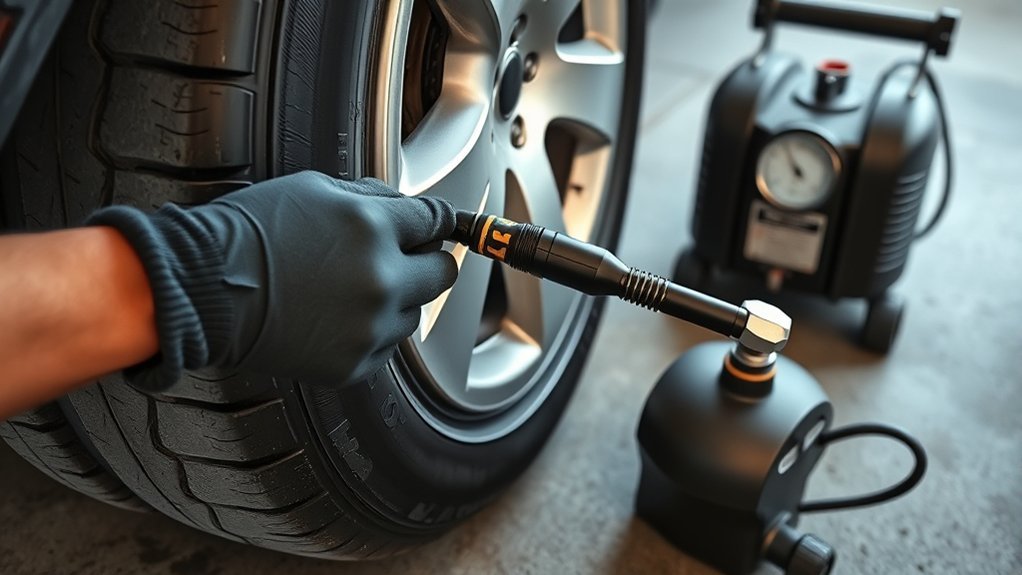
To reinflate a tire after deflating, connect a portable air compressor to your vehicle’s 12V outlet, battery, or power source, or use a gas station air pump. Seat the air chuck firmly on the valve stem. If you hear air leaking at the chuck, remove it and reconnect it squarely.
Add air in short bursts and check the pressure often with your tire pressure gauge. For normal driving, fill the tire to the manufacturer’s recommended cold PSI from the driver’s door placard or owner’s manual. Do not inflate to the maximum PSI on the tire sidewall unless the vehicle manufacturer specifically calls for that pressure.
When the PSI matches the correct target, remove the chuck, recheck the pressure, and replace the valve cap tightly. If you aired down off-road, reinflate all tires before returning to regular road speeds. Correct inflation supports handling, braking, tread life, and fuel economy, especially with fuel efficient tires.
Frequently Asked Questions
How do you let air out of tires safely?
Park on level ground, turn off the engine, remove the valve cap, and check the current PSI first. Press the valve pin lightly with a tire gauge or small blunt tool, release air in short bursts, and recheck PSI often. Stop at your target pressure and replace the valve cap.
How do you take air out of a tire without a tool at home?
You can press the valve stem pin with a key, small screwdriver, or similar blunt object. Use very short bursts and check pressure with a gauge. If you do not have a gauge, avoid deflating except in an emergency because you will not know when to stop.
How do you get rid of PSI in a tire?
To lower PSI, open the valve by pressing the Schrader valve pin or by using a tire deflator. For faster pressure loss, remove the valve core with a valve core tool, but only if you can monitor pressure closely and reinstall the core safely.
How do you let air out of a tire with a screwdriver?
Remove the valve cap and gently press the tip of a flathead screwdriver against the small pin inside the valve stem. Do not pry or push hard. Let air out for a second or two, then check PSI with a gauge. Repeat until the tire reaches the correct pressure.
Can you drive after letting air out of a tire?
Yes, but only if the tire is at a safe pressure for the driving you are about to do. For normal road driving, reinflate to the vehicle placard PSI. Do not drive on pavement at low off-road PSI because it can hurt handling and damage the tire.
What should you do if you let out too much air?
Add air back with a compressor or gas station air pump. If the tire is visibly low, the sidewall is folding, or the bead looks separated from the rim, do not drive. Reinflate, install the spare, or get professional help.
Conclusion
Now you know how to safely remove air from a tire with simple, controlled steps. Check the current PSI first, release air slowly, monitor pressure often, and stop at the correct target for your situation. For normal driving, that target is the vehicle manufacturer’s recommended cold PSI. For off-road use, air down cautiously, drive slowly, and reinflate before returning to pavement.
Sources
- NHTSA TireWise — correct tire pressure source, tire placard guidance, and slow air release for overinflated tires.
- Tire Industry Association: Tire Inflation Pressure — monthly pressure checks and safety risks of underinflation or overinflation.
- Michelin: How to Check Tire Pressure — cold tire pressure checking and proper gauge use.
- Bridgestone: Tire Inflation — monthly pressure loss and temperature-related PSI changes.
- U.S. Tire Manufacturers Association: Tire Valve Bulletin — valve cap protection against moisture, dirt, contaminants, and added sealing support.
- BFGoodrich Off-Road Tire Selection Guide — airing down for off-road footprint, traction, and ride comfort.

Related Articles
How to Use a Tire Spoon: Pro Technique for Mounting Tires
Careful technique makes tire mounting easier, but the real pro trick for using a tire spoon starts with one overlooked step.
Read More
How to Unmount a Tire: Tools, Steps & Pro Tips for Clean Removal
Start unmounting a tire with the right tools and pro tricks, then discover the cleanest way to avoid costly damage.
Read More
How to Tie a Tire Swing: Safe Knot & Hanging Guide
D**iscover the safest knot, rope, and branch choices for a tire swing, plus expert tips that could prevent a dangerous mistake.
Read More