
Wheelchair Tire Guide: Sizing, PSI & Care Tips
Keep your wheelchair rolling smoothly by matching ISO markings (like 25-540, meaning a 25 mm width and a 540 mm rim) and picking the right tire type. Choose pneumatic tires for comfort, foam-filled inserts to prevent punctures, or urethane for low maintenance. Check your PSI before outings, inspect the tread and sidewalls for cuts, and keep your rims clean. Always carry a pump, a spare tube, and a patch kit.
Quick Answer
- Find your size: Read the ISO numbers on your tire’s sidewall (e.g., 25-540). The first number is width, and the second is the inner rim diameter in millimeters.
- Match exactly: Always match both ISO numbers when buying replacements. Imperial inch sizes can be misleading.
- Choose the right type: Pick pneumatic for shock absorption, or solid/foam-filled to completely avoid flat tires.
- Maintain them: Check air pressure weekly and inspect for tread wear or sidewall cracks.
Quick Guide: Choose the Right ISO (mm) Tire Size
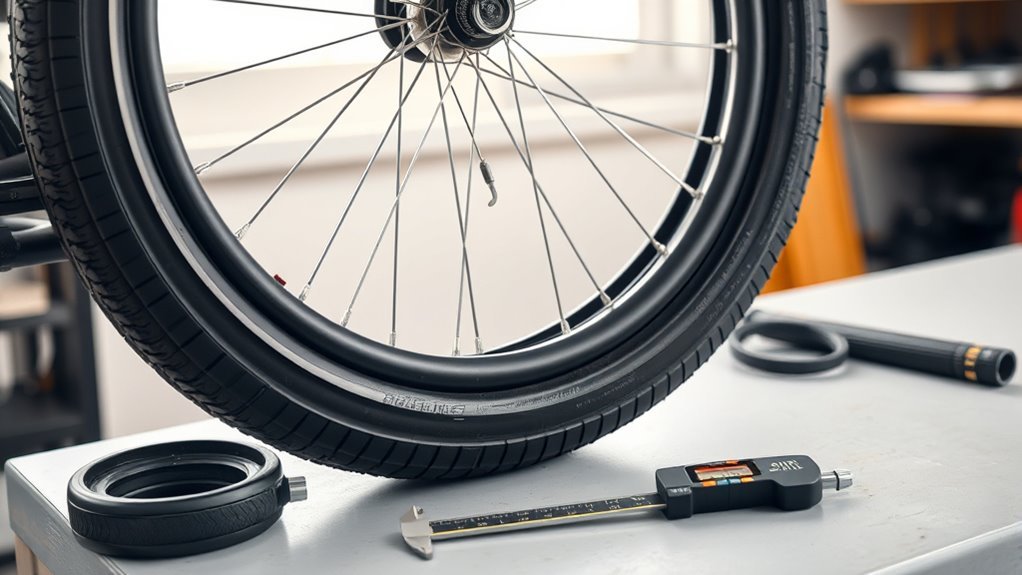
Start by reading the ISO marking on your current tire’s sidewall. An entry like 25-540 tells you the tire is 25 mm wide with a 540 mm internal rim diameter (a common 24-inch wheelchair size).
Always match both numbers to your existing tire before buying. The ISO format uses millimeters, which helps you avoid the sizing mismatches common with imperial inch labels. Check these markings every time you replace your tires and write them down for future orders.
Keep in mind that a “25” on a bicycle website might not mean the same thing as your wheelchair’s ISO width. Trust the ISO code. Getting the right size ensures even wear, proper seating, and predictable handling.
How to Read Tyre Markings (Example: 25-540, 25-559)
Read the ISO numbers on the sidewall to decode the tire width and the rim’s inner diameter. For example, 25-540 means the tire is 25 mm wide and fits a 540 mm rim. Match both measurements to your wheel. A 25-559 tire will not fit a 540 mm rim, even though the widths are identical. Always confirm exact specifications before ordering.
Decoding ISO Numbers
When you look at ISO markings like 25-540 or 25-559, the first number gives the tire width in millimeters (25 mm). The second number provides the rim’s internal diameter (540 mm or 559 mm). This removes the guesswork found in traditional imperial labels.
Use the first number to confirm the width, which affects your ride quality. Use the second number to ensure the tire will seat properly on the rim. Understanding these measurement standards makes shopping easier and ensures you get parts that fit safely.
What If the Label is Worn Off?
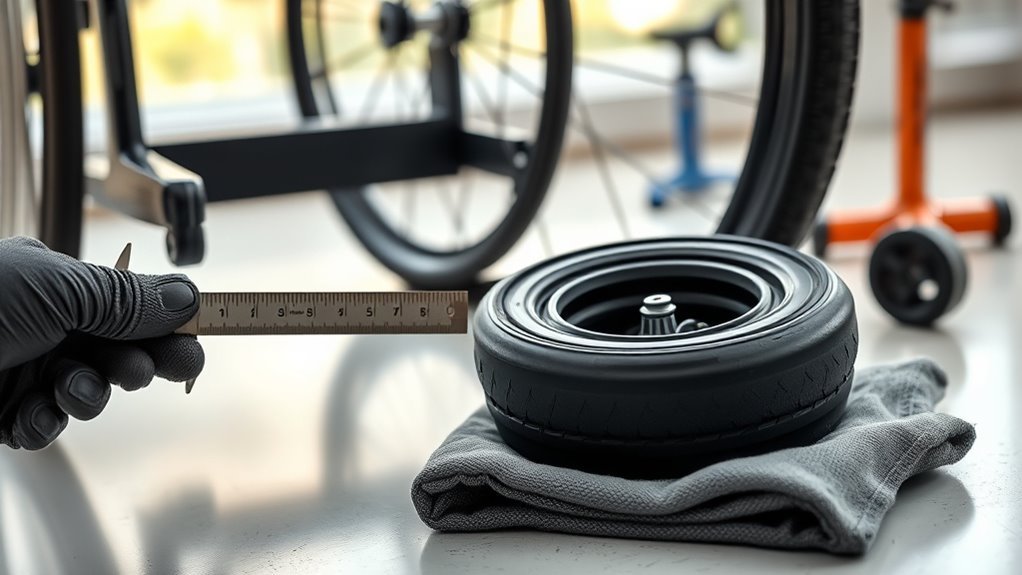
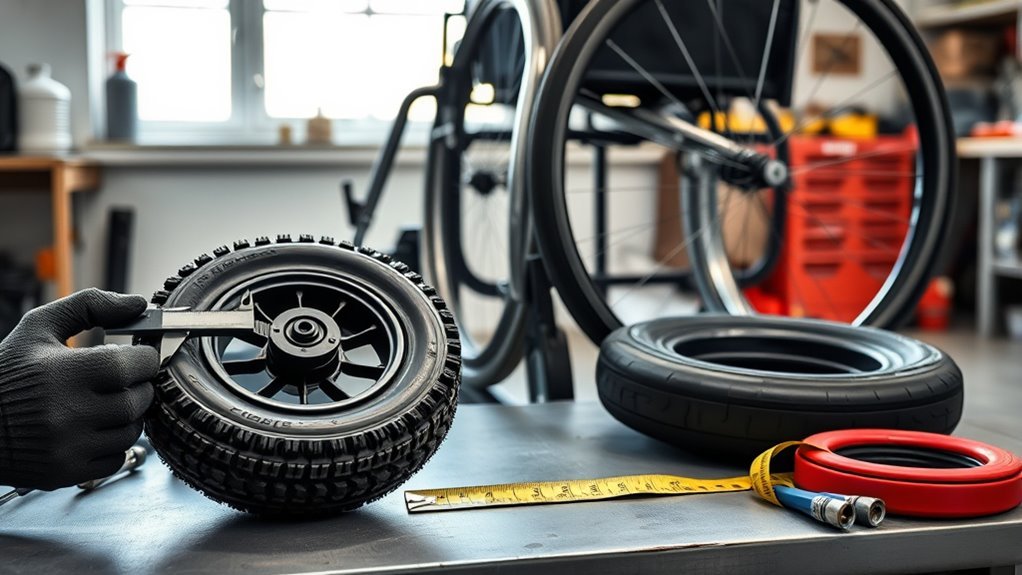
If you cannot read the sidewall, measure the rim yourself. Measure straight across the wheel from bead seat to bead seat (the inner ledge where the tire rests) in millimeters to find your rim diameter. Measure the inside width of the rim to find your width range. When in doubt, a mobility repair shop can measure this for you.
Matching Width And Diameter
Because tire markings list both width and rim diameter, you can quickly confirm a match. Width affects frame clearance and handling, while diameter determines if the tire will actually mount onto the wheel. Check the sidewall of your existing tire for the exact figures.
Be aware of sizing discrepancies between wheelchair and bicycle listings. Two tires labeled “24-inch” can have completely different ISO diameters. Prioritize strict compatibility with your specific wheelchair rim.
Wheelchair vs Bicycle Labels: Common Mismatches to Watch
Wheelchair and bicycle labels often don’t match, which can lead to buying the wrong size. You will encounter confusion when sellers mix up imperial inches and millimeters, or when a wheelchair tire is categorized under mountain bike specs online. Always check the metric figures.
A marking like 25-559 guarantees a width of 25mm and a rim diameter of 559mm. That 559mm rim does not always translate perfectly to generic bike categories, so do not assume a tire will fit just because it looks similar. If a vendor does not list the ISO or bead seat diameter (BSD), ask for it.
Tire Types Explained: Pneumatic, Foam-Filled, Urethane (Pros & Cons)
Tire choice directly impacts ride quality, maintenance, and performance. You should match the type to your personal priorities: comfort, puncture resistance, or ease of maintenance.
Pneumatic tires offer excellent shock absorption and low rolling resistance, but they require regular air pressure checks and can go flat. Foam-filled tires eliminate flats completely, though they are heavier and require more effort to push. Urethane tires provide a durable, air-free ride that is very firm, but they can occasionally lose chunks of material on rough terrain.
| Tire Type | Quick Pros & Cons |
|---|---|
| Pneumatic | Excellent shock absorption, lighter, punctures possible |
| Foam-Filled | Puncture-proof, maintenance-free, heavier, higher rolling resistance |
| Urethane | Durable, air-free, firm ride, possible chunk loss; usually easy install |
[Products Worth Considering]

The Milton 555e digital tire inflator delivers fast, accurate pressure readings with a backlit display and multiple unit options, making tire inflation quick and easy. Its durable 20" EPDM rubber hose and grip‑head chuck provide reliable connection, while the ±1 PSI accuracy ensures precise inflation for cars, bikes, and trucks.

The WORKPRO digital tire pressure gauge with inflator offers precise 0.1 PSI resolution and ±1% accuracy for reliable tire inflation across vehicles and inflatables. Built with heavy‑duty aluminum alloy, brass, and rubber, it resists rust and drops while delivering deflation, inflation, and pressure checking functions. The kit includes valve caps, adapters, a twist‑on chuck, screwdriver, nozzles, needle, seal tape, and a storage bag with batteries, making it a versatile, portable solution for on‑the‑go tire maintenance.

This digital tire pressure gauge combines a sturdy pistol grip inflator with a backlit 0.1 PSI display for quick, accurate readings in any lighting condition. Its 360° swivel gauge and 20" rubber hose make it easy to use and store, while the integrated inflate/deflate trigger and ¼" NPT air inlet provide fast, reliable tire maintenance.
Match Tire Type & Size to Your Wheelchair (What Matters)
When selecting replacement tires, match the exact size to your wheelchair rims. The metric code (like 25-540) is the only reliable indicator of fit. Choose between pneumatic, foam-filled, or solid tires based on your daily terrain and how much maintenance you want to do.
Never mix sizes on the same axle, as this causes poor handling and uneven wear. Keep a basic log of your tire type, size, and preferred air pressure so you can easily reorder exactly what works for you.
[Products Worth Considering]

The AZUNO digital tire inflator gauge offers precise pressure readings for both Presta and Schrader bike valves, eliminating the need for separate adapters. Its bright LCD backlight and automatic shut‑off conserve battery life, while the included 18‑inch hose and accessories make setup quick and hassle‑free. Built with durable steel and brass components, it provides reliable performance for bicycles, motorcycles, and other vehicles.

The GERCHWAY Digital Bike Tire Pressure Gauge offers precise ±1% accuracy across a 3–200 PSI range, fitting both Presta and Schrader valves without extra adapters. Its 16‑inch hose provides extra reach for easy inflation on bikes, motorcycles, SUVs, and cars, while the 1/4" NPT quick connector enables direct compressor attachment. Designed for quick checks, deflation, and inflation, it delivers reliable, leak‑free performance for all your tire needs.

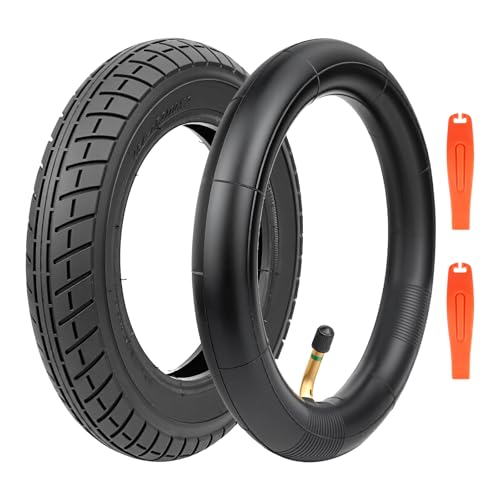
Product Material: made of polyurethane foam, model 24 "x 1" universal no-flat polyurethane tire.
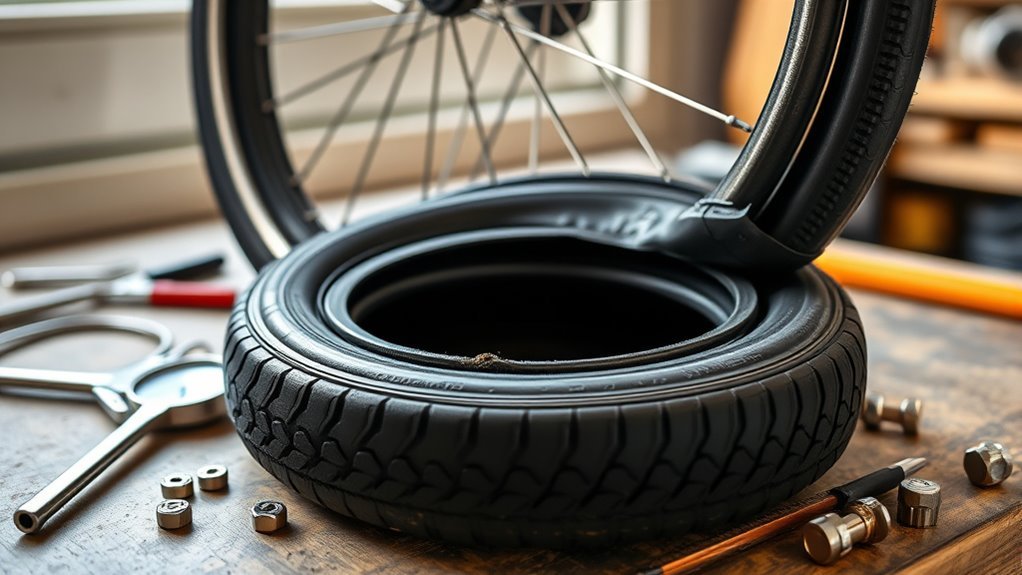
How to Replace a Tire and Tube
Once you have the correct tire type and size, you can swap it out. Begin by loosening the axle nuts and sliding the wheel off the frame. Fully deflate the existing tire, then use plastic tire levers to carefully pry the bead off the rim.
Remove the old inner tube and inspect the rim strip. Check the spoke holes for sharp edges or debris that could puncture the new tube. Slightly inflate the new tube just enough to give it shape, then seat it inside the tire. Refit the tire bead onto the rim, being careful not to pinch the rubber. Inflate the tire to the recommended pressure, check that it is seated evenly, and securely reattach the wheel.
[Products Worth Considering]

Application : Simplest and most basic of cycling tools, ideal for toolbox and workshop. The Stainless Steel Levers help to repair a flat bicycle tire

Construcción duradera de poliuretano: Hecho de espuma de poliuretano de alta calidad, nuestros neumáticos de repuesto para ruedas traseras de silla de ruedas (24" x 1") están diseñados para un rendimiento duradero. Este material de neumático sin pinchos es resistente y flexible, asegurando un ajuste perfecto en las ruedas de tu silla de ruedas mientras proporciona un paseo suave sin riesgo de pisos.
【Premium Durability】 Crafted from high-grade rubber, our tire resists wear, tear, and punctures. The patterned tread ensures superior traction and reduced rolling resistance for a longer-lasting performance.
Simple Maintenance: Pressure, Cleaning, Inspection
Keep your tires at the manufacturer’s recommended PSI. Wipe tires and rims with a damp cloth to remove grit that can damage the rubber or get into the wheel bearings. Inspect the tread, sidewalls, and valve stems for cracks or thinning, and fix problems as soon as you spot them.
Check And Adjust Pressure
Use a reliable gauge to check your tire pressure before daily use. Most standard pneumatic wheelchair tires require 35–50 PSI, but always check the sidewall for the manufacturer’s spec. Adjust your pressure based on the terrain: slightly lower for softer surfaces (to increase traction), and higher for hard surfaces (to roll easier).
Clean Tires And Rims
Dirt and grit hide damage and wear down parts faster. Wipe tires and rims with a damp cloth weekly. Use a stiff-bristled brush to remove debris stuck in the tread, but avoid harsh chemical solvents. Keep the spokes and wheel hubs clean so moisture doesn’t get trapped and cause rust.
Inspect For Damage
After cleaning, inspect each tire and rim. Look closely at the tread and sidewalls for cuts, glass shards, or thinning rubber. Verify your tire pressure again, as under-inflated tires wear out much faster. If you notice the chair pulling to one side, check for uneven wear. Replace any severely worn tires immediately to stay safe.
Troubleshooting Flats and Failures: Patch vs Replace
When you get a flat, figure out if it is a small puncture (which can be patched) or a larger tear (which requires a new tube). Keep an emergency repair kit handy. If a tube has multiple holes, heavy wear, or the tire sidewall is compromised, patching is no longer safe.
| Situation | Action |
|---|---|
| Single clean puncture | Apply patch kit |
| Multiple punctures | Replace inner tube |
| Sidewall tear/crack | Replace entire tire and tube |
| Worn tread/thinning rubber | Replace tire to restore traction |
Shopping Checklist: What to Tell the Shop or Order Online
When ordering parts, provide the exact metric tire size (e.g., 25-540), the width, and whether you want pneumatic, foam-filled, or solid tires. Bringing the old tire or taking a clear photo of the sidewall is the best way to guarantee a match.
Read product listings carefully for ISO numbers. If you want to switch to solid tires for fewer flats, let the shop know, as they may need to take specific wheel measurements. Always ask about their return policy just in case the fit isn’t right.
Frequently Asked Questions
What Is the Best Lubricant for a Wheelchair?
Silicone-based spray or dry Teflon (PTFE) lubricants are the best options for wheelchairs. Apply them sparingly after cleaning. Avoid heavy greases like lithium grease, which attract dirt and can wear down your bearings over time. Proper lubrication keeps parts moving smoothly and extends the life of your chair.
Final Tips
Keeping your wheelchair rolling safely comes down to matching the correct ISO size, choosing the right tire type for your environment, and keeping up with basic maintenance. Inspect your wheels regularly, carry a patch kit for emergencies, and replace worn tires before they fail. Armed with your exact measurements, you can easily find the right parts to stay mobile and independent.
Related Articles

How to Tire Yourself Out to Sleep: Evening Routines That Work
Melt into better sleep with simple evening routines that quietly wear you down—discover the surprising habits that make rest come easier.
Read More
How to Tire Yourself Out: Best Methods for a Deep Night’s Sleep
More than just exercise, discover the best ways to tire yourself out for deeper sleep and the surprising habits that can make nights finally restful.
Read More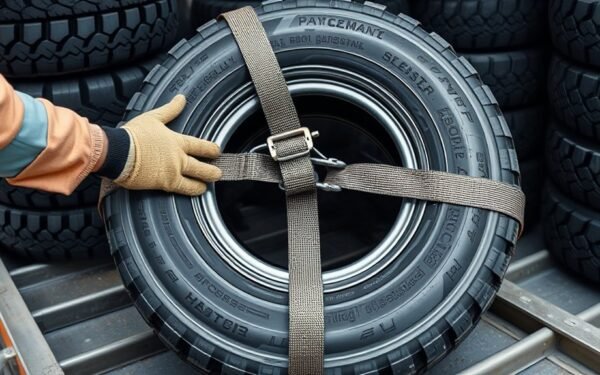
How to Tie a Tire: Securing Tires for Transport or Storage
Lock your tire securely for transport or storage, but there’s one crucial step most people miss that could save you trouble.
Read More