
Tubeless vs Tube Tires: Pros, Cons & Best Pick
Your tires lose air on the trail and you’re left wondering if a simple tube swap would have saved the day, or if tubeless sealant would have sealed it before you noticed. Both systems work well, but each suits a different kind of rider. This guide walks you through the real differences so you can pick the right setup and keep riding.
Quick Answer
Choose tubeless if you want fewer flats, lower running pressures, and less rolling resistance. Choose tubes if you want simpler setup, faster field repairs, and lower upfront cost. Both systems are reliable; the right pick depends on how you ride and how much maintenance you’re willing to do.
Pick tubeless when you want lower rolling resistance, lighter wheels, and puncture-sealing sealant that lets you run lower pressures for better traction. Expect slightly more installation care: rim tape, tubeless valves, and sealant upkeep. Choose tubes if you want simple, fast field repairs, guaranteed compatibility, and less fiddly setup, at the cost of extra weight and higher pinch-flat risk. Keep this guide handy and you’ll find setup steps, maintenance tips, and compatibility rules to help you decide.
Decision Checklist: Tubeless vs. Tube
Choosing between tubeless and tube tires comes down to your priorities: puncture resistance, weight and performance, maintenance needs, repair simplicity, and typical riding conditions. Favor tubeless if you want puncture resistance, since sealant handles small cuts and boosts tire longevity. Rolling resistance drops too: independent testing shows tubeless setups can save several watts per tire over standard butyl tubes, with the gap growing at lower pressures.
You can also run lower pressures without pinch-flat risk, which improves traction off-road. Balance that against routine maintenance: sealant needs replenishing every 3 to 6 months, and installation takes more care to avoid leaks. If you value simple, infrequent upkeep and quick swaps, tubes still win. They need only inflation after idle periods, and repairs are familiar, even if they require wheel removal.
For roadside fixes, tubeless plug kits are faster than patching an inner tube. Choose based on your goals: speed and resilience with tubeless, or simplicity and predictability with tubes. Then follow precise installation tips to get the performance you want.
[Products Worth Considering]

This compact capsule-style tire repair kit helps you quickly fix punctures and plug flats with minimal effort. The rugged stainless steel shell protects the contents for reliable roadside use, while the simple plug assembly makes repairs fast and tool-free. Suitable for motorcycles, cars, ATVs, UTVs, and even mountain bikes.

Wykodra tire plugs provide quick vulcanizing repairs for tubeless tires, helping you seal punctures and get back on the road. The industrial-strength rubber creates a long-lasting, leak-resistant bond and is designed for emergency fixes without removing the tire. Choose between two standard plug sizes with color-matched options for small to larger damage across many vehicles and off-road uses.

This tire repair patch tool kit helps you quickly seal small punctures using upgraded mushroom plugs and a built-in roller system that presses for even penetration. The tungsten buffing wheel and HSS twist drill bits prepare the damaged surface for stronger adhesion, while the crown-angle friendly plugs are designed to keep water and debris out. Ideal for puncture repairs on many vehicle types, from cars and trucks to bikes and scooters.
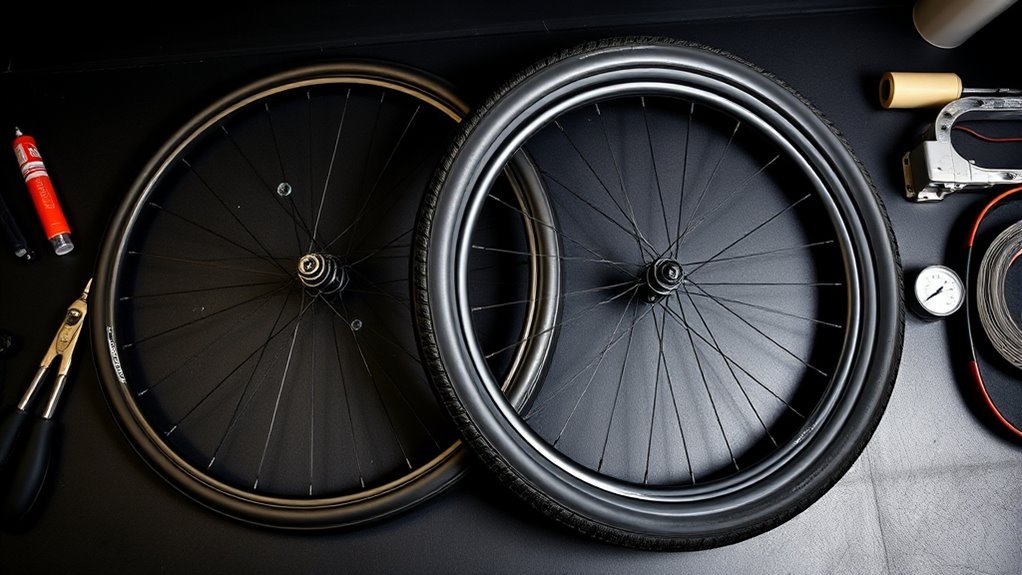
How Tubeless and Tubed Systems Work
You’ll learn how the tire and tube interact to hold air and how a tubeless bead seals against the rim to create an airtight system. This section explains how liquid sealant works with tubeless setups to plug punctures and how pressure choices affect traction and pinch-flat risk. Then we’ll compare mounting and rim requirements so you can weigh installation complexity against performance benefits.
Tire and Tube Interaction
A tubed tire holds air in a separate inner tube, while a tubeless tire relies on the tire bead and rim to form an airtight chamber. Tubes isolate air but add pinch-flat risk. Tubeless uses sealant to self-seal punctures and maintain pressure. Valve placement differs too: tube valves sit in the tube, while tubeless valves mount directly to the rim.
You can fit a tube into a tubeless tire in a pinch, but you’ll lower load and speed ratings and sacrifice performance. Compatibility is non-negotiable. Mismatching tire and wheel types can cause failures and create safety risks. Choose systems that reduce the chance of frequent repairs and deliver reliable riding.
| Feature | Effect |
|---|---|
| Valve type | Tube vs. rim-mounted |
| Puncture response | Tube: replace / Tubeless: sealant |
Rim and Bead Sealing
A tubeless system depends on an airtight chamber formed by the tire bead and rim. Seating and sealing are critical: the bead must lock into a compatible rim profile, and rim tape must cover spoke holes so sealant and air can’t escape. A misaligned bead or incompatible rim shape breaks the seal and raises burp risk.
Tubeless-ready rims use specific rim profiles, shoulders, bead hooks, and channel widths to keep the bead locked. With tubes, the inner tube creates the pressure barrier, so bead-to-rim sealing is less critical, though proper seating still prevents pinch flats. Always verify bead alignment and rim tape application before riding. Check your rim and tire manufacturer’s specs before mixing systems to confirm compatibility.
Sealant and Pressure Management
Sealant and pressure work together to keep tubeless systems airtight and puncture-tolerant. Liquid latex inside the tire seals tiny holes on contact and compensates for slow leaks. The rim-mounted valve and careful bead seating hold pressure without an inner tube. Choose sealant based on climate, shelf life, and sealing speed, and top it up every 3 to 6 months.
Pressure adjustment matters: lower pressures boost grip and comfort but demand reliable bead seating. Higher pressures in tubes reduce pinch-flat risk but cost traction. Avoid fitting a tube in a tubeless tire unless necessary, as it alters load and speed ratings.
- Inspect sealant level regularly.
- Set pressure per terrain and rider weight.
- Check rim valve and bead seating.
- Replace sealant seasonally.
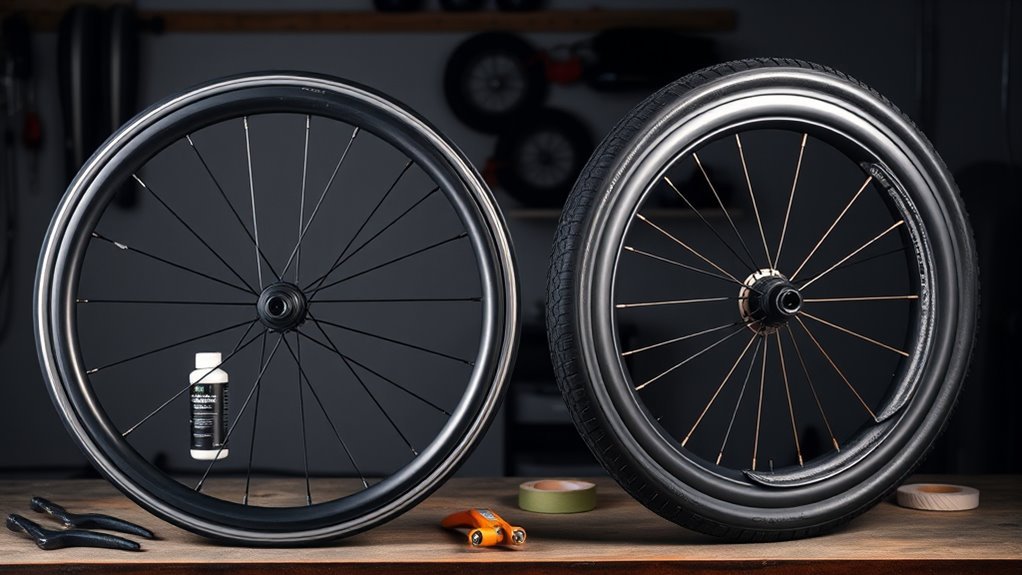
Tubeless vs. Tube: Weight, Grip, and Maintenance Trade-offs
Tubeless setups typically save 50 to 100 grams per wheel depending on the tube type replaced and sealant volume used. That lower rotating mass reduces rolling resistance and can improve acceleration. Lower pressures also deliver better grip without risking pinch flats, but you’ll rely on sealant that needs renewal every 3 to 6 months.
Tubes are simpler to maintain and easier to repair trackside with just a tube change. They cost less upfront, but they’re heavier and more vulnerable to sudden puncture-related air loss. The right choice depends on how often you ride and how much you value ease of setup vs. on-trail performance.
Weight and Rolling Resistance
Tubeless setups offer lower rolling resistance by eliminating friction between the inner tube and the tire casing. Independent testing by Bicycle Rolling Resistance shows this advantage grows at lower pressures: switching from standard butyl tubes to tubeless can save roughly 10 to 15 watts across a pair of mountain bike tires, depending on air pressure. Road bike gains are smaller but still measurable.
Weight savings of 50 to 100 grams per wheel are typical when replacing a standard butyl tube, though exact numbers vary by tube weight and sealant volume used. Lower rotating mass improves responsiveness and reduces fatigue over long rides.
- Reduced mass: 50 to 100 g less per wheel improves responsiveness (varies by setup).
- Rolling resistance: savings of several watts per tire vs. standard butyl tubes, growing at lower pressures.
- Adjustable pressure: run lower pressures for traction and comfort without pinch-flat risk.
- Practical trade-off: you gain speed and control but accept added upkeep for sealant.
Cost Considerations
Tubeless-ready tires and rims cost more than standard clincher setups. You’ll also need rim tape, tubeless valves, and sealant before your first ride. Conversion kits start at roughly $50 to $70 for a basic setup, and purpose-built tubeless tires are often priced higher than their clincher equivalents. For casual riders on smooth surfaces, the added expense may outweigh the performance gains. For off-road or high-mileage riders, the reduction in flats and improved traction usually justify the cost over time.
Punctures and Maintenance
How much maintenance you’re willing to do will largely determine whether tubeless suits you. Sealant quickly closes small holes and lets you run lower pressures for better grip and control, reducing pinch flats common with tubes. Top up sealant every 3 to 6 months as routine upkeep. That’s the trade-off for lighter wheels and simpler roadside plug repairs that avoid wheel removal.
If you prefer minimal upkeep, tubes only need occasional inflation but demand more time for repairs and stay vulnerable to pinch flats. Practical maintenance tips: check sealant level regularly, carry a plug kit and CO2 or pump, inspect tire bead and rim tape, and practice a quick tubeless plug repair so you stay mobile on the trail.
Why Riders Still Choose Tube-and-Spoke Wheels (Off-Road and Retro)
Spoked, tube-type wheels flex and absorb hits better than many cast rims. Riders tackling rough trails and remote routes still prefer them for predictable off-road performance and easier field repairs. A lightweight, flexible wheel improves control on uneven surfaces and resists catastrophic failure when you stress the rim hard.
The retro appeal is real too. It connects you to a simpler, fully serviceable era without sacrificing function. Many adventure riders choose spoked wheels precisely because a single broken spoke won’t end a trip the way a cracked cast rim might.
- You can repair a punctured tube with minimal tools, keeping you moving far from help.
- Spokes let the wheel deform and recover, smoothing impacts and protecting the tire and forks.
- Tubed spoked wheels are lighter in many builds, aiding maneuverability and reducing fatigue.
- The look and tactile feedback reinforce a durable, serviceable riding ethos.
Choose them when you value predictable off-road behavior, easy field fixes, and a timeless visual statement.
[Products Worth Considering]
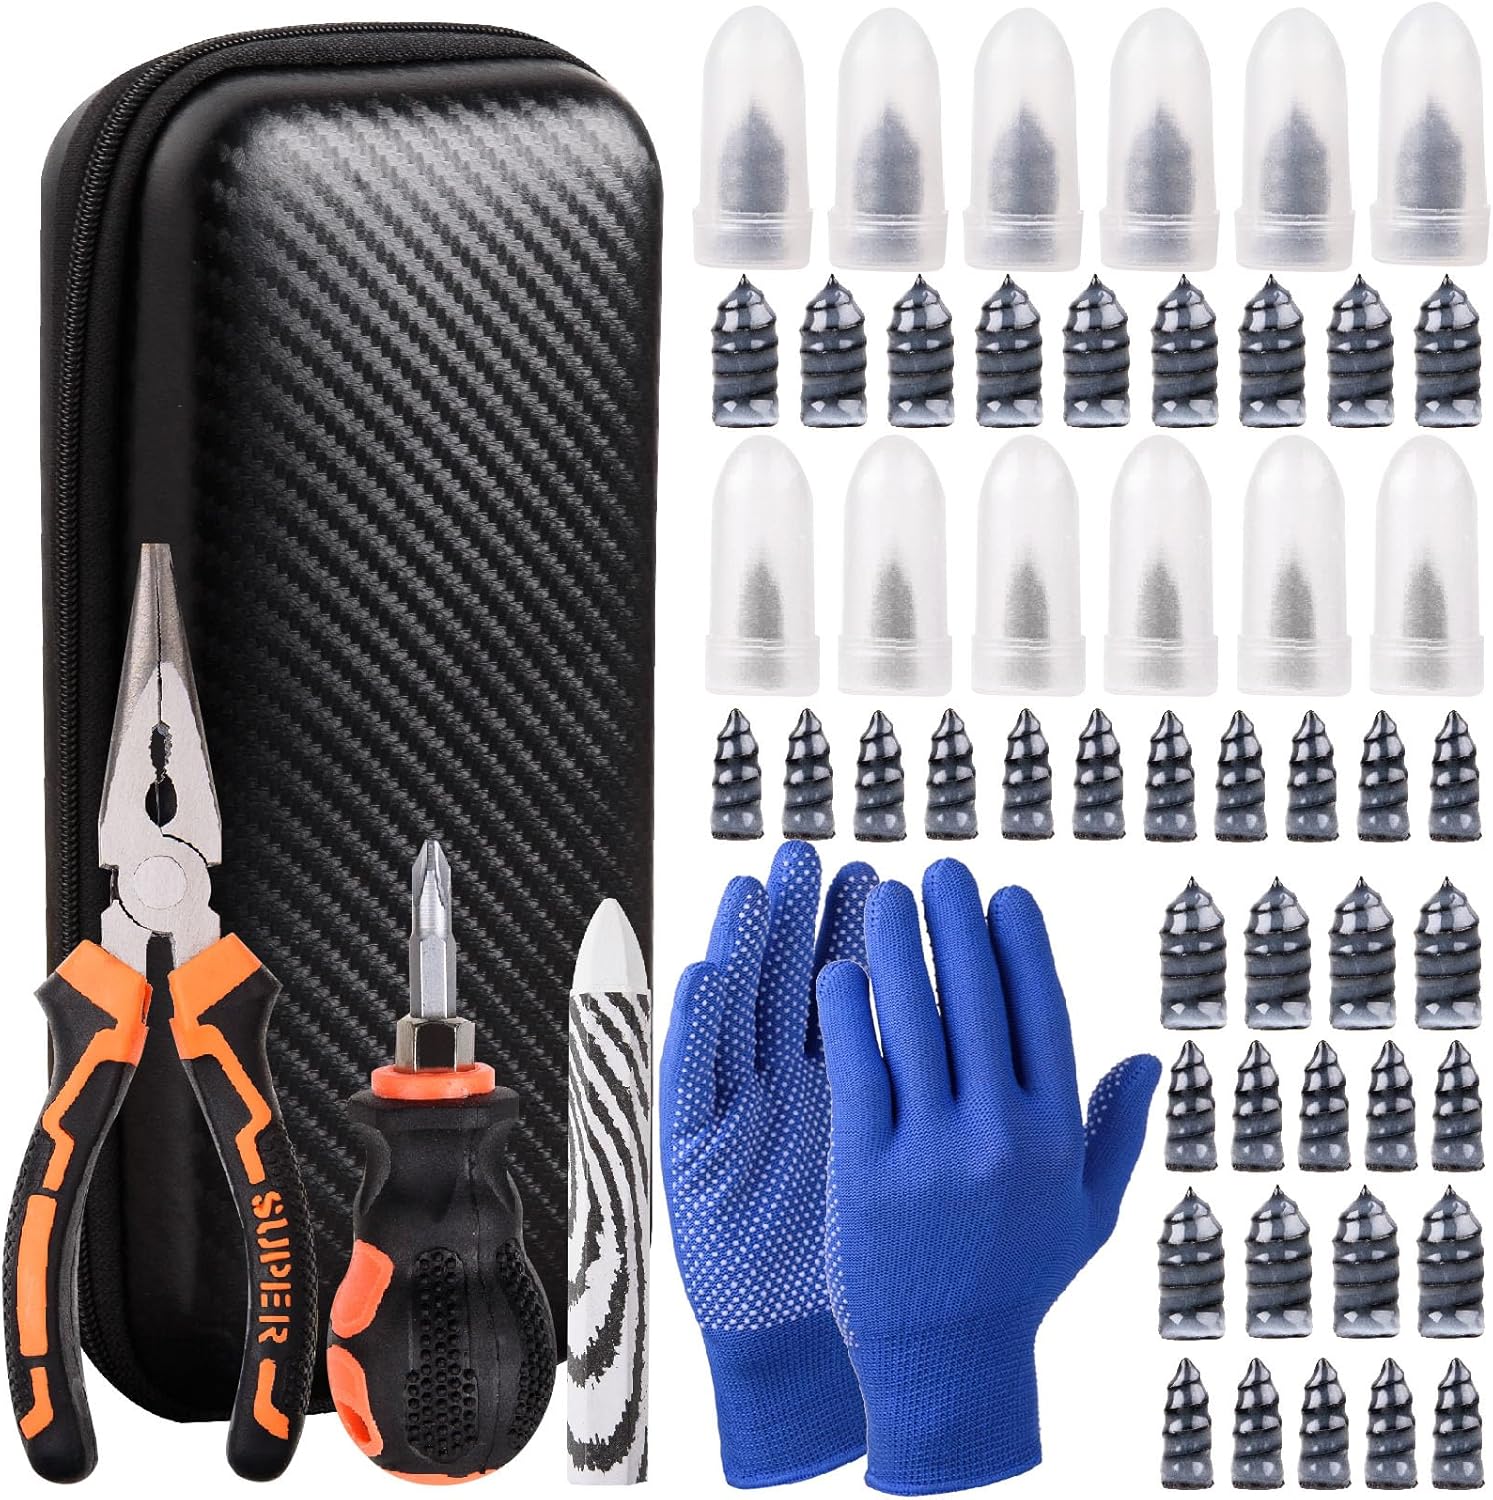
This tire sidewall puncture repair kit fixes flats fast without removing the tire, helping you get back on the road in minutes. It includes self-tapping repair nails, essential tools, gloves, and a portable storage bag for convenient roadside use. Designed for tubeless tires, it helps create a tight, leak-resistant seal for cars, motorcycles, trucks, SUVs, and ATVs.

This 100-piece tire repair screw plug kit provides a fast, self-service solution for punctures on the road. Choose the correct plug size, insert it into the break, and screw it in to help seal the puncture and temporarily restore tire pressure. Thickened threads and rubber-wrapped plugs improve bite and sealing while remaining compact and easy to carry.
Compatibility Rules: Tubes in Tubeless and Tubeless on Tube Rims
When mixing tubes and tubeless systems, watch the details. You can fit a tube into a tubeless tire, but that choice affects tire compatibility and performance ratings. Tubeless tires are engineered for airtight mounting on tubeless-specific rims. Inserting a tube simplifies sealing but may lower the load and speed limits the manufacturer intended.
Don’t mount a tubeless tire on a tube-type rim and expect reliable airtightness. The rim-and-bead interface on a tube-type rim isn’t designed for tubeless retention, and sealing issues create real safety hazards. Match tire type to rim type whenever possible. If you temporarily use a tube in a tubeless tire, treat it as a compromise and replace it when you can.
A newer option worth knowing: TPU (thermoplastic polyurethane) tubes have improved significantly and now offer a lighter, more compact alternative to traditional butyl tubes for riders who want tube simplicity with reduced weight. Always consult your rim and tire manufacturer’s specs before mixing systems.
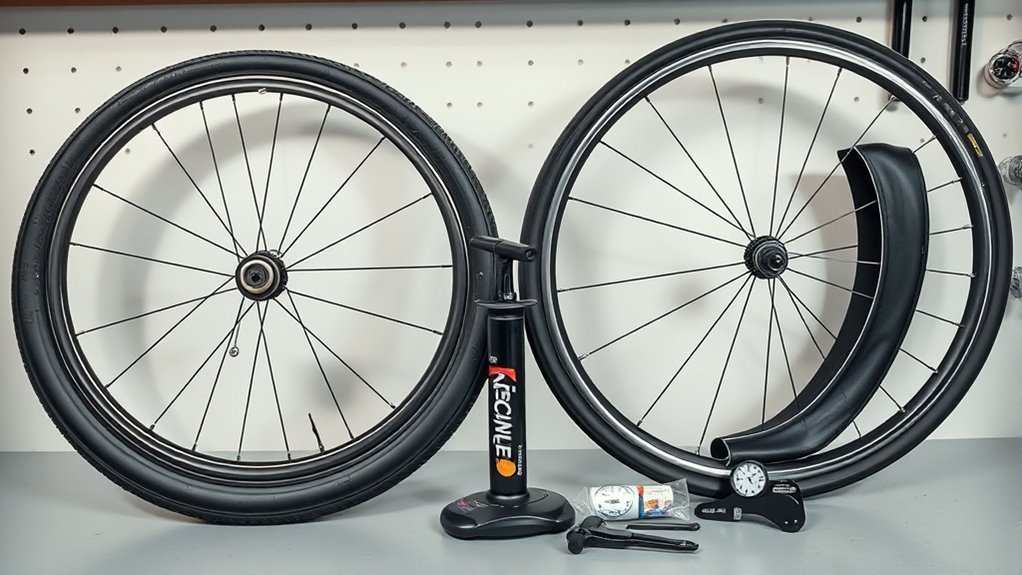
How to Choose and Set Up Your System: Pressure, Valves, and Sealant
If you want predictable control and fewer puncture stops, choose tubeless for lower usable pressures and better traction. Choose tubes for simpler setup, faster inflation, and lower upfront cost. Tubeless lets you run noticeably less air without pinch flats, but needs rim-mounted valves, sealant, and airtight rims to work reliably.
- Assess your needs: want lower tire pressure and grip? Go tubeless. Want quick swaps and minimal upkeep? Choose tubes.
- Installation tips: verify rim compatibility, apply tubeless tape, fit the rim valve, and seat the bead before inflating.
- Sealant maintenance: replenish every 3 to 6 months and after large punctures.
- Valve types: use dedicated tubeless valve stems for airtight seals. Tubes keep inflation simple with an integrated valve.
Frequently Asked Questions
Why Did They Stop Putting Tubes in Car Tires?
Car manufacturers moved to tubeless designs because they boost safety, cut weight, lower puncture risk, and make roadside repairs simpler. Tubeless car tires also improve fuel efficiency and handling by reducing the unsprung and rotating mass that inner tubes add. Modern rim and tire manufacturing made the airtight seal reliable enough to remove the tube entirely.
Do Professional Cyclists Use Tubeless Tires?
Many professional cyclists now use tubeless tires, particularly in road and gravel racing, because they allow lower pressures, reduce pinch-flat risk, and cut rolling resistance vs. standard butyl tubes. Some pro teams also still use lightweight latex tubes, which come close to tubeless rolling resistance numbers while keeping setup simpler. The choice often depends on the race format and the team’s preferred maintenance approach.
Conclusion
The single most important factor is how you ride. Tubeless rewards off-road riders, high-mileage commuters, and anyone who wants fewer trail-stopping flats. Tubes suit riders who want fast, predictable repairs and a lower-cost, lower-fuss setup. Pick your system, set it up correctly, and check it before each ride. That habit does more for your riding than any tire technology on its own.
Related Articles

What Does THE P Stand For on a Tire? Full Meaning Explained
I’ll explain what the “P” on a tire really means and why it could change how you choose your next set.
Read More
How to Use a Tubeless Tire Repair Kit: Complete Field Guide
Learn how to fix tubeless tire punctures fast with the right kit, because one small mistake can leave you stranded on the trail.
Read More
How to Tell a Tire’s Diameter: Easy Guide to Reading Tire Size
Want to decode tire sidewall numbers and find the right diameter, but wonder what those hidden digits really mean?
Read More