
Stuck Tire on Rim: 8 Safe Ways to Break the Bead
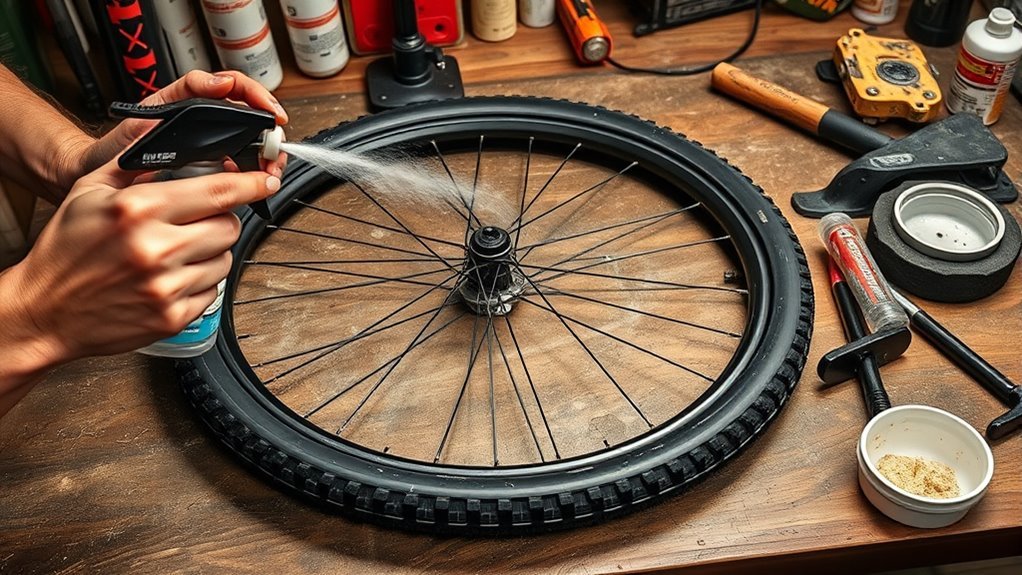
How to Remove a Tire Stuck on the Rim
What’s in This Article
- Roadside Fixes for a Stuck Tire
- Why Tires Stick to Rims and What Can Go Wrong
- How to Break the Bead Safely Step by Step
- What You’ll Need to Remove a Stuck Tire
- Tools for Tire Removal: Levers, Clamps, and Bead Breakers
- Lubricants, Powders, and Tricks That Free Stubborn Beads
- When to Cut the Tire or Call a Pro to Avoid Rim Damage
- Preventive Install Steps to Make Future Removal Easy
- Frequently Asked Questions
- Conclusion
A tire that sticks to the rim can turn a simple repair into a hard, risky job. Force can bend a rim, tear a bead, or damage rim tape if you rush. This guide shows you how to loosen the bead, choose the right tools, and know when to stop before damage gets costly.
Quick Answer
If a tire is stuck on the rim, fully deflate it first. Push the bead into the rim center, hold that slack with clamps, add a safe lubricant, then work the bead loose with steady pressure. Stop and call a pro if the rim bends, cracks, or the bead still won’t move.
Key Takeaways
- Deflate the tire fully before you try to break the bead.
- Push the bead into the rim center to create slack before prying.
- Use plastic levers on carbon rims and avoid sharp tools near the bead seat.
- Use clamps, lubricant, and slow pressure instead of sudden force.
- Call a pro if the rim shows damage or the tire still won’t release.
Roadside Fixes for a Stuck Tire
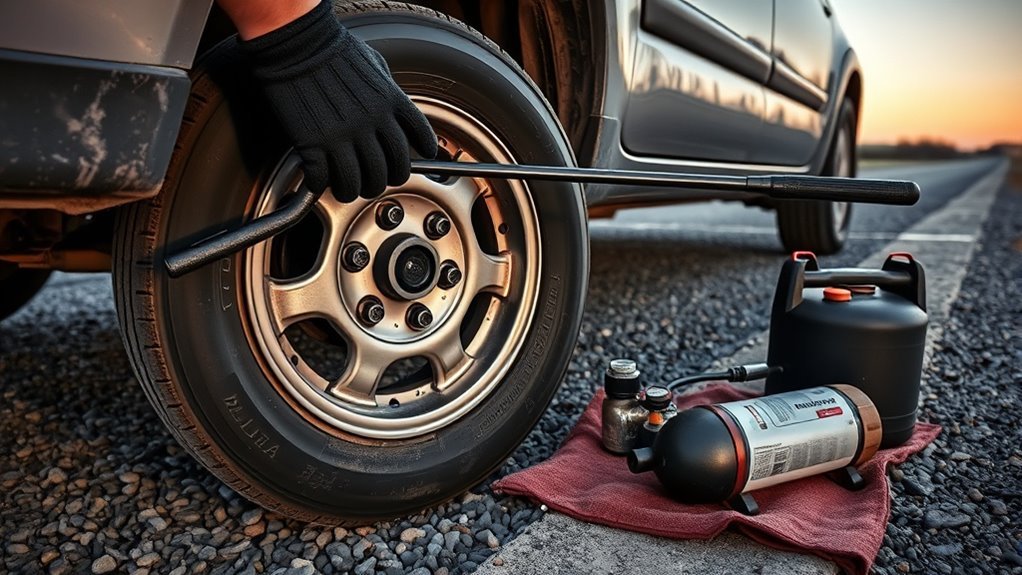
If your tire sticks at the roadside, start by fully deflating it. Press the valve core to release trapped air, or remove the valve core if your setup allows it.
Use tire levers near the valve only after you push the bead into the rim center. That center channel gives you the slack you need to lift the bead over the rim edge.
- Deflate the tire fully and check that no air remains trapped inside.
- Push both beads toward the rim center, starting opposite the valve.
- Clamp the tire sidewalls together with a C-clamp or ratcheting clamp.
- Work one tire lever under the bead, then add another a few inches away.
- Move around the rim in small steps until one side clears.
If the bead resists, spray a small amount of lubricant along the bead seat and let it soak for a few minutes. Avoid soaking brake surfaces, rim tape, or valve parts.
A bottle jack can apply steady pressure, but use it only when you can brace the wheel safely. Add padding between metal parts and pump slowly so you can stop before the rim flexes.
Why Tires Stick to Rims and What Can Go Wrong
Tubeless systems need a tight, airtight seal, so the tire bead often sits firmly against the rim wall. Dried sealant, dirt, and tight bead tolerances can make that seal hard to break.
Heat can soften rubber and increase contact between the bead and rim. Cold can make rubber stiff and make old sealant feel tacky.
Too much force can damage the tire bead, rim tape, valve area, or rim sidewall. Carbon rims need extra care because sharp metal levers can gouge or crack the surface.
Warning: Stop prying if the rim lip bends, cracks, or makes sharp popping sounds under load.
Regular cleaning lowers the chance of a tire bonding to the rim. During installation, a light dusting of talcum powder can also help the bead release later.
How to Break the Bead Safely Step by Step
Estimated total time: 20 to 45 minutes, depending on sealant buildup, rim type, and tool access.
When simple roadside fixes fail, slow down and work in a clear order. Your goal is to create slack, hold it, then break the seal with controlled pressure.
- Inspect the rim for cracks, dents, corrosion, or loose rim tape.
- Deflate the tire fully and remove the valve core if air still remains.
- Press the bead into the rim center to create slack on both sides.
- Clamp the tire sidewalls together so the bead stays in the center channel.
- Apply a small amount of lubricant around the bead and let it soak.
- Place a bead breaker, clamp, or padded jack against a solid contact point.
- Apply slow pressure until the bead separates from the rim seat.
- Move a few inches around the rim and repeat until the bead releases.
Keep the wheel aligned while you work. Sudden jerks can bend the rim or tear the bead before it loosens.
If the bead still won’t move after several controlled attempts, stop. A local bike shop, tire shop, or wheel specialist can use a dedicated bead breaker with less risk.
What You’ll Need to Remove a Stuck Tire
Gather the right tools before you start. The job gets safer when you can apply force slowly and protect the rim at each step.
- Tire levers, plastic for carbon rims and metal only for tough alloy rims.
- C-clamps, bar clamps, or ratcheting clamps to compress the bead.
- Bead breaker, if you have access to one.
- Soapy water or a light penetrating lubricant for the bead seat.
- Gloves and eye protection for grip and safety.
- Clean rags, rim-safe padding, and a bright light for inspection.
- Spare tube, tire plug kit, or replacement tire if the old tire fails.
Do not use a screwdriver as your main lever unless you accept rim damage risk. A tire lever spreads force better and gives you more control.
[Products Worth Considering]

This VEVOR tire bead breaker uses a slide-hammer impact and wedge tip to separate tire beads from rims quickly and efficiently without damaging hub surfaces. The long handle and sturdy steel construction help reduce user strain while providing reliable, portable tire changing for cars, trucks, and more. Ideal for home mechanics and repair shops handling multiple vehicle tire sizes.
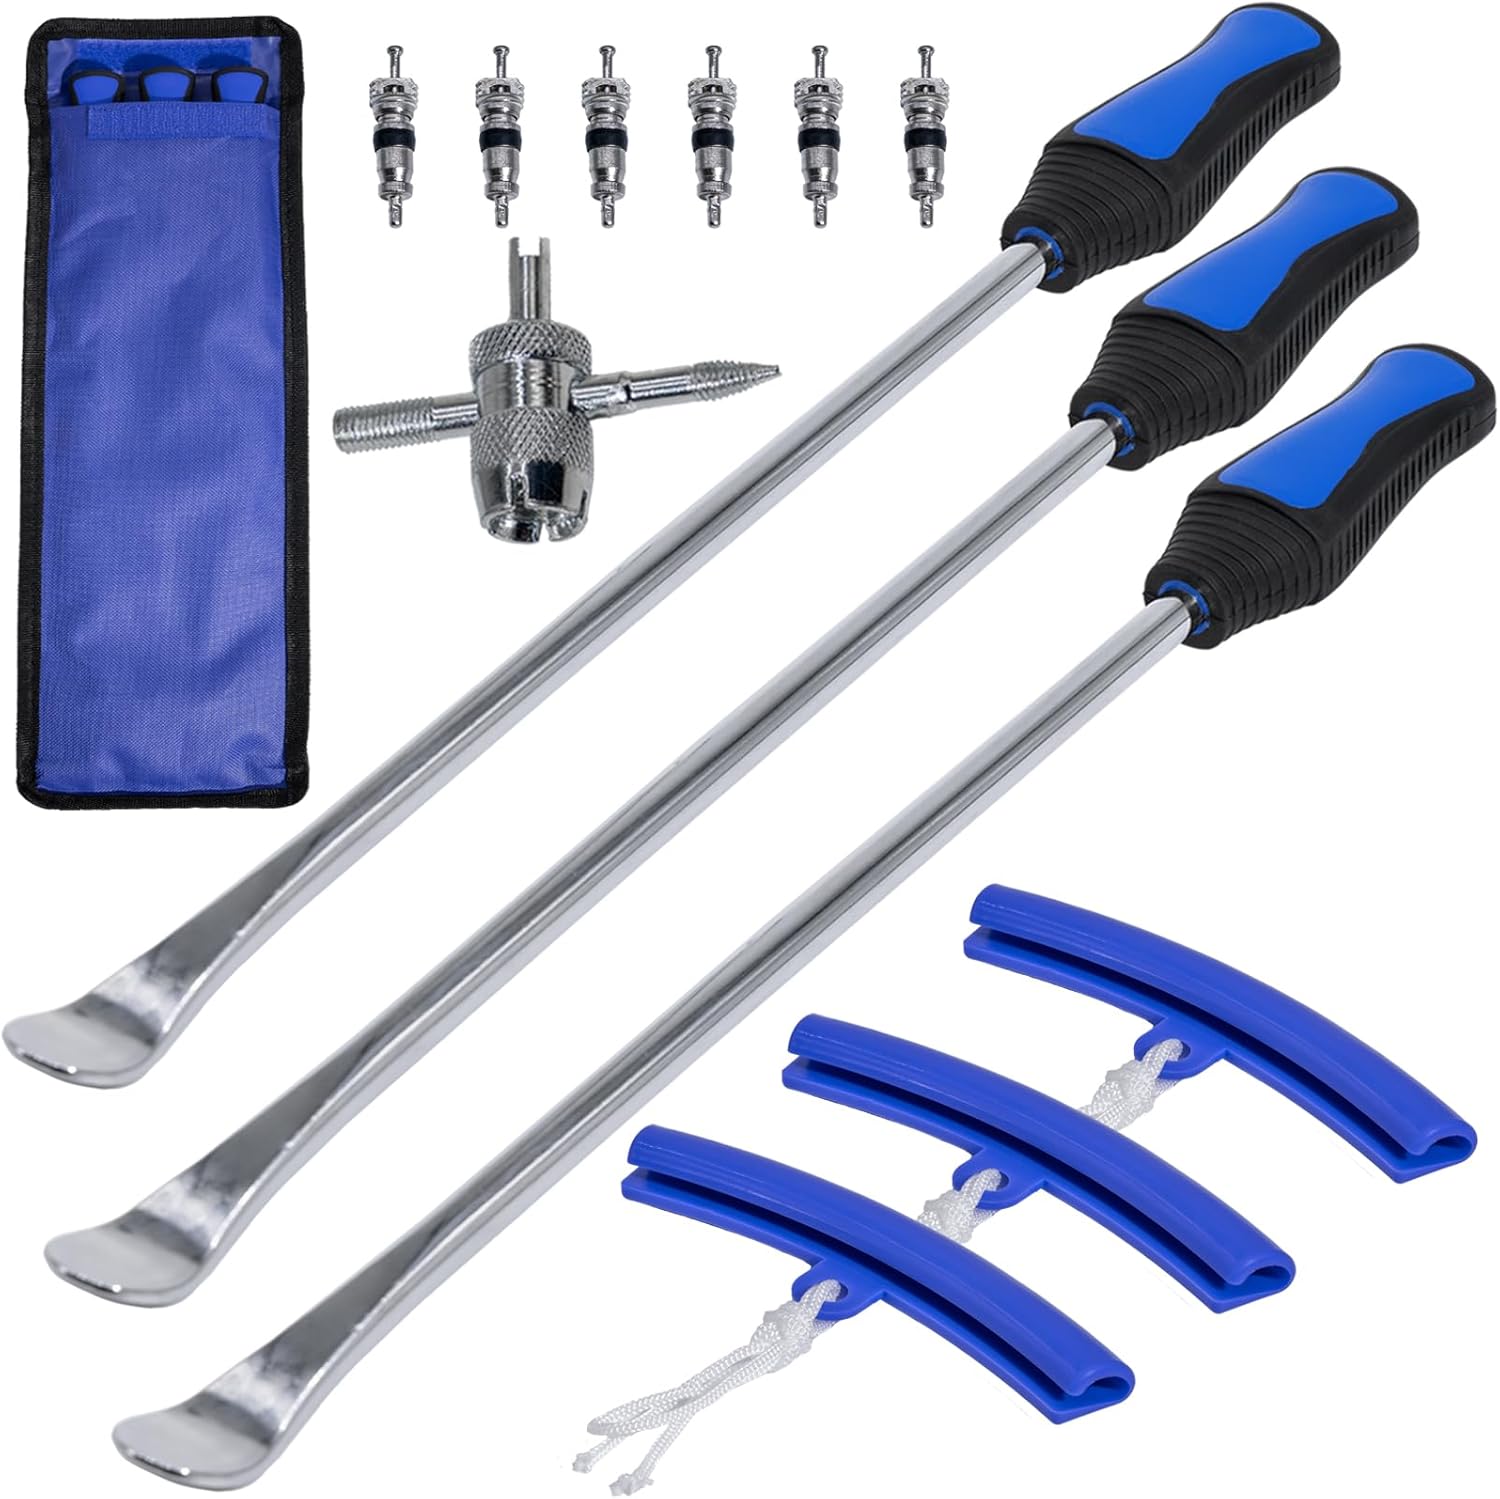
This tire spoon set helps you remove and install motorcycle, dirt bike, lawn tractor, and bicycle tires with extra leverage from a 14.5-inch spoon length. The kit includes tire removal tools, rim protectors, and a valve tool to simplify repairs and help protect rims during changing. Designed for quick, on-the-go service, it’s convenient for garage work, trails, and track-side fixes.

This 4-in-1 tire valve core removal tool helps you deflate, unblock, and remove or install valve cores quickly for easier tire repair. The multifunction design also supports re-taping damaged threads and reaming inside the valve stem for smoother service. Included as a 2-pack, it’s compact for convenient carry and works for cars, bicycles, and motorcycles.
Tools for Tire Removal: Levers, Clamps, and Bead Breakers
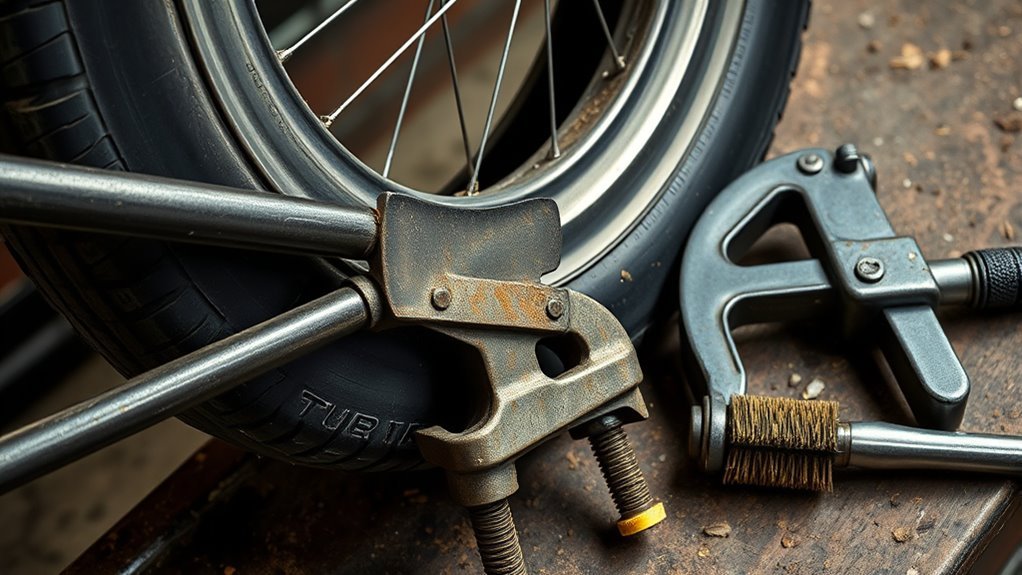
Tools matter when a tire won’t budge. Choose them based on rim material, tire stiffness, and how much force the bead needs.
Plastic levers protect carbon rims and painted surfaces. Metal levers can help with stubborn rubber on alloy rims, but they can scratch, dent, or cut if you slip.
Heavy-duty C-clamps and bar clamps compress the tire sidewalls so the bead drops into the rim center. That simple step reduces the force you need at the lever.
A dedicated bead breaker applies pressure at the bead seat with better control than prying. It also lowers stress on the rim because it pushes instead of twisting.
Pro tip: Work opposite the valve first so the bead has the most room to drop into the rim center.
Work in short sections around the wheel. If one spot refuses to move, add more slack elsewhere instead of forcing that one point.
[Products Worth Considering]
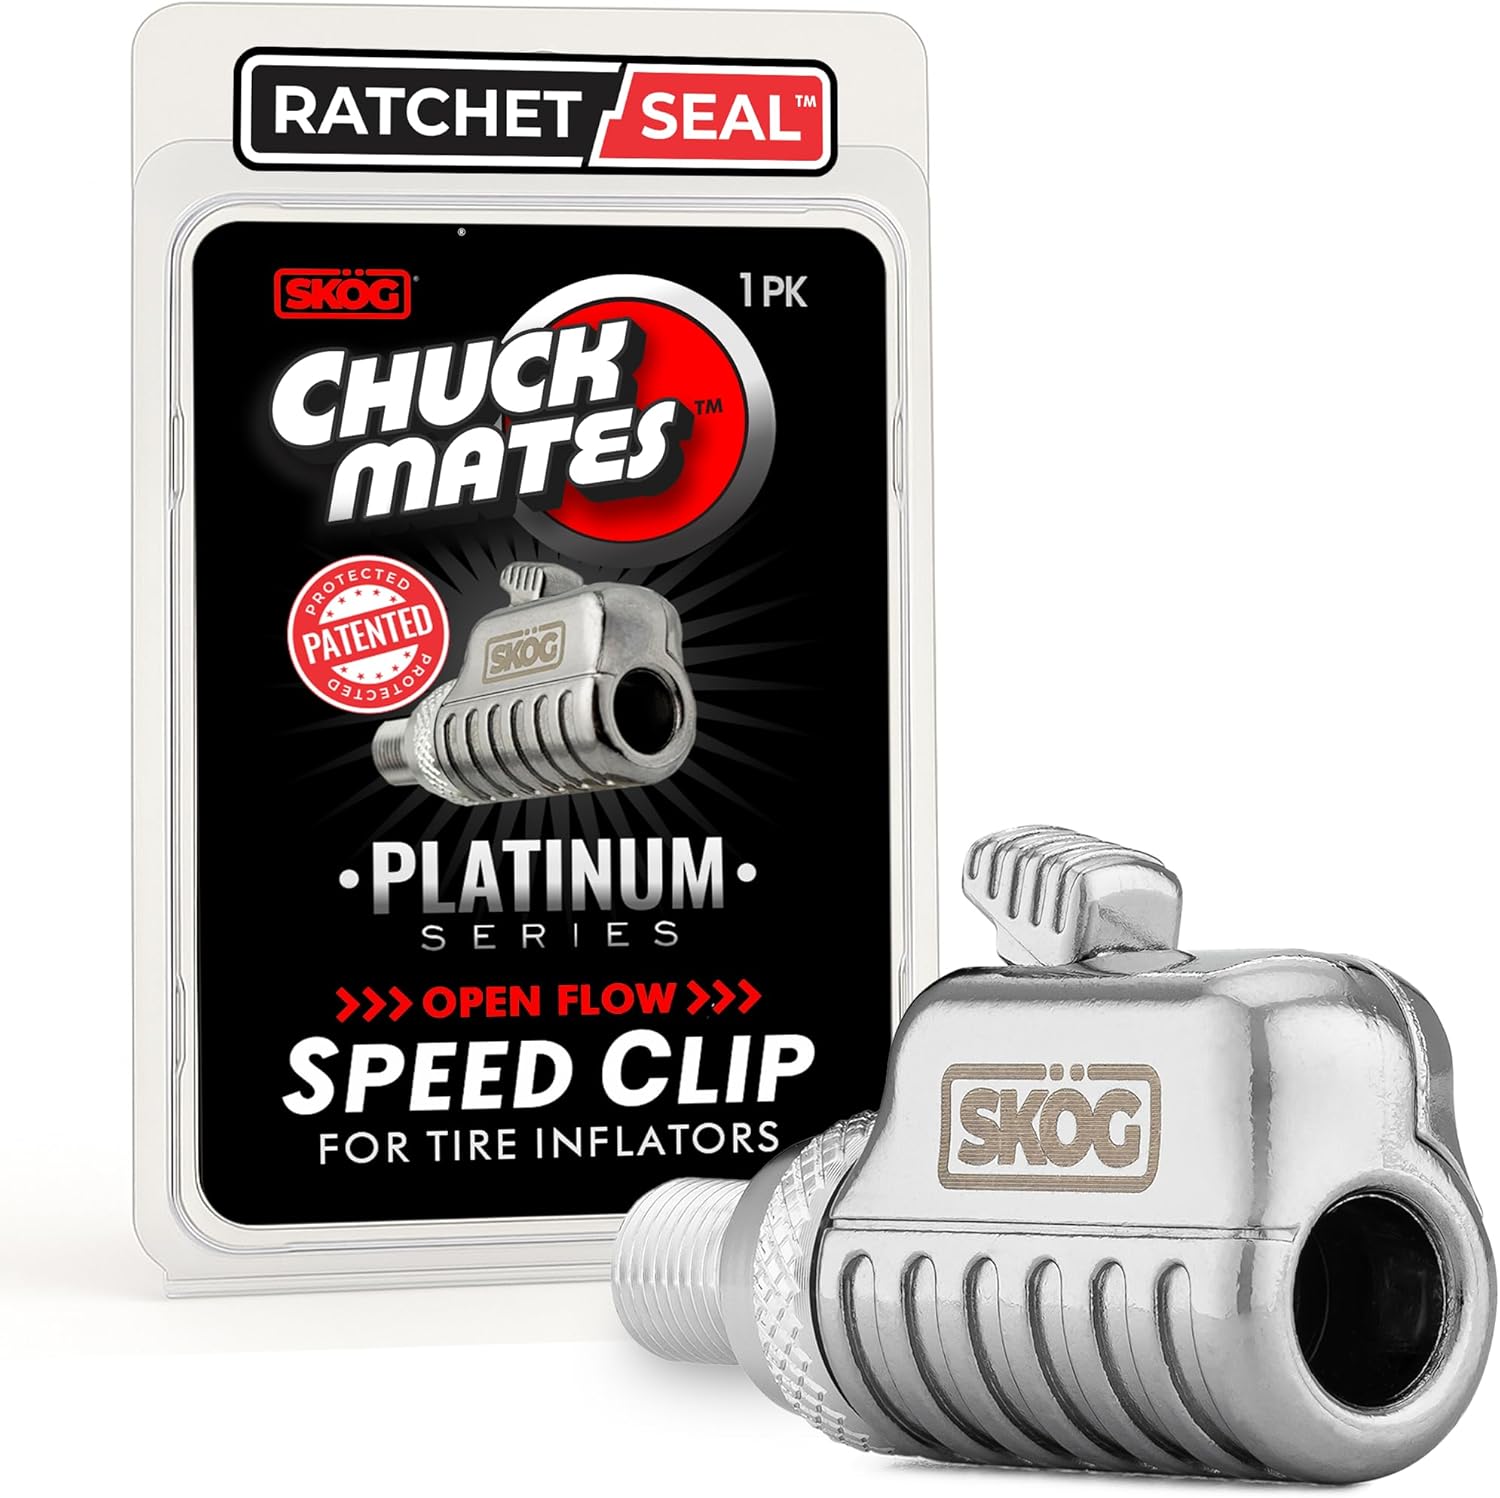
The SKÖG Chuck Mates Platinum uses a patented RatchetSeal push-to-connect system for instant, secure, air-tight attachment to standard tire valve stems. It features an easy push-button release for quick disconnects, plus 360° swivel open-flow airflow to keep operation smooth and kink-free. Universal Schrader compatibility makes it ideal for cars, bikes, motorcycles, RVs, trucks, and more.
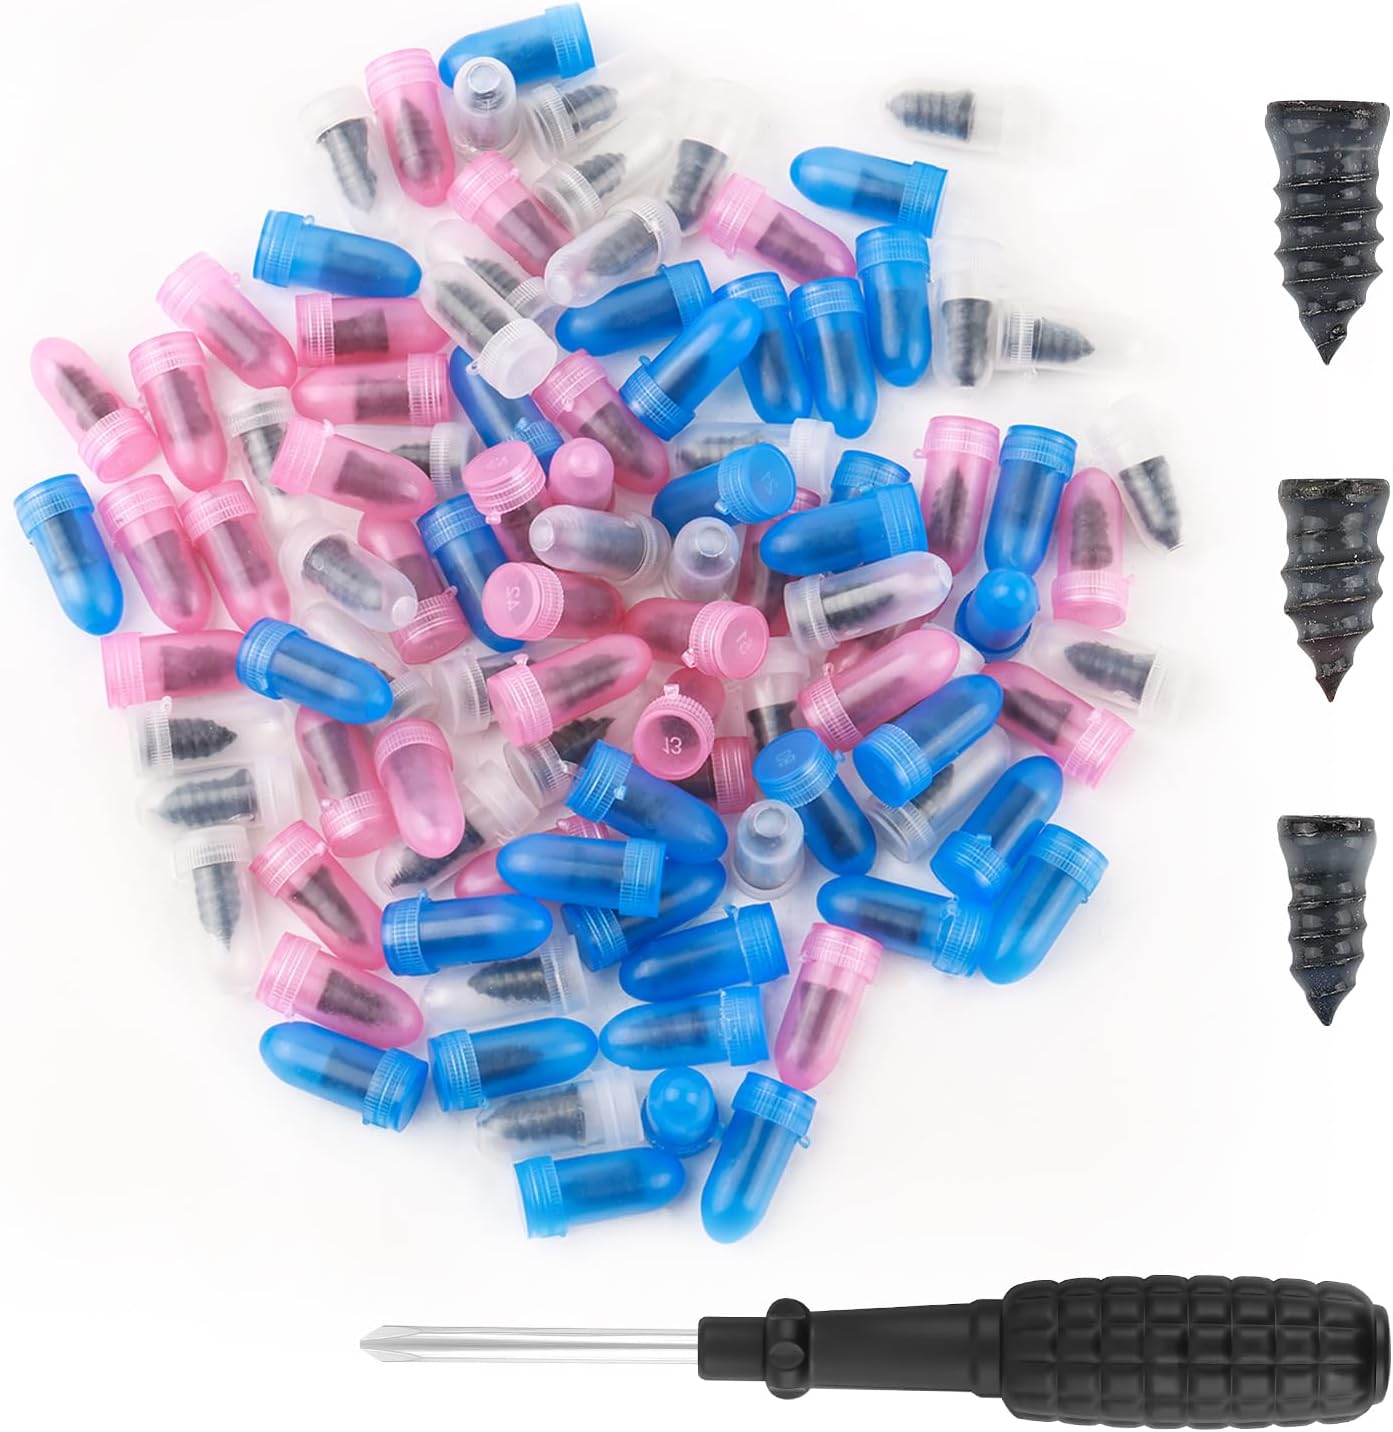
This 100-piece tire repair screw plug kit provides a fast, self-service solution for punctures on the road. Choose the correct plug size, insert it into the break, and screw it in to help seal the puncture and temporarily restore tire pressure. Thickened threads and rubber-wrapped plugs improve bite and sealing while remaining compact and easy to carry.

Versatile and Efficient: VEVOR manual tire bead breaker is your go-to tool for effortlessly handling tires up to 42 inches. It's perfect for a wide range of vehicles, including family cars, SUVs, trucks, tractors, lawnmowers, ATVs, RVs, and more, making it an essential tool for any tire-related task.
Lubricants, Powders, and Tricks That Free Stubborn Beads
A lubricant can help break the seal between the bead and rim. Use only a small amount, and keep it away from brake tracks, rotors, pads, and rim tape.
Soapy water gives you slickness without harsh residue. Penetrating sprays can reduce adhesion, but some products may leave residue or affect rubber, so clean the tire and rim before reinstalling.
[Products Worth Considering]

SEATS TIRE BEADS SMOOTHLY ON THE FIRST TRY — Ru-Glyde's thick, stay-put formula coats the bead and rim evenly so tires slide into position without fighting. Works on passenger, light truck, agricultural, and OTR tires — no more prying, hammering, or re-seating.

Experience ease with AGS Ru-Glyde paste, a high-quality tire mounting lubricant expertly crafted with specialty soaps, corrosion inhibitors, and more, designed for seamless direct application. Ensure your tires are mounted perfectly every time.

Tire Bead Lubricant for Mounting and Dismounting: Formulated to ease tire bead seating during mounting and dismounting, this paste reduces friction between the tire bead and rim for smoother installation. Compatible with manual tire changers, bead seater tools, and tire changer machines for motorcycle, car, truck, and bike tires.
Talcum Powder Benefits
A light dusting of talcum powder on the rim and tire bead can reduce friction. It acts as a dry barrier that helps prevent sealant and debris from bonding the bead to the rim.
Apply a thin, even layer during installation. Too much powder can clump and create mess without improving removal.
Lubricants and Solvents
Use soapy water first when you want a rim-safe option. It helps the bead slide and cleans off easily after the tire comes free.
For dried tubeless sealant, isopropyl alcohol can help clean residue after the tire comes off. Avoid harsh solvents unless the tire or rim maker says they are safe.
Combine lubricant with mechanical compression for better control. Clamp the tire, press the bead inward, then use levers or a bead breaker in small steps.
When to Cut the Tire or Call a Pro to Avoid Rim Damage
Cutting a tire can ruin the tire and still damage the rim if the blade slips. Treat it as a last resort, not a normal removal method.
Before you cut, inspect the rim for bends, cracks, corrosion, or carbon damage. If you find any of those issues, stop and call a professional.
Assess Rim Damage Risk
Clean the bead seat and inspect the rim with a bright light. Rotate the wheel slowly and look for dents, cracks, loose tape, or bent lips.
Thick sealant buildup can make the bead feel seized even when the rim remains sound. Try cleaning and controlled bead-breaking before you reach for a blade.
If the wheel is expensive, carbon, or hard to replace, choose professional help sooner. Service costs often beat the price of a damaged rim.
When Cutting Is Safe
Cutting may make sense only when the tire is already scrap and the rim looks sound. You still need padding, a steady hand, and a clear cut path.
- Use controlled cuts and avoid stabbing motions.
- Shield the rim with padding, tape, or a thin protective strip.
- Cut in small sections and rotate the wheel as you work.
- Stop if the blade gets close to the bead seat or rim wall.
When to Seek Professional Help
Call a pro when repeated attempts fail or the bead feels glued in place. Also stop when you lack a bead breaker, proper clamps, or rim-safe levers.
| Situation | Best Decision |
|---|---|
| Multiple controlled attempts fail | Call a pro |
| Dried sealant locks the bead | Call a pro |
| You do not have a bead breaker | Call a pro |
| The rim is costly, carbon, or damaged | Call a pro |
A technician can separate the tire with tools that apply force in the right place. That choice protects the wheel and saves time when DIY force stops helping.
Preventive Install Steps to Make Future Removal Easy
You control future tire removal during installation. Clean parts, seat the bead evenly, and avoid letting sealant dry into thick layers.
- Clean the rim bed and bead seat before fitting the tire.
- Dust the bead lightly with talcum powder if the tire maker allows it.
- Pinch the beads into the rim center while fitting the tire.
- Confirm even bead seating around the full rim before riding.
- Refresh tubeless sealant before it dries into thick buildup.
- Inspect rims and beads during routine tire checks.
These small steps reduce friction and help the bead release next time. They also lower the risk of damaged tape, torn beads, and bent rim lips.
Frequently Asked Questions
How Do You Get a Stubborn Tire to Bead?
Use soapy water on the bead, seat both sides evenly, and inflate with a quick burst of air. A compressor or carbon dioxide cartridge can help when a hand pump cannot move enough air fast enough.
Can You Use WD-40 on a Stuck Tire Bead?
You can use a small amount on a stubborn bead, but clean the rim and tire before reinstalling. Keep it away from brakes, rim tape, and surfaces that need grip.
Will a Stuck Bead Damage the Rim?
The stuck bead itself may not damage the rim, but aggressive prying can. Use clamps, tire levers, and steady pressure before you try sharper or stronger tools.
Is It Safe to Cut a Tire Off a Rim?
Cutting is safe only as a last resort when the tire is scrap and the rim is protected. Avoid cutting near carbon rims or damaged bead seats unless a professional handles the work.
How Can You Stop a Tire From Sticking Again?
Clean the rim during each tire change and prevent sealant from drying into thick layers. Seat the bead evenly and use a light, approved dry lubricant when you install the tire.
Conclusion
The safest way to remove a tire stuck on the rim is to create slack before you add force. Deflate the tire, push the bead into the rim center, clamp it, lubricate lightly, and work in small sections.
Use rim-safe tools and stop if the wheel shows stress. If the bead still won’t release, let a professional protect the rim with the right bead-breaking tools.
With clean installation habits and regular sealant checks, your next tire change should take less force and cause less stress.

Related Articles
AWD Tire Rotation Pattern: How Often and How to Do It
W**ondering the right AWD tire rotation pattern and timing? Discover the simple method, ideal schedule, and mistakes to avoid before your tires wear unevenly.
Read More
Wheel Damage: Types, Repair Options, and Costs
Many wheel damages look minor, but some hide costly safety risks—learn which repairs are worth it and when replacement is smarter.
Read More
Tire Balancing Weights: Types, Cost, and Why You Need Them
Precisely chosen tire balancing weights reduce vibration and wear, but which type fits your wheels and what it really costs may surprise you.
Read More