
4Runner Tire Pressure for Rocky Trails: Finding the Sweet Spot
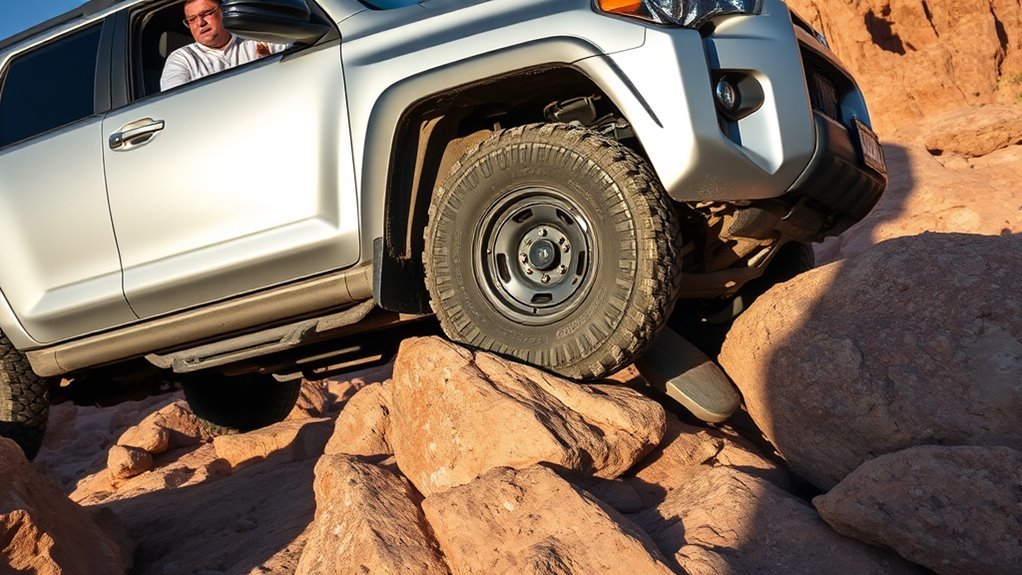
Your 4Runner’s best tire pressure for rocky terrain is not one magic number. It is a controlled range. Start conservative, air down slowly, watch the sidewalls, and save the lowest PSI for slow technical crawling where traction matters more than speed.
Quick Answer
For rocky trails, most 4Runner owners on standard non-beadlock wheels should start around 18–20 PSI and work down carefully. For slow technical crawling, 12–15 PSI is common. True beadlock wheels can go lower, often 6–10 PSI off-road only. Always air back up to the door-jamb placard pressure before pavement.
Key Takeaways
- Use 18–20 PSI as a safe starting point on mild rocky trails, then drop in 2 PSI steps if the tires still bounce or spin.
- Use 12–15 PSI only for slow technical rock crawling on standard wheels, and avoid sharp steering inputs that can unseat the bead.
- Beadlocks can support lower off-road pressures, but they need correct installation, bolt checks, and pavement-safe reinflation.
- The chalk test helps you read the contact patch, but your door-jamb placard and owner’s manual still control highway pressure.
At a Glance
| Time Required | 5–10 minutes to air down; 10–25 minutes to air back up, depending on compressor size. |
| Difficulty | Easy, but pressure choice requires judgment. |
| Tools Needed | Accurate tire gauge, deflator, portable compressor or CO₂ tank, valve caps, tire repair kit, and chalk for testing. |
| Cost | About $15–$40 for a good gauge/deflator; $80–$300+ for a trail-ready compressor. |
Warning: Low tire pressure is for slow off-road use only. Do not drive highway speeds at 12–15 PSI. Before pavement, reinflate to the cold tire pressure listed on your 4Runner’s tire placard or owner’s manual.
The 4Runner Sweet Spot: 12-15 PSI for Slow Technical Rocks
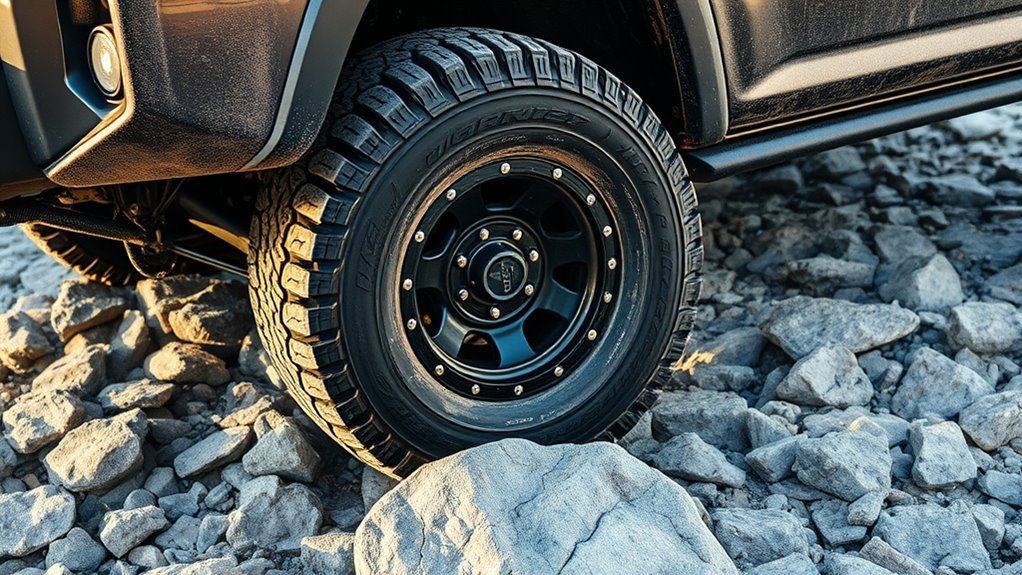
On standard non-beadlock wheels, the practical rock-crawling zone is usually 12–15 PSI, but that does not mean you should drop straight to 12 PSI at the trailhead. Start around 18–20 PSI on mild rock and mixed dirt. If the tires still bounce, spin, or skate across the rock, drop 2 PSI at a time.
At lower pressure, the tread footprint spreads and the sidewall flexes. That lets the tire wrap around uneven stone instead of bouncing off it. You get more contact, less wheelspin, and a smoother crawl.
The trade-off is bead security. Standard wheels rely on air pressure to keep the tire bead pressed against the rim. At very low PSI, hard side loads, sharp steering, or a sudden rock hit can burp air or unseat the bead.
| Situation | Starting PSI | Use This Range When |
|---|---|---|
| Mild rocky trail, standard wheels | 18–20 PSI | You are moving over mixed dirt, gravel, and small embedded rocks. |
| Slow technical rocks, standard wheels | 12–15 PSI | You need the tire to conform, but you are avoiding speed and hard side loads. |
| True beadlock wheels | 6–10 PSI | You are crawling slowly and the beadlock hardware is installed and maintained correctly. |
| Loaded overland 4Runner | 15–20 PSI | You are carrying armor, drawers, water, passengers, roof load, or camping gear. |
| Pavement after the trail | Placard pressure | Use the cold PSI on the driver-door placard or in the owner’s manual. |
[Products Worth Considering]
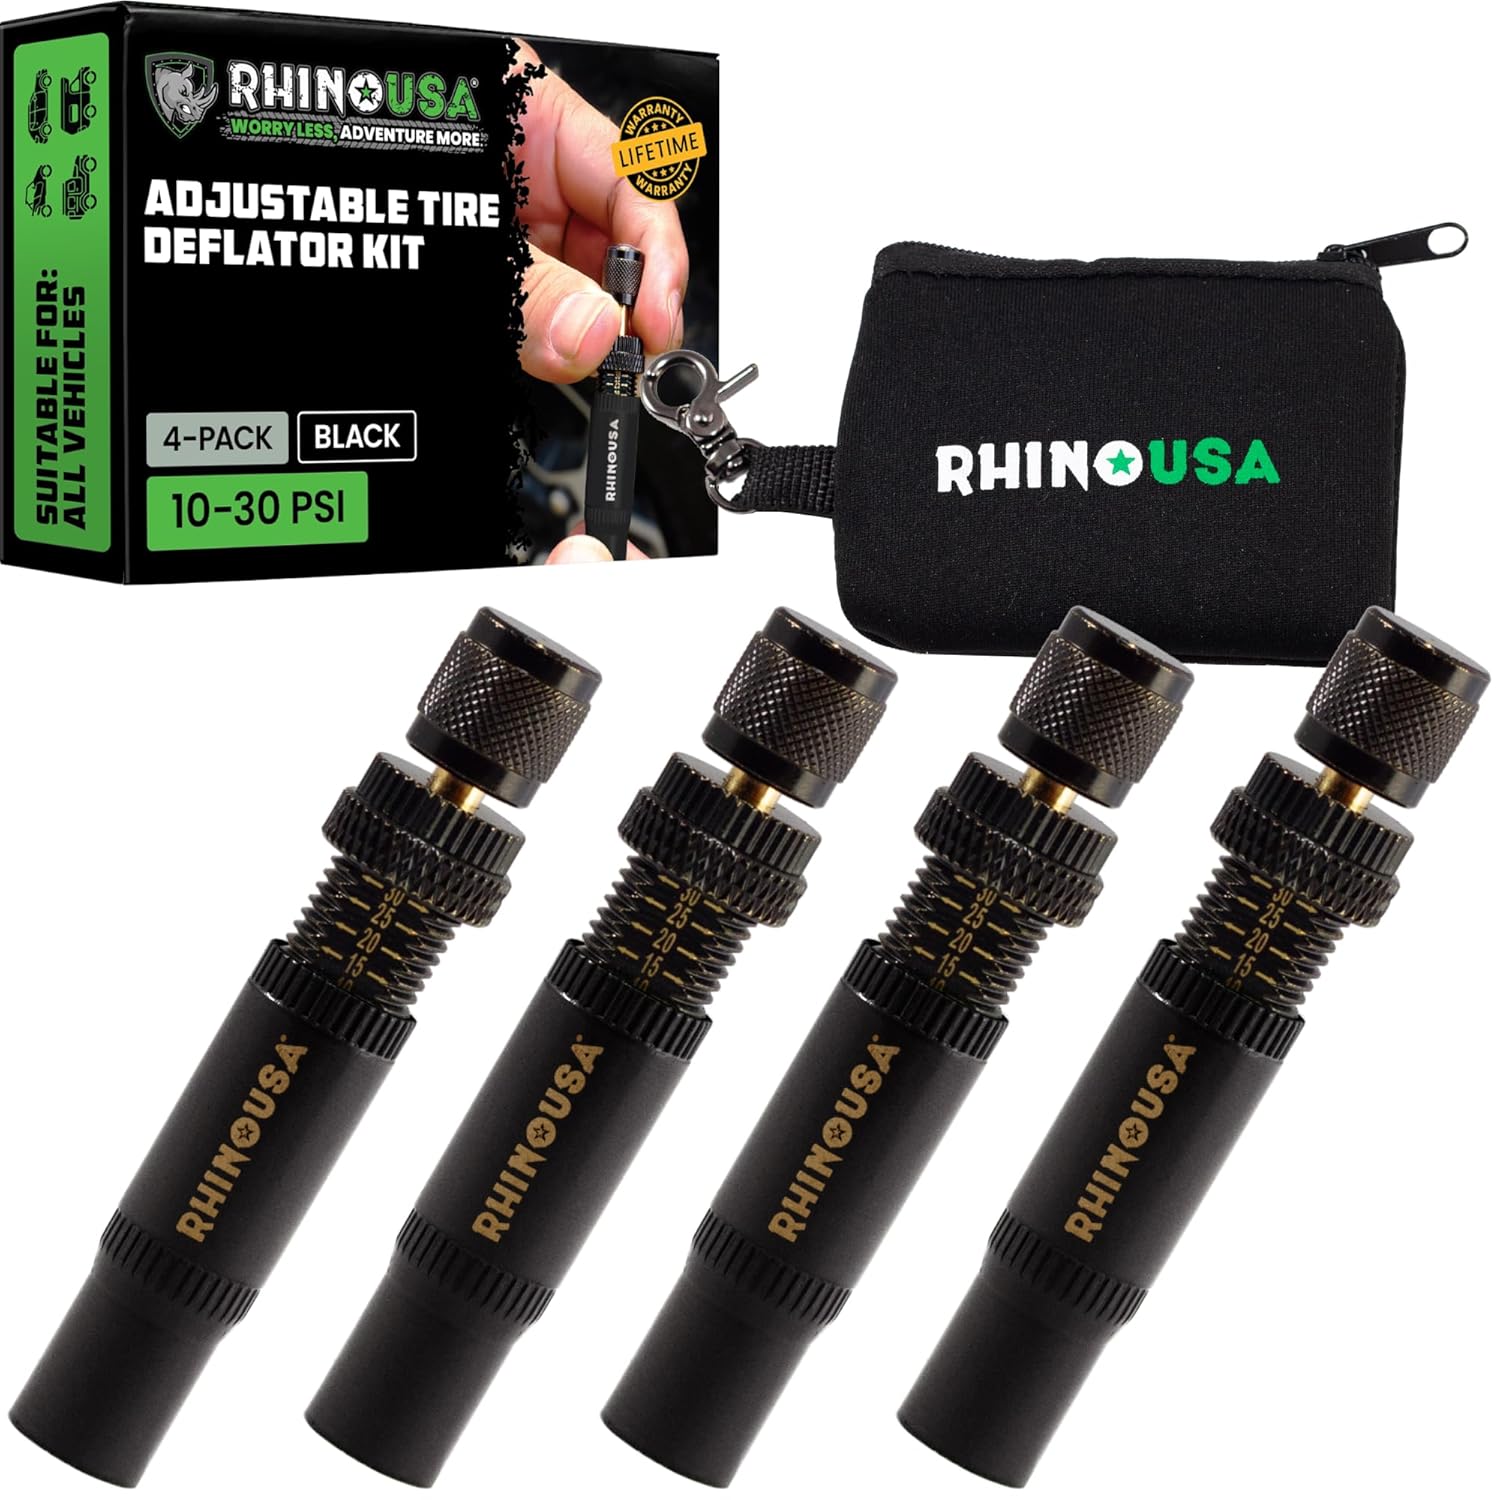
Use the Rhino USA adjustable tire deflators to air down all four tires at once by screwing one deflator onto each valve stem, letting you step away while the tires reach your preset pressure. Each deflator independently adjusts across a 10–30 PSI range with laser-etched indicators for quick setup and verification, making it ideal for beach, sand, and rocky off-road trails.

The JACO FlowPro Tire Inflator measures, inflates, and airs down tires up to 100 PSI with battery-free operation and ±2% accuracy after calibration. It features a glowing pressure dial for night visibility, a heavy-duty steel build with a hybrid hose, and a precision push-to-inflate thumb trigger. The patented Lightning Air Chuck locks on for a secure seal, and the kit includes quick-connect hardware for easy inline use with your air compressor.

This portable cordless tire inflator delivers up to 160 PSI with fast 17 L/min airflow to help you quickly top up tires and get back on the road. It features dual power mode, running on a 21V rechargeable battery or a 12V DC adapter for convenient roadside use. An automatic shut-off with digital pressure gauge helps prevent overinflation, and a built-in LED light improves visibility in low-light conditions.
How Low Can You Actually Go? Beadlock vs. Non-Beadlock Limits
On non-beadlock wheels, respect the floor. Push below 12 PSI and you are relying on luck, tire shape, wheel design, vehicle weight, and smooth driving. Some drivers get away with it. Others lose a bead on the first off-camber turn.
Beadlocks change the mechanical limit because the outer ring clamps the tire bead to the wheel. That is why experienced rock crawlers can run lower pressures, often 6–10 PSI, without instantly unseating the tire. But beadlocks are not magic. They add hardware, torque checks, maintenance, weight, and sometimes street-use complications depending on the wheel and local rules.
Note: “Beadlock-style” wheels are often cosmetic. Only a true beadlock clamps the tire bead. If your wheel does not mechanically retain the bead, treat it like a standard wheel.
Whatever hardware you run, watch the sidewall. A healthy aired-down tire bulges and conforms. A tire that folds hard, scrubs the bead area, or exposes the rim to rock strikes is telling you to add air or change your line.
Load Range E vs. C: What 4Runner Owners Actually Need
Load range matters because it changes how the tire behaves at the same PSI. A C-rated LT tire generally flexes more easily, rides softer, and can build a useful footprint without dropping as far. That can feel great on a weekend 4Runner with modest cargo.
An E-rated LT tire has a stiffer carcass and higher load capacity. It is useful for armor, drawer systems, towing, roof loads, long trips, and sharp terrain, but it may need slightly lower trail pressure before it visibly conforms to rock.
The mistake is choosing by letter alone. Match the tire to the actual 4Runner: curb weight, passengers, cargo, wheel size, tire size, sidewall construction, and how remote the trail is. Your replacement tires should meet or exceed the required load rating for the vehicle.
The heavier the 4Runner and the stiffer the tire, the more carefully you should test pressure instead of copying another rig’s PSI.
The 4Runner Chalk Test: Dialing In Your Exact PSI
The chalk test helps you read the footprint instead of guessing. It is not a license to run low highway pressure, but it is useful for understanding how your tire contacts the ground at a given load.
- Park on flat, dry pavement or packed dirt.
- Draw a thick chalk line across the full tread width of each tire.
- Drive straight for 50–100 feet.
- Stop and inspect which part of the chalk disappeared.
- Adjust in 2–3 PSI steps, then test again.
| Chalk Pattern | Pressure Status | Your Action |
|---|---|---|
| Center gone, edges remain | Too high for that load | Drop 2–3 PSI and retest |
| Edges gone, center intact | Too low for that load | Add 2–3 PSI and retest |
| Even wear across tread | Good contact patch | Record that PSI for this load |
| Patchy, inconsistent marks | Alignment, camber, or uneven ground | Check suspension and retest |
| Bead area scrubbed | Too much sidewall roll | Add air immediately |
Pro Tip: Write down your best PSI for each setup: daily weight, camping load, passengers, and full overland load. A 4Runner with drawers and water does not want the same pressure as an empty weekend rig.
When to Go Below Your Normal 4Runner Rock PSI
The usual 12–15 PSI technical range is not a dare. It is a tool. Break below it only when the trail gives you a reason and your setup can handle it.
Consider going lower only when you have true beadlocks, you are crawling slowly, the rock is slick or ledgy, and the tire is still bouncing instead of conforming. If you are on standard wheels, loaded heavy, or dealing with sharp volcanic rock, adding a little air can protect the rim and sidewall better than chasing maximum footprint.
Terrain should make the decision. Wet slab rock may reward a wider footprint. Jagged rock gardens may need more sidewall support. Off-camber shelves punish low pressure because the tire is loaded sideways. If the tire folds, burps air, or exposes the rim, you have gone too low.
[Products Worth Considering]

This portable cordless tire inflator delivers fast, efficient inflation for cars, motorcycles, bikes, and sports balls with a digital pressure gauge. Use the one-click PSI preset with auto shut-off for accurate, hands-free topping to your target pressure up to 150 PSI. It’s compact and rechargeable with a built-in emergency LED light plus valve adapters and accessories for quick, ready-to-go use.

This VEVOR tire bead breaker uses a slide-hammer impact and wedge tip to separate tire beads from rims quickly and efficiently without damaging hub surfaces. The long handle and sturdy steel construction help reduce user strain while providing reliable, portable tire changing for cars, trucks, and more. Ideal for home mechanics and repair shops handling multiple vehicle tire sizes.
What If Your Chalk Test Shows Uneven Wear?
Uneven chalk marks are not just a tire-pressure problem. They can also reveal alignment, worn suspension parts, overloaded cargo, or a camber issue.
- Center chalk disappears first: pressure is too high for that load, so the tire is riding on the crown.
- Outer edges disappear first: pressure is too low, or the tire is rolling onto its shoulders.
- One side wears harder: check alignment, camber, wheel bearings, and suspension condition.
- Marks change after adding cargo: record a separate loaded-trip PSI.
After every pressure change, drive a short distance and look again. The marks are your map. Trust them more than someone else’s forum number.
Airing Back Up: The Critical Step Most 4Runner Owners Skip
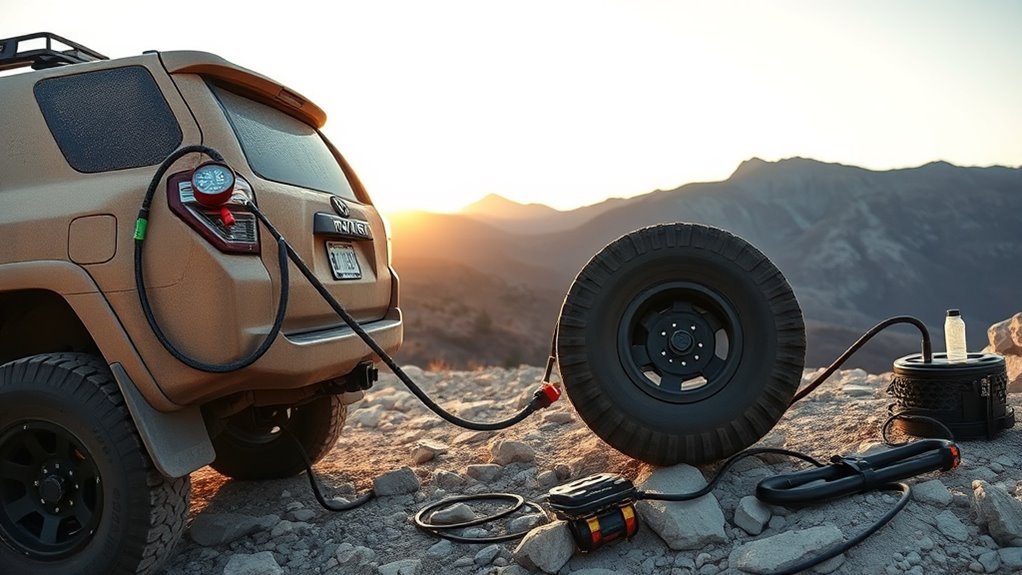
You dominated the rocks at 12–15 PSI. Good. Now the tires are soft, hot, and not ready for asphalt. Driving pavement at trail pressure can ruin handling, build heat, scrub tread, and increase failure risk.
Before you leave the trailhead, use your compressor and bring each tire back to the cold tire inflation pressure listed on your driver-door placard or owner’s manual. Many stock 4Runners live in the low-30 PSI range for pavement, but your exact number depends on model year, tire size, trim, and load.
Check pressure twice if you can: once at the trailhead and again after the tires cool. Hot tires can read higher than cold tires, so do not use a hot reading as proof that your cold pressure is correct.
Warning: If you burp a bead, cut a sidewall, bend a rim, or hear air leaking, stop. Do not air up and drive highway speeds until the tire and wheel are inspected and safe.
Frequently Asked Questions
What is the best tire pressure for a 4Runner on rocky terrain?
Start around 18–20 PSI for mild rocky trails on standard wheels. For slow technical crawling, 12–15 PSI is a common working range. Beadlock-equipped 4Runners can often go lower, but only off-road, at low speed, and with properly maintained beadlock hardware.
Can I drive on the highway at 12 PSI?
No. Trail pressure is for slow off-road use. Before pavement, reinflate to the cold PSI listed on your 4Runner’s tire placard or owner’s manual. Low highway pressure can reduce handling, overheat the tire, and accelerate tread damage.
How low can I go without beadlocks?
For most standard wheels, 12–15 PSI is already low enough for technical rocks. Going lower increases the chance of burping air or unseating the bead, especially during sharp turns, off-camber moves, and sidewall hits.
Do E-rated tires need different rock-crawling PSI than C-rated tires?
Often, yes. E-rated tires are usually stiffer, so they may need slightly lower pressure to show the same footprint as a C-rated tire. They also handle load better. Use the chalk test and your actual cargo weight instead of choosing pressure by load range alone.
Why does my TPMS light come on after airing down?
Your TPMS is designed for normal road inflation, not trail pressure. It may warn you after airing down, which is expected. Use an accurate gauge on the trail and reset or recheck the system only after you air back up to road pressure.
Conclusion
For a 4Runner on rocky terrain, pressure is not a guess; it is a trail setting. Start at 18–20 PSI, work down slowly, and use 12–15 PSI when the rocks turn technical and slow. If you run beadlocks, you have more room to work, but not a free pass to ignore tire shape, speed, and side load.
The goal is simple: make the tire conform without folding, grip without spinning, and survive the trail without giving up the bead. Air down with purpose, test with chalk, read the sidewall, and air back up before the pavement. That is how the machine becomes capable without becoming careless.
Sources
- NHTSA Tire Safety Booklet — backs up proper tire pressure, vehicle load limits, cold-pressure checks, and tire-failure safety guidance.
- Toyota 4Runner Owner Manuals and Warranties — official Toyota owner-manual reference for model-specific tire and vehicle information.
- BFGoodrich Off-Road Tire Selection Guide — supports airing down, terrain-dependent pressure, tire choice, and airing back up before paved roads.
- Tire Rack Load Range and Ply Rating Guide — explains load range, ply rating, load capacity, and maximum pressure context.
- Interco Tire Chalk Method Guide — supports chalk-test procedure and cautions against using very low pressure for highway service.
- MetalCloak Off-Road Tire Pressure Guide — provides terrain-specific off-road PSI ranges and beadlock vs. non-beadlock context.

Related Articles

Best Toyota 4Runner Tires Under $150 2026 – Top Budget All-Terrain Tires
You use your Toyota 4Runner for a mix of highway miles and off-road adventures, so choosing capable all‑terrain tires that cost less than $150…
Read More
Best Budget Tires for Toyota 4Runner 2026 – Top Affordable Performance Tires
You rely on your Toyota 4Runner for a mix of daily driving and weekend adventures, and the tires you choose shape safety, comfort, and…
Read More
Best On Road All Terrain Tires for Toyota 4Runner 2026 – Top Highway-Friendly A/T Tires
You want all-terrain tires that let your 2026 Toyota 4Runner feel planted and quiet on the highway while still offering capable off-road traction when…
Read More