How to Measure Wheel Rim Diameter Accurately at Home
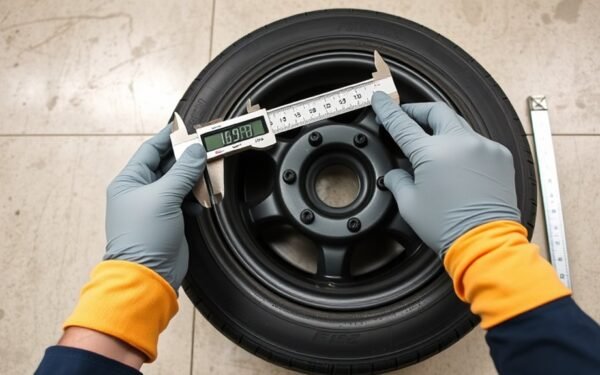
To measure rim diameter accurately at home, remove the tire and place the rim flat on a stable surface with the bead seats cleaned and secured. Use a rigid tape measure to span the inside bead-seat diameter, take a second perpendicular reading, and record the lower whole-inch value for fitment. Measure rim width across the inner bead seats with the tape parallel to the wheel plane. Follow these steps and you’ll avoid common errors and get reliable results if you want more detail.
Quick Answer: Measure Rim Diameter at Home
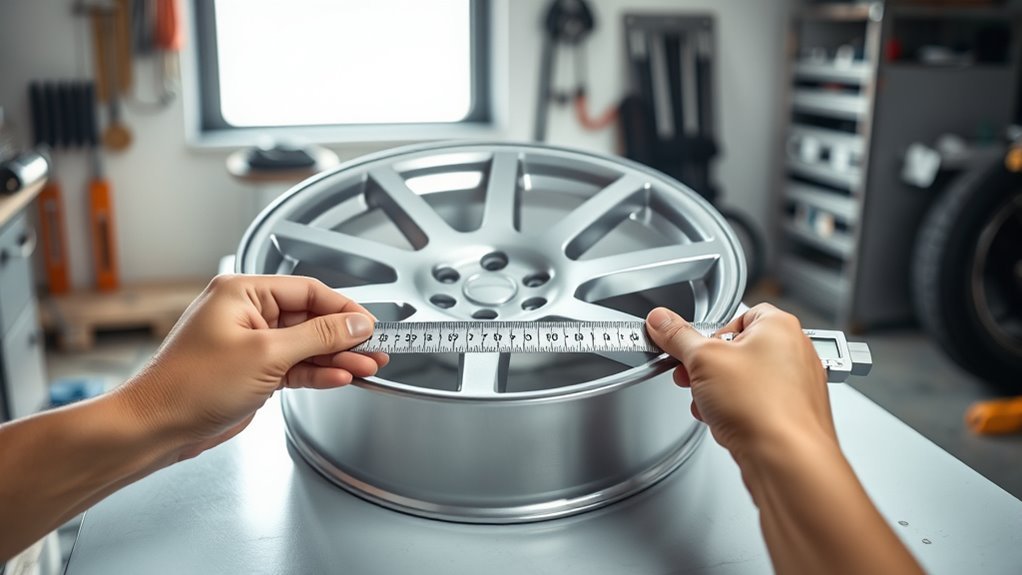
Start by removing the tire and placing the wheel on a flat surface so you can span a sturdy, retractable tape measure straight across the rim through its centerline; measure the inside diameter at the bead seat (where the tire mounts), take a second perpendicular measurement to confirm the true widest point, and round down to the nearest whole inch for the recorded rim size. You’ll work methodically: guarantee the tape sits flush at the bead seats opposite each other, read the inside-to-inside dimension, then rotate the tape 90 degrees and repeat. If both readings match, you’ve located the true diameter; if not, average only to check for error, but always record the lower whole-inch figure. This exact rim diameter governs wheel compatibility and narrows tire selection choices, freeing you from guesswork. Measure cleanly, document precisely, and use that integer rim size as the authoritative spec when sourcing tires or confirming fitment.
Tools & Prep: Remove the Tire and Set Up
Start by removing the tire from the rim so the bead seat is fully exposed for measurement. Set the wheel flat on a stable, clean work surface and secure it to prevent rolling. Gather a sturdy retractable tape measure and a straight edge so you can stretch the tape tightly across opposite bead seats for an accurate diameter reading.
Remove Tire From Rim
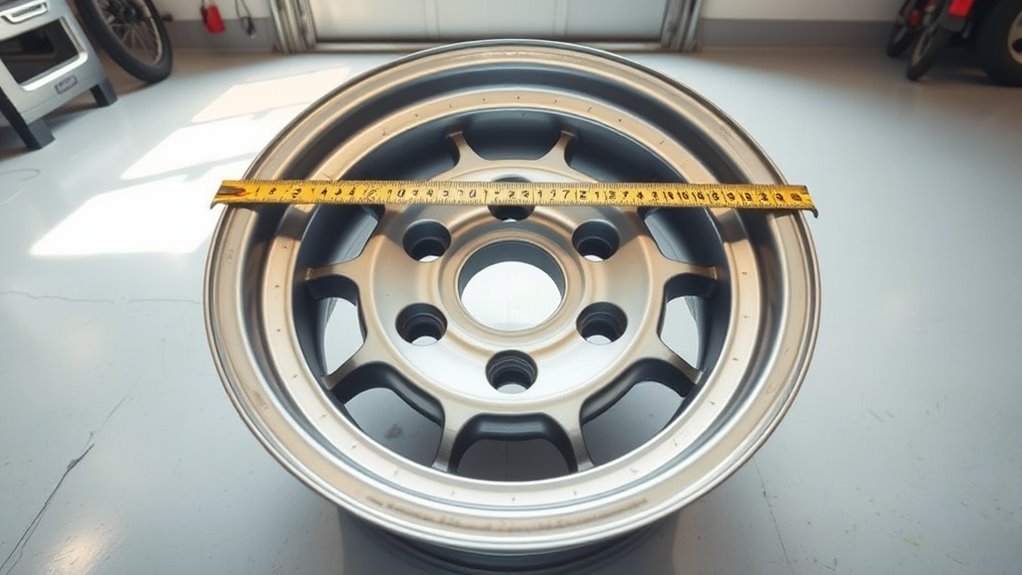
Remove the tire with a tire changer or a manual removal tool to avoid rim damage, then lay the bare rim flat on a stable, clean surface so you can measure precisely. You’ll apply disciplined tire removal techniques and rim protection tips: work methodically, prevent scratches, and keep debris away. Use a sturdy retractable tape measure for rigidity. Identify the bead seat channel; that’s where you’ll place the tape.
- Use proper tire removal techniques: deflate fully, break bead, and lever off with controlled force.
- Apply rim protection tips: use plastic spoons, rim guards, or cloth between tools and metal.
- Measurement workflow: lay rim flat, align tape across bead seat channel, then take two perpendicular readings and compare.
These steps free you to measure accurately and verify true diameter.
Choose Stable Work Surface
When you’ve got the tire off, pick a sturdy, flat work surface—like a metal bench or solid plywood table—so the wheel won’t roll or shift while you measure. Set the rim center on that surface, free of debris, clamps, or angled supports. You want sturdy surfaces that resist vibration and lateral movement; instability destroys measurement accuracy. Brace the rim gently with blocks or low-profile chocks if needed, keeping contact points off the bead seat. Orient the rim so you can run a rigid tape measure across the bead seat without bending around spokes. Perform two perpendicular measurements in a “+” pattern to find the true diameter, confirming the widest point before recording. A stable platform gives you consistent, liberating precision.
Gather Measuring Tools
Gather a handful of compact tools before you lift the tire off: a sturdy retractable tape measure for a sag-free span, a set of low-profile chocks or blocks to steady the rim, and a cloth to wipe the bead seat clean so debris won’t skew readings. Remove the tire, place the wheel flat on a stable surface, and prep the bead seat. Use tape measure options that resist flex; a blade with clear graduations gives repeatable results. Measure across the inner diameter where the tire bead sits, not the outer lip. Take two perpendicular runs to confirm the true center. Stay methodical: steady the rim, clean the bead seat, and document both measurements. These measurement techniques free you from guesswork.
- Sturdy retractable tape measure
- Low-profile chocks/blocks
- Clean cloth for bead seat
Find the Bead Seat : Why the Rim Face Is Wrong
Because the bead seat is the actual surface the tire bead clamps to, you must measure rim diameter from bead seat to bead seat rather than across the rim face; the rim face includes lips and outer edges that commonly add an inch or more to the reading. Recognize bead seat importance: it’s the true contact channel where the tire’s inner edge seals and centers. Inspect the inner rim surface; the bead seat appears as a smooth, consistent channel free of decorative lips or flanges.
Rim face inaccuracies cause misfits and unsafe installations. If you measure the outer rim face, you’ll record an inflated diameter that won’t match tire specifications. Locate the bead seat visually and by feel, remove debris, and position your measuring tool to target the exact channel where the bead rests. This disciplined step guarantees your measurement reflects the rim’s true inner diameter, prevents compatibility errors, and keeps you in control of safe, liberated wheel maintenance.
Measure Diameter: Two Perpendicular Checks for Accuracy
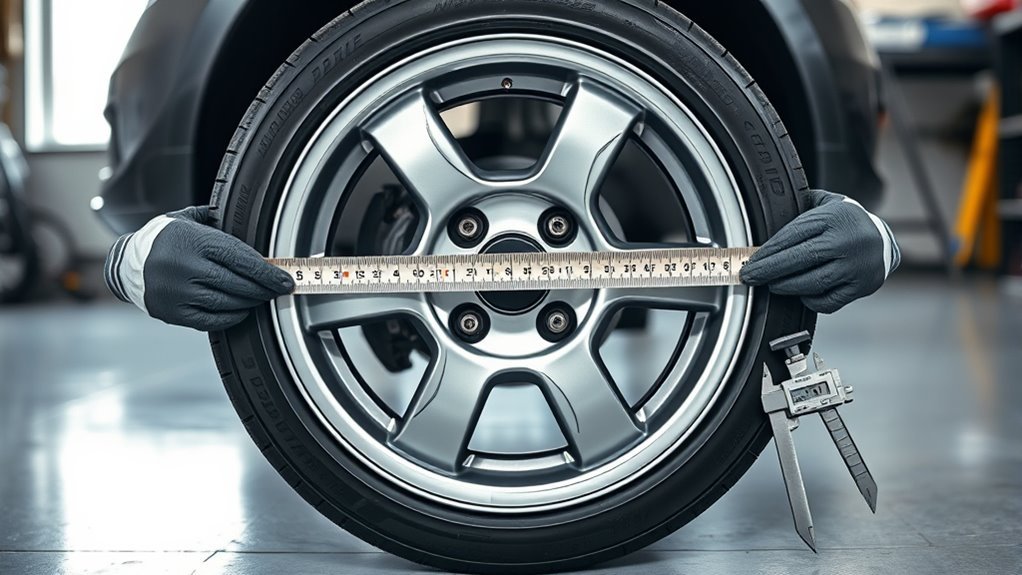
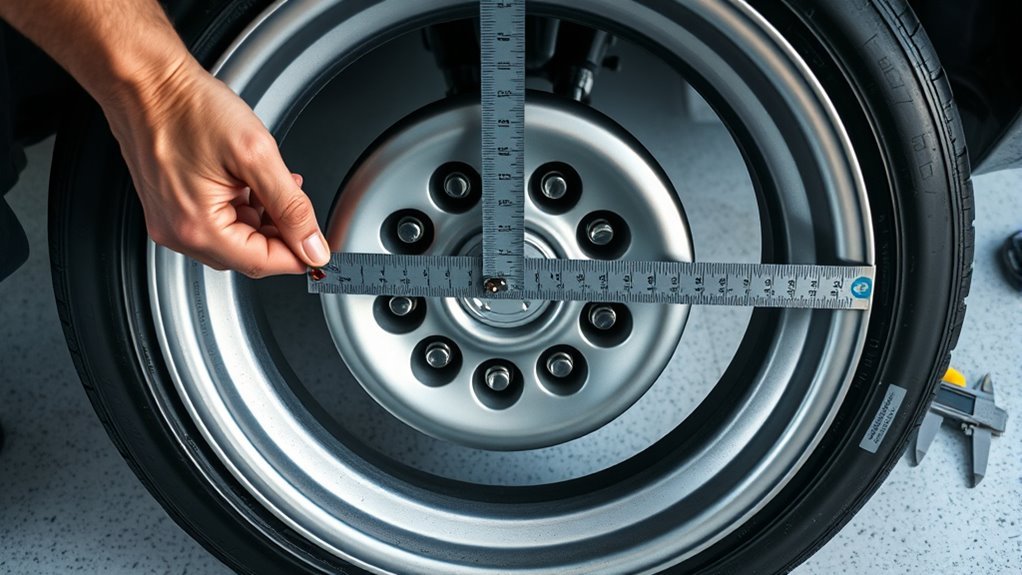
Start by running a sturdy tape measure straight across the bead seats, from one inner edge to the opposite, aiming the blade through the wheel’s center and keeping it taut so it doesn’t sag. You’ll complete the measurement methodology by taking a second, perpendicular precision check: rotate the wheel 90° and repeat the same bead-seat-to-bead-seat run. This “+” pattern guarantees you capture the true diameter, not an off-axis high or low point.
- Verify tape is straight and tensioned to prevent sagging errors.
- Measure at bead seats only; outer lip readings are larger and misleading.
- Compare both readings; identical values confirm accuracy.
Work methodically, record both numbers, and if they differ, re-measure until they match. You’re freeing yourself from guesswork by applying disciplined technique. This controlled, repeatable process gives confidence in the rim diameter without relying on assumptions or external tools.
Measure Rim Width (Bead-Seat to Bead-Seat)
Place the wheel with the tire removed on a stable surface and lay a tape measure straight and taut across the inner edges of the bead seats to read the rim width (bead-seat to bead-seat). You’ll expose the true bead-seat edges only with the tire off, so don’t shortcut that step. Use a reliable tape measure and keep it parallel to the plane of the wheel; any twist or sag alters the reading.
Measure in inches and record the value; passenger wheels typically fall between 6 and 12 inches. Repeat the measurement at least once—take two readings at the same orientation or rotate the wheel and recheck—to confirm accuracy and reveal minor manufacturing variance. These measurement techniques give you the precise rim width needed to choose compatible tires and preserve handling performance. You’re reclaiming control over your vehicle setup: methodical, exact, and free from guesswork.
Common Mistakes : And Quick Fixes
While measuring rim diameter you’ll often see the same avoidable errors, so inspect your method for these specific pitfalls: measuring from the outer lip instead of the bead seat (which can add an inch or more), using a flimsy tape that sags, eyeballing the center instead of taking two perpendicular readings, and trying to measure with the tire mounted.
Recognize these common errors and apply quick fixes to free yourself from guesswork. Use rigid, retractable tape pulled taut; remove the tire to expose the bead seat; mark and measure across two perpendicular axes in a “+” pattern; repeat measurements to confirm identical results. These measurement tips make your process repeatable and defensible.
Recognize common rim-measurement errors: remove the tire, use a taut rigid tape, cross-measure and repeat for reliable results.
- Verify: take two perpendicular readings; identical results confirm accuracy.
- Tools: choose a sturdy tape measure; avoid sagging tools.
- Procedure: remove the tire; measure bead-seat to bead-seat.
Adopt this disciplined approach to eliminate error, save time, and reclaim control over your wheel measurements.
Use Your Measurements to Buy the Right Wheels
Now that you’ve eliminated measurement errors and confirmed bead-seat diameter, use those numbers to pick wheels that actually fit. Record rim diameter, width, bolt pattern, and offset; keep measurements written and accessible. Compare your diameter against standard size options—most passenger wheels fall between 15 and 22 inches—so you can immediately discard incompatible listings. Always verify the rim diameter without the tire mounted; catalogs and specs refer to bead-seat dimensions, not tire outside diameter.
When shopping, filter by the precise diameter and listed bolt pattern to guarantee wheel compatibility. Cross-check offset and width to maintain clearance and handling. Use multiple tape-measure readings to confirm the number before ordering; a single error costs money and time. Treat measurements as constraints, not suggestions: eliminate any wheel outside your recorded tolerances. This methodical approach frees you from guesswork and lets you act decisively when selecting the right wheels among available size options.
Frequently Asked Questions
What Is the Diameter of a 26 Inch Wheel?
A 26-inch wheel has a 26-inch rim diameter measured at the bead seat; you’ll use that wheel size to check tire compatibility, ensuring tires match manufacturer specs so you’re free to choose appropriate replacements confidently.
How to Calculate Rim Diameter?
You calculate rim diameter by measuring rim circumference with accurate tools, dividing by π. Use rim measurement techniques: remove the tire, lay wheel flat, pull a sturdy tape tightly, and verify with perpendicular measurements for precision and confidence.
What Does 7.5 J 7jj Rim Mean?
Think of it as shorthand: you’ll find 7.5J and 7JJ denote rim specifications—both indicate roughly 7.5-inch rim width, J/JJ describe flange profiles. You’ll match wheel types to tires for safe, liberated driving.
Conclusion
You’re set to measure rim diameter accurately: remove the tire, locate the bead seats (not the rim face), then take two perpendicular diameter measurements across bead-seat-to-bead-seat and average them; measure width between bead seats. Avoid measuring the outer lip, and recheck if readings differ. With precise numbers, you’ll pick wheels that fit safely and perform well—think like a machinist: small errors compound, so methodical checks now save you headaches later.
Related Articles
How to Measure Tire Width: Tools & Correct Method
Carefully measure tire width with the correct tools and setup, learn the step‑by‑step method and pitfalls to get accurate results—read on to avoid costly mistakes.
Read More