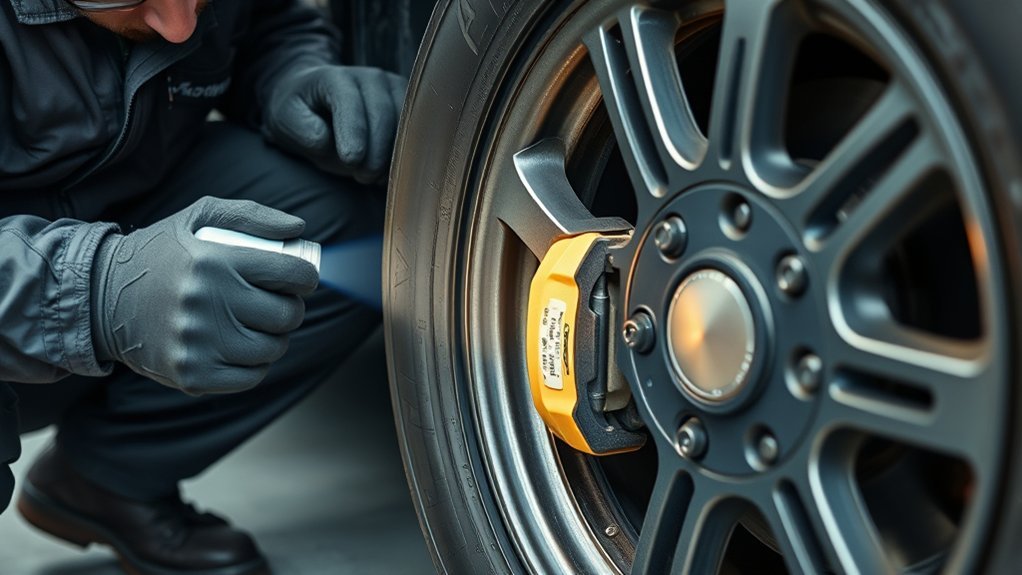
You can inspect your tires in about 10 to 15 minutes by checking eight things: cold inflation pressure, tread depth, wear patterns, sidewalls, valve stems, embedded objects, tire age, and driving or service warning signs. For New Zealand vehicles, use the pressure specified by the vehicle manufacturer and apply current NZTA tread and condition requirements rather than relying on U.S. penny-test rules.
Quick Answer
A safe tire check covers cold pressure, tread depth, uneven wear, sidewall condition, valve leaks, embedded objects, tire age, and driving symptoms. In New Zealand, ordinary light-vehicle tyres need at least 1.5 mm of tread in the required principal grooves. Bulges, exposed cords, serious cracking, or rapid air loss need prompt professional attention.
Key Takeaways
- Check tire pressure when the tires are cold and use the pressure listed by the vehicle manufacturer, usually on the door placard or in the owner’s manual.
- For most light vehicles in New Zealand, ordinary tyres need at least 1.5 mm of tread in the required principal grooves around the circumference; winter tyres have a 4 mm minimum.
- A sidewall bulge, exposed cord, major structural crack, separation, or significant perishing is not a minor cosmetic issue and needs professional assessment.
- Uneven wear can point to incorrect inflation, alignment, wheel balance, suspension problems, or driving conditions, so the wear pattern alone does not prove one diagnosis.
- Remove loose stones and dirt, but do not pull out nails, screws, glass, or other deeply embedded sharp objects before a tire professional assesses the tire.
At a Glance
| Time Required | About 10–15 minutes for four tires plus the spare, if fitted |
| Difficulty | Easy visual inspection; repairs should be left to a trained tire professional |
| Tools Needed | Reliable pressure gauge, tread-depth gauge, flashlight, and optional soap-and-water solution |
| Cost | Free if you already have the tools; professional repair, alignment, or replacement costs vary |
What Is the 8-Point Tire Safety Check?
There are two ideas that can easily be confused here. Advantage Tyre Solutions currently offers a branded, free 8-Point Safety Check in New Zealand. Its eight checks cover tire pressure, tread depth, battery condition, engine oil, wiper blades, headlights, the air filter, and a wheel-alignment check or report.
That commercial service is not an official nationwide eight-point tire standard. It is a quick vehicle-condition screening service offered by Advantage. The wheel-alignment portion is a check rather than a full paid alignment, and additional work is not carried out without customer approval.
For a DIY tire inspection, focus on pressure, tread, wear patterns, sidewalls, valves, embedded objects, tire age, and any handling or vibration symptoms.
Use either type of inspection as an early-warning check, not as a substitute for a full mechanical service or New Zealand Warrant of Fitness inspection. A tire can look acceptable at a glance while still having low pressure, inner-edge wear, hidden puncture damage, or an age-related problem.
DIY 8-Point Tire Safety Check: What to Inspect
- Cold tire pressure: Compare each tire with the vehicle manufacturer’s recommended pressure.
- Tread depth: Measure several points in the principal grooves around each tire.
- Wear pattern: Compare the inner shoulder, center, and outer shoulder for irregular wear.
- Sidewalls: Look for cuts, cracking, bulges, exposed cords, impact damage, and significant perishing.
- Valve stems and leaks: Check the stem, cap, valve core area, and stem base.
- Tread objects and damage: Remove only loose debris and identify nails, screws, glass, cuts, or separation.
- Tire age: Read the manufacturing date code and consider the tire maker’s age recommendations.
- Driving and service signs: Note pulling, vibration, pressure loss, noise, or repeated abnormal wear that may require repair, balancing, rotation, suspension work, or alignment.
Pro Tip: Inspect the complete circumference of every tire. Turn the front wheels left and right to expose more of the inner tread and sidewall, and use a flashlight where the wheel arch blocks your view.
Check Tire Pressure and Tread First
Start with tire pressure and tread depth. These are fast to measure, and both have a direct effect on tire performance, wear, and roadworthiness.
[Products Worth Considering]
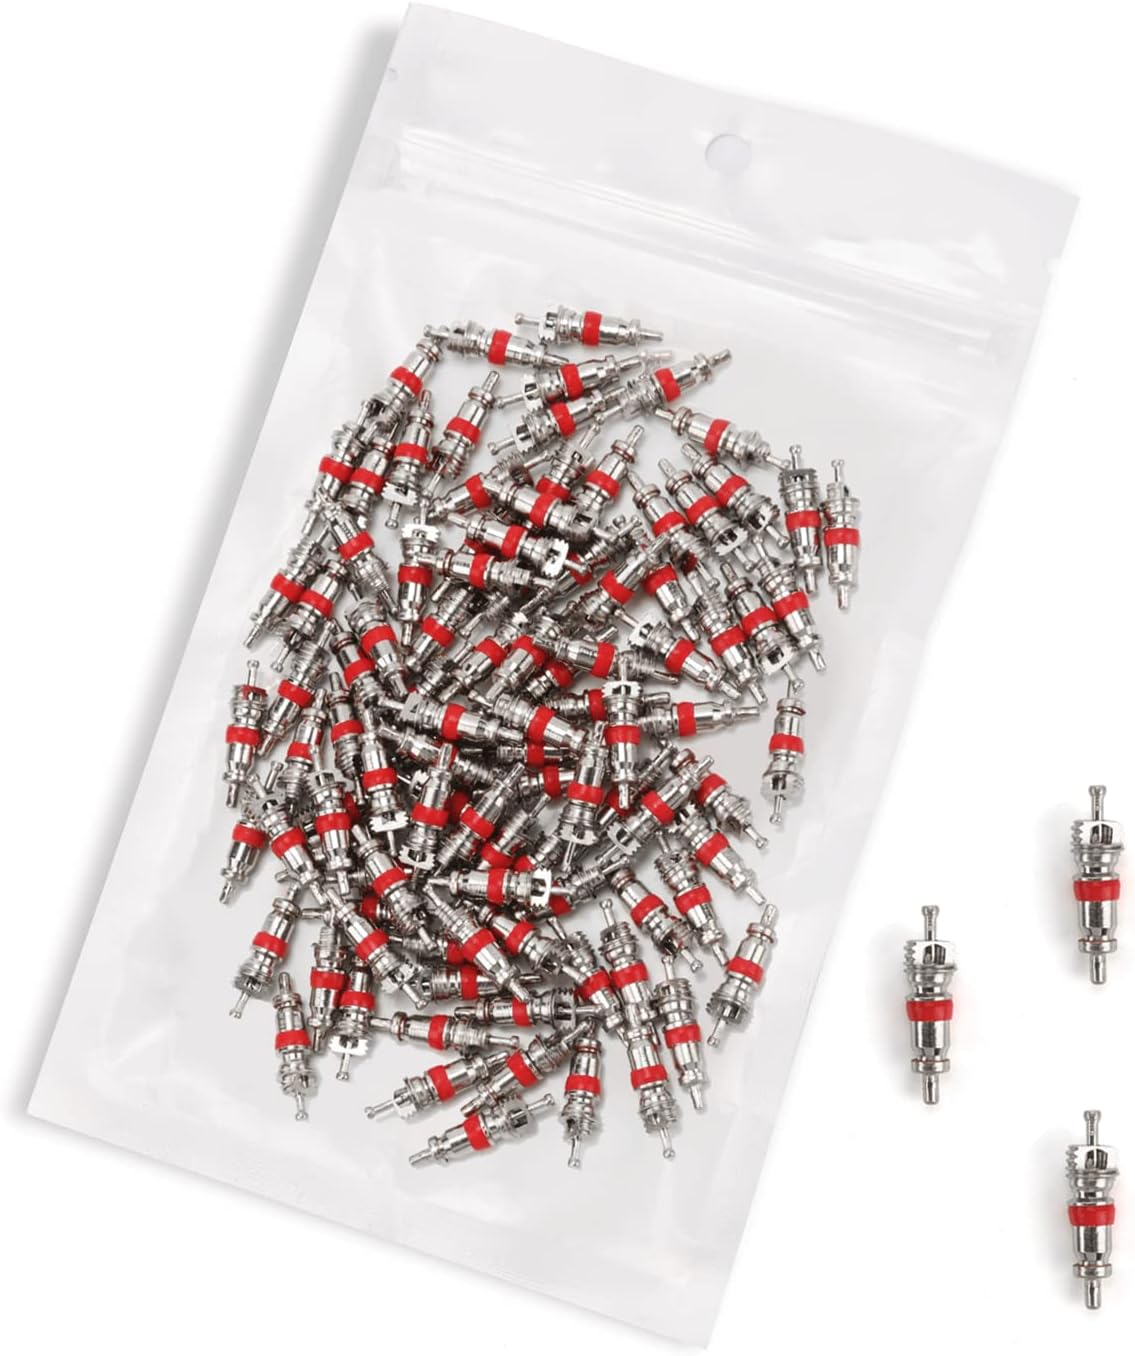
Replace worn Schrader valve cores with durable, nickel-plated replacements designed to resist rust and corrosion for a longer service life. Each core is 100% leakage tested and rated for up to 300 PSI, helping maintain a safe, reliable tire pressure system. Universal fit makes them suitable for cars, RVs, ATVs, motorcycles, bicycles, and many refrigeration/air conditioning applications.

Monitor tire tread wear with a smart, color-coded depth gauge that shows clear condition ranges at a glance. The bar is range marked for fast, easy readings, helping you maintain safer traction and performance. Each gauge is portable with a pocket clip, and the set includes 20 units for daily use and sharing.

Measure tire tread depth quickly and accurately with this LUMITECO dial gauge that reads in 1/32" increments up to 14/32". The color-coded green/yellow/red zones make it easy to judge tire wear and know when replacement is needed. A rugged, compact design with a protective pouch helps keep the gauge ready for use on cars, trucks, motorcycles, and more.
Check Tire Pressure When the Tires Are Cold
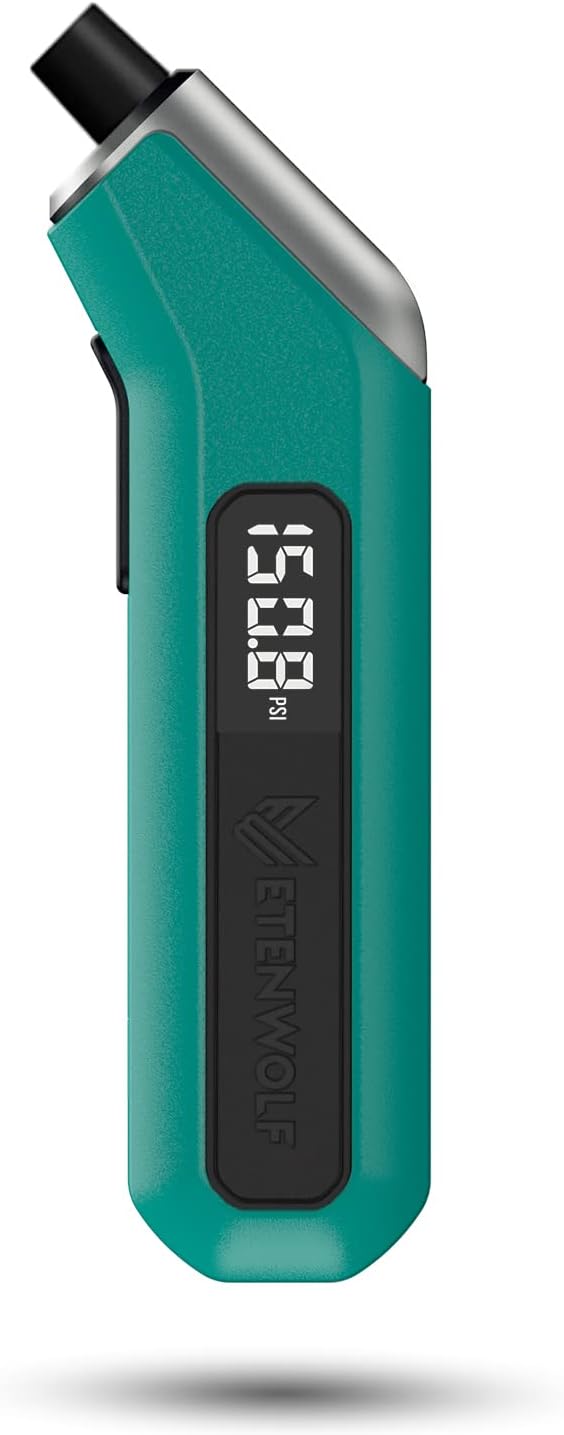
Use a reliable handheld gauge before driving, or after the tires have had enough time to cool. Compare the reading with the vehicle manufacturer’s specification, which is commonly listed on the driver’s door pillar, fuel flap, or owner’s manual. Do not inflate a normal passenger-car tire to the maximum pressure moulded on the tire sidewall unless the vehicle manufacturer specifically calls for that value.
New Zealand guidance recommends checking pressure when tires are cold and following the manufacturer’s recommendation. The NZ Transport Agency tire guidance also recommends checking the spare if your vehicle carries one.
If the vehicle has two pressure specifications for normal and heavily loaded driving, use the one that matches how the vehicle is being used.
Note: A tire-pressure monitoring system does not replace manual pressure checks. If a TPMS warning remains active, investigate the cause instead of simply resetting the warning.
Measure Tread Depth Correctly
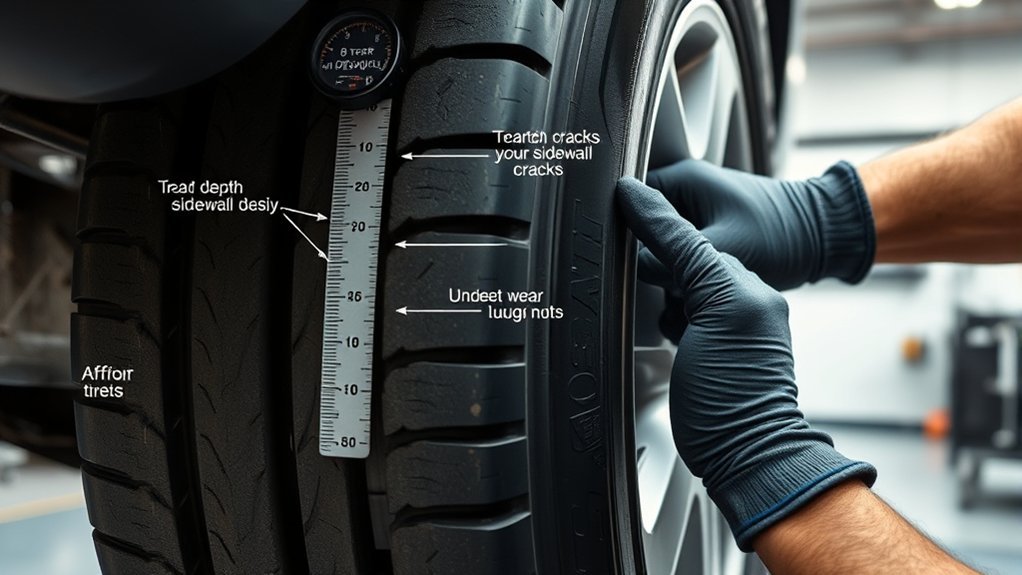
For a New Zealand article, the U.S. penny test should not be presented as the legal test. Use a tread-depth gauge and measure the principal grooves at several points around the complete circumference.
Under current NZTA WoF inspection requirements, an ordinary tire on most light vehicles capable of exceeding 30 km/h must have at least 1.5 mm tread depth in all applicable principal grooves that contain tread-depth indicators and around the tire’s circumference. Tires without moulded indicators use a separate three-quarters-of-tread-width test.
If your vehicle uses legally defined winter tyres in New Zealand, the WoF minimum is higher: 4 mm in the applicable principal grooves around the circumference.
Built-in treadwear indicators are useful visual warnings, but a gauge gives you an actual measurement. If one area is near the minimum while the rest of the tread is deeper, treat that as an uneven-wear problem rather than averaging the measurements together.
Warning: A legal minimum is not a performance target. Wet-road grip generally declines as tread becomes shallow, so consider replacement before the tire reaches the legal limit if wet-weather performance is becoming a concern.
Inspect Sidewalls for Cracks and Bulges
Inspect both visible sidewalls closely for cuts, cracking, impact marks, bulges, blisters, exposed cords, and significant weathering or perishing. Check as much of the inner sidewall as you can safely see as well.
Surface marks do not all have the same meaning, so avoid diagnosing a tire solely from one fine line. Deep cracking, structural deformation, exposed reinforcement, repeated air loss, or a bulge requires professional assessment.
Spotting Sidewall Cracks
Rubber changes with age, heat, sunlight, moisture, chemicals, storage conditions, and use. Fine weathering can develop gradually, while deeper cracks may expose or threaten the tire’s structural layers.
New Zealand WoF inspection guidance specifically identifies significant perishing and certain cuts or cracks reaching the cords as unsafe conditions. If cracking looks deep, widespread, or severe, or you can see reinforcement material, stop treating it as a cosmetic issue.
Check the transition between the tread shoulder and sidewall as well as the area close to the wheel rim. Kerb impacts and potholes can damage areas that are easy to miss during a quick walk-around.
Identifying Bulges Early
A sidewall bulge or lump can indicate separation or partial failure of the tire structure. Unlike a harmless inward indentation sometimes seen on radial tires, an outward swelling deserves immediate attention.
Inspect the tire in good light and compare the suspect area with the same area on the opposite side. Do not press hard on a bulge or attempt a home repair.
Warning: Do not continue normal driving on a tire with an obvious structural bulge, exposed cords, major separation, or rapid pressure loss. Arrange safe professional inspection or replacement.
Look for Uneven Wear and Alignment Issues
During your visual inspection, compare the inner shoulder, center, and outer shoulder of every tire. Look for one-sided wear, center wear, wear on both shoulders, cupping, scalloping, flat spots, feathering, or other patchy patterns.
Uneven wear does not automatically prove that the wheels are misaligned. According to Michelin New Zealand’s tire-wear guidance, irregular wear can be related to inflation, alignment or camber geometry, suspension condition, and other operating factors.
| Wear Pattern | Possible Cause | What to Do |
|---|---|---|
| Both shoulders wearing faster | Possible underinflation | Verify cold pressure and inspect for leaks |
| Center wearing faster | Possible overinflation or application-related wear | Check pressure against the vehicle specification |
| One shoulder wearing faster | Possible camber, toe, suspension, or driving-related issue | Have alignment and suspension condition checked |
| Cupping or scalloping | Possible suspension, balance, or mechanical issue | Arrange professional diagnosis |
| Flat spot or isolated damage | Braking, impact, tire damage, or storage issue | Have the tire inspected |
If the vehicle pulls to one side, steering response has changed, or one shoulder repeatedly wears faster, a professional wheel-alignment and suspension check is appropriate. Alignment itself requires measuring equipment; you cannot confirm correct wheel angles from tread appearance alone.
Test Valve Stems for Leaks
Inspect each valve stem for cracking, tearing, corrosion, looseness, or damage. Make sure the cap is present and secure. A cap is primarily a secondary seal and keeps dirt and moisture away from the valve core.
If one tire repeatedly loses more pressure than the others, inspect the valve area as one possible leak source, but remember that leaks can also come from a puncture, wheel-rim sealing surface, bead area, or damaged tire.
Valve Stem Visual Check
| Check Point | What You See | Action |
|---|---|---|
| Rubber stem body | Cracking or tearing | Professional replacement |
| Metal/TPMS stem | Corrosion, looseness, damaged hardware | Have the TPMS valve assembly inspected |
| Valve core area | Bubbles during leak test | Inspect core and valve assembly |
| Stem base | Bubbles or cracking | Valve-stem service may be required |
| Cap | Missing or damaged | Fit a suitable replacement cap |
Soapy Water Leak Test
With the tire inflated, apply a small amount of soap-and-water solution around the valve core and stem base. Watch for bubbles that repeatedly form or grow. Persistent bubble growth indicates escaping air.
This test can reveal a small leak that is difficult to hear, but the exact repair depends on where the leak originates. A leaking core is different from a cracked rubber stem, damaged TPMS valve, or leak at the wheel.
After any repair, set the tire to the vehicle manufacturer’s specified cold pressure and recheck it later to confirm the pressure remains stable.
Replace Damaged Valve Cores
If bubbles clearly come from the valve core, the core may need replacement. Releasing a valve core also releases tire pressure, so only attempt this job if you understand how to safely deflate, service, and reinflate the tire with suitable equipment.
| Step | Action | Result |
|---|---|---|
| 1 | Test with soap and water | Identify the leak location |
| 2 | Determine whether the core, stem, TPMS valve, bead, or tire is leaking | Avoid replacing the wrong component |
| 3 | Repair or replace the correct component | Restore pressure retention |
| 4 | Inflate to the specified cold pressure and recheck | Confirm the repair holds |
If the stem itself is damaged, the tire may need to be removed from the wheel to service the valve correctly. TPMS-equipped valve assemblies can also require model-specific service parts and procedures.
Clear Out Tread Debris
During your monthly tire inspection, brush away loose stones, mud, and dirt that are trapped in the tread grooves. A small blunt tool or stiff brush can help with loose material, provided you do not cut or gouge the rubber.
Clearing loose debris also makes it easier to see the actual tread surface and find damage that would otherwise be hidden.
Warning: Do not pull out a nail, screw, piece of glass, or other sharp object that is firmly embedded in the tire. Removing it can suddenly increase the leak. Mark the location, check the tire pressure, and arrange professional inspection as soon as safely practical.
New Zealand WoF inspection guidance specifically lists nails and other sharp embedded objects among tire conditions that may compromise safe operation or lead to premature failure.
Check for Cuts, Bulges, and Dry Rot
Now inspect the entire tread, shoulders, and sidewalls for damage that may not have appeared during the first walk-around. What drivers often call dry rot is better described as age- or weather-related cracking and perishing.
Look for:
- cuts across tread grooves or shoulders
- sidewall bulges or lumps
- widespread cracking or significant perishing
- exposed or cut cords
- tread separation or distortion
- nails, screws, glass, or other embedded sharp objects
- areas that appear rubbed, gouged, or damaged by contact with another vehicle component
Use your eyes rather than aggressively probing the tire. A structural bulge, exposed cord, or separation is not something that should be tested by pressing, cutting, or attempting a temporary DIY repair.
NZTA’s inspection criteria also reject visible external string-type puncture repairs. A proper permanent puncture repair must follow acceptable industry practice.
Check Tire Age and the Date Code
Tread depth is only one part of tire condition. Rubber and structural materials also age with time, heat, sunlight, storage, load, maintenance, and road impacts.
Many tires carry a Tire Identification Number with a four-digit manufacturing date at the end. The first two digits identify the manufacturing week and the final two identify the year. For example, a code ending in 2424 indicates manufacture in the 24th week of 2024.
There is no universal New Zealand rule saying every tire must be discarded automatically at six years. Follow the vehicle maker and tire manufacturer’s instructions. Michelin New Zealand, for example, recommends thorough professional inspection at least annually once tires have been in use for five years and recommends replacement at ten years from manufacture as a precaution if they have not already been replaced.
Note: Check the spare’s age as well. A spare may retain deep tread because it is rarely used while still becoming old enough to need replacement.
Know When to Repair or Replace Tires
Whether a damaged tire can be repaired depends on the location, size, type of damage, remaining tread, previous repairs, internal condition, and whether the tire has been driven while badly underinflated.
Goodyear Autocare New Zealand states that many small punctures confined to the tread area can be professionally repaired after inspection, including many holes up to about 6 mm. Sidewall punctures and larger or structurally unsafe damage require replacement.
| Condition | Recommended Action |
|---|---|
| Ordinary NZ tire below the required 1.5 mm tread minimum | Replace the tire |
| NZ winter tyre below the required 4 mm minimum | Replace before continued road use as a compliant winter tyre |
| Small puncture confined to a repairable tread area | Have the tire removed and professionally inspected; a proper repair may be possible |
| Sidewall puncture or serious sidewall cut | Replace the tire |
| Structural bulge, exposed cords, separation, or severe perishing | Do not continue normal driving; arrange replacement or professional assessment |
| Nail, screw, or sharp object embedded in tread | Leave the object in place and obtain professional assessment |
| Uneven wear | Check pressure, alignment, balance, suspension, and tire condition |
| Repeated pressure loss | Locate and repair the leak rather than repeatedly topping up the tire |
Do not judge repairability from the outside alone. A tire professional may need to remove the tire from the wheel so the inner liner and casing can be inspected before deciding whether a permanent repair is safe.
[Products Worth Considering]

Steelman white tire marking crayons provide high-contrast, semi-permanent marks for repairing and inspecting tires and equipment. They write on wet or dry, smooth or coarse surfaces including rubber, metal, glass, and wood, making them ideal for puncture location and damage outlining. The lead- and zinc-free crayons resist weather and fading yet wipe away when you no longer need the marks.
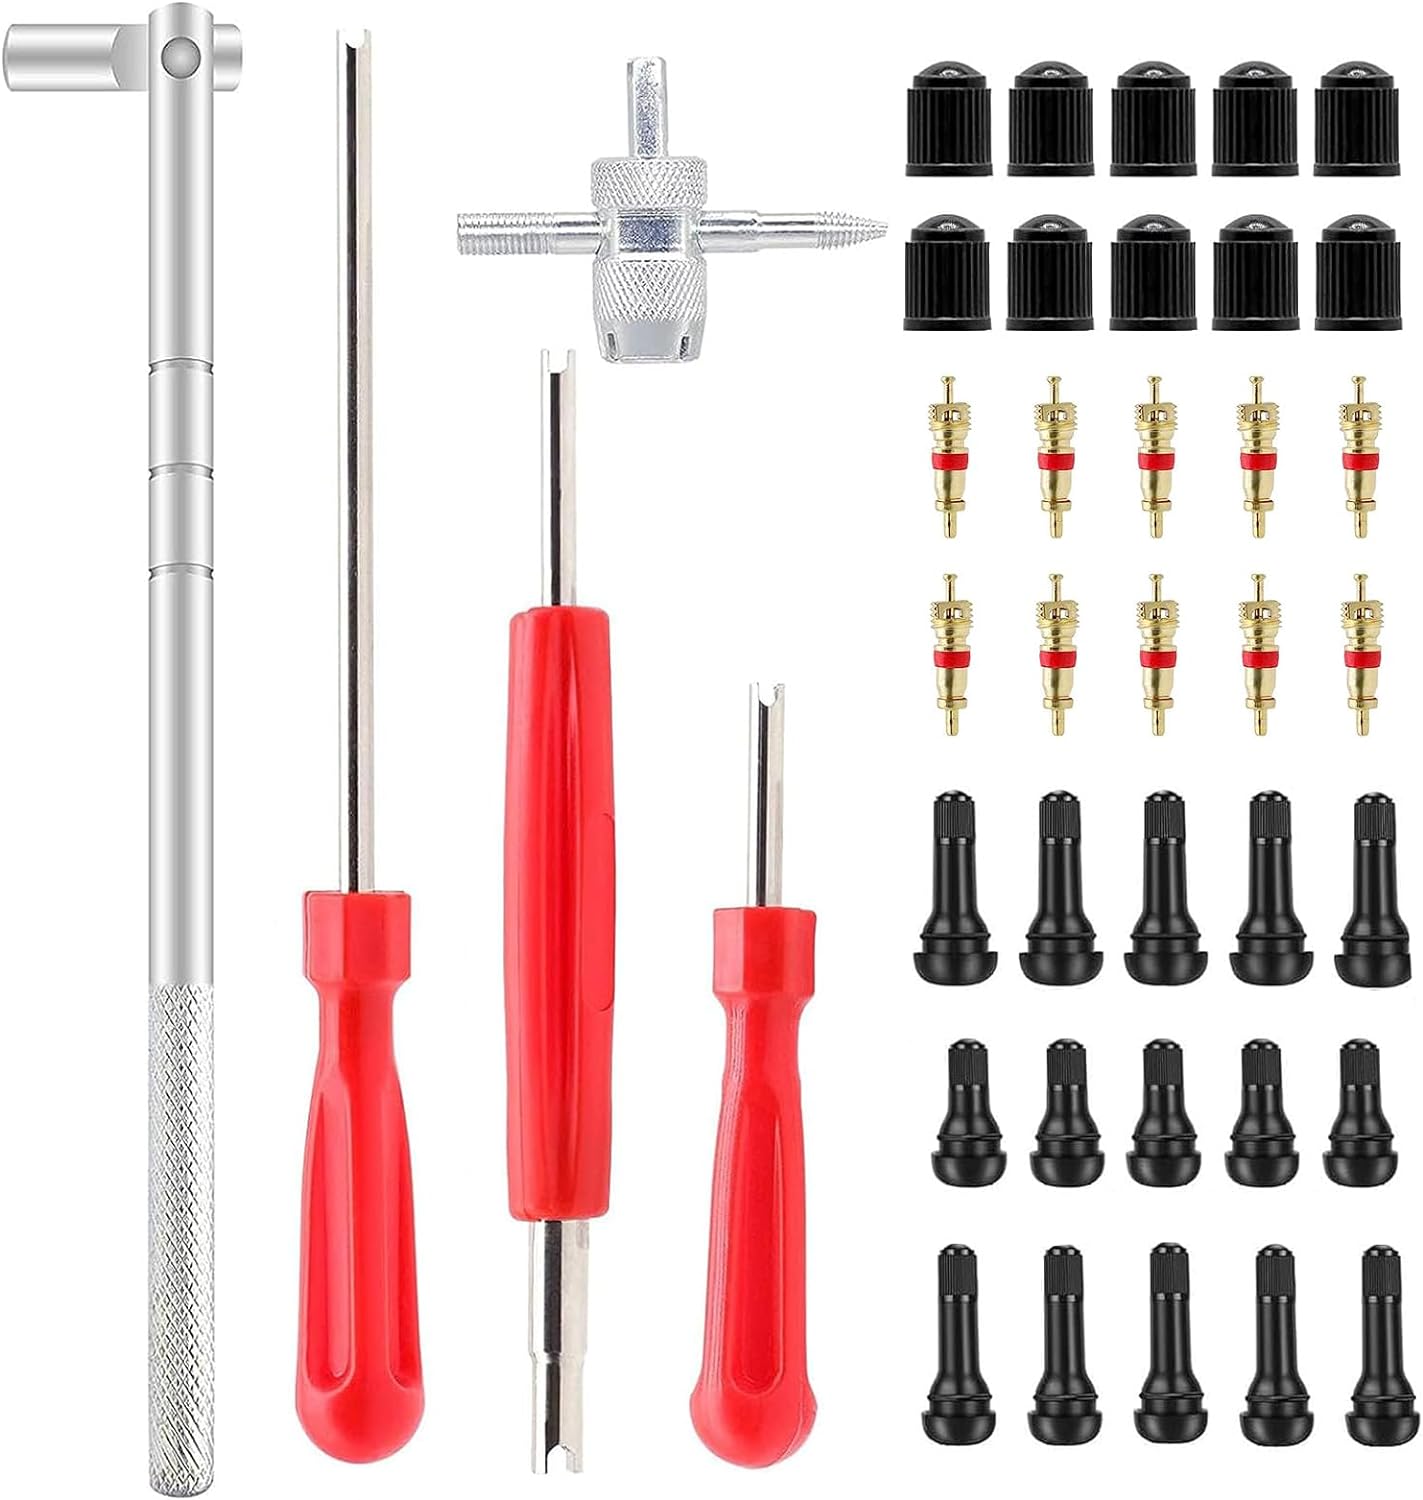
This ZHSMS valve stem puller and installer tool set makes it easy to remove and install tire valve stems without damaging wheels or valves. It uses a leverage design to save effort and includes valve stem tools plus removable valve core functionality for quick tire repairs. Compatible with tubeless tires for passenger cars, motorcycles, ATVs, off-road vehicles, and trucks.

The SAFELIFE dial tire tread depth gauge measures tread depth in 1/32 inch increments with clear, easy-to-read 2-inch dial face. Color zones using a traffic light system help you quickly judge whether tread is low, marginal, or ample for safer driving. Built with a durable zinc cast body and a metal detect probe for precise, comfortable use across cars, motorcycles, trucks, and buses.
Book Tire Repair, Rotation, or Alignment
Schedule tire repair, rotation, balancing, suspension work, or an alignment check when the inspection shows a problem instead of waiting for the wear pattern to become severe.
- Tire repair: Have suspected punctures inspected internally where appropriate and repaired according to accepted industry practice.
- Tire rotation: Follow your vehicle manufacturer’s rotation schedule. Goodyear Autocare New Zealand gives about 10,000 km as a general recommendation, but some vehicles use different patterns or should not be rotated front-to-rear.
- Wheel balancing: Consider balancing if you feel speed-related vibration or whenever tires are fitted.
- Alignment: Request an alignment or suspension check if the vehicle pulls, steering has changed, or one side of a tire repeatedly wears faster.
- Condition inspection: Get professional advice for cracks, bulges, exposed cords, significant perishing, embedded sharp objects, rapid air loss, or questionable previous repairs.
Proper pressure, rotation, balancing, alignment, and suspension maintenance can help prevent irregular wear and preserve useful tire life, but there is no reliable universal promise that routine service adds a fixed number of miles or kilometres to every tire.
[Products Worth Considering]

This Dr.Roc tire valve stem puller tools set helps install or remove snap-in tubeless valve stems safely and efficiently. It includes ozone-resistant EPDM snap-in valve stems, a valve stem installer, and a valve core remover for quick core removal or installation during tire service. Designed for reliable tubeless tire repair on motorcycles, ATVs, lawn equipment, cars, and trucks.

This tire inflator with pressure gauge delivers long-lasting performance with a durable rubber-protected gauge and sturdy build. The longer hose and 360 swivel air chuck help you seal the valve securely and keep your hands free while measuring, inflating, or deflating. It’s battery-free for reliable use and provides ±2 PSI accuracy in the mid-range for most typical tires, with universal compatibility for 1/4 NPT compressor outputs.

Upgrade your vehicle’s wheels with these stylish valve stem caps featuring a resin emblem and a durable metal design. The caps rotate 360 degrees for a versatile fit across cars, trucks, motorcycles, SUVs, and bikes, and they’re quick to install without tools. Rubber rings help prevent flat tires and support stable tire pressure for safer driving.
How Often Should You Perform a Tire Safety Check?
Check pressure and basic tire condition about once a month, and repeat the inspection before a long trip, after a significant pothole or kerb impact, or whenever handling, vibration, noise, or pressure behavior changes.
Also inspect the tires when seasonal temperatures change substantially or when you begin carrying loads that require a different pressure specification.
If you prefer a professional screening in New Zealand, Advantage’s current free 8-point service can check tire pressure and tread along with six other vehicle items. Remember that this screening does not replace a WoF, scheduled service, full alignment, or detailed tire diagnosis.
Frequently Asked Questions
How do you check tires for safety?
Check cold inflation pressure, tread depth, inner/center/outer wear, sidewalls, valve stems, embedded objects, tire age, and symptoms such as vibration or pulling. Inspect the spare too if your vehicle carries one.
What is the 7-7 rule for tires?
The 7-7 rule is commonly used as a seasonal-tire guideline: consider switching to winter tires after temperatures stay around 7°C or lower for seven consecutive days, and switch back after temperatures remain above that point. It is not a rule requiring replacement at seven years or at 7/32-inch tread, and it is not a New Zealand legal tread standard.
What are the 7 steps of a tire inspection?
There is no universal seven-step tire-inspection standard. This guide uses eight practical checks: pressure, tread depth, wear pattern, sidewall condition, valves, embedded objects, age, and driving or service symptoms.
What is the 3 rule on tires?
There is no universal safety rule saying all tires must be replaced at 3/32 inch. Some tire businesses advise considering replacement at around 3 mm because wet-weather performance can decline before the legal minimum is reached. In New Zealand, the legal minimum for ordinary light-vehicle tyres is generally 1.5 mm in the required principal grooves.
What is the legal tire tread depth in New Zealand?
For most ordinary light-vehicle tyres, NZTA requires at least 1.5 mm of tread in all applicable principal grooves around the circumference. Legally defined winter tyres have a 4 mm minimum under WoF requirements.
Can a tire with a nail in it be repaired?
Sometimes. A small puncture confined to a suitable tread area may be repairable after the tire is professionally inspected. Do not pull the nail out yourself, because it may be slowing the leak. Sidewall punctures and structurally damaged tires normally require replacement.
How often should tire pressure be checked?
A good routine is about once a month and before long trips. Check when the tires are cold and use the pressure specified by the vehicle manufacturer.
Can you drive with a sidewall bulge?
An outward sidewall bulge can indicate structural separation or partial failure. Do not continue normal driving on it. Arrange safe professional inspection and expect replacement if the bulge is confirmed as structural damage.
Conclusion
A useful tire safety check is more than a quick look at the tread. Check cold pressure, tread depth, wear patterns, sidewalls, valve stems, embedded objects, tire age, and handling or service symptoms. In New Zealand, use the vehicle manufacturer’s pressure specifications and current NZTA requirements, including the 1.5 mm ordinary-tire tread minimum. If you find structural damage, exposed cords, a bulge, serious perishing, rapid air loss, or an embedded sharp object, get professional help rather than trying to make the tire roadworthy with a temporary fix.
Sources
- Advantage Tyre Solutions — 8-Point Safety Check — verifies the current branded New Zealand service and its eight inspection items.
- NZ Transport Agency Waka Kotahi — Tyres — supports tread depth, pressure, and general tire-safety guidance.
- NZTA Vehicle Inspection Requirements Manual — Tyres and Wheels — supports current WoF tread, damage, TPMS, embedded-object, and repair requirements.
- Goodyear Autocare New Zealand — Puncture Repair — supports professional repairability guidance for tread-area punctures and replacement of sidewall-damaged tires.
- Michelin New Zealand — How Long Do Tyres Last? — supports tire-age inspections and the manufacturer’s 10-year precautionary replacement guidance.
- Michelin New Zealand — Irregular Tyre Wear — supports diagnosis of pressure-, alignment-, and suspension-related wear patterns.