
Inner Tube Replacement: 7 Signs You Need a New Tube
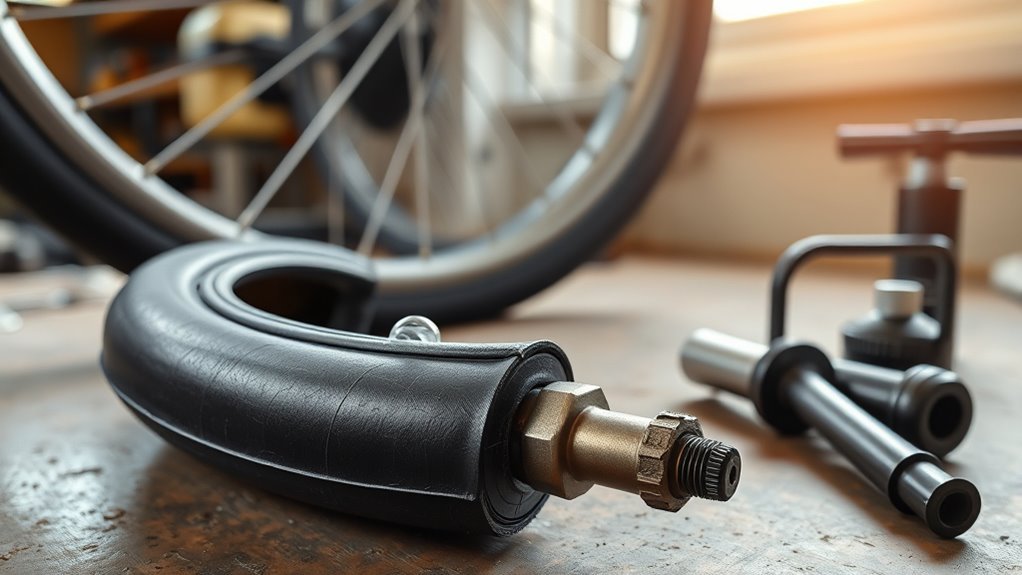
A worn inner tube can turn a good ride into a roadside repair fast. Replace yours when you see repeated punctures, slow leaks, cracks, bulges, thinning, dry rot, or valve damage that lets air escape. This guide shows you what to check, when a patch is enough, and when a full replacement gives you the safer choice.
Quick Answer
Swap an inner tube when it keeps losing air, has three or more punctures in a short time, or shows cracks, bulges, thinning, dry rot, or valve damage. A small patch can get you home, but repeated repairs mean the tube no longer holds air well. Replace the tube after tyre damage, major impacts, or when the tube looks old and brittle.
Key Takeaways
- Replace a tube with cracks, bulges, dry rot, valve damage, or repeated leaks.
- Patch a small puncture only as a short-term fix, then inspect the tube closely.
- Check tyre pressure before rides because under-inflation raises puncture risk.
- Use the correct tube size and valve type for your tyre, rim, and pump.
- Replace the tube after tyre damage or a hard pothole or curb impact.
What’s in This Article
- Quick Checklist: Do You Need a New Inner Tube?
- Visible Damage: Cracks, Bulges and Seam Problems
- Frequent Flats and Leak Patterns That Mean Replace the Inner Tube
- Valve Problems: When to Swap the Tube
- Quick Tube Inspection Before Every Ride
- Replace the Tube After Tyre Damage or Replacement
- Extend Inner Tube Life With Simple Maintenance
- Choosing the Right Inner Tube: Size, Valve Type, Quality
- Temporary Fixes and When a Full Replacement Is Required
- Frequently Asked Questions
- Conclusion
Quick Checklist: Do You Need a New Inner Tube?
Wondering whether that slow leak or flaky valve means you need a new inner tube? Start with puncture count. If you get three or more punctures in a short span, replacement usually makes more sense than another patch.
Inspect the valve next. A cracked, loose, or crooked valve often means the tube can’t seal well. Watch for persistent pressure loss too, since a tube that won’t hold air can leave you stranded.
Age also matters. Tubes that feel brittle, stretched, or thin lose strength, especially after storage in heat, cold, or sunlight. Check seams and valve areas before rides, and swap the tube when several warning signs appear together.
Visible Damage: Cracks, Bulges and Seam Problems
Look your tube over for cracks or dry rot. Any surface splits show the rubber has started to break down, so you should replace it. Bulges, stretched spots, seam tears, and valve-base damage can lead to a sudden blowout.
Warning: Do not ride on a tube with a bulge, tear, or cracked valve because it can fail without warning.
Cracks And Dry Rot
Replace any inner tube that shows cracks, dry rot, deep discoloration, or brittle rubber. These signs mean the rubber has lost stretch and strength. A patch won’t fix rubber that has broken down across the tube.
Store spare tubes away from sunlight, heat, and ozone sources such as some electric motors. Keep them in a cool, dry place and rotate older spares forward. Good storage helps the rubber stay flexible for longer.
Bulges, Seams And Tears
If you spot a bulge, tear, or thinning seam, replace it immediately. These defects show the tube has lost strength in that spot. A bulge often points to stretched rubber or internal damage that can burst under load.
Inspect seams closely before you reuse a tube. Thin material, repeated patching near a joint, or cracks around the same area all point to structural weakness. A fresh tube gives you better air retention and lowers your risk of a flat mid-ride.
Frequent Flats and Leak Patterns That Mean Replace the Inner Tube
If you keep getting punctures in the same spot, the tube may have a weak area. Check near the valve, along seams, and where old patches sit. Slow, hard-to-detect leaks also suggest thinning rubber, tiny cracks, or a valve leak.
Repeated Puncture Locations
Flats in the same spot often mean the tube, tyre, or rim tape needs attention. Replace the tube if the same area fails more than once. Then inspect the tyre tread and casing for glass, wire, thorns, or sharp rim edges.
Also check the inside of the tyre with care. A shard can hide in the casing and puncture every new tube you fit. Remove debris, replace worn rim tape, and upgrade a damaged tyre before you install another tube.
Slow Undetected Leaks
Slow leaks can hide for days. Use steady pressure checks and simple leak detection to find them before a ride. If the tube hisses during inflation or loses air after each pump-up, replace it.
Focus on the valve, seams, old patches, and thin spots. A single clean puncture may take a patch well, but several small leaks mean the tube has become unreliable.
| Symptom | Likely Cause | Action |
|---|---|---|
| Multiple flats quickly | Material fatigue or embedded damage | Replace tube |
| Hissing on inflation | Valve or seam leak | Replace tube |
| Slow pressure drop | Small crack or thinning | Replace tube |
| Visible deformity | Structural failure | Replace tube |
Valve Problems: When to Swap the Tube
Cracks or deformity around the valve mean you should swap the tube. A damaged valve can leak air and may fail when you inflate the tyre. Check the valve every few rides and after storage.
Look for splits, corrosion, bent stems, or rubber shrinkage where the valve meets the tube. If the valve feels loose, sits at an angle, or needs constant tightening, don’t keep riding on it. A valve that won’t hold pressure points to internal failure.
Some valve problems start with poor installation. Make sure the valve sits straight through the rim hole before you inflate. Avoid pulling the valve sideways with a pump head, since that can tear the valve base.
Quick Tube Inspection Before Every Ride
A quick tube check before you roll out takes about a minute and can stop a roadside flat. Make inner tube maintenance part of your ride routine. Check air pressure, valve condition, and any signs of wear around seams.
A one-minute tube check can help you spot valve damage, seam wear, pressure loss, and bulges before you ride.
- Inspect valves, seams, and tube surface for cracks or thinning.
- Inflate and listen for leaks, then feel for soft spots or bulges.
- Confirm the correct pressure before every ride to reduce wear.
Keep pressure within the range marked on your tyre or advised by the tyre maker. Under-inflation lets the tube pinch between the rim and tyre, which raises flat risk. Over-inflation can also stress the tube and tyre casing.
Replace the Tube After Tyre Damage or Replacement
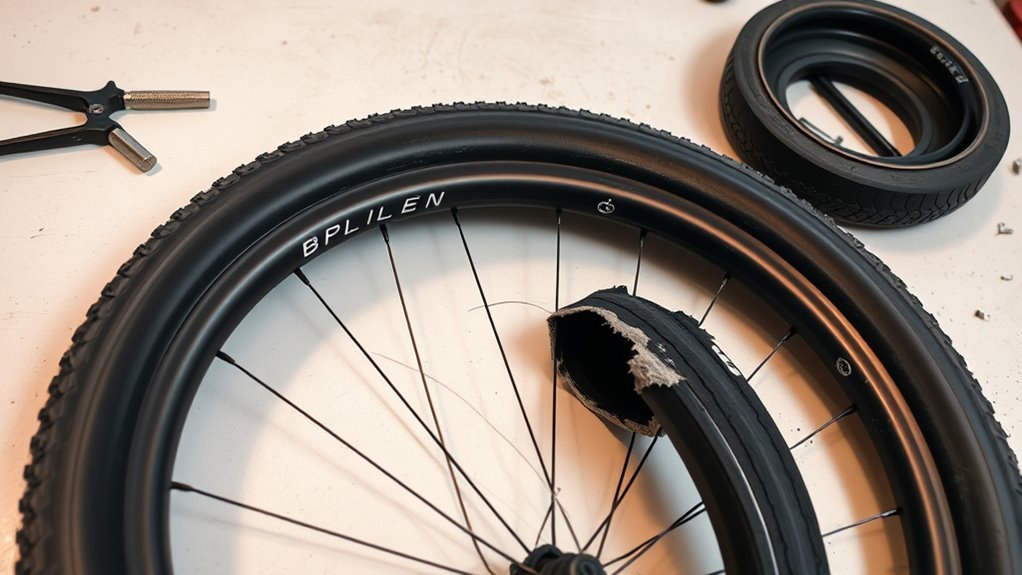
When you replace a tyre, replace the inner tube too if the old tube looks stretched, patched, brittle, or worn. A new tube helps match the new tyre’s size and shape. It also removes hidden damage that may not show until you inflate.
Hard pothole and curb impacts deserve close inspection. Look for casing cuts, rim tape shifts, valve strain, and repeated air loss after the impact. If the tyre casing has a breach, replace the tube before your next ride.
| Situation | Action |
|---|---|
| New tyre install | Fit a new tube if the old one shows wear |
| Pothole or collision | Inspect closely and replace if damaged |
| Casing breach | Replace tube |
| Recurrent leaks | Replace tube |
| Visible tube damage | Replace tube |
Extend Inner Tube Life With Simple Maintenance
You can make an inner tube last longer with steady pressure checks, careful riding, and good storage. Check pressure before long rides and at least once a month. Low pressure creates pinch flats, while too much pressure can stress the tyre and tube.
Don’t overload the bike. Balance bags and gear so one wheel does not take too much weight. On rough roads, slow down and choose a smoother line to reduce sharp impacts.
Store spare and unused tubes in a cool, dry, dark spot. Keep them away from heat, sunlight, oil, and sharp tools. Inspect tubes regularly for thinning, cracks, and embedded debris so you can replace proactively.
- Check pressure monthly and before long rides.
- Balance your load and secure bags firmly.
- Store tubes in a cool, dry, dark place.
Choosing the Right Inner Tube: Size, Valve Type, Quality
Choose a replacement tube that matches the size range printed on your tyre sidewall. The tube must fit the tyre diameter and width, such as 700c x 25-32 or 26 x 1.75-2.1. A poor fit can wrinkle, stretch, or pinch inside the tyre.
Match the valve type to your rim and pump. Schrader valves fit wider valve holes, while Presta valves fit many road and performance rims. Woods valves appear on some city bikes and need a compatible pump head.
Prioritize quality when you ride often or carry heavy loads. Durable rubber, neat seams, and a trusted size range can reduce failures. Keep a spare that matches your main tube so a roadside swap does not change handling.
Pro tip: Write your tube size and valve type on your repair kit so you buy the right spare fast.
Temporary Fixes and When a Full Replacement Is Required
A patch can fix a small, clean puncture and get you back on the road. Treat it as a temporary measure until you can inspect the full tube. Check the patched area after inflation and again before your next ride.
Replace the tube when damage patterns show it has become weak. Multiple repairs, valve cracks, thinning rubber, or leaks near a seam make the tube less dependable. You should also replace it after a hard impact if you find cuts, stretch marks, or repeated slow leaks.
- Replace after repeated punctures, such as three punctures in two weeks.
- Swap tubes if you see valve cracks, looseness, or air loss at the valve base.
- Change any tube that feels brittle, thin, stretched, or damaged after storage.
Frequently Asked Questions
What Is the 105% Rule in Cycling?
The 105% rule usually refers to pacing sustained efforts at no more than 105% of your functional threshold power (FTP). It relates to training effort, not inner tube replacement. You can use it for energy management, but tube care depends on pressure, wear, punctures, and valve condition.
How Much Does a Bike Shop Charge to Replace a Tube?
A bike shop often charges for both the tube and the labour. Prices vary by location, wheel type, and tube size, so ask for a quote before the repair. You may save money with a home repair kit, but a shop can also check the tyre, rim tape, and valve hole.
Can You Patch an Inner Tube More Than Once?
You can patch a tube more than once if each puncture is small, clean, and away from the valve or seam. Replace the tube when patches cluster close together or the tube keeps leaking. Multiple repairs usually mean the tube no longer gives you reliable air retention.
How Do You Find a Slow Leak in an Inner Tube?
Inflate the tube and listen for a hiss near the valve, seams, and old patches. If you can’t hear it, place the tube in water and watch for bubbles. Dry the tube fully before you patch it or reinstall it.
Should You Replace the Tube Every Time You Replace a Tyre?
You don’t have to replace a healthy tube every time you fit a new tyre. Replace it if it has patches, dry rot, cracks, valve strain, stretch marks, or slow leaks. Many riders fit a new tube with a new tyre for peace of mind.
Conclusion
Replace your inner tube when cracks, bulges, valve damage, repeated flats, or slow leaks show it can’t hold air well. Check pressure, valve position, rim tape, and tyre condition before each ride. Use the proper size, valve type, and quality when you fit a replacement. A sound tube keeps your ride safer, smoother, and free from avoidable stops.

Related Articles
What Does THE P Stand For on a Tire? Full Meaning Explained
I’ll explain what the “P” on a tire really means and why it could change how you choose your next set.
Read More
How to Use a Tubeless Tire Repair Kit: Complete Field Guide
Learn how to fix tubeless tire punctures fast with the right kit, because one small mistake can leave you stranded on the trail.
Read More
How to Tell a Tire’s Diameter: Easy Guide to Reading Tire Size
Want to decode tire sidewall numbers and find the right diameter, but wonder what those hidden digits really mean?
Read More