
4Runner Spare Tire Carrier: Upgrade Considerations Explained
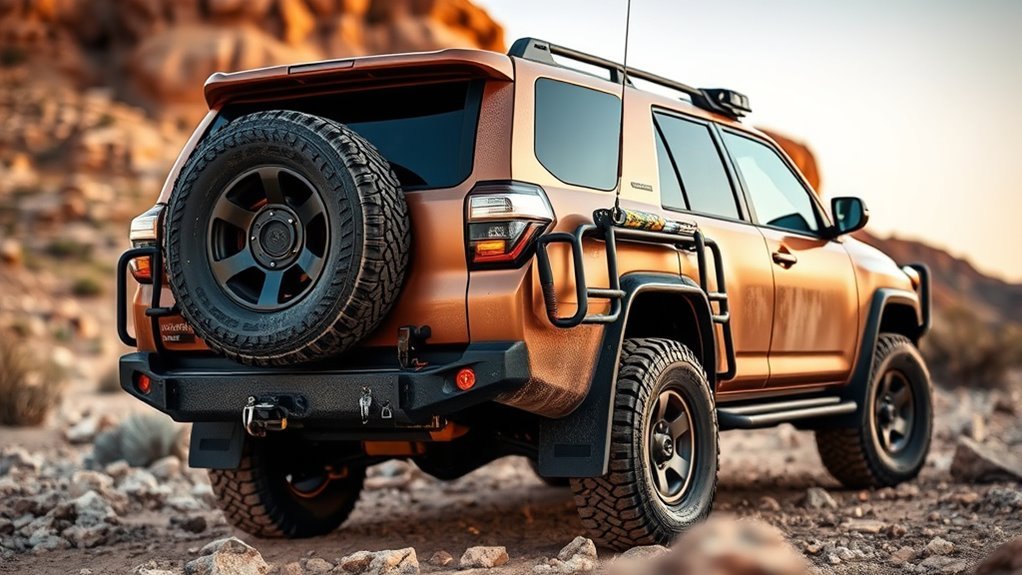
A Toyota 4Runner spare-tire carrier gives you room for a full-size spare when the factory underbody location no longer fits your tire. The right setup depends on your 4Runner’s generation, the carrier’s rated load, your vehicle’s payload and receiver limits, hatch clearance, camera visibility, and how much additional gear you plan to carry.
Quick Answer
Choose a 4Runner tire carrier by confirming the exact model-year fitment, adding the weight of the carrier, wheel, tire, and accessories, and checking every vehicle and carrier limit. Then measure receiver depth, hatch clearance, camera visibility, license-plate placement, and departure clearance before ordering or drilling anything.
Key Takeaways
- A 33-inch spare is not a universal factory limit. Measure the actual mounted tire and the available underbody space.
- Do not assume a 2010–2024 fifth-generation carrier fits a 2025–2026 sixth-generation 4Runner.
- The lowest-rated part controls your limit, including the vehicle, receiver, carrier, wheel plate, adapter, and secondary hitch.
- Count the carrier, wheel, tire, fuel, jack, table, bike rack, and every other accessory in your rear-load calculation.
- Test the hatch, backup camera, parking sensors, license plate, exhaust clearance, and lights before final tightening.
At a Glance
| Time Required | About 30–60 minutes for measuring and load planning; installation time varies by carrier and vehicle modifications. |
| Difficulty | Moderate for a compatible hitch-mounted carrier; advanced for replacement bumpers, cutting, wiring, welding, or sensor work. |
| Tools Needed | Tape measure, scale or verified component weights, socket set, calibrated torque wrench, wheel tools, and any product-specific wiring or installation tools. |
| Cost | Depends on the carrier, shipping, camera and plate-relocation parts, accessories, suspension needs, and professional labor. |
4Runner Tire Carrier or Stock? Check Fit Instead of Assuming a 33-Inch Limit
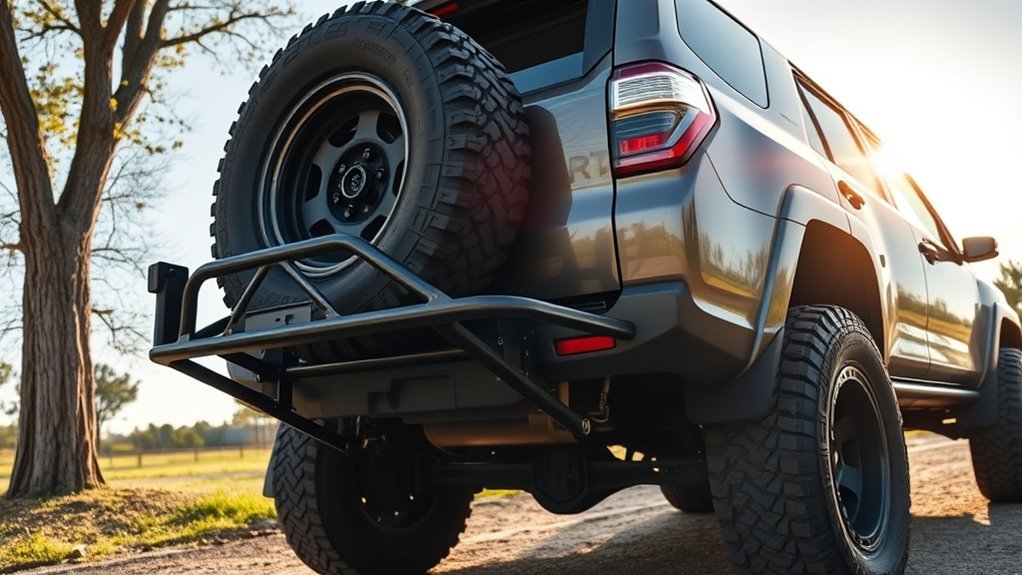
The factory underbody spare location works well because it keeps the tire low, protected, and close to the rear axle. However, clearance becomes tight when you install a wider or taller tire, change wheel offset, add an aftermarket hitch, or modify nearby exhaust and suspension components.
A 285/70R18 has a nominal calculated diameter of about 33.7 inches. Its actual mounted diameter may differ because tire manufacturers use different casing shapes, tread depths, and measuring rims. The width and wheel offset can also stop a tire from fitting even when its measured diameter appears acceptable.
The tire size printed on the sidewall is a starting point, not proof that the spare will fit under your 4Runner.
[Products Worth Considering]

Mount your spare tire directly to the inside wall of an enclosed trailer or garage to save space and keep your tire secure. This wall-mount spare tire carrier is designed for universal trailer tire fit and includes a fixed plate and chute for convenient screw replacement. Nylon insert hex lock nuts help prevent the tire from falling off, and wing hardware enables faster load and unload during maintenance.
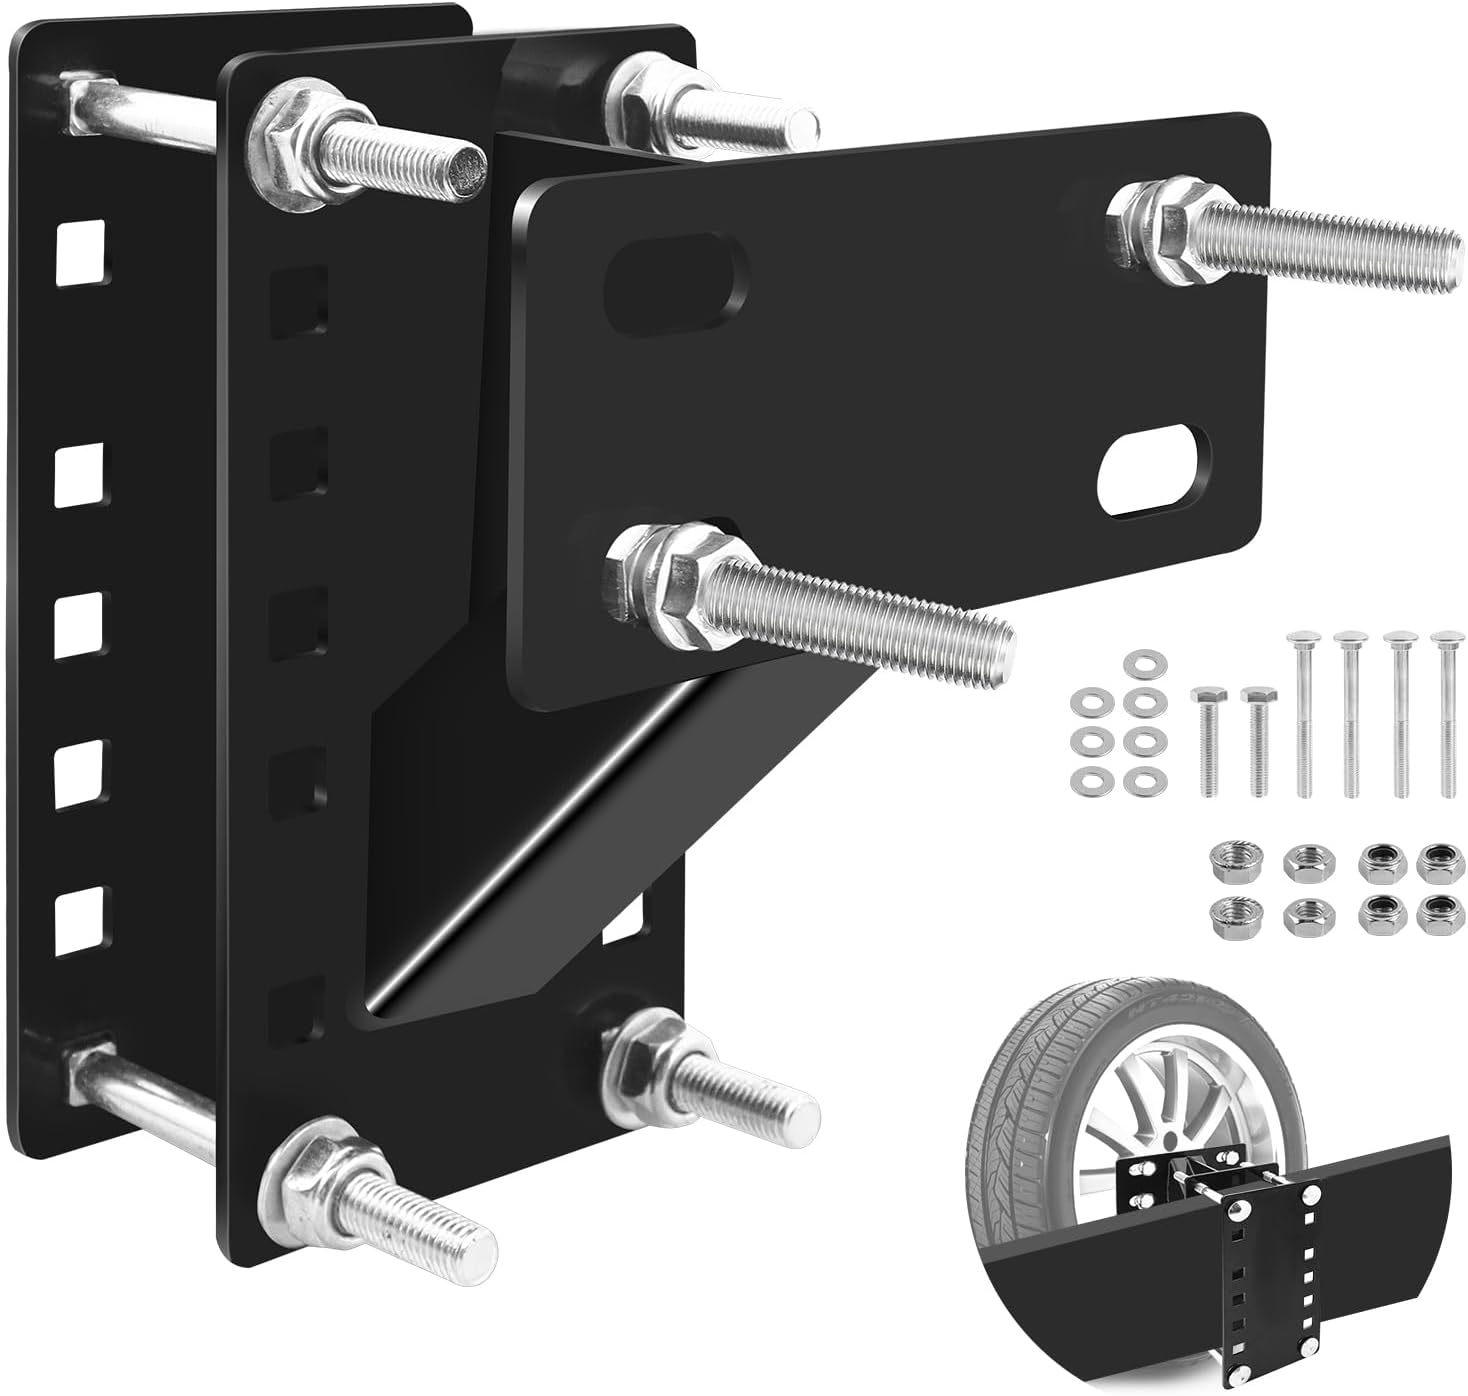
This universal spare tire mount carrier holder is built for utility trailers and boat trailers, offering a secure fit for 4, 5, and 6 lug wheels. It supports multiple bolt pattern sizes and a heavy-duty load capacity while resisting rust with a durable finish. The design allows easy installation and lets you choose the steel beam height for a better fit.

This side-mounted U-bolt spare tire bracket helps keep a trailer spare wheel secure and protected while you travel. It supports trailer frames up to 2–3 inches wide and fits up to 15-inch tires for 4- or 5-lug wheels. The galvanized steel threaded carrier is built for long-lasting corrosion resistance and installs easily with included lug nuts and U-bolt.
Confirm Your 4Runner Generation First
The fifth-generation Toyota 4Runner covers the 2010–2024 model years. The redesigned 2025 and 2026 vehicles are sixth-generation models with different body, receiver, bumper, camera, sensor, and packaging details. Toyota identifies the current 4Runner as a sixth-generation body-on-frame vehicle in its 2026 model information.
Do not rely only on a product page that says “4Runner.” Confirm the supported generation, model year, factory or aftermarket bumper, receiver position, exhaust arrangement, wheel bolt pattern, wheel offset, and tire size in writing before ordering.
Measure the Stock Spare Location
- Inflate the spare to its specified cold pressure.
- Measure the tire’s widest section and its true outside diameter.
- Raise the tire into the factory position without forcing it against the exhaust, heat shields, hitch, body, brake lines, or suspension parts.
- Check clearance across the tire’s entire circumference.
- Allow space for vibration, frame movement, heat, mud, stones, and tire removal.
- Confirm that the hoist cable, retaining plate, and surrounding brackets support the tire correctly.
Warning: Do not remove structural brackets, heat shields, exhaust supports, or other factory parts simply because another owner reported that a tire fit after removing them. Use a documented vehicle-specific procedure or have a qualified shop inspect the proposed modification.
Hitch-Mount or Bumper Tire Carrier? Picking Your Base
Your main choices are a hitch-mounted carrier, a replacement bumper with an integrated swing-out, and a vehicle-specific body or frame-mounted swing-out. Each design changes weight, cost, rear overhang, receiver access, installation effort, and trail clearance.
Hitch-Mount Simplicity
A hitch-mounted carrier slides into a compatible receiver and is usually easier to remove than a replacement bumper. Many models swing sideways or fold down so you can open the rear hatch. Installation may require no cutting when the receiver and carrier are directly compatible.
The tradeoff is leverage. The tire sits behind the receiver and rear axle, so carrier weight, tire weight, accessories, and any hitch extension all increase the load acting on the receiver. A long shank or additional adapter can increase movement and reduce usable load even when every part fits inside a 2-inch receiver.
Check these points before choosing a hitch-mounted carrier:
- Supported model year and generation
- Receiver size, pin-hole position, and usable internal depth
- Distance from the receiver to the bumper and hatch
- Carrier load rating and maximum tire dimensions
- Wheel bolt pattern, offset, and wheel-plate adjustment
- Whether the factory receiver remains available
- Secondary receiver rating for towing, bikes, or cargo
- Camera, plate, lighting, sensor, exhaust, and hatch clearance
Bumper-Mount Durability
A replacement rear bumper can integrate a tire swing-out, recovery points, lighting, and accessory mounts into one structure. A well-designed system may hold the spare closer to the body and higher than some universal hitch carriers, which can improve clearance at the rear.
However, a bumper system is usually heavier and more involved to install. It may require cutting factory trim, relocating wiring, adjusting sensors, changing mud flaps, or supporting the bumper during installation. The added rear weight also reduces available payload and may increase rear suspension sag.
Do not assume every bumper carrier supports a 35-, 37-, or larger tire. Verify the manufacturer’s maximum tire diameter, maximum wheel-and-tire weight, swing-arm capacity, spindle maintenance procedure, and accessory limits.
| Factor | Hitch-Mounted Carrier | Replacement-Bumper Carrier |
| Removal | Usually removable with basic tools | Usually treated as a permanent modification |
| Installation | Simple when receiver fitment is confirmed | May require cutting, wiring, alignment, and several people |
| Rear overhang | Can place the tire farther behind the vehicle | Can hold the tire closer, depending on design |
| Receiver use | Depends on whether a rated secondary receiver is included | Often retains or replaces the receiver, but ratings vary |
| Best fit | Owners wanting a removable, lower-complexity solution | Owners needing integrated protection and accessory mounting |
Hitch Weight Ratings: Class 3, 4, and 5 Explained Correctly
Hitch classes describe ranges of receiver-hitch capability, but they do not increase your 4Runner’s factory limit. According to Toyota, the 2024 fifth-generation 4Runner has a maximum 5,000-pound towing rating and a maximum 500-pound tongue-weight rating. Toyota lists a maximum towing capacity of 6,000 pounds for the 2026 sixth-generation model, but exact ratings and equipment requirements must be checked for the specific vehicle.
Industry hitch guides commonly list Class 3 receivers at up to 8,000 pounds of gross trailer weight and 800 pounds of tongue weight, and Class 4 receivers at up to 10,000 pounds and 1,000 pounds. Class 5 ratings vary significantly by receiver size and hitch design. These are category maxima, not automatic 4Runner ratings.
Warning: Your usable limit is always the lowest rating among the 4Runner, factory or aftermarket receiver, tire carrier, wheel plate, hitch pin, adapter, extension, secondary receiver, bike rack, trailer, and other connected equipment.
Class Ratings Defined
| Common Class | Typical Receiver | Common Class Maximum | What It Means for a 4Runner |
| Class 3 | 2 inches | Up to 8,000 pounds trailer and 800 pounds tongue weight | The vehicle may have a lower limit, such as the 2024 model’s 500-pound maximum tongue rating. |
| Class 4 | Usually 2 inches | Up to 10,000 pounds trailer and 1,000 pounds tongue weight | A higher-rated accessory does not override the vehicle, frame, payload, or axle limits. |
| Class 5 | 2 or 2.5 inches, depending on design | Varies by extra-duty or commercial-duty design | Do not use the class name alone to select a carrier or calculate capacity. |
Calculate the Complete Rear-Mounted Load
Add every item supported by the carrier or its secondary receiver:
- Carrier assembly
- Wheel
- Tire
- Wheel spacer or adapter
- License-plate and camera brackets
- Fuel or water containers and their mounts
- Jack, shovel, traction boards, table, or storage box
- Bike rack and bicycles
- Any hitch extension or receiver adapter
Use verified product weights whenever possible. If a component weight is unknown, weigh it rather than estimating. A tire and wheel combination can use most of a light carrier’s capacity before you add fuel, tools, or a bike rack.
Rear-mounted equipment also uses vehicle payload and increases rear-axle load. Because the load sits behind the rear axle, the change at the rear axle can be greater than the equipment’s direct scale weight while some load is removed from the front axle. Check the vehicle’s payload information and gross axle weight ratings, then weigh the fully loaded 4Runner when the setup is close to a limit.
4Runner Hitch Compatibility
Confirm capacity from the owner’s manual, receiver label, carrier instructions, and product-specific documentation. Do not use the door-jamb label as the only source for towing or carrier capacity.
A carrier may include a secondary receiver with a rating lower than the carrier’s main shank or lower than the vehicle receiver. For example, the current RIGd UltraSwing Short-Fit lists a 150-pound maximum tongue rating on its secondary hitch even though its lower receiver has a higher towing certification. That 150-pound limit matters when adding a bike rack or other accessory.
Note: Trailer tongue-weight percentages do not calculate tire-carrier capacity. A carrier is a fixed vertical and cantilevered load. Use the actual loaded carrier weight and every published component limit.
Hatch Clearance Math: Measure the Carrier’s Full Movement
Hatch clearance cannot be predicted with one universal 4Runner measurement. Carrier pivots, tire offsets, wheel plates, bumper shapes, and receiver positions differ. Measure the exact points required by the carrier manufacturer.
- Measure from the center of the receiver pin hole to the receiver face.
- Measure the usable depth inside the receiver and check for an internal stop, muffler, spare tire, or crossmember.
- Measure from the top of the receiver opening to the lowest edge of the closed hatch or bumper trim.
- Measure how far the receiver face is recessed behind the bumper.
- Record the wheel’s backspacing or offset and the tire’s widest section.
- Confirm the carrier’s closed, partially open, and fully open positions.
- Check whether the tire, latch, table, jack, or secondary receiver enters the hatch’s travel path.
Manufacturer requirements can differ substantially. Wilco’s current Hitchgate Solo information lists at least 4.5 inches of usable space inside the receiver for its wedge-lock system. Its High-Clearance version lists 7 inches between the receiver and rear door, while other Solo versions can work with less space. RIGd describes the UltraSwing Short-Fit as an option for vehicles with 2 inches or less from the receiver pin-hole center to the receiver face.
Pro Tip: Make a cardboard profile of the tire and wheel plate or temporarily mount the actual spare during the dry-fit stage. Check clearance with the hatch closed, opening, fully raised, and with the carrier at every locking position.
Tire Carrier Fitment: Camera, Sensor, Plate, and Trim Checks
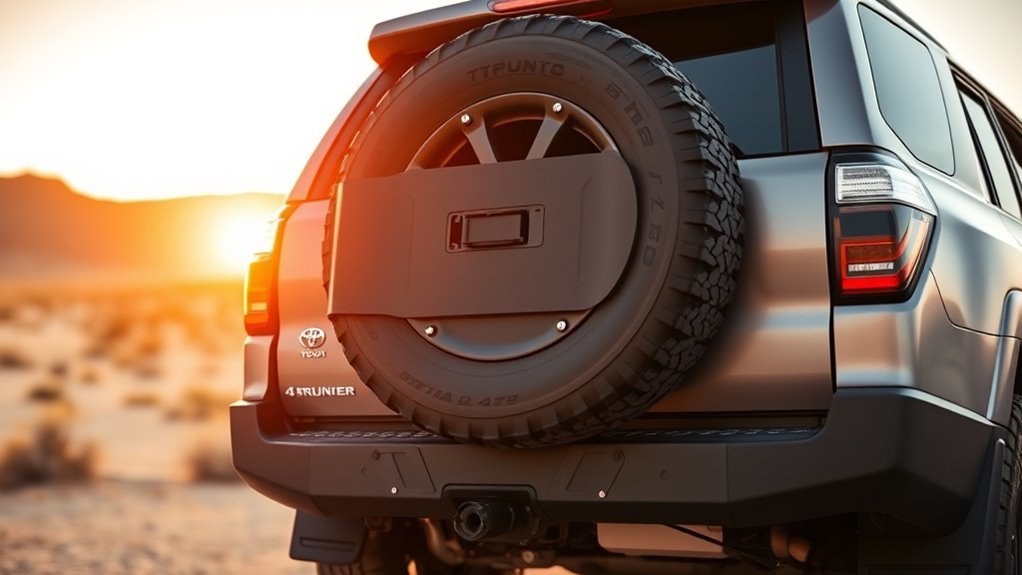
A rear-mounted spare can block more than the hatch. Inspect the backup camera, license plate, plate light, rear lights, parking sensors, rear cross-traffic functions, exhaust outlet, rear-window view, and any hands-free liftgate or driver-assistance equipment.
Camera and License-Plate Relocation
Place the spare where the manufacturer specifies, then view the backup-camera image with the carrier closed. Test during daylight and in low light. If the tire blocks a meaningful part of the view, use a compatible relocation kit that preserves the camera’s orientation, wiring protection, and weather sealing.
The license plate and required illumination must remain visible. Some carriers include a lighted relocation bracket, while others sell it separately. Route wiring away from the exhaust, hinge, latch, sharp edges, and pinch points. Leave enough protected slack for the complete swing movement.
Parking Sensors and Driver Assistance
A tire or accessory can trigger false parking alerts or block a sensor’s field of view. Test each function before modifying or disabling anything. Some setups need sensor relocation, some allow the parking alert to be switched off when the carrier is installed, and others work without changes.
Newer 4Runners may use additional cameras, radar, blind-spot monitoring, rear cross-traffic alert, or trailer-assistance functions. Follow Toyota’s instructions and the carrier manufacturer’s fitment guidance. Use a qualified installer when a modification affects safety-system wiring or calibration.
Hatch, Exhaust, and Trim Clearance
Open the swing arm and hatch slowly during the first test. Watch the tire sidewall, wheel plate, latch, handle, accessory mounts, rear wiper, spoiler, glass, and lower hatch trim. Also confirm that the tire and fuel containers remain a safe distance from the exhaust outlet and hot components.
Do not cut lower hatch plastics or bumper trim unless the carrier’s documented installation procedure requires it. A different carrier position, wheel-plate adjustment, or vehicle-specific mount may solve the interference without permanent trimming.
Building Your Loadout: Jacks, Cans, and Mount Plates
Start with the spare tire and wheel. Add other equipment only after confirming the carrier’s remaining capacity and the 4Runner’s payload and axle limits.
- Full-size spare: Match the rolling diameter, load capability, and construction needed for your drivetrain and trail use.
- Wheel plate: Confirm the bolt pattern, lug hardware, wheel offset, tire width, and whether a spacer is approved.
- License plate and camera: Install relocation parts before adding equipment that blocks wiring access.
- Jack and recovery tools: Use mounts rated for the specific equipment and confirm that the tools needed to change the spare remain accessible.
- Fuel or water: Use approved containers and mounts, follow local requirements, protect them from exhaust heat and impact, and include the filled container weight in the load calculation.
- Tables and storage: Check latch clearance and confirm that the added equipment cannot open or detach on rough roads.
- Bikes or cargo racks: Verify the secondary receiver’s tongue rating and the rack manufacturer’s restrictions on adapters and extensions.
Warning: Secure heavy equipment so it cannot enter the passenger compartment, strike another road user, contact the exhaust, or release when the carrier is opened on a slope. Never stand in the swing path of a loaded carrier.
[Products Worth Considering]

This universal spare tire mount fits 4, 5, and 6 lug trailer wheels with bolt patterns from 4" to 5.5" and helps keep your tire securely locked in place. Its reinforced triangular structure with a sturdy behind plate is designed to handle up to 150 lbs, making it suitable for boat, camper, and RV spare tire mounting. The angled raised design reduces wind resistance and installation is straightforward with different length bolts and no drilling required.

Secure a full-size spare on your trailer with this powder-coated steel spare tire mount bracket. It fits most 4-, 5-, and 6-lug wheel bolt patterns and mounts to trailer tongues up to 4 in wide and 5 in tall. Built for reliable carry with a max 150 lb load rating and includes zinc-plated hardware for straightforward installation.
RIGd vs. Wilco vs. Rigid Armor: Compare Verified Specifications
Brand reputation can help narrow your list, but product-specific fitment and load ratings matter more than broad labels such as “premium,” “bombproof,” or “entry level.” The following figures come from current manufacturer pages and can change, so verify them again for the exact configuration you order.
| Carrier | Published Tire and Load Information | Fitment Points | Best Reason to Consider It |
| RIGd UltraSwing Short-Fit | Up to a 35-inch tire; 250-pound combined carrier load; approximately 65-pound carrier with wheel plate; 150-pound maximum tongue rating on the secondary hitch. | Designed for short receiver geometry; verify the model year, pin-hole position, wheel plate, and accessory combination. | High combined load capacity and a modular accessory system. |
| Wilco Hitchgate Solo | Up to a 35-inch tire on midsize vehicles; 150-pound total tire-carrier load; published 7,500-pound trailer and 750-pound tongue rating for the integrated towing path, subject to the vehicle’s lower limits. | Requires a compatible 2-inch Class 3 or higher receiver, sufficient internal receiver depth, and version-specific hatch clearance. | Multiple height versions and detailed receiver-clearance guidance. |
| Rigid Armor 4Runner Spare Tire Hitch Carrier | Published 34-inch maximum tire, 100-pound arm rating, and approximately 35-pound carrier weight. | The current page lists specific older 4Runner fitment. Confirm the exact model year, receiver depth, wheel position, and current specifications. | A lighter drop-down design for a wheel-and-tire combination that stays within its lower load limit. |
Choose RIGd when you need higher combined capacity and modular accessories, provided the Short-Fit geometry matches your receiver. Consider Wilco when one of its published height configurations matches your hatch and you want detailed fitment measurements. Consider the Rigid Armor design only when your tire-and-wheel weight fits comfortably under its published arm rating and the listed model-year fitment matches your vehicle.
None of these product ratings overrides Toyota’s payload, axle, towing, or receiver limits.
Tire Carrier Install: Solo vs. Shop Time and Tools
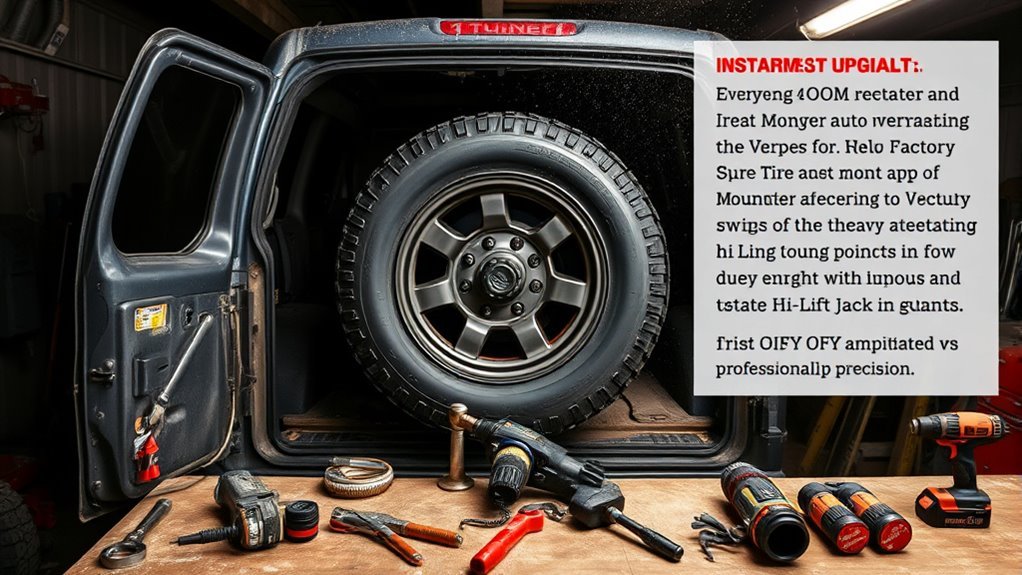
A compatible hitch-mounted carrier may be suitable for a careful DIY installation. A replacement bumper, welded mount, camera relocation, sensor modification, or trim-cutting job may be safer at a shop familiar with Toyota body-on-frame vehicles and aftermarket rear equipment.
When a DIY Installation Makes Sense
- The manufacturer confirms your exact model-year fitment.
- No welding, frame drilling, structural cutting, or safety-system calibration is required.
- You have a calibrated torque wrench and understand the specified torque sequence.
- You can safely lift and support the carrier.
- A second person can help align the carrier, wheel plate, and tire.
- You can complete camera, plate-light, and wiring work with weatherproof connections.
When to Use a Professional Shop
- The carrier is part of a replacement bumper.
- The installation requires drilling, cutting, welding, or exhaust modification.
- The spare blocks factory cameras, sensors, or driver-assistance equipment.
- The loaded carrier approaches payload, receiver, or rear-axle limits.
- The receiver is damaged, rusty, modified, or missing a readable rating label.
- You are fitting a carrier to a newly redesigned 2025–2026 sixth-generation 4Runner.
Safe Installation Sequence
- Read the complete carrier instructions and Toyota owner’s manual before assembly.
- Inspect the receiver, hitch fasteners, frame mounting points, and surrounding components.
- Verify every supplied bolt, spacer, washer, pin, latch, and retention device.
- Dry-fit the unloaded carrier and confirm receiver engagement and hitch-pin alignment.
- Check the carrier’s open and closed positions before mounting the tire.
- Install the wheel plate and spare using the specified hardware and torque.
- Add camera, license-plate, lighting, and accessory mounts one at a time.
- Verify that safety pins, latch backups, and anti-wobble systems are fully engaged.
- Open and close the carrier and hatch repeatedly on level ground.
- Test lights, camera, sensors, rear-window visibility, and any secondary receiver.
- Complete a slow local road test, listen for movement, and recheck the installation.
- Reinspect and retorque at the interval specified by the carrier manufacturer.
Do not apply anti-seize, grease, thread-locking compound, or a different torque value unless the manufacturer specifies it. Lubricants can change clamp load at a given torque and may create an over-tightened connection.
Long-Term Ownership: Rattle, Rust, and Warranty Reality
A tire carrier operates in a harsh location. It receives water, road salt, dust, vibration, exhaust heat, and repeated loads every time the vehicle accelerates, brakes, turns, or crosses rough terrain.
Preventing Rattle and Movement
- Keep the receiver anti-wobble system adjusted according to the instructions.
- Inspect the swing-arm latch, pivot, safety pin, wheel plate, and lug hardware.
- Replace worn bushings, washers, latch pads, or pins with approved parts.
- Keep the tire close to the wheel plate and avoid unnecessary extensions.
- Remove accessories that repeatedly exceed the carrier’s intended use.
Preventing Corrosion
- Rinse salt and mud from the carrier, receiver, pivot, and mounting hardware.
- Repair chipped coatings before corrosion spreads under the finish.
- Use manufacturer-approved grease only at specified pivot or bushing locations.
- Keep drain holes open and avoid trapping wet straps or fabric against metal.
- Inspect hidden contact surfaces between adapters, plates, and receiver tubes.
Warranty and Modification Limits
Read the carrier warranty before drilling, welding, adding a spacer, changing the wheel plate, or using an unapproved accessory. Coverage may exclude corrosion, wear parts, overloaded components, incorrect installation, accidents, racing, commercial use, or unauthorized modifications.
Keep the receipt, installation instructions, torque records, photographs, and maintenance notes. These records help with troubleshooting and warranty support.
Frequently Asked Questions
Does tire-pressure monitoring work with an aftermarket carrier?
The carrier itself does not determine whether the spare is monitored. Factory TPMS systems are primarily designed around the road tires, and federal TPMS testing excludes the spare. Check your exact 4Runner manual. Use a compatible aftermarket spare-tire monitor when you need continuous pressure information.
Can I still use my backup camera normally?
Sometimes. An off-center or lower-mounted spare may leave enough usable view, while a large centered tire can block most of the image. Test the actual camera view after mounting the tire. Use a vehicle-compatible relocation kit when the view is obstructed.
Will a tire carrier affect my fuel economy?
It can. Added mass, tire exposure, rear overhang, accessories, suspension changes, driving speed, and terrain can all affect consumption. No single mileage-loss figure applies to every 4Runner or carrier.
Is a locking mechanism included or sold separately?
It varies. A carrier may include a swing-arm latch and safety pin but not a locking hitch pin, locking lug, fuel-can lock, or accessory lock. Review the included-parts list and secure both the carrier and the spare with components approved for that model.
How does a tire carrier affect departure angle off-road?
The result depends on the lowest and farthest rearward part of the carrier. A low receiver tube, latch, or secondary hitch can reduce clearance. A higher, close-mounted tire may have little effect. Added weight can also compress the rear suspension, which indirectly reduces clearance.
Can I tow with a tire carrier installed?
Only when the carrier includes a tow-rated receiver, the manufacturer permits the intended trailer, and every vehicle and component limit is respected. Include the carrier and accessories in payload and rear-axle calculations. The lowest vehicle, carrier, receiver, adapter, or hitch rating controls.
Will a fifth-generation carrier fit a 2025 or 2026 4Runner?
Do not assume it will. The 2025 redesign introduced the sixth-generation 4Runner. Receiver geometry, bumper clearance, cameras, sensors, exhaust, and body dimensions may differ. Use a product that explicitly lists your model year or obtain written fitment confirmation from the manufacturer.
Sources
- Toyota: 2024 Toyota 4Runner Rugged Capability — supports fifth-generation body-on-frame construction and the 5,000-pound towing and 500-pound tongue-weight ratings.
- Toyota: The 2026 Toyota 4Runner — supports sixth-generation identification and the current maximum 6,000-pound towing rating.
- CURT: 2-Inch Receiver Hitch Guide — supports common Class 3, Class 4, and Class 5 receiver ranges and the lowest-rated-component rule.
- NHTSA: FMVSS No. 138 TPMS Interpretation — confirms that the spare tire is excluded from the cited TPMS compliance test.
- RIGd UltraSwing Short-Fit Product Specifications — supports current tire, combined-load, carrier-weight, secondary-receiver, and camera-relocation information.
- Wilco Hitchgate Solo Product Specifications — supports current tire capacity, carrier load, receiver-depth, hatch-clearance, and maintenance information.
Conclusion
A good 4Runner tire carrier does more than hold a large spare. It must fit your exact generation, remain within the carrier and vehicle limits, clear the hatch and exhaust, preserve camera and lighting functions, and stay secure after thousands of miles of vibration.
Measure first, calculate the complete load, and compare the lowest rating across every connected component. Choose a hitch-mounted design for removability and simpler installation, or a replacement-bumper system when you need integrated protection and accessory mounting. After installation, test every function, inspect the carrier regularly, and correct movement or corrosion before it becomes a failure.

Related Articles

When to Switch From All-Season to Winter Tires on a 4Runner
Ineffective all-season tires in cold weather can jeopardize your safety—discover when to make the crucial switch for better traction and handling.
Read More
4Runner Tire Mileage: How Many Miles Should They Last
Curious about how long your 4Runner tires should last? Discover essential tips and factors that influence tire longevity.
Read More
How Long Do Toyota 4Runner Tires Typically Last
How long do Toyota 4Runner tires typically last? Discover the factors that influence tire longevity and essential tips for maintenance.
Read More