
Slow Tire Leak: 4 Ways to Find and Fix It
A slow tire leak can turn a short drive into a roadside problem if you ignore it for too long. You may only lose a few pounds per square inch each month, but that steady drop can harm handling, tire life, and safety. Start with a cold pressure check, inspect the valve, tread, bead, and rim, then use soapy water to find the leak and choose the right repair.
Quick Answer
You can often fix a slow tire leak if it comes from a valve stem, small tread puncture, bead leak, or minor rim corrosion. Check cold tire pressure, spray soapy water on likely leak points, and watch for bubbles. Use a plug or patch only for safe tread punctures, and see a tire technician for sidewall damage, large punctures, cracked rims, or leaks that return.
Key Takeaways
- Check tire pressure when the tire feels cold so heat does not skew the reading.
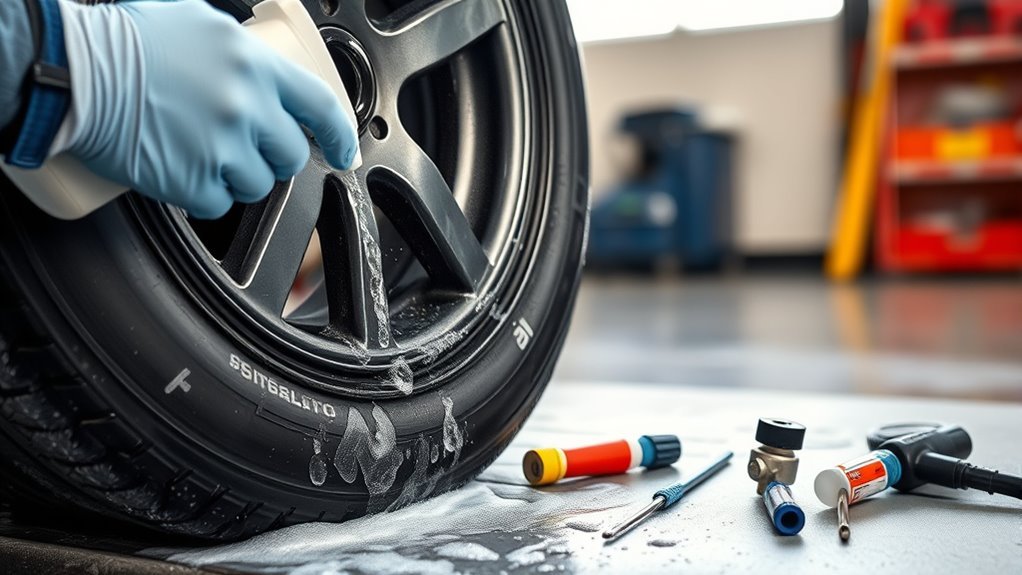
- Use soapy water on the valve, tread, bead, and rim to find bubbles from escaping air.
- Repair only safe tread punctures, and avoid plugging sidewalls or large holes.
- Use tire sealant as a short-term aid, not as a permanent repair.
- Call a tire professional if the leak returns or you see rim damage, cracks, or bulges.
How to Tell a Slow Tire Leak From Normal Pressure Loss
You can spot a slow leak by tracking tire pressure with a reliable gauge and your tire pressure monitoring system (TPMS). A true slow leak often shows a steady drop, such as about 1 to 3 PSI per month, instead of a one-time change from temperature.
Inspect the tire for nails, cuts, valve-stem damage, bead gaps, and rim corrosion. Spray soapy water on suspect areas and watch for bubbles, which show air escaping.
Warning: Do not drive far on a tire that sits about 25% below the recommended pressure, because it can overheat and fail.
If the TPMS warning light keeps coming back, investigate it instead of treating it as normal pressure drift. Consistent measured drops point to a leak that needs repair.
What You’ll Need Before You Inspect the Tire
Gather the right tools before you touch the tire. Wear gloves and safety goggles, then park on a flat, stable surface and set the parking brake.
- Tire pressure gauge
- Soapy water solution in a spray bottle
- Valve stem tool
- Portable air compressor or access to an air pump
- Flashlight for checking the tread, bead, and rim
Confirm that the tire feels cool before you measure pressure. Heat can raise the reading and make the leak look smaller than it is.
Compare the current pressure with the vehicle maker’s recommended pressure, usually listed on the driver-side door placard. Record the baseline so you can track any drop after inspection or repair.
Note: Use the pressure on the vehicle placard, not the maximum pressure molded into the tire sidewall.
[Products Worth Considering]

The GOOLOO A6 Gear delivers rapid, cordless inflation with a powerful 21,000 RPM motor and up to 160 PSI, inflating car tires in under a minute. Its 7500mAh battery provides up to 45 minutes of operation and fast Type‑C charging, while preset modes and multi‑unit options ensure precise control for cars, bikes, and balls. Integrated LED flashlight and smart auto shut‑off add safety and convenience for emergencies.

The Milton 555e digital tire inflator delivers fast, accurate pressure readings with a backlit display and multiple unit options, making tire inflation quick and easy. Its durable 20" EPDM rubber hose and grip‑head chuck provide reliable connection, while the ±1 PSI accuracy ensures precise inflation for cars, bikes, and trucks.

The CRAFTSMAN 3-in-1 tire inflator combines a high‑pressure air compressor, car vacuum, and dust blower into one compact tool, delivering up to 160 PSI for quick tire inflation and powerful suction for interior cleaning. Its dual power options—20 V cordless battery or 12 V car plug—provide flexibility for roadside emergencies or garage use, while the LCD display and LED light ensure precise control and visibility in low‑light conditions.
Locate the Leak: Valve, Tread, Bead, Rim
Check four common leak sources before you start repairs: the valve, tread, bead, and rim. This order helps you find simple causes first and avoid extra work.
- Check the valve first. Look for corrosion, cracks, loose cores, or damage around the valve stem.
- Inspect the tread second. Look for nails, screws, glass, cuts, or small punctures in the main tread area.
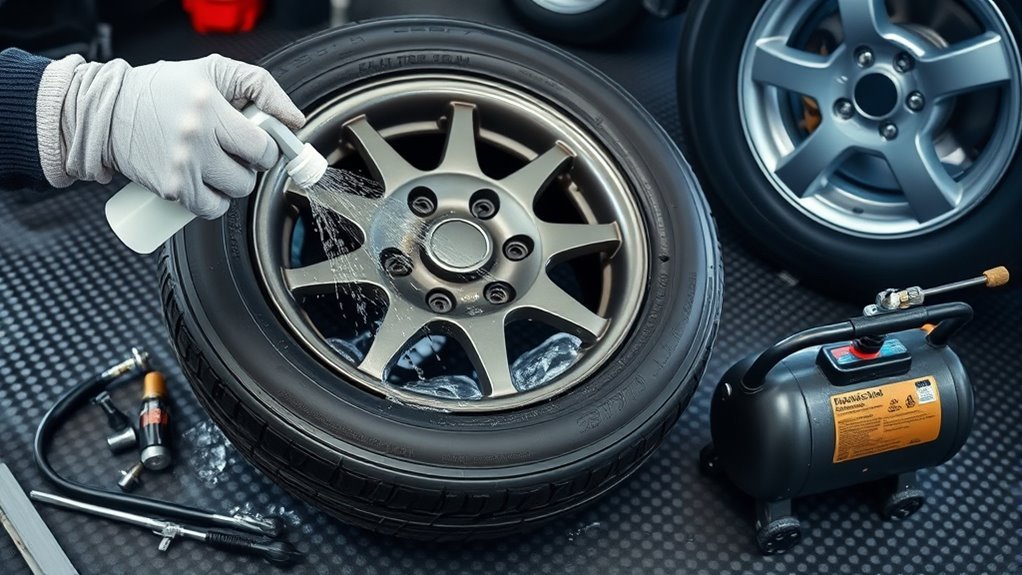
- Check the bead next. Spray the area where the tire meets the rim and look for bubbles.
- Inspect the rim last. Look for bends, cracks, curb damage, or corrosion that can break the air seal.
Spray soapy water on each area and wait a few seconds. New bubbles that keep forming show the leak point.
[Products Worth Considering]

The AIRSURE portable tire inflator delivers 150 PSI, inflating tires three times faster than standard pumps while featuring a real‑time LCD display and auto shut‑off for safety. It includes a USB charging port and LED light for emergencies, and works with cars, bikes, motorcycles, and sports balls, making it a versatile companion for road trips and outdoor adventures.

The BLACK+DECKER 20V Cordless Inflator offers versatile power options—120V AC, 12V car, and 20V battery—to inflate tires, sport balls, and large inflatables quickly. Its digital gauge and automatic shutoff ensure precise pressure control, while the high‑volume hose speeds up inflating bigger items. Includes multiple adapters for ball needles, Presta valves, and large hoses, making it a complete solution for home, road, and outdoor use.
Fixing Slow Tire Leaks: Valve, Puncture, Bead and Rim Repairs
Once you find the leak source, match the repair to the part that failed. Use a repair that suits the tire location and damage size.
| Component | Action | When to seek pro |
|---|---|---|
| Valve stem | Replace | Corrosion or repeated leaks |
| Puncture | Patch or plug | Over ¼ inch or sidewall damage |
| Bead seal | Clean and apply sealer | Persistent seepage |
| Rim damage | Reseat or replace | Cracks or major bends |
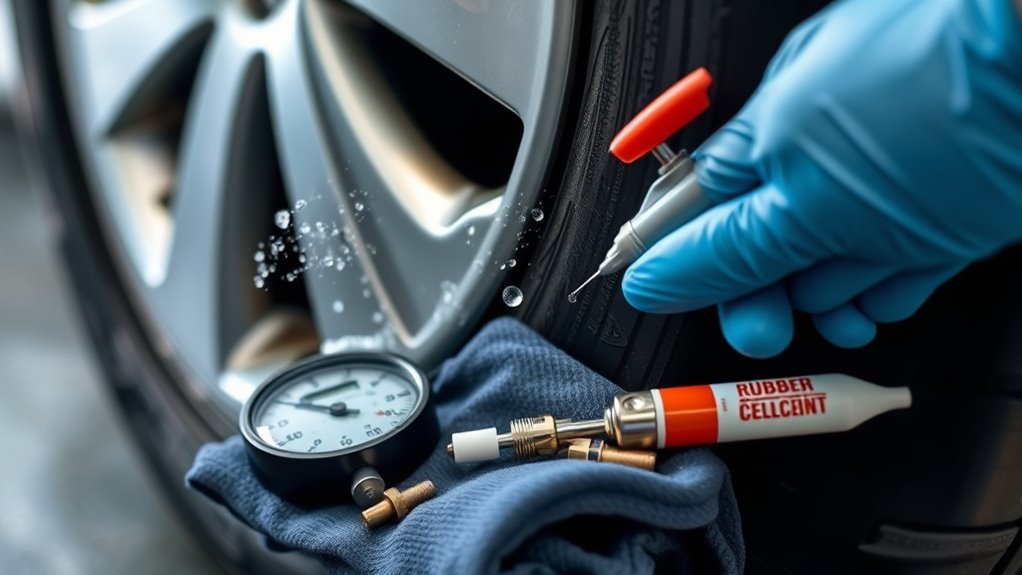
Replace a cracked, corroded, or leaking valve stem. For a small tread puncture under ¼ inch, remove the object, clean the hole, and use a proper patch or plug kit.
Do not repair a sidewall puncture or a large tread hole at home. Those failures need a trained technician, and the tire may need replacement.
Clean the bead area if bubbles form where the tire meets the rim. Remove debris and corrosion, then use bead sealer only for minor leaks.
Inspect rim damage with care. Minor corrosion may allow reseating and sealing, but cracks or major bends call for wheel replacement.
Temporary Sealants, Spare Tires, and When to See a Pro
A temporary sealant can help with some small tread punctures, but it should not replace a proper repair. Follow the sealant maker’s directions, re-inflate the tire, and drive only as needed to reach a shop.
Sealant may not work on large punctures, sidewall damage, bead leaks, or cracked rims. It can also make later repair messier, so tell the technician that you used it.
- Use sealant only as the product label directs.
- Monitor pressure after sealant use and stop driving if pressure drops fast.
- Switch to a spare tire if the tire loses air quickly or looks unsafe.
- Repair or replace the tire professionally if leakage continues.
- Inspect your spare tire regularly so it works when you need it.
See a pro if you can’t find the leak, the same tire keeps losing air, or you notice vibration after repair. You should also get help for rim damage, sidewall cuts, bulges, or punctures near the tire shoulder.
Common Mistakes When Fixing a Slow Tire Leak
Avoid guessing at the leak source. You can waste time and still miss the real problem if you skip the soapy water test.
- Do not check pressure right after a long drive.
- Do not plug a sidewall puncture.
- Do not ignore corrosion around the bead or valve stem.
- Do not rely on sealant as a long-term fix.
- Do not drive on a tire that keeps dropping pressure after repair.
Small leaks often return when the repair does not match the cause. Recheck pressure the next day and again after a few normal drives.
Frequently Asked Questions
Can a Very Slow Tire Leak Be Fixed?
Yes, you can often fix a very slow tire leak. A valve leak, small tread puncture, bead leak, or minor rim corrosion may only need a targeted repair. Sidewall damage, large punctures, cracks, or repeat leaks need professional service.
What Can I Put in My Tire for a Slow Leak?
You can use tire sealant options like Slime or Fix-a-Flat as short-term aids for some small tread punctures under ¼ inch. Check compatibility with your tire and tire pressure monitoring system before use. Monitor pressure and plan a proper repair as soon as you can.
How Much Does It Cost to Get a Slow Tire Leak Fixed?
You may pay about $10 to $150, depending on the cause, shop rates, and tire condition. A valve stem or tread patch often costs less than rim repair. Ask the shop for a diagnosis before you approve a full tire replacement.
Can You Drive With a Slow Tire Leak?
You can drive a short distance only if the tire still holds the recommended pressure and shows no visible damage. Reinflate it before driving and watch for pressure loss. Do not keep driving if the tire drops fast, looks low, or triggers repeated TPMS warnings.
How Do You Know if the Rim Causes the Leak?
Spray soapy water around the rim edge and valve area. If bubbles form where the tire bead meets the rim, corrosion, dirt, or damage may break the seal. A bent or cracked rim needs professional inspection.
Conclusion
A slow tire leak needs quick attention because a small pressure drop can become a safety problem. Start with a cold pressure check, use soapy water to find the leak, and repair only damage that fits safe repair limits. Replace the tire or wheel when the damage sits in the sidewall, looks structural, or keeps coming back. A steady tire keeps your car safer, smoother, and ready for the next drive.
References
- Tires — National Highway Traffic Safety Administration
- Tire Safety: Everything Rides on It — National Highway Traffic Safety Administration
- Buying and Maintaining Tires — National Highway Traffic Safety Administration
Related Articles
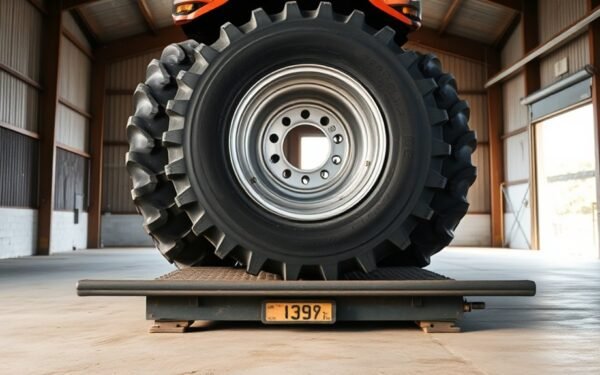
How Much Does a Tractor Tire Weigh? Exact Weight Guide
Discover how tractor tire weight varies from 300 to 1,000 pounds, and why your exact setup could change everything.
Read More
How Much Does a Car Tire Weigh? Weight Breakdown by Category
Tire weights vary widely by category, and the numbers may surprise you when you compare passenger, SUV, motorcycle, and heavy-duty options.
Read More
What Is a Tire Made Of? Inside the Materials & Construction
How tires combine rubber, steel, cords, and additives to boost grip and durability may surprise you—find out what each layer really does.
Read More