
How to Use Tire Sealant for Car Tires: Does It Work?
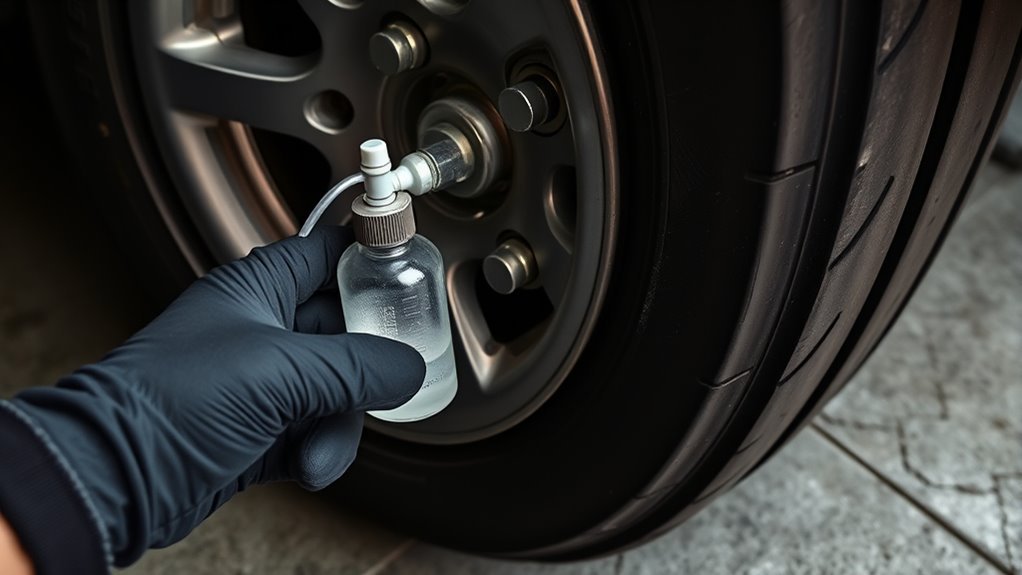
Tire sealant can help you get moving again after a small tread puncture, but it is a temporary roadside fix, not a permanent tire repair. Use it only when the damage is in the tread area, the tire can still hold air after inflation, and the product label says it matches your tire, wheel, and TPMS setup.
Quick Answer
Use tire sealant only for small tread punctures, usually up to about 1/4 inch or 6 mm. Do not use it on sidewall damage, blowouts, shredded tires, or a tire that will not inflate. Apply the sealant exactly as the label says, inflate to the vehicle placard PSI, drive briefly to spread the sealant, then go to a tire shop.
Key Takeaways
- Tire sealant is best for small punctures in the tread, not sidewalls, shoulders, blowouts, or structural damage.
- Most professional repair guidance limits repairable tread punctures to 1/4 inch or 6 mm; many sealant kits use the same limit.
- Always inflate to the vehicle manufacturer’s recommended cold tire pressure on the door-jamb placard, not the maximum PSI on the tire sidewall.
- Drive slowly after using sealant. Many OEM kits limit speed to about 50 mph, but your product label or owner’s manual is the final authority.
- Tell the tire technician you used sealant, because the tire may need cleaning, TPMS inspection, or replacement instead of repair.
At a Glance
| Time Required | 10–25 minutes, plus the short drive needed to distribute the sealant |
| Difficulty | Easy, if the puncture is small and the tire can inflate |
| Tools Needed | Tire sealant or mobility kit, air compressor or inflator, tire pressure gauge, gloves, and a valve-core tool if your product requires one |
| Cost | Usually low to moderate; aerosol cans are cheaper, while compressor kits cost more but are more useful for a low tire |
Quick Emergency Checklist: Should You Use Tire Sealant Now?

Before you open the bottle or can, make a quick safety decision. Tire sealant is reasonable only when the tire has a small puncture in the tread area and the sidewall still looks normal. Industry repair guidance from the U.S. Tire Manufacturers Association says professional puncture repairs should be limited to the tread area and to injuries no larger than 1/4 inch or 6 mm.
Warning: Do not use sealant if the tire has a sidewall cut, shoulder damage, a bubble, exposed cords, a blowout, a separated tread, damage from driving flat, or a puncture larger than the product limit. Install the spare or call roadside assistance instead.
- Use sealant if: the hole is in the tread, the puncture is small, the wheel is not damaged, and the tire can be inflated.
- Do not use sealant if: the sidewall is damaged, the tire came off the rim, the tire is shredded, the leak is too large, or the tire loses pressure again quickly.
- Check your spare: if you have a safe spare tire and tools, changing the tire may be better than using sealant.
- Check the label: confirm the product is made for your vehicle tire type, wheel, valve stem, and tire-pressure monitoring system.
- Plan the next stop: sealant should get you to a tire shop, not back to normal driving for days.
[Products Worth Considering]

This AUTOWN flat tire repair kit is designed for quick, reliable puncture repairs using a plug kit and spiral probe tool to simplify installation. Built for durability and safe handling, it offers strong adhesion and flexibility to help maintain tire air tightness. With a portable storage case and a multi-vehicle approach, it’s suitable for cars, motorcycles, ATVs, tractors, lawn mowers, RVs, jeeps, and trucks.

This portable cordless tire inflator delivers up to 160 PSI with fast 17 L/min airflow to help you quickly top up tires and get back on the road. It features dual power mode, running on a 21V rechargeable battery or a 12V DC adapter for convenient roadside use. An automatic shut-off with digital pressure gauge helps prevent overinflation, and a built-in LED light improves visibility in low-light conditions.

The JACO FlowPro Tire Inflator measures, inflates, and airs down tires up to 100 PSI with battery-free operation and ±2% accuracy after calibration. It features a glowing pressure dial for night visibility, a heavy-duty steel build with a hybrid hose, and a precision push-to-inflate thumb trigger. The patented Lightning Air Chuck locks on for a secure seal, and the kit includes quick-connect hardware for easy inline use with your air compressor.
What Tire Sealant Does: And When It Works
Tire sealant is a liquid compound that flows inside the tire and plugs a small puncture as air tries to escape. It works best when the hole is in the tread, the tire casing is still structurally sound, and the sealant can reach the leak. Sealant is not the same as a permanent plug-and-patch repair. A proper tire repair usually requires removing the tire from the wheel, inspecting the inside, filling the injury, and patching the inner liner.
How Sealant Plugs Holes
When the tire rotates, the sealant spreads across the inside of the tread area. Air pressure pushes the liquid toward the puncture, where fibers, rubber particles, latex, or other sealing ingredients gather and form a temporary plug. Some products also inflate the tire; others only seal and require a separate compressor.
Sealant can keep air in the tire long enough to reach service, but it does not rebuild damaged cords, belts, sidewalls, or bead areas. That is why even a successful sealant repair still needs a professional inspection.
Limits And Puncture Size
Most automotive sealants and mobility kits are designed around small tread punctures from nails, screws, glass, or similar road debris. Several tire and vehicle manufacturers use about 6 mm, or 1/4 inch, as the practical upper limit for sealable tread damage. Continental’s ContiMobilityKit, for example, is described for tread punctures up to 6 mm, while Ford owner guidance tells drivers not to use its kit for punctures larger than about 0.24 inch or for sidewall damage.
- For small tread punctures: sealant may restore temporary mobility if the tire inflates and holds pressure.
- For punctures near the product limit: a compressor kit is usually more useful than an aerosol can because it can reinflate the tire after the sealant is added.
- For sidewall or shoulder damage: sealant is not safe because it cannot restore structural strength.
- For any repaired tire: arrange professional inspection as soon as possible and follow the strictest speed and distance limit on the product label or owner’s manual.
Temporary Versus Permanent
Sealant is a mobility aid. A permanent tire repair is different. The U.S. Tire Manufacturers Association says a proper repair requires inspection from inside the tire and a repair that both fills the puncture injury and seals the inner liner; a plug alone is not acceptable.
| Feature | What It Means |
|---|---|
| Best damage type | Small puncture in the tread area |
| Common size limit | Up to about 1/4 inch or 6 mm, depending on product |
| Sidewall use | Not safe; replace or tow |
| Driving limit | Use the product label; many kits limit speed to about 50 mph |
| Final fix | Professional inspection, repair, or replacement |
Which Punctures and Tire Damage Tire Sealant Can (And Can’t) Fix
You can rely on tire sealant only for the narrow problem it is built for: a small tread puncture in a tire that is otherwise in good shape. You should not use it as a workaround for a damaged tire casing, bent wheel, broken valve stem, bead leak, or underinflation caused by a long-term maintenance problem.
Small Tread Punctures
A small puncture from a nail or screw in the central tread area is the best-case scenario. If the puncturing object is still in the tire, follow the product instructions. Some liquid sealant directions tell you to remove the object if possible; some OEM mobility kits tell you not to remove nails or screws before using the kit. When the label and general advice disagree, follow the label.
- Use sealant only if the damage is in the tread, not the sidewall or shoulder.
- Inflate to the recommended cold tire pressure listed on the vehicle placard.
- Drive the required short distance to spread the sealant.
- Stop, recheck pressure, and do not continue if the tire is losing air.
Sidewall And Large Holes
Sidewalls flex constantly and carry load differently than the tread area. A sealant plug in the sidewall does not restore the tire’s structure, so the tire can fail even if it briefly holds air. Large holes, long cuts, shoulder injuries, and impact damage also need professional service or replacement.
Note: A tire that was driven while flat may have hidden internal damage even if the outside looks fine. If you drove on the rim or the tire smoked, shredded, smelled hot, or showed a dark ring on the sidewall, do not rely on sealant.
When Not To Use Tire Sealant
Skip the sealant and use a spare or tow service when any of these are true:
- The tire sidewall is cut, bulging, cracked, or torn.
- The puncture is larger than the product’s limit.
- The tire is off the rim or the wheel is visibly bent.
- The valve stem is broken or leaking.
- The tire will not inflate within the time limit in the kit instructions.
- The compressor overheats, shuts off, or cannot build pressure.
- You feel vibration, wobbling, pulling, or unusual noise after sealing.
- Your vehicle is heavily loaded, towing, or far from a safe repair location.
Which Type to Choose: Pressurized Cans, Liquid Bottles, or Kits With Compressors
The right sealant depends on how flat the tire is, how much time you have, and what your vehicle manufacturer allows. Pressurized cans are quick and compact, but they are usually best for small leaks and may not bring a badly deflated tire up to full pressure. Liquid bottles need a separate inflator, but they can be easier to dose. Tire-sealant kits with compressors are the most complete emergency option because they add sealant and restore pressure.
- Pressurized cans: fastest for small punctures, but less useful for a tire that is very low or fully flat.
- Liquid bottles: good when you already have a compressor and can follow the dosage chart on the bottle.
- Compressor kits: best for emergency mobility because they seal and inflate in one process.
- OEM mobility kits: follow your owner’s manual because speed, distance, hose setup, and TPMS warnings vary by vehicle.
Pro Tip: Check the expiration date before you need the kit. Ford owner guidance warns that sealant canisters have a use-by date, and old sealant may fail when you need it most.
Check First: TPMS, Spare Status, Tire Type, and Safety Steps
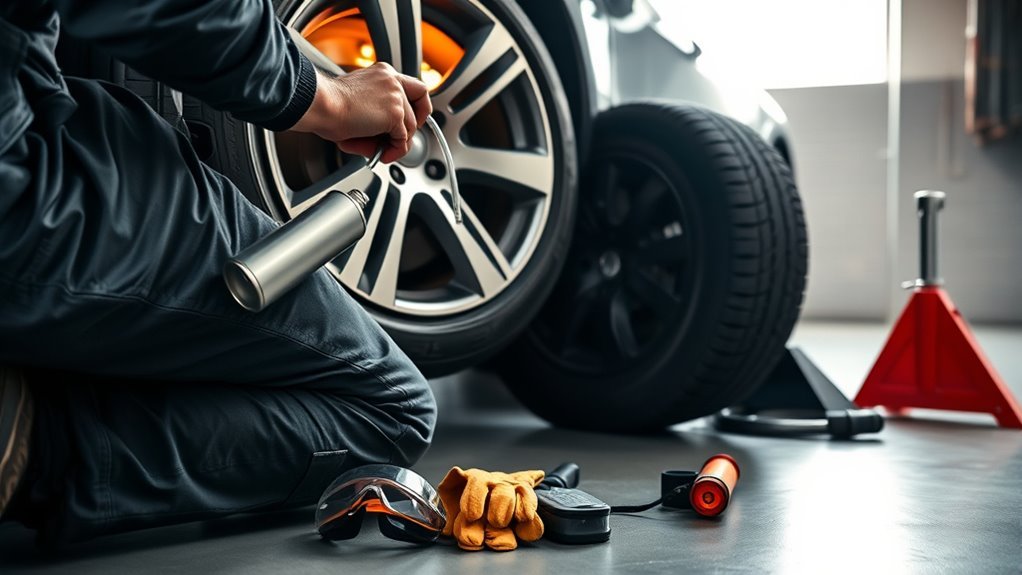
Before you use sealant, get the vehicle to a safe place. Pull well away from traffic, turn on hazard lights, set the parking brake, and keep passengers away from the roadway. Work on level ground if possible. If you must run the engine to power a compressor, do it only outdoors or in a well-ventilated place.
Next, check the tire-pressure monitoring system. Under federal TPMS rules, the system warns when one or more tires are significantly underinflated, but it is not a substitute for checking tire pressure manually. The TPMS regulation also states that tires should be checked monthly when cold and inflated to the pressure recommended on the vehicle placard or tire inflation label.
- TPMS: use only sealant labeled as compatible with your TPMS, and expect the sensor or valve stem to need inspection afterward.
- Spare tire: if you have a full-size spare or safe temporary spare, it may be the cleaner option.
- Tire type: most automotive emergency sealants are for passenger-car tubeless tires; tube-type, motorcycle, bicycle, trailer, and off-road tires may need different products.
- Run-flat tires: check the owner’s manual. If a run-flat was driven while underinflated, it may need replacement even if it looks normal.
- Pressure target: inflate to the door-jamb placard PSI, not the maximum PSI printed on the tire sidewall.
How to Use a Pressurized Can Safely (Step-by-Step)
A pressurized tire-sealant can is the fastest option, but the exact steps vary by brand. Read the can first. Do not remove the valve core unless the can’s instructions specifically tell you to do so.
Sealant buys time. It does not make a damaged tire safe for normal driving.
- Park safely. Move away from traffic, turn on hazard lights, set the parking brake, and inspect the tire.
- Confirm the damage is sealable. Use the can only for a small tread puncture within the product’s stated size limit.
- Shake and attach the hose. Remove the valve cap and thread or press the can hose onto the valve stem as directed.
- Dispense the sealant. Hold the can in the position shown on the label and empty the required amount.
- Check pressure. If the can does not inflate the tire enough, use a compressor if the product allows it.
- Drive to distribute. Drive the short distance required by the product so the sealant spreads inside the tire.
- Stop and recheck. Use a gauge. If the tire is still low or losing pressure, do not continue driving.
How to Use a Tire-Sealant Kit With Compressor (Step-by-Step)
A sealant kit with a compressor is more capable than a can because it can add sealant and then inflate the tire to the correct pressure. Many automakers supply these kits instead of spare tires, so the owner’s manual is the best guide for your exact model.
- Read the kit instructions first. Identify the sealant hose, air hose, selector switch, pressure gauge, and power plug.
- Inspect the tire. Do not use the kit on sidewall damage, large punctures, wheel damage, or a tire that has been driven flat.
- Connect the sealant hose. Attach it firmly to the valve stem. Some kits require the valve core to stay installed; others use a separate injector.
- Power the compressor. Plug it into the vehicle power outlet. Run the engine only if the manual says to and only in a ventilated area.
- Inflate with sealant. Watch the gauge. If pressure does not rise within the kit’s stated time, stop and call for help.
- Drive to spread the sealant. Follow the distance in your kit instructions. Slime’s bottle instructions say to drive about 0.2 miles, while some OEM kits specify several miles.
- Recheck and adjust pressure. Inflate to the vehicle placard pressure, then drive carefully to a tire service location.
Warning: Do not let a small compressor run longer than the manual allows. Ford guidance, for example, warns not to run the compressor continuously for more than 15 minutes to help prevent overheating.
[Products Worth Considering]

EVOULTES heavy duty tire inflator with an integrated gauge delivers accurate pressure readings from 10–120 PSI, helping you inflate, deflate, and check tires in one tool. The 16.5-inch extended dual-head air chuck with swivel base reaches hard-to-access dual wheel valves on trucks and RVs. A brass trigger core and side-mounted air release valve make operation smooth, with standard 1/4" NPT threading and quick-connect compatibility for easy setup.

This multi-function tire valve stem removal tool set makes it fast to remove, install, bleed, and clean valve cores for easier tire maintenance. It includes valve core removers, a 4-way spool tool, replacement valve caps, and spare cores to handle replacements and repairs with confidence. Universal compatibility suits cars, trucks, motorcycles, bicycles, and more for roadside convenience.
How Much to Use, How Far to Drive, and Recommended Speed Limits
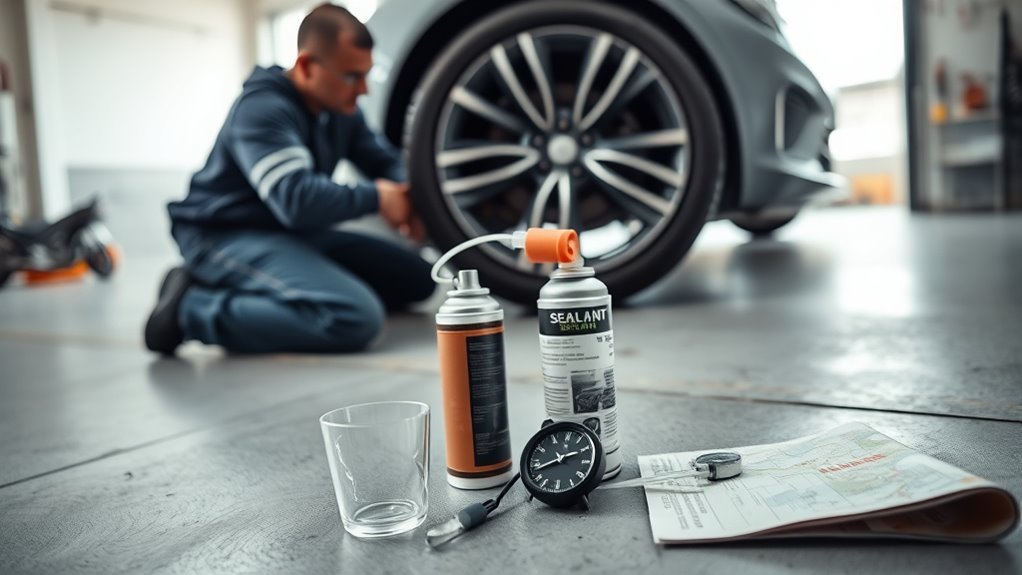
Use the amount printed on the product label or the chart on the bottle. Do not guess. Too little sealant may fail to plug the leak, while too much can make balancing and cleanup harder. Slime’s installation guidance tells users to use the chart on the bottle or its calculator, then inflate to the manufacturer’s recommended pressure and drive about 0.2 miles to spread the sealant.
Speed and distance limits vary by product. Some OEM kits allow up to about 120 miles at a maximum of 50 mph, while Continental lists up to 200 km at 80 km/h for its ContiMobilityKit. Slime’s yellow-label emergency sealant says to seek professional repair within 3 days or 100 miles. When limits differ, follow the stricter instruction on your product, kit, or owner’s manual.
| Item | Safe Rule |
|---|---|
| Sealant amount | Use the label, bottle chart, or kit instructions exactly |
| Inflation pressure | Use the vehicle placard PSI when cold |
| Distribution drive | Follow the product; it may be 0.2 miles, several miles, or a timed drive |
| Speed | Many kits limit speed to 50 mph; follow your kit |
| Distance | Drive only as far as needed to reach inspection or repair |
Troubleshooting After Using Tire Sealant
If the sealant does not work, stop early. Continuing to drive on a failing tire can damage the wheel, destroy the tire, or cause loss of control.
- The tire will not inflate: stop using the compressor and call roadside assistance. The puncture may be too large, the bead may be leaking, or the tire may be structurally damaged.
- Pressure drops after the distribution drive: add air only if the kit allows it, then recheck. If pressure keeps dropping, tow the vehicle.
- The TPMS light stays on: verify pressure with a gauge. The sensor may need reset, cleaning, inspection, or replacement.
- The vehicle shakes or pulls: slow down, pull over safely, and do not continue.
- Sealant leaks from the puncture: the hole may be too large or outside the sealant’s working area.
- The compressor overheats: turn it off and follow the cooling instructions in the manual.
Aftercare and Buying Guide: Best Situations, Top Kits, and Next Steps
After you use tire sealant, drive gently and go directly to a repair facility. Avoid hard braking, fast cornering, high speeds, heavy loads, and long highway trips. Check tire pressure again after the distribution drive, again after a few miles, and before driving the vehicle the next day if the tire has not already been inspected.
When you reach the shop, tell the technician exactly which sealant you used. The tire may need to be removed, cleaned, inspected for internal damage, and checked for TPMS contamination. A technician may repair the tire with an approved internal patch-plug repair if the injury is within repair limits, or recommend replacement if the damage is unsafe.
What To Look For When Buying Tire Sealant
- Correct tire type: choose a product made for passenger-car tires if that is what you drive.
- TPMS compatibility: look for clear tire-sensor-safe wording, then still plan for sensor inspection after use.
- Compressor included: a kit is more useful than sealant alone if the tire is very low.
- Clear speed and distance limits: avoid products that do not explain how far and how fast you can drive after use.
- Visible expiration date: expired sealant can thicken, separate, or fail.
- Replaceable sealant bottle: many kits are one-use for the sealant canister, even if the compressor can be reused.
Frequently Asked Questions
Do tire sealants really work?
Yes, tire sealants can work for small tread punctures when the tire is otherwise safe and the product is used correctly. They do not work reliably on sidewall damage, large cuts, bead leaks, blowouts, or tires damaged by driving flat.
What are the disadvantages of tire sealant?
The main disadvantages are that sealant is temporary, can fail on larger damage, can make later tire service messier, and may affect some TPMS sensors or valve stems. It also cannot reveal hidden internal damage, so the tire still needs professional inspection.
How long does tire sealant last after a puncture?
Emergency sealant should last only long enough to reach a repair shop. Some products state a limit such as 3 days or 100 miles, while some OEM mobility kits allow a longer emergency range. Use the strictest limit from the product label or owner’s manual.
Can you put sealant in car tires?
Yes, you can use automotive tire sealant in many passenger-car tires if the product is made for that tire type and the damage is a small tread puncture. Do not use a bicycle, off-road, tube, or non-highway formula in a car tire unless the label specifically allows it.
Should I remove the nail before using tire sealant?
Follow the instructions for your exact product. Some liquid sealant instructions say to remove the puncturing object if possible, while some vehicle mobility kits say not to remove nails or screws before sealing. If you are unsure, leave the object in and call roadside assistance or a tire shop.
Can a tire be permanently repaired after using sealant?
Sometimes. A shop must remove the tire, clean and inspect it, then decide whether the puncture is in the repairable tread area and within size limits. If the tire has internal damage, sidewall damage, overlapping repairs, or a large injury, replacement is safer.
Conclusion
Tire sealant can be a real lifesaver when you are stranded with a small tread puncture, but it should never be treated as a permanent fix. Confirm the damage is suitable, use the correct product, inflate to the vehicle placard pressure, drive slowly, and get the tire professionally inspected as soon as possible. If the damage is in the sidewall, the hole is large, or the tire will not hold air, skip the sealant and use a spare or tow service.
Sources
- U.S. Tire Manufacturers Association: Tire Repair Basics — repairable tread-area limits, 1/4 inch or 6 mm guidance, and proper plug-and-patch repair principles.
- eCFR: 49 CFR 571.138 Tire Pressure Monitoring Systems — TPMS warning function and guidance to check tires monthly and inflate to the vehicle placard pressure.
- Slime: How to Install Slime Tire Sealant — valve-core, dosage-chart, inflation, 0.2-mile distribution, and 3-day or 100-mile emergency repair guidance.
- Ford: Tire Inflator and Sealant Kit Support — OEM mobility-kit use, sidewall and puncture-size cautions, and temporary repair guidance.
- Continental Tires: ContiMobilityKit — example of an OEM-style compressor kit with 6 mm tread-puncture, 80 km/h, and 200 km temporary-mobility limits.
- Michelin: Selfseal Technology — tire-manufacturer example of sealing most nail and screw tread punctures up to 1/4 inch or 6 mm.

Related Articles
What Does THE P Stand For on a Tire? Full Meaning Explained
I’ll explain what the “P” on a tire really means and why it could change how you choose your next set.
Read More
How to Use a Tubeless Tire Repair Kit: Complete Field Guide
Learn how to fix tubeless tire punctures fast with the right kit, because one small mistake can leave you stranded on the trail.
Read More
How to Tell a Tire’s Diameter: Easy Guide to Reading Tire Size
Want to decode tire sidewall numbers and find the right diameter, but wonder what those hidden digits really mean?
Read More