
How to Change a Lawn Mower Tire Tube: DIY Guide
Last updated: July 7, 2026
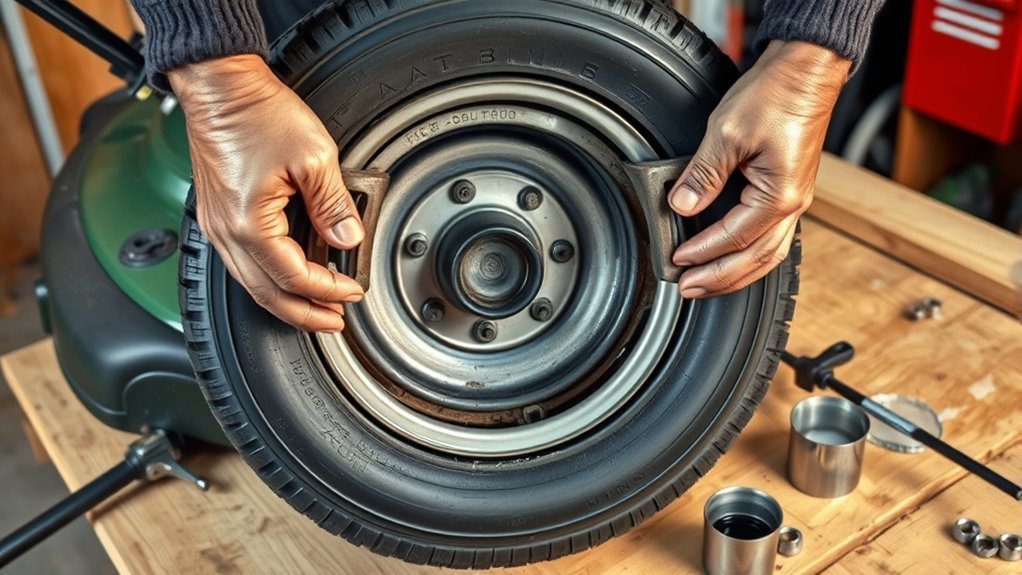
You can change a lawn mower tire tube at home if the tire, rim, and wheel are still in good condition. The safe process is to secure the mower, remove the wheel, deflate the tire completely, unseat one bead, replace the tube without pinching it, inflate gradually, and check for leaks before mowing again. Stop and use a mower dealer, tire shop, or small-engine repair shop if the rim is cracked, heavily rusted, bent, mismatched, or the bead will not seat at normal pressure.
Quick Answer
To change a lawn mower tire tube, park on level ground, remove the key, disconnect the spark plug wire or battery, block the mower, remove the wheel, fully deflate the tire, pry one bead off the rim, swap the tube, seat the bead, inflate slowly to the mower or tire specification, and check for leaks with soapy water.
Key Takeaways
- Replace the tube if it has sidewall damage, cracks, bulges, multiple leaks, or previous repairs that no longer hold air.
- Match the new tube to the tire size and valve-stem style printed on the tire sidewall or listed in your mower manual.
- Use soapy water or tire-mounting lubricant on the bead; avoid petroleum oils, grease, silicone sprays, flammable aerosols, and improvised bead-seating tricks.
- Inflate gradually, keep your face and body away from the tire, and never exceed the pressure limit shown on the tire sidewall or mower manual.
- If the rim is bent, badly rusted, split, mismatched, or the bead will not seat normally, stop and have the wheel serviced professionally.
At a Glance
| Time Required | 30–60 minutes for one tire |
| Difficulty | Moderate DIY job |
| Tools Needed | Jack or sturdy blocks, wheel chocks, socket wrench, pliers, tire spoons or smooth pry bars, valve-core tool, air gauge, air pump or compressor, soapy water, clean rags |
| Cost | Usually the cost of a replacement tube, plus any tools you do not already own |
| Do Not DIY If | The wheel is cracked, split, severely rusted, mismatched to the tire, or needs excessive pressure to seat the bead |
Before You Start: Is This a Safe DIY Mower Tire Tube Repair?
A mower tube replacement is a reasonable DIY job only when the tire casing, bead, and rim are serviceable. The tube holds air, but the tire and wheel still carry the load. A new tube will fail quickly if sharp rust, a cracked rim, a torn bead, or an embedded thorn remains inside the assembly.
Use this quick decision table before you remove the old tube.
| Condition | Best Next Step | Why It Matters |
|---|---|---|
| One small puncture in an otherwise good tube | Patch may work | A clean tread-side puncture can often seal with a proper tube patch |
| Cracked, folded, bulged, or valve-stem-damaged tube | Replace tube | Old rubber and stem tears usually fail again after inflation |
| Sound tubeless tire that slowly leaks | Tube may be acceptable | The tube can hold air only if the casing, bead, and rim are not damaged |
| Torn bead, cracked sidewall, separated casing, or dry-rotted tire | Replace tire | A tube cannot make a damaged tire safe or reliable |
| Bent, cracked, split, or heavily rusted rim | Get professional service | The rim can cut the tube or fail during inflation |
[Products Worth Considering]
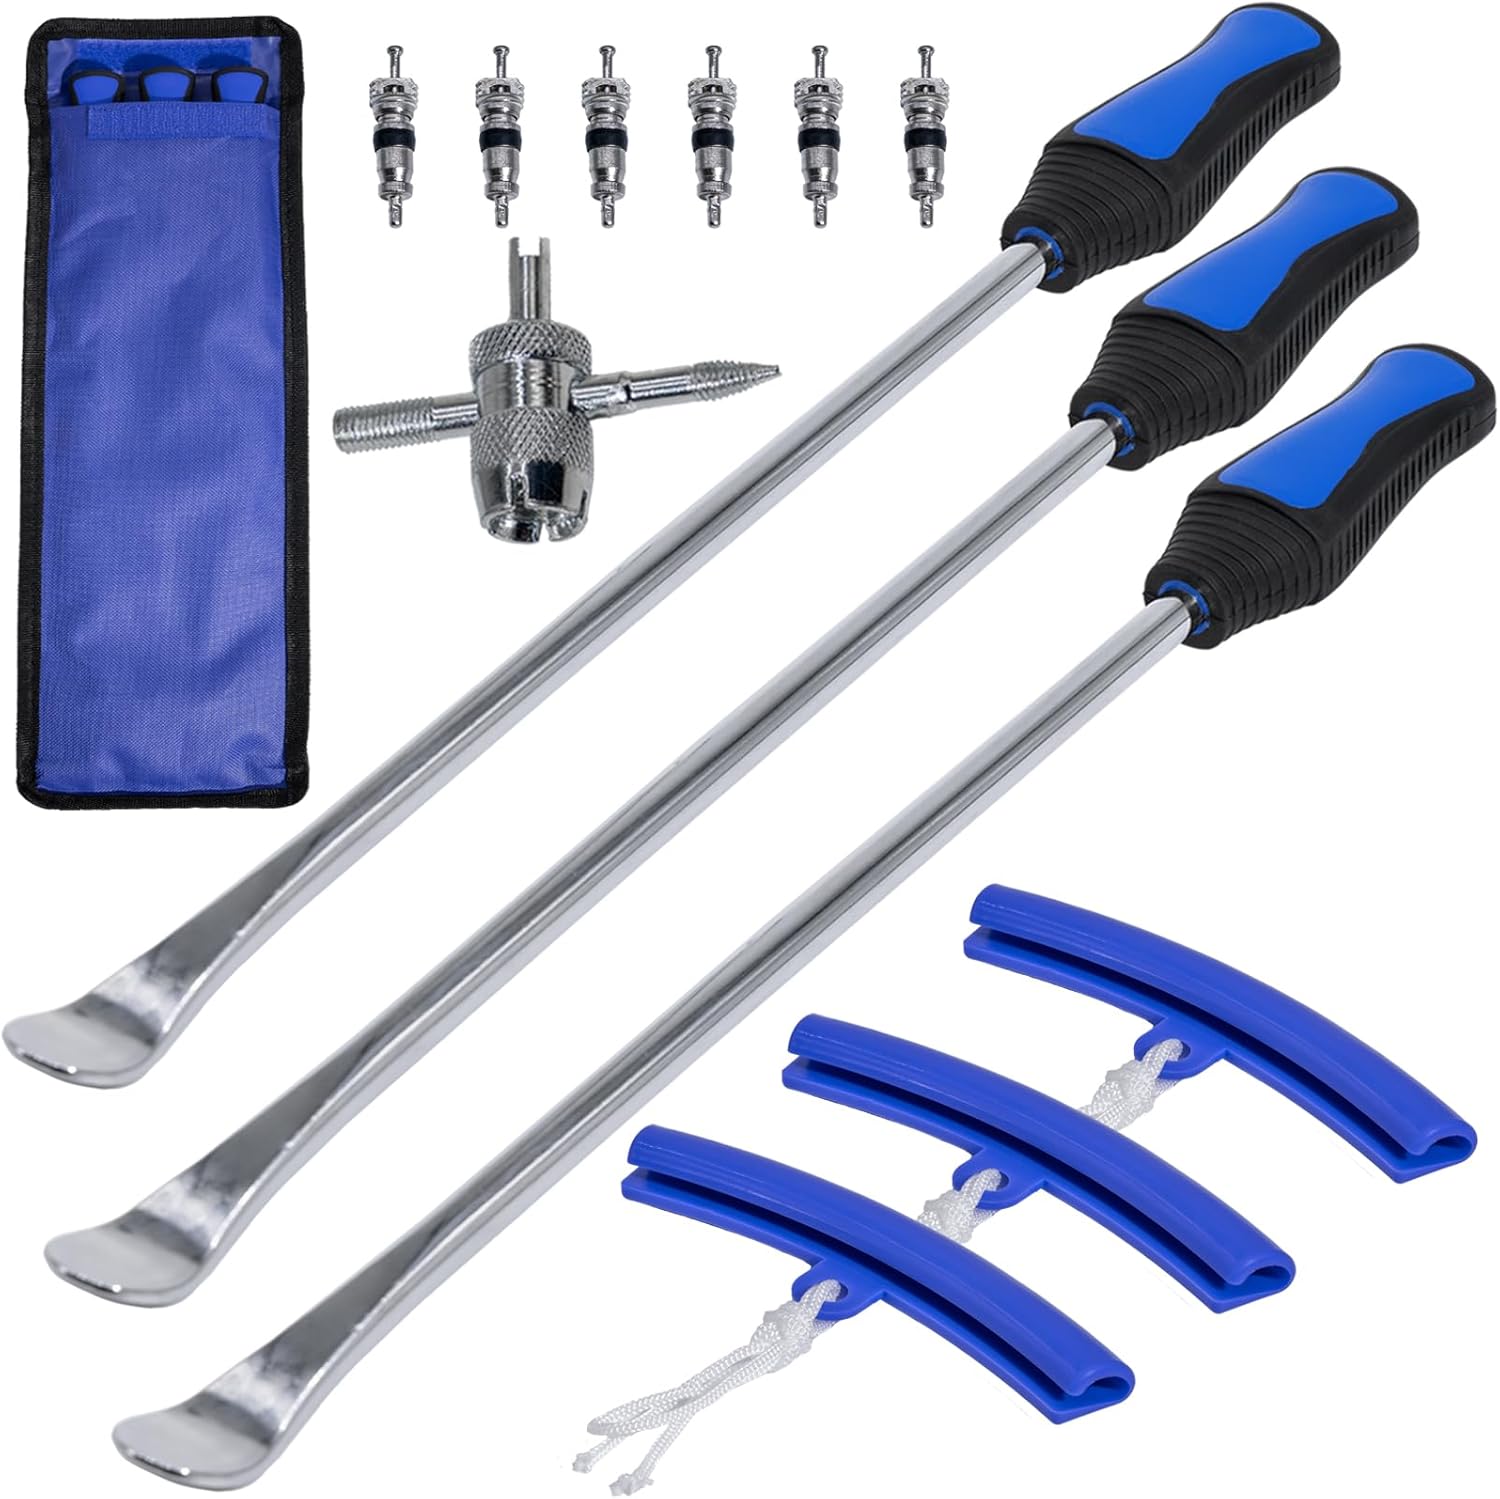
This tire spoon set helps you remove and install motorcycle, dirt bike, lawn tractor, and bicycle tires with extra leverage from a 14.5-inch spoon length. The kit includes tire removal tools, rim protectors, and a valve tool to simplify repairs and help protect rims during changing. Designed for quick, on-the-go service, it’s convenient for garage work, trails, and track-side fixes.

This VEVOR tire bead breaker uses a slide-hammer impact and wedge tip to separate tire beads from rims quickly and efficiently without damaging hub surfaces. The long handle and sturdy steel construction help reduce user strain while providing reliable, portable tire changing for cars, trucks, and more. Ideal for home mechanics and repair shops handling multiple vehicle tire sizes.

This 4-in-1 tire valve core removal tool helps you deflate, unblock, and remove or install valve cores quickly for easier tire repair. The multifunction design also supports re-taping damaged threads and reaming inside the valve stem for smoother service. Included as a 2-pack, it’s compact for convenient carry and works for cars, bicycles, and motorcycles.
When to Repair vs Replace a Lawn Mower Tire Tube
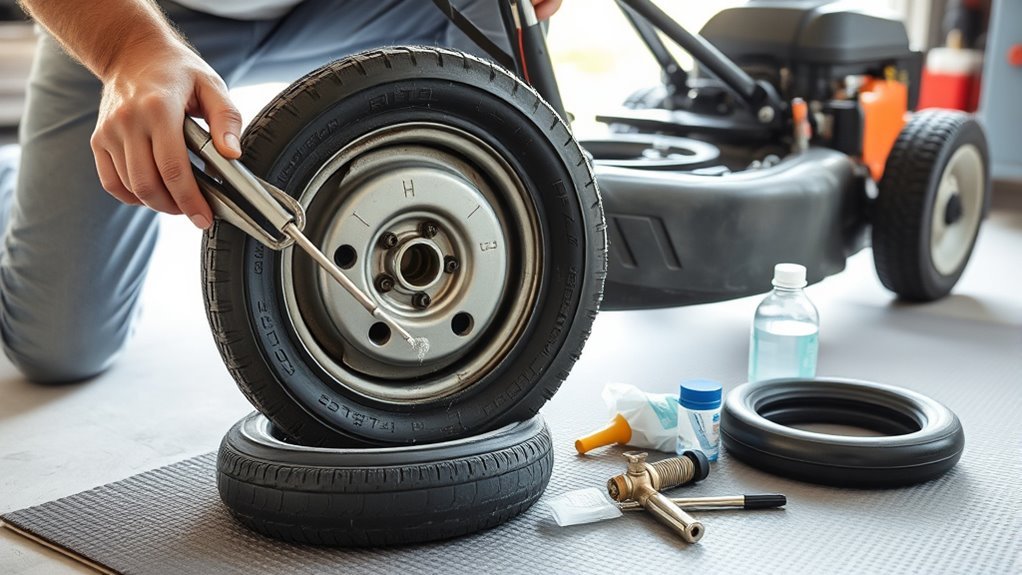
Decide whether to repair or replace a lawn mower tire tube by looking at the damage, the tube’s age, and how reliable the repair needs to be. A small, clean puncture on the tread-facing side of the tube may be patchable with a tube repair kit. Replace the tube if you find multiple leaks, a tear near the valve stem, sidewall cuts, dry cracks, folds, bulges, or patches that have already failed.
Before buying a tube, read the tire size molded into the tire sidewall. Common mower tire markings look like 15×6.00-6, 18×8.50-8, or similar. The replacement tube must match the tire size range and valve-stem type. If your mower manual lists a specific wheel, tire, or tube part number, follow the manual first.
Note: A tube can help a tubeless mower tire hold air when the tire casing is still sound, but it will not fix a cracked tire, a damaged bead, or a rusty rim that cuts the tube.
Gather Tools & Parts for Changing a Mower Tube
Gather your parts and tools before you lift the mower. You will need a jack or sturdy blocks, wheel chocks, a socket wrench set, pliers for retaining clips, tire spoons or smooth pry bars, a valve-core tool, a compatible replacement tube, an air gauge, soapy water or tire-mounting lubricant, and a clean container for wheel nuts, washers, clips, and valve parts.
Check your mower’s operator manual for the recommended lift points, wheel hardware, and tire pressure. Many manufacturers provide model-specific manuals through official manual lookup pages such as Toro Parts & Manuals, Cub Cadet Operator’s Manuals, and Briggs & Stratton Manuals.
The most important fitment check is simple: match the tube to the tire size and valve type before you take the old tube out.
| Fitment Check | Where to Look | What to Match |
|---|---|---|
| Tire size | Tire sidewall or mower manual | Tube size range must include the tire size |
| Valve style | Old tube and rim hole | Straight or bent stem, plus stem length and angle |
| Pressure limit | Tire sidewall and mower manual | Use the lower applicable limit; do not force bead seating with extra pressure |
| Wheel hardware | Axle, washers, spacers, clips, and manual | Replace missing, bent, or corroded hardware before mowing |
- Confirm the tire size, tube size range, and valve-stem position.
- Use tire spoons if you have them; sharp screwdrivers can pinch the new tube or gouge the rim.
- Keep a clean rag nearby to wipe grit from the rim and tire bead.
- Have soapy water ready for bead lubrication and leak checking.
Safety Setup: Secure Mower, PPE, and Workspace Checklist
Park the mower on a flat, solid, well-lit surface. Shut the engine off, remove the key, engage the parking brake, and let hot engine parts cool. For a gasoline mower, disconnect the spark plug wire before working near the wheels or deck. For a battery-powered mower, remove the battery or follow the manufacturer’s service-disconnect procedure.
Block the wheels that stay on the ground so the mower cannot roll. Lift only at the frame or lift points recommended by the manufacturer, then support the mower with sturdy blocks or jack stands. Never rely on a hydraulic jack alone while your hands are near the wheel or under the mower.
Warning: Pressurized tires can fail suddenly. Keep your face and body away from the tire while inflating, inflate in short bursts, and never exceed the inflation pressure printed on the tire sidewall or listed in the mower manual.
Wear gloves and safety glasses. Clear away loose tools, toys, grass clippings, and trip hazards. Set the wheel nuts, washers, clips, and valve parts in a small container so nothing gets lost during the repair.
How to Remove the Wheel, Deflate the Tire, and Open One Bead
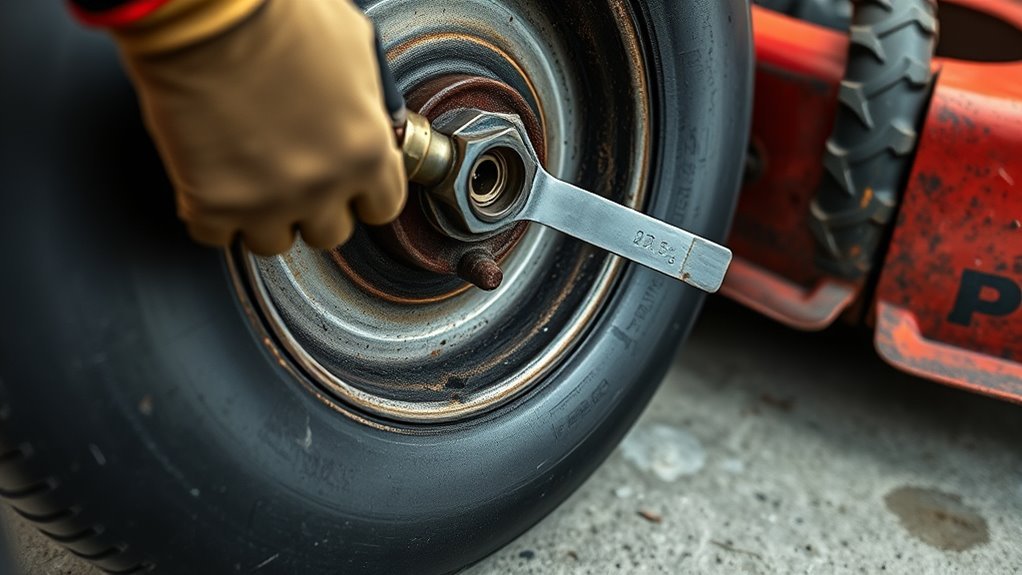
Raise and stabilize the mower just high enough for the tire to clear the ground. Remove the wheel with the correct socket or wrench. If the wheel uses a retaining clip, remove it carefully with pliers while supporting the wheel so it does not fall off the axle.
Remove Wheel Safely
Loosen the wheel hardware before lifting if the wheel spins while raised. Once the mower is supported, remove the nuts, washers, or retaining clip, then slide the wheel off the axle and set it on a clean work surface. Inspect the axle area and hardware as you go. Replace missing, bent, or badly corroded hardware before reassembly.
- Use the right socket size so you do not round off the wheel nuts.
- Keep track of washers, spacers, clips, and valve caps.
- Clean mud and grass from the rim before opening the tire.
Deflate and Pry
Fully deflate the tire before prying on the bead. Remove the valve cap, then use a valve-core tool to remove the valve core. If you do not have a valve-core tool, depress the valve pin until all air is out, but a valve-core tool makes the job safer and faster.
Spray soapy water around the tire bead where it meets the rim. Press the bead down into the center channel of the rim. Use tire spoons or smooth pry bars to lift only one side of the tire bead over the rim edge. Work in small sections and keep the opposite side of the bead pushed into the rim’s drop center so you do not need excessive force.
| Step | Tool | What to Check |
|---|---|---|
| Elevate mower | Jack and blocks or stands | Mower is stable and cannot roll |
| Remove wheel | Socket wrench and pliers | Hardware is stored safely |
| Deflate tire | Valve-core tool | No air remains in the tube |
| Unseat one bead | Tire spoons or smooth pry bars | Rim and bead are not gouged |
Pro Tip: If the bead is stubborn, add more soapy water and work around the rim gradually. Forcing one spot usually bends the rim, tears the bead, or pinches the tube.
Inspect the Tire and Rim Before Installing the New Tube
After one bead is off the rim, pull the old tube out carefully. Do not install the new tube yet. First, inspect the inside of the tire and the rim because the object that punctured the old tube may still be there.
- Run a gloved hand slowly inside the tire to feel for thorns, wire, nails, sharp rubber edges, or embedded debris.
- Check the rim for rust flakes, burrs, dents, cracked welds, or a sharp valve-stem hole.
- Clean the rim with a rag and remove loose rust or dirt that could rub through the new tube.
- Look at the tire bead. If it is torn, stretched, or separating, replace the tire instead of installing a tube.
If the rim is badly rusted, cracked, bent, or split, do not try to make the tube compensate for the damage. A damaged rim can cut the tube and may fail during inflation.
[Products Worth Considering]

This multi-function tire valve stem removal tool set makes it fast to remove, install, bleed, and clean valve cores for easier tire maintenance. It includes valve core removers, a 4-way spool tool, replacement valve caps, and spare cores to handle replacements and repairs with confidence. Universal compatibility suits cars, trucks, motorcycles, bicycles, and more for roadside convenience.

This dual head and ball air chuck set provides closed-flow tire inflation that routes air only through the chuck engaged with the valve. It includes both dual-head and ball-head chucks plus quick plug fittings for easy, fast connections to air lines and compressors. Built for reliable, leak-resistant operation, it’s ideal for filling Schrader valves on bikes, motorcycles, cars, trucks, and more.
Install and Seat the New Lawn Mower Tube Correctly
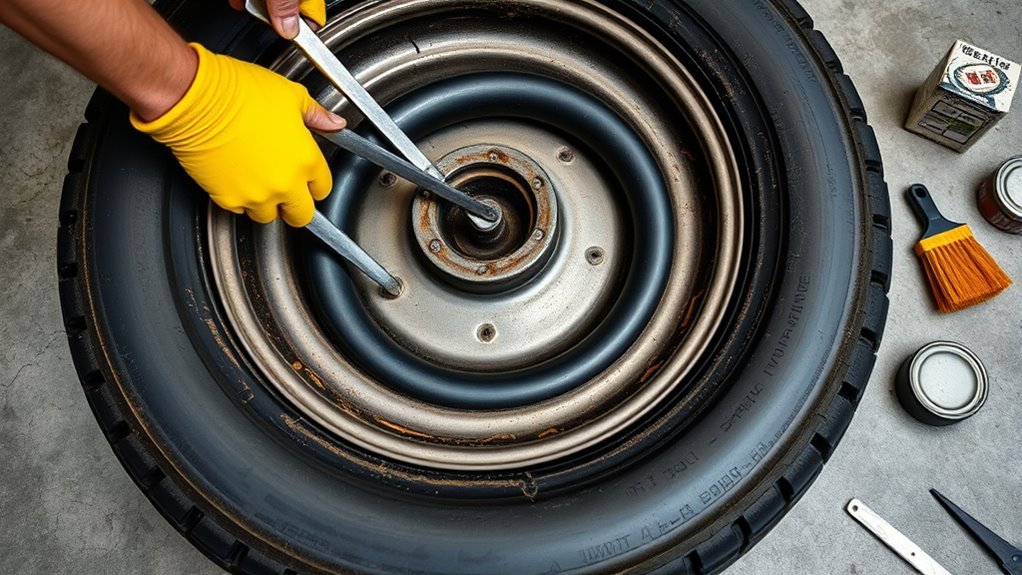
Lightly inflate the new tube just enough for it to take shape. This helps prevent folds and twists. Feed the valve stem through the rim hole and install the valve-stem nut only finger-tight, if your tube uses one. Do not crank the nut down against the rim because that can stress the stem as the tube settles.
Position Tube Stem Properly
Align the tube so the valve stem sits straight through the rim hole. If the tube has an offset valve stem, match the stem position to the rim hole before seating the bead. A crooked stem can tear during inflation or later while the tire flexes under load.
- Place the lightly inflated tube inside the tire with no twists.
- Guide the valve stem through the rim hole and hold it straight.
- Work the tube evenly around the inside of the tire.
- Press the bead down by hand where possible before using tire spoons.
Avoid Pinching the Tube
Apply soapy water or tire-mounting lubricant to the bead. Use tire spoons gently and take small bites of the bead. Keep the spoon tips against the tire bead and rim edge, not deep inside where they can catch the tube. Stop often and press around the tire to make sure the tube is not trapped between the bead and rim.
| Action | Checkpoint |
|---|---|
| Valve stem | Straight, not pulled sideways |
| Tube position | No twists, folds, or bulges |
| Bead lubrication | Soapy water applied evenly |
| Tool pressure | Gentle, small movements around the rim |
Inflate Gradually and Check
Once the bead is back on the rim, install the valve core and add air in short bursts. Watch both sides of the bead as the tire expands. The bead should rise evenly around the rim. If one area bulges or the stem starts to lean, stop, deflate the tire, reposition the tube, relubricate the bead, and try again.
- Use an air gauge instead of guessing by feel.
- Inflate to the pressure recommended in the mower manual or on the tire sidewall.
- Never exceed the maximum pressure printed on the tire sidewall.
- Keep hands, face, and body out of the tire’s path while seating the bead.
- Never use heat, starting fluid, flammable aerosol, petroleum lubricant, or hammering to force a bead into place.
Inflate, Torque, and Post-Install Leak Checks
After the bead is seated and the tire is at the correct pressure, spray soapy water around the valve stem, bead area, and any suspicious spots. Bubbles that keep growing indicate a leak. Tighten the valve core if bubbles appear at the valve, or deflate and reseat the tube if bubbles appear around the bead or stem base.
Reinstall the wheel on the axle. Tighten the wheel hardware evenly and follow the mower manual for any model-specific torque requirement. If the manual does not list a torque value for your wheel hardware, tighten the fasteners securely without stripping the threads, then recheck them after the first short test drive.
Note: Tire pressure affects cut quality on many riding mowers. Uneven left-to-right pressure can make the deck cut unevenly, so check both tires on the same axle after repairing one tube.
Troubleshooting Leaks, Common Problems, and When to Get Help
If the tire still loses air after the tube change, troubleshoot before reinstalling the mower deck shields or mowing. Inflate the tire to the correct pressure, spray soapy water across the valve stem, bead, tread, and sidewall, and look for steady bubbles.
- Bubbles at the valve core: Tighten or replace the valve core.
- Bubbles at the valve-stem base: The tube may be twisted, pinched, or torn near the stem.
- Bubbles around the bead: The bead may not be seated, or debris may be trapped between the tire and rim.
- Air loss with no visible bubbles: Remove the wheel and inspect the tube for a small pinch, thorn, or seam leak.
- Repeated tube failures: Check for a sharp rim hole, rust scale, tire-casing damage, or using the wrong tube size.
| Mistake | Likely Result | Better Fix |
|---|---|---|
| Skipping the inside-tire inspection | The new tube punctures again | Feel inside the tire with a gloved hand and remove debris |
| Using a screwdriver as a tire iron | Pinched tube or gouged rim | Use tire spoons or smooth pry bars in small bites |
| Pulling the valve nut tight too early | Crooked or torn valve stem | Keep the stem straight and tighten only after the tube settles |
| Adding extra pressure to force the bead | Sudden bead or wheel failure | Deflate, relubricate, reposition, and get help if it still will not seat |
Get professional help if the bead will not seat at normal pressure, the rim is cracked or heavily corroded, the tire bead is torn, the tire casing is separating, or the wheel uses a rim design you are not familiar with. For safety, do not weld, heat, hammer, or modify an inflated wheel assembly.
Frequently Asked Questions
Can I change the inner tube without removing the wheel?
Sometimes, but it is harder and easier to do incorrectly. Removing the wheel gives you better control, lets you inspect the inside of the tire and rim, and reduces the chance of pinching the new tube. Leaving the wheel mounted is best reserved for experienced repair work where the wheel design allows safe access.
What tools do you need to change a lawn mower inner tube?
You need wheel chocks, a jack and sturdy blocks or stands, a socket wrench, pliers, tire spoons or smooth pry bars, a valve-core tool, soapy water or tire lubricant, an air gauge, and a matching replacement tube. Gloves and safety glasses are strongly recommended.
How do I know what size tube my lawn mower tire needs?
Read the tire size on the sidewall and choose a tube whose listed size range includes that tire size. Also match the valve-stem style, angle, and position. If your mower manual lists a specific part number, use that specification instead of guessing.
Can you put a tube in a tubeless lawn mower tire?
Yes, if the tire casing, bead, and rim are still sound. A tube can help a slow-leaking tubeless mower tire hold air, but it will not fix dry rot, bead damage, casing separation, a cracked rim, or rust that can cut the tube.
Should I use oil to help seat a lawn mower tire bead?
No. Use soapy water or a proper tire-mounting lubricant. Petroleum oils, grease, and silicone products can attack rubber or leave unsafe residue. Soapy water gives enough slip for seating and also helps you find leaks afterward.
Why does my new mower tube keep going flat?
Common causes include a thorn or wire still inside the tire, a rusty or sharp rim, a pinched tube, a crooked valve stem, a loose valve core, or the wrong tube size. Remove the wheel, inspect the tire and rim again, and use soapy water to locate the exact leak.
Do I need a bead breaker for a lawn mower tire?
Not always. Many small mower tires can be opened with soapy water, hand pressure, and tire spoons. A bead breaker, tire changer, or repair shop is safer when the bead is stuck, the rim is rusty, or you would need excessive force.
Conclusion
Changing a lawn mower tire tube is a practical DIY repair when the tire and rim are still serviceable. Work on level ground, secure the mower, fully deflate the tire, inspect the inside of the tire and rim, install the correct tube without twists or pinches, and inflate gradually while watching the bead. Finish with a soapy-water leak check, reinstall the wheel securely, and recheck pressure after the first use.
If anything looks cracked, badly rusted, bent, mismatched, or unsafe, stop and take the wheel to a mower dealer, tire shop, or small-engine repair shop. A new tube is inexpensive, but forcing a damaged wheel assembly back into service can lead to repeat flats or injury.
Sources
- OSHA Safety and Health Information Bulletin: Hazards while Servicing Light Truck, Automobile, and Other Small Tires — supports warnings about bead seating, mismatched tire-and-rim hazards, recommended inflation limits, and pressurized tire hazards.
- U.S. Tire Manufacturers Association Tire Information Service Bulletin — supports safe bead seating practices, gradual inflation, approved lubrication, and keeping away from the tire during inflation.
- Toro Parts & Manuals — supports checking model-specific manuals for tire pressure, parts, and maintenance instructions.
- Cub Cadet Operator’s Manuals — supports using the model and serial number to find the correct operator manual.
- Briggs & Stratton Manuals — supports consulting the correct equipment and engine manual before maintenance.

Related Articles
What Does THE P Stand For on a Tire? Full Meaning Explained
I’ll explain what the “P” on a tire really means and why it could change how you choose your next set.
Read More
How to Use a Tubeless Tire Repair Kit: Complete Field Guide
Learn how to fix tubeless tire punctures fast with the right kit, because one small mistake can leave you stranded on the trail.
Read More
How to Tell a Tire’s Diameter: Easy Guide to Reading Tire Size
Want to decode tire sidewall numbers and find the right diameter, but wonder what those hidden digits really mean?
Read More