
How to Install Tubeless Tires on a Bicycle (Full Guide)
You’ll set up a reliable tubeless bicycle tire by confirming rim and tire compatibility, cleaning and taping the rim, installing a snug tubeless valve, mounting the tire, adding the right sealant volume, seating both beads with fast airflow, and checking for leaks before you ride. The key is not brute force—it is clean tape, compatible parts, controlled inflation, and a careful pressure check after the sealant has had time to coat the bead and casing.
Quick Answer
To install a tubeless tire, use a tubeless-ready tire and rim, apply airtight rim tape, fit a tubeless valve, mount one bead, add sealant, close the second bead, then inflate rapidly until both beads seat. Spin, shake, and inspect the tire for leaks before setting your final riding pressure.
Key Takeaways
- Use tubeless-ready tires, rims, valves, and rim tape unless the rim or tire maker specifically approves another setup.
- Choose rim tape that fully covers the spoke holes and seals cleanly against the rim bed; many setups work best with tape about 2–5 mm wider than the internal rim width.
- Sealant volume depends on tire size: road tires often need less, while gravel and mountain bike tires usually need more.
- Never exceed the lower maximum pressure printed on the tire, rim, or wheel documentation, especially with hookless rims.
- Most tubeless leaks come from tape gaps, a poorly seated valve, dry sealant, or a bead that has not fully locked into place.
At a Glance
| Time Required | 20–45 minutes per wheel, plus leak-check time |
| Difficulty | Moderate for a first setup; easy after practice |
| Tools Needed | Tubeless rim tape, tubeless valve, sealant, valve-core remover, floor pump or compressor/booster, plastic tire levers, clean rag, isopropyl alcohol, soapy water, pressure gauge |
| Cost | Usually $20–$60 for tape, valves, and sealant if you already own a pump |
Gather Tubeless Tools and Supplies
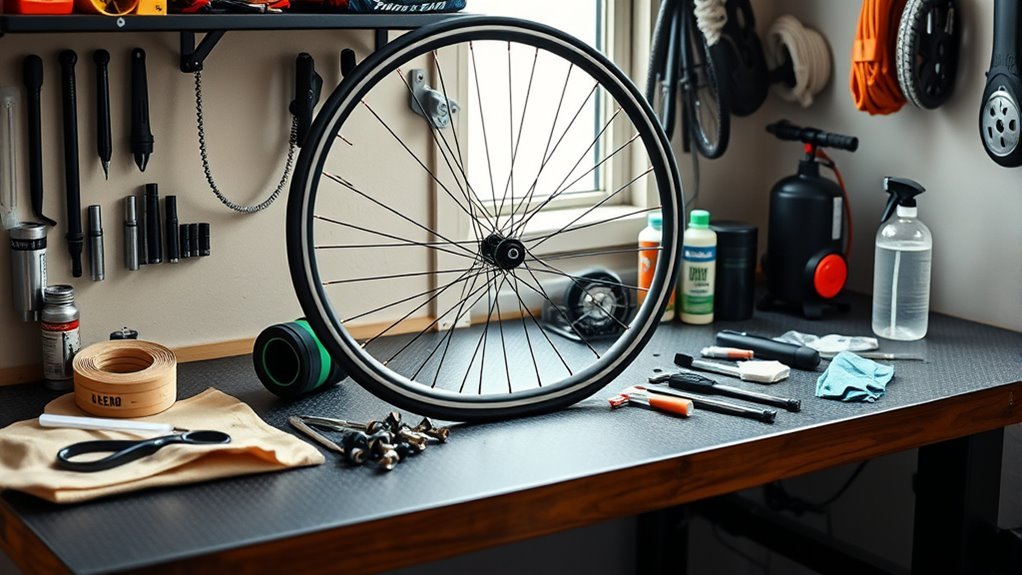
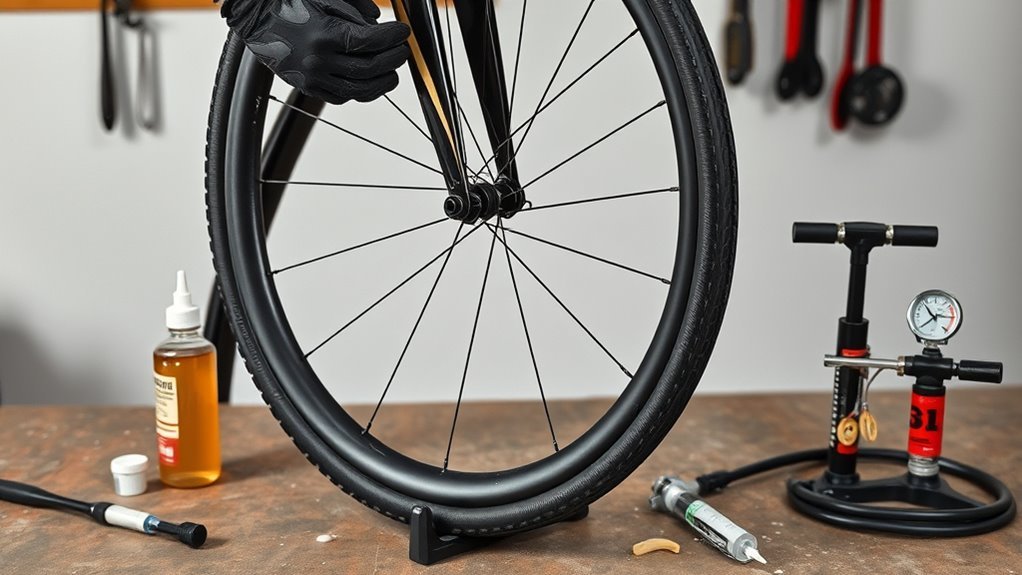
Start by collecting the specific tubeless parts and tools you’ll need: tubeless-ready tires, compatible tubeless rims or wheels, tubeless rim tape, tubeless valves, sealant, a valve-core remover, a clean rag, isopropyl alcohol, plastic tire levers, and a high-volume floor pump, tubeless booster, or air compressor.
Before you open the sealant bottle, verify tire and rim compatibility. Check the tire sidewall, rim label, and manufacturer documentation for approved tire widths, pressure limits, hookless or hooked rim rules, and whether sealant is allowed. WTB, Park Tool, and other wheel brands all emphasize that tubeless success starts with compatible parts, not just technique.
Warning: Do not exceed the lowest maximum pressure listed by the tire, rim, or wheel manufacturer. Hookless rims are especially pressure-sensitive, and overinflation can cause tire blow-off, wheel damage, or injury.
Sealant quantity depends on tire volume. As a practical starting point, many road tires use about 30–60 mL, gravel tires often use about 60–90 mL, and larger mountain bike tires may need 90–120 mL or more. Follow the sealant maker’s chart when available, because casing thickness, tire width, and climate all affect how much fluid the tire needs.
[Products Worth Considering]

The Milton 555e digital tire inflator delivers fast, accurate pressure readings with a backlit display and multiple unit options, making tire inflation quick and easy. Its durable 20" EPDM rubber hose and grip‑head chuck provide reliable connection, while the ±1 PSI accuracy ensures precise inflation for cars, bikes, and trucks.

The Steelman Straight Air Chuck Tire Inflator offers a compact, durable solution for inflating tires with a built‑in gauge and flexible hose. Its push‑on chuck eliminates the need for clamps, while the polished steel casing and brass fittings ensure long‑lasting performance. Compatible with any portable or fixed tank air compressor, it delivers precise pressure readings from 10 to 90 PSI, making it ideal for cars, trucks, and other vehicles.

The GERCHWAY Presta Valve Adaptor Pump offers a versatile dual‑head chuck that fits both Presta and Schrader valves, eliminating the need for extra adapters. Its precision gauge accurately reads 5–100 PSI with ±2 PSI tolerance, ensuring safe and optimal tire inflation for bikes, motorcycles, SUVs, and cars. The 18‑inch hose provides flexible reach, while the 3‑in‑1 design lets you check pressure, release air, or inflate directly from an air compressor.
Choose Rim Tape Width and Tubeless Valve
Choose rim tape that covers the full rim bed and spoke holes without climbing awkwardly up the sidewalls. A common rule is to choose tape about 2–5 mm wider than the rim’s internal width, but the best size is the one recommended by your rim maker. The tape must lie flat, seal the spoke holes completely, and leave the bead seat clean.
Choose a tubeless valve that matches the valve hole and rim depth. Most modern performance bicycle wheels use Presta valves, but some rims use Schrader. Deep-section rims need longer valve stems. The rubber base should sit flat against the taped rim bed, and the outer nut should be finger-tight—not crushed down with pliers.
Pro Tip: If you are unsure about valve length, choose a stem long enough to leave room for your pump head after the valve nut is installed. Short valves can be hard to inflate on deep rims.
[Products Worth Considering]

The AstroAI L10 Mini Bike Pump delivers rapid inflation for tires, bikes, and sports balls with its powerful 150PSI capability and 5 preset modes. Its compact palm-sized design and 360° rotating hose make it easy to use in any situation, while the automatic shutoff and built‑in LED flashlight add safety and convenience for on‑the‑go drivers and outdoor enthusiasts.

The GERCHWAY Digital Bike Tire Pressure Gauge offers precise ±1% accuracy across a 3–200 PSI range, fitting both Presta and Schrader valves without extra adapters. Its 16‑inch hose provides extra reach for easy inflation on bikes, motorcycles, SUVs, and cars, while the 1/4" NPT quick connector enables direct compressor attachment. Designed for quick checks, deflation, and inflation, it delivers reliable, leak‑free performance for all your tire needs.

GOING TUBELESS?: Our bike rim tape is the perfect choice if you’re looking to make the switch to tubeless bike tires. High quality rim tape is the first step in your tubeless conversion - so grab yourself a roll and let's get cracking!
Prep the Rim and Apply Tubeless Tape Correctly
Clean the rim bed thoroughly before taping. Remove old tape, dried sealant, dust, and adhesive residue, then wipe the rim with isopropyl alcohol and let it dry. Tubeless tape sticks poorly to dirty rims, and even a tiny wrinkle or uncovered spoke hole can cause slow leaks.
Start the tape a few spokes before the valve hole and finish a few spokes after it, creating a secure overlap. Pull the tape with steady tension as you work around the rim, pressing it into the center channel and smoothing outward with your thumb. Avoid wrinkles, lifted edges, trapped air bubbles, and gaps around spoke holes.
| Step | Action | Check |
|---|---|---|
| 1 | Clean rim bed | No dust, residue, or old sealant |
| 2 | Start before valve hole | Enough overlap for an airtight seal |
| 3 | Apply steady tension | Tape lies flat with no wrinkles |
| 4 | Press into rim channel | Spoke holes fully covered |
| 5 | Finish past valve hole | Overlap is smooth and sealed |
Once the tape is down, use a sharp pick, awl, or small blade to make a precise valve hole. Do not tear a large cross-shaped opening. A small clean hole helps the valve base seal tightly against the tape.
[Products Worth Considering]
TUBELESS RIM TAPE: Specifically made for a tubeless system, this tape creates a durable, airtight seal.
TUBELESS RIM TAPE: Specifically made for a tubeless system, this tape creates a durable, airtight seal.
PERFECT FIT: Our TCS tubeless rim tape ensures a reliable and airtight seal, preventing leaks and optimizing tubeless tire performance for mountain bikes. WTB recommends using tape that is 5mm wider than the inner rim width, which is measured as the distance between the inside edges of the bead hooks of a rim.
Install the Valve and Mount the First Bead
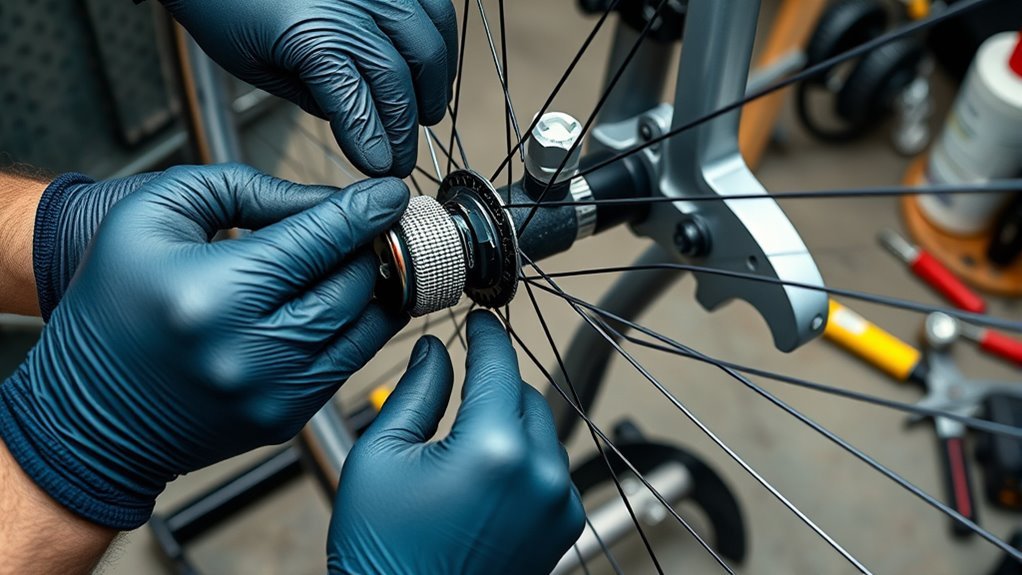
Push the tubeless valve through the taped valve hole from the inside of the rim. Hold the valve base firmly while you thread the outer nut by hand. The valve should feel secure, but overtightening can deform the rubber base, damage the tape, or make future roadside repairs harder.
Check the tire’s rotation arrow before mounting. Then mount the first bead onto the rim, starting opposite the valve and working evenly toward it. Use your hands whenever possible. If you need a tire lever, use a plastic one carefully so you do not slice the rim tape or damage the tire bead.
Run your thumb around the tire after the first bead is installed. The bead should sit evenly in the rim channel with no section twisted, folded, or caught on the valve base.
Add Sealant and Finish the Second Bead Without Mess
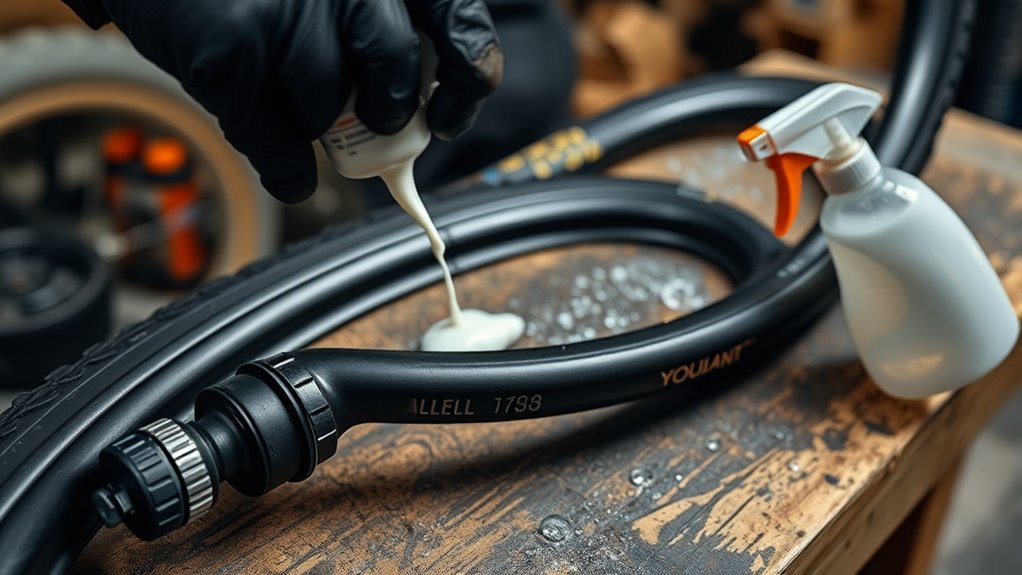
There are two clean ways to add sealant. You can pour it into the tire before closing the final section of the second bead, or you can fully mount the tire, remove the valve core, and inject sealant through the valve. Injecting through the valve is often cleaner, especially for road and gravel tires with tighter beads.
Pour Sealant Cleanly
If you pour sealant through a small bead gap, rotate the open section to the bottom so the liquid stays inside the tire. Keep the valve near the top. Add the amount recommended for your tire size and sealant brand, then slowly rotate the wheel only after the second bead is closed.
- Use a measured bottle, syringe, or injector instead of guessing.
- Use less sealant for small road tires and more for large gravel or mountain bike tires.
- Keep the valve upright while the bead gap is open.
- Wipe spills quickly because dried latex can be difficult to remove.
Finish Bead By Hand
Mount the second bead by hand as far as possible. Work both sides of the tire toward the final tight section, keeping the bead down in the rim’s center channel. That center channel creates slack and makes the last few inches easier to roll over the rim.
| Step | Tip |
|---|---|
| Bead seating | Keep both beads in the center channel |
| Sealant | Measure by tire size and sealant brand |
| Lubrication | Use soapy water on stubborn beads |
| Tire levers | Use plastic levers only when needed |
A light wipe of soapy water on the bead can help a stubborn tire slide into position and later pop into the bead seat. Avoid oils or greases because they can contaminate the tire, rim tape, or braking surfaces.
Prevent Sealant Spills
To prevent sealant spills, keep the unclosed section of tire low, keep the valve high, and close the bead slowly. If you inject sealant through the valve, reinstall the valve core before shaking or inflating. After inflation, spin the wheel for 30–60 seconds and tilt it from side to side so the sealant coats the casing and bead area.
- Position the valve at the top when pouring through a bead gap.
- Use an injector for the cleanest setup.
- Close the final bead section before rotating the wheel aggressively.
- Keep a rag nearby for valve and sidewall cleanup.
Seat Tubeless Tire Beads: Pumping Tricks and Stubborn Fixes
Seat the beads with fast airflow. A high-volume floor pump works for many modern tubeless-ready combinations, but tight or loose tire-and-rim pairings may need a tubeless booster, compressor, or inflator canister. Removing the valve core increases airflow and often helps the beads snap into place faster.
| Action | Tool | Purpose |
|---|---|---|
| Rapid strokes | High-volume floor pump | Pushes air in faster than it escapes |
| Valve-core removal | Valve-core tool | Maximizes airflow during seating |
| Bead lubrication | Soapy water | Helps the bead slide into the rim seat |
| Burst assist | Booster or compressor | Delivers a quick air charge for difficult setups |
Listen for the bead to pop into place, then inspect the molded bead line around both sides of the tire. It should run evenly above the rim all the way around. If one section sits low, deflate slightly, add soapy water, massage the tire, and reinflate without exceeding the manufacturer’s pressure limit.
Note: Some tires seat with a loud pop; others seat quietly. Do not rely on sound alone. Always check the bead line visually on both sides before riding.
Distribute Sealant, Check for Leaks, and Let It Settle
Once both beads are seated, inflate the tire to a safe setup pressure that is below the lowest stated tire or rim limit. Spin the wheel for 30–60 seconds, shake it side to side, then hold it horizontally and rotate it slowly so sealant reaches the sidewalls and bead shelf. Repeat on the other side.
A good tubeless setup should hold air because the tape, valve, bead, and sealant are all working together—not because the tire was simply inflated harder.
Inspect the tire closely. Look for bubbles, wet spots, or hissing around the valve base, bead, sidewall, and spoke holes. If you see tiny bubbles at the sidewall or bead, rotate that area downward so sealant pools there. If air escapes from spoke holes, the rim tape is leaking and usually needs to be replaced.
- Spin the wheel to coat the tire interior.
- Shake and tilt the wheel to move sealant into the bead area.
- Check the pressure after a few minutes, then again after 12–24 hours.
- Expect a small pressure drop at first; a large drop means something still leaks.
Set the Right Riding Pressure
After the tire holds air, lower it from the seating pressure to your actual riding pressure. Do not use the maximum number on the sidewall as your normal target. Tire pressure depends on rider weight, bike weight, tire width, rim type, terrain, and riding style.
For a safer starting point, use the pressure chart from your tire or wheel brand, or a reputable pressure calculator such as the SILCA Professional Tire Pressure Calculator. Then fine-tune by feel in small steps. Too much pressure can reduce grip and comfort; too little can cause rim strikes, burping, or tire damage.
Warning: Never inflate above the lower maximum pressure listed for your tire, rim, or wheel system. This matters most on hookless rims, where pressure limits can be lower than riders expect.
Fix Common Issues: Air Loss, Sealant Failures, and Repairs
When a tubeless tire loses air, diagnose it in order: valve, bead, rim tape, tire casing, punctures, and sealant condition. Randomly adding more sealant may hide the problem for a short time, but it will not fix torn tape, a loose valve, or an incompatible tire-and-rim combination.
Air Loss Diagnosis
Start by inflating the tire and listening closely. If the leak is not obvious, spray soapy water around the valve, bead, sidewalls, and spoke holes. Bubbles show where air is escaping. You can also submerge part of the inflated wheel in water, but dry the rim, hub, and bearings carefully afterward.
- Valve leak: Tighten the valve nut by hand, check the rubber base, and clean or replace a clogged valve core.
- Rim tape leak: Air bubbling from spoke holes usually means the tape is damaged, wrinkled, too narrow, or poorly sealed.
- Bead leak: Add soapy water, rotate the leaking area downward, shake the wheel, and reinflate carefully.
- Sidewall seepage: Some porous casings need extra shaking, more sealant, or more time to seal.
- Puncture: Rotate the hole downward and let sealant work; use a plug for larger holes that will not seal.
Sealant Maintenance Schedule
Sealant dries over time, especially in hot, dry climates and in porous tires. Check it regularly by removing the valve core and dipping a small zip tie into the tire, using a sealant injector, or briefly unseating a small section of bead. If the tire sounds dry when shaken, top it up before puncture protection disappears.
Many standard latex sealants are checked every 2–6 months, while race-focused sealants may need inspection much more often. Stan’s notes that sealant amount varies by tire size and casing, and riders should follow brand-specific guidance. A dated maintenance note on your phone or workbench helps prevent dry tires.
On-Ride Emergency Repairs
Carry a small tubeless repair kit on every ride: a plug tool or DART-style tool, spare plugs, a valve-core remover, a pump or CO2 inflator, and a spare tube for cuts that will not seal. Sealant can close many small punctures, but bigger holes, sidewall cuts, damaged valves, and torn tire beads need a backup plan.
- Rotate a puncture downward so sealant pools at the hole.
- Use a plug for holes that continue spraying sealant or air.
- Add air after plugging, then check that the plug holds.
- Install a tube only after removing thorns, plugs, or sharp debris inside the tire.
- Ride home carefully if the tire casing or rim is damaged.
Can You Convert Non-Tubeless Tires or Rims?
Some older rims can be converted with the correct tape, valve, and tire, but not every rim or tire is safe for tubeless use. A non-tubeless tire may have a bead or casing that does not lock or seal reliably. A non-tubeless rim may lack the bead shelf needed to hold the tire securely.
The safest rule is simple: use tubeless-ready tires on tubeless-ready rims unless the manufacturer specifically approves conversion. If you are unsure, check the rim and tire manuals or ask a qualified bike mechanic. Do not attempt tubeless conversion with damaged rims, stretched beads, cracked tires, or unknown hookless compatibility.
Frequently Asked Questions
How long does tubeless sealant last before replacement?
Most standard tubeless sealants should be checked every 2–6 months, but hot weather, dry air, porous tires, and frequent riding can dry sealant faster. Race-style sealants may need inspection every few weeks. Top up when the tire has little or no liquid sealant left.
Can I convert non-tubeless tires to tubeless safely?
Only do this if the tire and rim manufacturers approve it. Non-tubeless tires may not seal well or may not lock securely to the rim. For the safest setup, use a tubeless-ready tire with a tubeless-ready rim and follow the pressure limits printed on both parts.
Do tubeless setups affect wheel dishing or alignment?
No. Installing a tubeless tire does not change spoke tension, wheel dish, or wheel alignment by itself. However, it is smart to inspect the wheel after mounting, confirm the tire is seated evenly, and make sure the wheel still spins true.
Are tubeless tires lighter than clinchers with tubes?
It depends on the tire, tube, tape, and sealant amount. Tubeless can save weight by removing the inner tube, but rim tape and sealant add some weight back. The bigger benefits are usually puncture sealing, lower usable pressure, comfort, and traction.
Can I use tubeless sealant with Presta and Schrader valves?
Yes, tubeless sealant can work with both Presta and Schrader tubeless valves. Remove the valve core when injecting sealant for better flow, then reinstall it securely. If the valve clogs later, remove and clean the core or replace it.
Why is air leaking from my spoke holes?
Air leaking from spoke holes almost always points to a rim tape problem. The tape may be wrinkled, torn, too narrow, punctured at the valve, or poorly overlapped. Deflate the tire, remove it, clean the rim, and retape carefully.
Why won’t my tubeless tire seat with a floor pump?
The pump may not be moving air fast enough, or the beads may not be close enough to the rim walls. Remove the valve core, add soapy water to the bead, pull the tire outward by hand, and try again. A tubeless booster or compressor may be needed for stubborn combinations.
Conclusion
A dependable tubeless setup is built in layers: compatible tire and rim, clean tape, a sealed valve, enough sealant, seated beads, and a careful leak check. Rush one layer and the tire may hiss, burp, or lose pressure overnight. Take your time, measure the sealant, stay within pressure limits, and inspect the bead line before riding. Once everything holds air, keep the ritual simple: check pressure often, top up sealant on schedule, and carry a plug kit so one puncture does not end the ride.
Sources
- Park Tool — Tubeless Tire Conversion — rim sealing, valve installation, and tire mounting process
- Park Tool — Tubeless Tire Removal and Installation — bead handling, sealant awareness, and tubeless repair guidance
- Stan’s NoTubes — How Much Sealant Should I Add? — sealant volume guidance by tire size
- Stan’s NoTubes — Sealant Support — sealant use, maintenance, and troubleshooting
- WTB — Resources and User Manuals — tire, rim, valve, tape, and TCS tubeless documentation
- SILCA — Professional Tire Pressure Calculator — pressure guidance based on tire size, rider weight, surface, and setup
Related Articles

What Does THE P Stand For on a Tire? Full Meaning Explained
I’ll explain what the “P” on a tire really means and why it could change how you choose your next set.
Read More
How to Use a Tubeless Tire Repair Kit: Complete Field Guide
Learn how to fix tubeless tire punctures fast with the right kit, because one small mistake can leave you stranded on the trail.
Read More
How to Tell a Tire’s Diameter: Easy Guide to Reading Tire Size
Want to decode tire sidewall numbers and find the right diameter, but wonder what those hidden digits really mean?
Read More