
Hyundai Sonata Tire Leaking From Valve Stem: How to Fix It
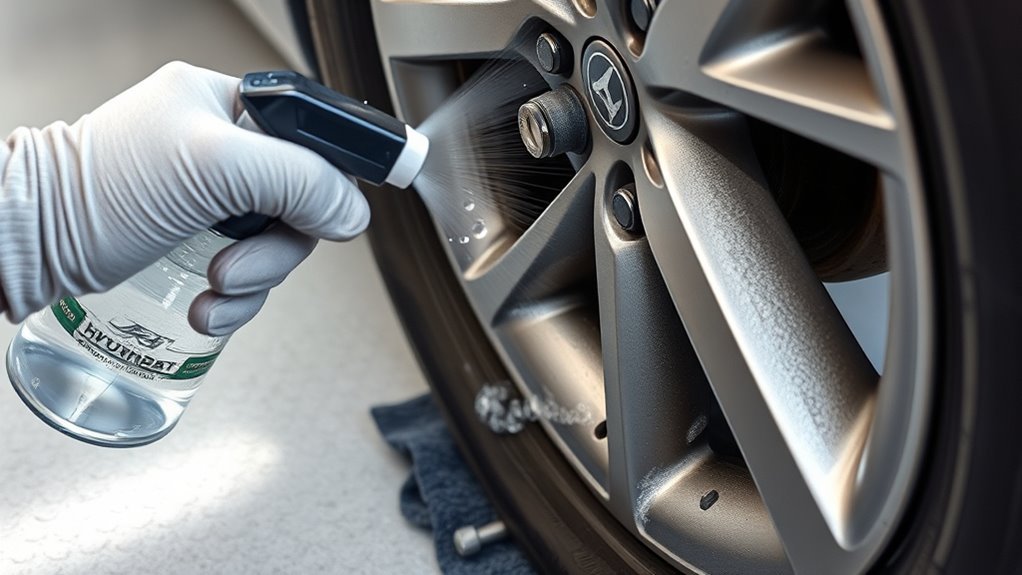
If your Hyundai Sonata is leaking air from the valve stem, do not start by replacing parts blindly. First, confirm where the air is escaping. A leak at the valve opening may only need a new valve core, while bubbles at the base of the stem, tire bead, tread, or sidewall point to a different repair. A slow leak can become unsafe quickly, so diagnose it with the tire cold, inflate it to the pressure shown on the driver-side door placard, and repair or service it before regular driving.
Quick Answer
For a Hyundai Sonata leaking air from the valve stem, spray soapy water on the valve opening and the base of the stem. Bubbles at the opening usually mean a bad valve core. Bubbles at the stem base often mean the full valve stem or TPMS seal needs professional tire service.
Key Takeaways
- A hissing sound, repeat low-pressure warning, or steady PSI drop can point to a valve leak, but tread punctures and bead leaks can act the same way.
- Use a soapy-water test to find the exact leak location before replacing anything.
- A leaking valve core is often a simple repair; a cracked stem, TPMS valve stem, or bead leak usually needs a tire shop.
- Inflate to the Hyundai Sonata’s door-placard PSI, not the maximum pressure printed on the tire sidewall.
- Do not drive on a tire that is losing air quickly. Install the spare, use roadside assistance, or have the tire inspected.
At a Glance
| Time Required | 10–20 minutes to diagnose; longer if a shop must replace the full stem or TPMS seal |
| Difficulty | Easy for leak testing and valve-core replacement; moderate to advanced for full valve-stem service |
| Tools Needed | Tire pressure gauge, soapy water, spray bottle, valve-core tool, replacement valve core, air compressor, safety glasses |
| Cost | Low for a valve core; full stem, TPMS seal, or bead-leak service varies by wheel, tire, and local shop labor |
Warning: If the tire loses pressure rapidly, do not keep driving to “see what happens.” A tire that is run low can overheat, damage the sidewall, trigger handling problems, and become unsafe. Install the spare if your Sonata has one, use an inflator only as a temporary measure, or call roadside assistance.
Spotting Symptoms of a Leaking Tire Valve Stem
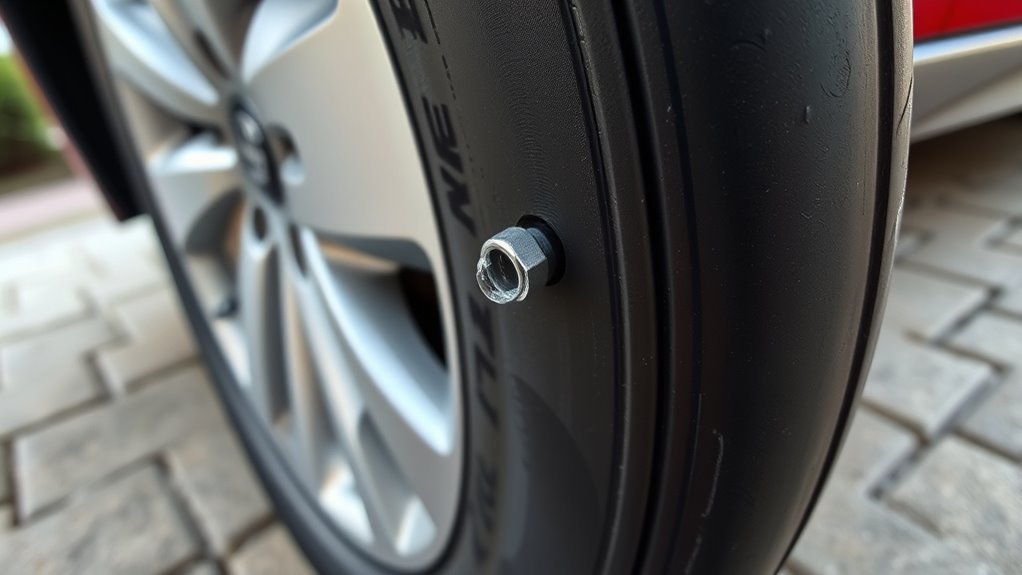
A leaking tire valve stem can show up as a slow pressure loss, a hissing sound at the valve, or a low tire pressure warning that returns after you add air. The most common clues are:
- Hissing near the valve cap: remove the cap and listen closely. A steady hiss at the valve opening often points to a leaking valve core.
- Air felt around the stem: if you feel air escaping at the base of the stem, the rubber stem, TPMS seal, or wheel opening may be the issue.
- Pressure drops overnight: check the tire cold with a tire gauge, write down the PSI, and compare it the next morning.
- TPMS warning returns: on modern Sonatas, a tire pressure monitoring system can warn you when pressure is significantly low, but it may not identify the exact leak source.
- Cracked or dry rubber: an old rubber stem can crack, especially where it bends near the wheel.
- Missing or damaged valve cap: the cap is not the main air seal, but it helps keep dirt and moisture out of the valve core.
Before assuming the valve stem is the problem, inspect the tread for nails or screws and look around the tire bead where the tire meets the rim. A bead leak or tread puncture can mimic a valve-stem leak.
[Products Worth Considering]

This multi-function tire valve stem removal tool set makes it fast to remove, install, bleed, and clean valve cores for easier tire maintenance. It includes valve core removers, a 4-way spool tool, replacement valve caps, and spare cores to handle replacements and repairs with confidence. Universal compatibility suits cars, trucks, motorcycles, bicycles, and more for roadside convenience.

This 4-in-1 tire valve core removal tool helps you deflate, unblock, and remove or install valve cores quickly for easier tire repair. The multifunction design also supports re-taping damaged threads and reaming inside the valve stem for smoother service. Included as a 2-pack, it’s compact for convenient carry and works for cars, bicycles, and motorcycles.

This spare tire tool kit is designed for the 2004 to 2018 Ford F-150 to help you loosen and tighten wheel lug nuts and manage the spare tire and provided jack functions from underneath the vehicle. It includes the lug nut wrench and extension pieces plus a convenient storage carrying case for organized transport. The jack itself is not included.
How to Confirm the Leak Using Soapy Water
The soapy-water method is the fastest way to confirm a valve-stem leak. Mix dish soap and water in a spray bottle, inflate the tire to the recommended cold PSI, and test the tire before driving so heat does not change the pressure reading.
Visual Inspection Techniques
Start with a simple visual check before spraying the tire:
| Area to Check | What It May Mean |
|---|---|
| Valve opening | A loose, dirty, or worn valve core may be leaking. |
| Base of valve stem | The rubber stem, TPMS grommet, or wheel hole seal may be leaking. |
| Tire bead | The tire may not be sealing correctly against the rim. |
| Tread and shoulder | A nail, screw, puncture, or tire damage may be the true cause. |
Applying Soapy Water
- Park on a flat surface and set the parking brake.
- Check the tire when it is cold, ideally before the car has been driven.
- Inflate the tire to the PSI shown on the Sonata’s driver-side door placard or owner’s manual.
- Remove the valve cap and spray soapy water directly into the valve opening.
- Spray around the base of the valve stem where it enters the wheel.
- Spray the tire bead and any suspicious tread area if the valve does not bubble.
- Watch for new bubbles that grow, foam, or keep returning.
Pro Tip: Do not rely on one quick spray. Rotate the valve stem to the top, side, and bottom positions if needed, then spray again. Some leaks only show when the stem is gently moved or when the tire is at full pressure.
Interpreting Bubble Results
The bubble location tells you what to do next:
- Bubbles inside the valve opening: the valve core is likely loose, dirty, or worn. Replacing the core is the first repair to try.
- Bubbles around the base of the stem: the full valve stem, TPMS seal, or wheel opening is leaking. This usually requires tire service.
- Bubbles at the bead: the tire and rim are not sealing properly. A shop should dismount, clean, inspect, and reseal the tire.
- Bubbles from tread damage: the tire has a puncture. Only certain tread punctures are repairable; sidewall and shoulder damage should not be treated as a DIY patch job.
- No bubbles but pressure still drops: recheck the tread, bead, wheel, and all four tires. The leak may be very slow or located somewhere else.
Find the Exact Cause Before Replacing Parts
Not every valve-area leak needs the same repair. A Hyundai Sonata may have a standard rubber snap-in valve stem or a valve stem connected to a TPMS sensor, depending on model year and wheel setup. Before buying parts, identify the cause:
- Loose valve core: sometimes the core only needs gentle tightening with a valve-core tool. Do not overtighten it.
- Bad valve core: if bubbles continue at the valve opening, replace the core.
- Cracked rubber stem: if the stem is split, dry, or leaking at the base, replace the full stem.
- TPMS stem seal leak: metal or sensor-mounted stems may need a service kit, grommet, nut, or full sensor service.
- Rim corrosion or bead leak: the tire must be removed and the wheel inspected.
- Puncture or sidewall damage: the repair depends on location, size, and internal tire condition.
Note: Tire-pressure targets vary by Sonata year, trim, tire size, and load. Use the driver-side doorjamb tire placard or the official Hyundai owner’s manual for your vehicle. Do not use the maximum PSI printed on the tire sidewall as the normal inflation target.
What You Need to Replace Your Tire Valve Stem
For most owners, the safest home repair is replacing the valve core, not the entire valve stem. Replacing the full stem often requires breaking the tire bead, working around the TPMS sensor, and resealing the tire on the rim.
Essential Tools Required
For diagnosis and valve-core replacement, gather:
- Tire pressure gauge to measure cold PSI accurately.
- Spray bottle with dish soap and water to confirm the leak.
- Valve-core tool to remove and install the core.
- Replacement valve core that matches standard automotive tire valves.
- Air compressor or tire inflator to refill the tire after repair.
- Safety glasses to protect your eyes while air escapes from the valve.
- Valve cap if the old one is cracked, missing, or dirty.
For full stem or TPMS stem service, a tire shop may use a bead breaker, tire machine, torque tools, TPMS service kit, scan tool, new stem or sensor parts, and balancing equipment.
Parts You May Need
- Valve core: use this when bubbles come from the valve opening.
- Rubber snap-in valve stem: use this only when the full rubber stem is leaking and the wheel does not use a sensor-mounted stem.
- TPMS service kit: use this when a TPMS stem seal, grommet, nut, or washer is leaking.
- Valve cap: replace it if it is cracked, missing, or contaminated with dirt.
Step-by-Step Valve Core Replacement
If your soapy-water test shows bubbles from the valve opening, replace the valve core first. This is the most DIY-friendly repair.
- Park safely. Choose a flat surface, shift into Park, set the parking brake, and keep your face away from the valve.
- Check the current PSI. Write it down so you know how much air was lost.
- Remove the valve cap. Set it somewhere clean.
- Release tire pressure if needed. A valve core can shoot out if removed under pressure. Hold the tool firmly and wear safety glasses.
- Remove the old valve core. Insert the valve-core tool and turn counterclockwise until the core comes out.
- Inspect the core. Look for bent threads, damaged rubber, dirt, or corrosion.
- Install the new valve core. Thread it in by hand with the tool, then snug it gently. Do not crank it down.
- Inflate the tire. Use the cold PSI shown on the Sonata’s tire placard.
- Repeat the soapy-water test. Spray the valve opening again and watch for bubbles.
- Reinstall the valve cap. Use a clean cap to help protect the core from dirt and moisture.
- Recheck pressure later. Check the same tire after a short drive and again the next morning.
Warning: Do not overtighten the valve core. Too much force can damage the threads or seal, leaving you with the same leak or a worse one.
Step-by-Step Full Valve Stem or TPMS Stem Replacement
If bubbles appear at the base of the valve stem, the repair is more involved. On many modern Sonatas, the valve stem may be part of, or attached to, a TPMS sensor. That means the tire may need to be deflated, the bead broken, the sensor protected, the stem or service kit replaced, and the tire resealed.
If you have proper tire-service tools and experience, the general process is:
- Remove the wheel from the vehicle safely. Use the correct jack point, support the car with jack stands, and never rely on a jack alone.
- Deflate the tire fully. Remove the valve core to release all air.
- Break the tire bead carefully. Keep tools away from the TPMS sensor area.
- Inspect the valve stem and sensor. Look for cracked rubber, corrosion, damaged grommets, loose nuts, or sensor damage.
- Install the correct replacement part. Use a matching rubber stem or TPMS service kit for the wheel and sensor design.
- Seat and inflate the tire. Inflate to placard PSI and verify the bead is seated evenly.
- Test for leaks again. Spray the valve, base, and bead with soapy water.
- Balance or inspect as needed. If the tire was dismounted, a shop may need to rebalance the assembly.
- Confirm TPMS operation. After repair, drive as directed by the owner’s manual or shop so the system can relearn or update if needed.
For most drivers, this is the point where a professional tire shop is the better choice. The cost of a shop visit is usually worth avoiding a damaged TPMS sensor, bead leak, scratched wheel, or unsafe tire seating.
[Products Worth Considering]

These universal aluminum tire valve stem caps help protect valve cores from corrosion caused by dirt, water, and snow while helping prevent air leaks to maintain steady tire pressure. They’re easy to install with a simple screw-on fit and are suitable for cars, SUVs, trucks, bicycles, motorcycles, and other vehicles. The stylish black caps add a clean, standout look to your wheels while supporting reliable long-term performance.

These universal tire valve stem caps help protect your valve core from dust, debris, moisture, and corrosion, supporting more stable tire pressure. The aluminum alloy design resists long-term wear, while the sealing construction helps help prevent air leakage. They twist on easily for quick installation and help safeguard driving safety across cars, SUVs, trucks, and motorcycles.
Top Mistakes to Avoid When Replacing Your Tire Valve Stem
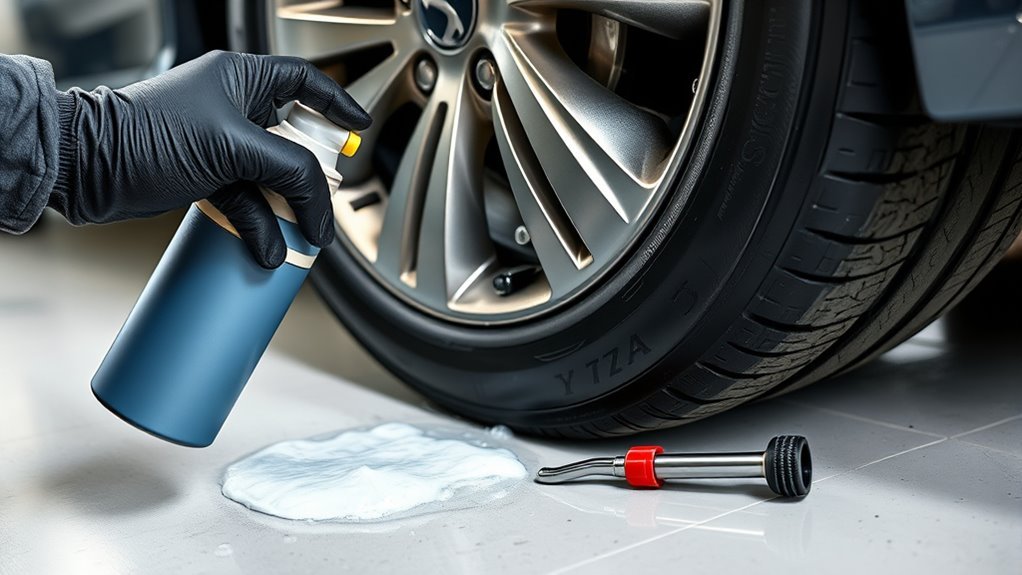
A small valve leak can turn into a bigger tire problem if the repair is rushed. Avoid these common mistakes:
- Using the tire sidewall PSI as the target: the sidewall number is a maximum tire rating, not the Sonata’s normal inflation pressure.
- Skipping the leak test: always confirm the exact bubble location before replacing parts.
- Overtightening the valve core: snug is enough; excessive force can damage the seal.
- Replacing the full stem when only the core is leaking: start with the simpler repair if bubbles come from the valve opening.
- Ignoring TPMS hardware: forcing or twisting a TPMS valve stem can damage the sensor.
- Driving on a rapidly leaking tire: low pressure can damage the tire internally even if the outside looks fine.
- Relying on sealant as a permanent fix: emergency inflator sealants are temporary and may complicate TPMS or tire service.
- Forgetting the valve cap: reinstall a clean cap after the repair.
- Not checking pressure the next day: a very slow leak may not show immediately.
Proper tire inflation can improve gas mileage by 0.6% on average and up to 3% in some cases, while underinflation can reduce mileage and tire life.
When to Call a Professional for Tire Valve Repairs
Call a tire professional instead of continuing a DIY repair if:
- The tire loses air quickly after inflation.
- Bubbles form at the base of the valve stem, tire bead, sidewall, or wheel.
- The valve stem is cracked, corroded, loose, or connected to a TPMS sensor.
- The TPMS light keeps flashing or returns after pressure is corrected.
- You see a nail, screw, bulge, exposed cord, sidewall cut, or shoulder damage.
- The tire was driven while very low or flat.
- You do not have jack stands, bead-service tools, or tire-service experience.
A trained technician can remove the tire from the rim, inspect the inner liner, check the valve and bead, service the TPMS hardware, and decide whether the tire itself is safely repairable.
Post-Repair Checklist
After fixing a Hyundai Sonata valve-stem leak, finish with these checks:
- Inflate the tire to the cold PSI on the door placard.
- Spray the valve opening, stem base, and bead with soapy water again.
- Install a clean valve cap.
- Check the other tires while you have the gauge out.
- Drive a short distance and watch for vibration, pulling, or a TPMS warning.
- Recheck the repaired tire the next morning before driving.
- If pressure drops again, have the tire and wheel inspected professionally.
Frequently Asked Questions
Can I drive with a leaking valve stem?
Only drive if the leak is very slow, the tire is inflated to the correct placard pressure, and you are going directly to a safe repair location. Do not drive on a tire that is losing air quickly, looks low, or triggers a repeated pressure warning.
How often should I check my valve stems?
Check the valve stems whenever you check tire pressure, at least monthly and before long trips. Look for missing caps, cracks, corrosion, dirt, and pressure loss. A quick soapy-water test is useful if one tire keeps dropping PSI.
What causes valve stems to leak?
Common causes include a loose or worn valve core, dirt in the valve, cracked rubber, corrosion around a metal TPMS stem, a damaged seal, improper installation, or age-related rubber breakdown.
Are all valve stems the same size?
No. Valve stems vary by wheel hole size, stem type, TPMS design, material, and sensor fitment. A Hyundai Sonata may use different parts depending on model year, wheel style, and tire pressure monitoring hardware.
Can I repair a valve stem instead of replacing it?
If the leak comes from the valve opening, you may only need to tighten or replace the valve core. If the rubber stem is cracked, the base is leaking, or the TPMS seal is damaged, the affected stem or service kit should be replaced.
Will a leaking valve stem turn on the TPMS light?
Yes, it can. A valve-stem leak lowers tire pressure, and the TPMS light may come on when pressure drops far enough. If the TPMS light flashes or stays on after pressure is corrected, the system or sensor may need diagnosis.
Can tire sealant fix a valve stem leak?
Tire sealant is not a proper long-term repair for a valve-stem leak. It may also make tire and TPMS service messier. Use sealant only as an emergency temporary measure if the product instructions allow it and you still plan to have the tire inspected.
Conclusion
A Hyundai Sonata leaking air from the valve stem is usually easy to diagnose, but the repair depends on where the bubbles appear. If the leak is at the valve opening, a new valve core may solve it. If the leak is at the stem base, bead, tread, or TPMS hardware, professional tire service is the safer path. After any repair, inflate the tire to the door-placard PSI, retest with soapy water, reinstall the valve cap, and check the pressure again the next day.
Sources
- NHTSA TireWise — tire safety, tire pressure monitoring systems, and tire maintenance guidance.
- FuelEconomy.gov: Keeping Your Vehicle in Shape — proper inflation, fuel economy impact, and where to find recommended tire pressure.
- Tire Industry Association: Tire Inflation Pressure — monthly tire-pressure checks, cold-pressure guidance, and doorjamb placard use.
- U.S. Tire Manufacturers Association: Tire Repair Basics — safe tire-repair limits and professional inspection guidance.
- Hyundai Owner’s Manuals — official model-specific owner information and tire-pressure references.
- NHTSA Tires in the Garage Infographic — TPMS, inflation, and tire-safety reminders.

Related Articles

Danger of Using Summer Tires in Winter on a Hyundai Sonata
Potentially perilous, using summer tires in winter on your Hyundai Sonata can compromise safety—discover the hidden dangers that await you on icy roads.
Read More
Can You Mix Nitrogen and Air in Hyundai Sonata Tires? Answered
Discover the implications of mixing nitrogen and air in your Hyundai Sonata tires—are the benefits worth the risks? Explore the answer inside!
Read More
How to Tell If Hyundai Sonata Tires Are Too Old to Use Safely
Understand how to assess the age of your Hyundai Sonata tires and discover crucial signs of deterioration that could compromise your safety on the road.
Read More