
How to Find a Slow Leak in a Hyundai Sonata Tire (5 Methods)
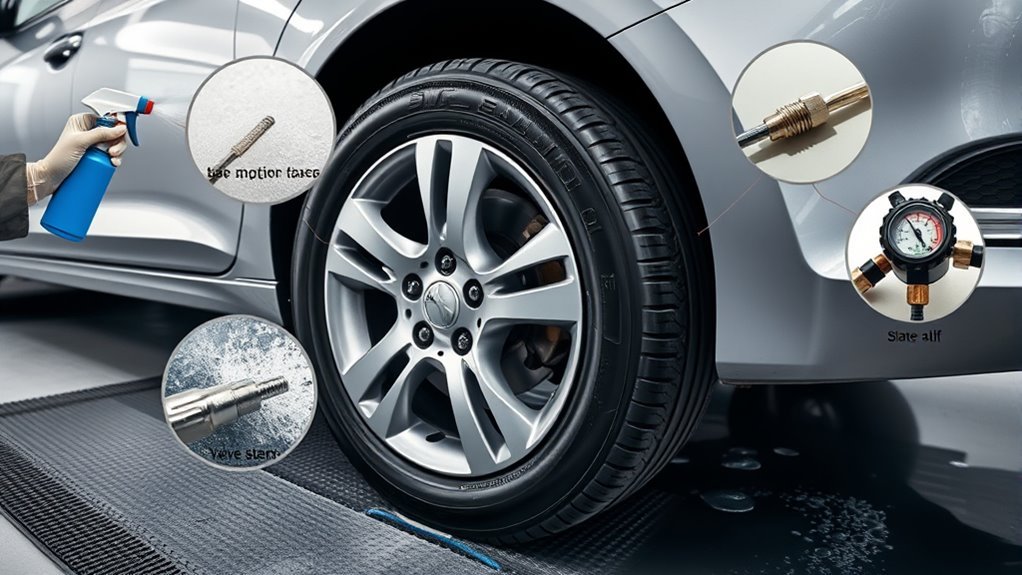
A slow tire leak on a Hyundai Sonata usually comes from one of four places: a small tread puncture, a leaking valve core, a poor bead seal, or damage around the rim. You can often locate the leak at home with a tire pressure gauge, soapy water, a flashlight, and a careful inspection routine. The key is to confirm the leak safely before deciding whether the tire can be repaired or needs professional service.
Quick Answer
To find a slow leak in a Hyundai Sonata tire, check the cold tire pressure, inspect the tread and sidewall, test the valve stem with soapy water, then spray the tread, bead, and rim seams. Bubbles show the leak location. Drive only short, low-speed trips until the tire is repaired.
Key Takeaways
- Use the PSI listed on your Sonata’s driver-door tire placard or owner’s manual, not the maximum PSI molded into the tire sidewall.
- Check pressure when the tires are cold, meaning the car has been parked for at least three hours or driven less than 1 mile.
- Soapy water is the easiest way to confirm leaks at the valve stem, tread, bead, and rim seams.
- A tread puncture may be repairable only if it is in the repairable tread area and no larger than 1/4 inch or 6 mm.
- Sealants and outside plugs are temporary emergency measures; a safe permanent repair requires internal inspection and a proper plug-patch repair.
At a Glance
| Time Required | 20–45 minutes for inspection; longer if the wheel must be removed or submerged. |
| Difficulty | Easy to moderate. Do not crawl under a car supported only by a jack. |
| Tools Needed | Tire pressure gauge, air source, spray bottle, dish soap and water, flashlight, gloves, marker, valve-core tool, tread-depth gauge, and a tub of water if needed. |
| Cost | DIY leak detection is usually low-cost if you already own a gauge. Professional repair pricing varies by shop, tire type, and whether the tire is repairable. |
Warning: Do not take a leaking tire on a long highway drive, tow a heavy load, or ignore a TPMS warning. If the tire has a bulge, exposed cords, sidewall damage, shoulder damage, or repeated rapid pressure loss, install the spare if equipped or have the car towed to a tire shop.
Quick Pressure and Visual Checks
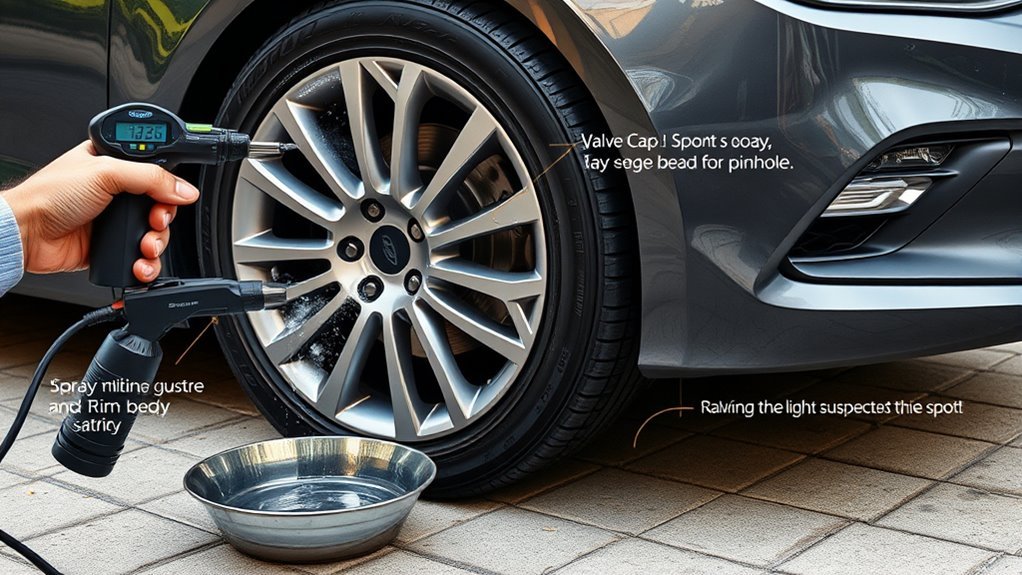
Start with a cold tire pressure reading. For a Hyundai Sonata, use the recommended pressure on the driver-side door-jamb tire placard or in the owner’s manual. Hyundai explains that cold tires are tires that have been parked for at least three hours or driven less than 1 mile. The Hyundai owner’s manual guidance also warns not to release air from warm tires to “correct” pressure, because warm tires normally read higher than cold tires.
Check all four tires and the spare if your Sonata has one. Write down the PSI for each tire, then recheck the suspected tire the next morning. A tire that drops repeatedly while the others stay stable likely has a slow leak.
- Look for nails, screws, glass, or metal in the tread.
- Inspect the sidewall for cuts, cracks, bubbles, or rubbing damage.
- Look around the rim for bends, corrosion, old sealant, or dirt at the bead.
- Check the valve cap, valve stem, and valve-core area for cracks or corrosion.
- Measure tread depth. A tire at or below 2/32 inch should be replaced, not repaired.
Note: TPMS is helpful, but it is not a replacement for a pressure gauge. The U.S. Tire Manufacturers Association notes that TPMS may warn only after a meaningful pressure loss, so monthly manual checks still matter.
[Products Worth Considering]

This compact capsule-style tire repair kit helps you quickly fix punctures and plug flats with minimal effort. The rugged stainless steel shell protects the contents for reliable roadside use, while the simple plug assembly makes repairs fast and tool-free. Suitable for motorcycles, cars, ATVs, UTVs, and even mountain bikes.

This multi-function tire valve stem removal tool set makes it fast to remove, install, bleed, and clean valve cores for easier tire maintenance. It includes valve core removers, a 4-way spool tool, replacement valve caps, and spare cores to handle replacements and repairs with confidence. Universal compatibility suits cars, trucks, motorcycles, bicycles, and more for roadside convenience.

This 4-in-1 tire valve core removal tool helps you deflate, unblock, and remove or install valve cores quickly for easier tire repair. The multifunction design also supports re-taping damaged threads and reaming inside the valve stem for smoother service. Included as a 2-pack, it’s compact for convenient carry and works for cars, bicycles, and motorcycles.
Can You Drive on a Slow-Leaking Sonata Tire?
You should treat any slow leak as a temporary condition. If the tire is only slightly low, you may be able to inflate it to the placard PSI and drive a short, low-speed trip to a tire shop. Avoid highway speeds, long trips, heavy loads, and hard cornering until the leak is fixed.
If the TPMS light comes on, stop when it is safe, check the tire pressure with a gauge, and inspect the tire. According to NHTSA TireWise, the correct pressure is the vehicle manufacturer’s cold inflation pressure on the tire information label or in the owner’s manual, not the number molded into the tire sidewall.
Do not keep topping off the same tire for days or weeks. Underinflation can build heat, damage the inner liner, wear the tire unevenly, and make a repair impossible even if the original puncture was small.
Test the Valve Stem and Core
The valve stem and valve core are common sources of slow leaks, and they are easy to test without removing the tire. Remove the valve cap and inspect the stem for cracks, looseness, corrosion, or missing rubber. A missing cap does not seal the tire by itself, but it allows dirt and moisture into the valve area, which can cause trouble later.
Mix a few drops of dish soap with water in a spray bottle. Spray the valve stem, the base of the valve, and the valve opening. Watch for steady bubbles that keep forming in one spot. If bubbles appear at the valve opening, the valve core may be loose or damaged. If bubbles appear at the base of the stem, the stem may need replacement.
Pro Tip: If you use a valve-core tool, tighten the core gently. Overtightening can damage the core or stem. If bubbling continues after a gentle adjustment, replace the core or have the valve stem serviced.
Soapy-Water Checks: Tread, Bead, and Rim Seams
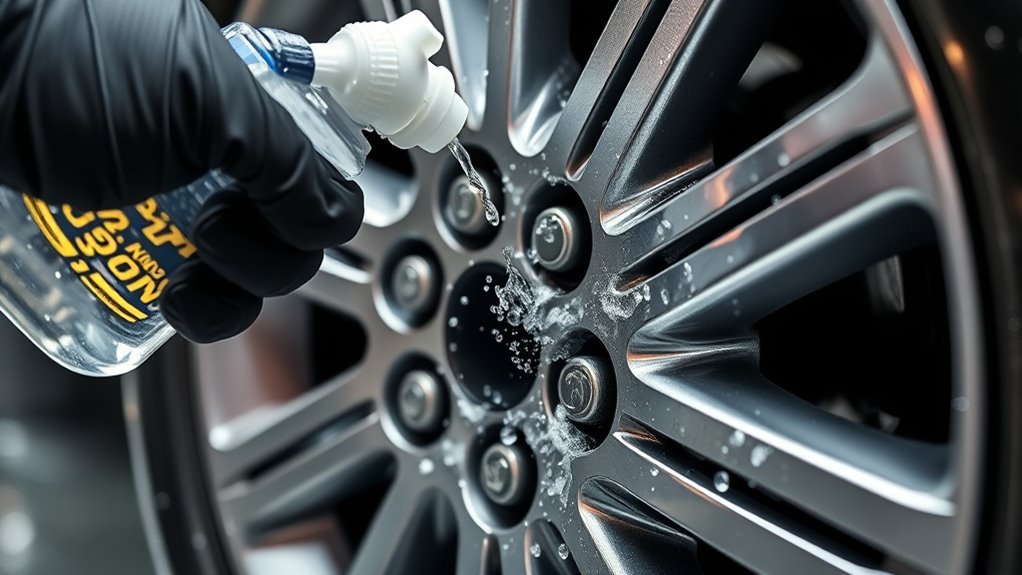
With the tire inflated to the correct cold PSI, spray soapy water over one section at a time. Do not rush. Slow leaks can take several seconds to create visible bubbles. You are looking for a steady stream or repeated cluster of bubbles, not random foam from spraying.
Tread Surface Inspection
Roll the Sonata forward or backward a few feet so you can inspect the entire tread surface. Use a flashlight and gloved hand to find small nails, screws, staples, stones, or glass. Spray each suspicious spot with soapy water and wait. If bubbles form around the object, you have likely found the leak.
Mark the spot with chalk or a paint marker. Do not pull out a nail or screw unless you are ready to install the spare, use an emergency temporary repair, or go directly to a shop. Removing the object can turn a slow leak into a fast leak.
Bead and Rim Seams
The bead is the area where the tire seals against the wheel. Spray the full bead area on both sides of the tire if you can safely access it. Bubbles at the bead can mean dirt, corrosion, a bent rim, old sealant, or poor seating.
Also inspect the rim lip and seams. A wheel that hit a pothole can bend slightly and leak only under load. If the bead or rim is leaking, the wheel usually needs to be dismounted, cleaned, inspected, and resealed by a tire shop.
Submerge the Wheel to Spot Hard-to-Find Leaks
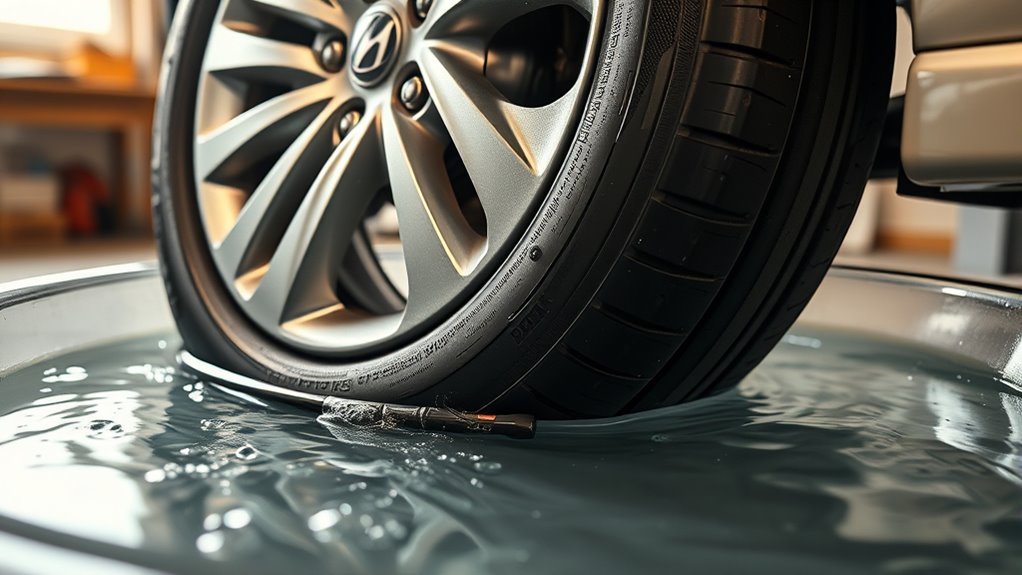
If the soapy-water test does not reveal the leak, submerging the wheel can help. Inflate the tire to the correct pressure, remove the wheel only if you can do so safely, and place it in a large tub of water. Rotate the wheel slowly and watch each section for small, repeatable bubbles.
Pause at the tread, sidewall, bead, rim, and valve stem. Tiny leaks can be easy to miss if the wheel is moving too fast. When you see bubbles, mark the exact location and dry the tire before taking it for repair.
Warning: Never work under a vehicle supported only by the factory jack. If you remove a wheel at home, use the correct jacking point, level ground, wheel chocks, and jack stands rated for the vehicle.
Find Punctures From Nails, Screws, and Debris
Small debris can hide between tread blocks, especially if the tire is wet or dirty. Use a systematic pattern so you do not miss a section.
| Step | Action | Purpose |
|---|---|---|
| 1 | Scan the tread with a flashlight. | Find visible nails, screws, glass, or metal. |
| 2 | Run a gloved hand slowly over the tread. | Feel for objects or raised spots you cannot see. |
| 3 | Spray the suspicious area with soapy water. | Confirm the leak with steady bubbles. |
| 4 | Mark the location before moving the car. | Help the repair shop find the puncture quickly. |
| 5 | Check tread depth and sidewall condition. | Decide whether repair is even possible. |
Temporary Fixes: Sealant, Plugs, and When to Use Them
Temporary fixes can help you get out of a dangerous roadside situation, but they should not be treated as a proper tire repair. The U.S. Tire Manufacturers Association says tire repairs should be limited to tread-area punctures no larger than 1/4 inch or 6 mm, and the tire must be removed from the wheel for internal inspection.
[Products Worth Considering]

This tire repair kit provides fast emergency puncture repair without removing the tire from the rim, helping you get back on the road quickly. Its screw plug system is designed for punctures in both tread and sidewall and includes a complete patch plug tool set with essential accessories. A portable storage bag makes it easy to carry for cars, trucks, SUVs, motorcycles, and heavy-duty applications.

This VEVOR tire bead breaker uses a slide-hammer impact and wedge tip to separate tire beads from rims quickly and efficiently without damaging hub surfaces. The long handle and sturdy steel construction help reduce user strain while providing reliable, portable tire changing for cars, trucks, and more. Ideal for home mechanics and repair shops handling multiple vehicle tire sizes.
When to Use Sealant
Use tire sealant only when you need temporary mobility and the leak appears to be a small tread puncture. Sealant is not a safe answer for sidewall damage, bead leaks, valve-stem leaks, large holes, bulges, exposed cords, or a tire that has been driven flat.
Sealant can also make later shop repair messier and may affect TPMS sensors depending on the product and vehicle. Tell the technician if sealant was used.
Plug Versus Patch
A standalone plug is inserted from the outside of the tire. It can slow or stop air loss in an emergency, but it does not allow the technician to inspect the inner liner. A patch seals the inner liner, but a patch alone does not fill the puncture channel. The industry-preferred repair for a repairable puncture is a combination plug-patch or a separate stem plus patch performed from inside the tire after the tire is removed from the wheel.
AAA’s tire repair guidance also explains that a standalone plug should be treated as a temporary measure and that a combination repair is the safer permanent method for a repairable puncture. You can read AAA’s explanation here: Tire Plug vs. Patch: Get the Right Tire Repair.
Temporary vs Permanent
Use this rule of thumb: temporary repairs get you to a safe place; permanent repairs are done after internal inspection. If the puncture is outside the repairable tread area, larger than 1/4 inch, angled into the shoulder, overlapping another repair, or paired with internal damage, the tire should be replaced.
- Sealant: emergency-only option for a small tread leak.
- Outside plug: temporary roadside measure, not a final repair.
- Internal patch or plug-patch: professional repair method for a repairable tread puncture.
- Replacement: required for sidewall damage, shoulder damage, large punctures, bulges, exposed cords, severe wear, or run-flat damage.
Can the Tire Be Repaired or Should It Be Replaced?
Before spending money on a repair, check whether the tire is a safe repair candidate.
| Condition | Best Action |
|---|---|
| Small puncture in the repairable tread area, no larger than 1/4 inch / 6 mm | Have a shop remove the tire and perform an internal inspection and proper plug-patch repair. |
| Sidewall or shoulder damage | Replace the tire. Do not plug or patch it. |
| Bulge, exposed cords, cracked sidewall, or tire driven flat | Replace the tire after professional inspection. |
| Leak at valve stem | Replace the valve core or valve stem as needed. |
| Leak at bead or rim | Have the wheel removed, cleaned, inspected, and resealed; repair or replace a damaged wheel. |
| Tread at or below 2/32 inch | Replace the tire instead of repairing it. |
Professional Leak Detection and Permanent Repair
A tire shop can do more than a driveway check. A technician can remove the tire from the wheel, inspect the inner liner, check for run-flat damage, test the valve stem and TPMS sensor seal, clean the bead seat, reseal the tire, and balance the wheel after repair.
Professional inspection matters because a tire can look fine outside while the inside is damaged from being driven underinflated. If the tire is repairable, the shop should use a repair method that fills the puncture channel and seals the inner liner. If the tire is not repairable, replacement is the safer choice.
What to Do After You Find the Leak
- Mark the leak location. Use chalk, tape, or a paint marker so the shop can find it quickly.
- Inflate only to the placard PSI. Do not overinflate to “make up” for the leak.
- Drive carefully if you must drive. Keep the trip short and avoid highway speeds.
- Use the spare or tow if unsafe. Do this for sidewall damage, bulges, rapid air loss, or a tire that will not hold pressure.
- Recheck pressure after repair. Check the repaired tire the next morning and again after a few days.
Frequently Asked Questions
How do you find a very slow tire leak?
Check the tire pressure cold, inflate to the placard PSI, and spray soapy water over the valve stem, tread, bead, and rim seams. Wait several seconds at each area. If you still cannot find it, remove the wheel safely and submerge it in water while watching for small, repeatable bubbles.
What is the best fix for a slow tire leak?
The best fix depends on the leak location. A leaking valve core may only need a new core. A bead leak may need cleaning and resealing. A repairable tread puncture should be fixed from inside the tire with a proper plug-patch repair after inspection. Sidewall and shoulder damage require tire replacement.
How much does it cost to fix a slow leak in a tire?
The cost depends on the cause, tire type, shop labor, and whether the tire is repairable. A simple valve-core issue is usually cheaper than a bead reseal, wheel repair, or tire replacement. Ask the shop whether the quote includes tire removal, internal inspection, proper repair, remounting, and balancing.
Can I drive my Hyundai Sonata with a slow tire leak?
Only for a short, low-speed trip after inflating the tire to the correct placard pressure. Do not drive far, drive fast, tow, or carry heavy loads on a leaking tire. If the tire loses pressure quickly, has sidewall damage, or shows a bulge, use the spare if equipped or arrange a tow.
Should I pull a nail or screw out of the tire?
Not unless you are ready for the tire to lose air faster. Mark the spot first. If the tire still holds air, it is usually better to leave the object in place and drive carefully to a tire shop or install the spare before removing it.
Can a sidewall leak be repaired?
No. Sidewall and shoulder damage should not be plugged or patched. These areas flex heavily and are outside the standard repairable tread area. Replace the tire if the leak or damage is in the sidewall or shoulder.
Conclusion
To find a slow leak in a Hyundai Sonata tire, start with a cold pressure check, then inspect the tread, sidewall, valve stem, bead, and rim. Use soapy water to look for steady bubbles, and submerge the wheel if the leak is too small to see. Temporary sealant or an outside plug may help in an emergency, but a safe permanent repair requires professional inspection and the right repair method. If the leak is in the sidewall, shoulder, bead area, rim, or a worn or damaged tire, do not gamble with it—repair the cause properly or replace the tire.
Sources
- Hyundai Owner’s Manual — Recommended cold tire inflation pressures — cold-tire definition, warm-tire warning, and inflation safety.
- NHTSA TireWise — Tire Safety Ratings and Awareness — tire pressure, tire labels, TPMS basics, and blowout guidance.
- U.S. Tire Manufacturers Association — Tire Care Essentials — monthly pressure checks, TPMS limitations, tread depth, and tire care basics.
- U.S. Tire Manufacturers Association — Tire Repair Basics — repairable tread area, 1/4-inch limit, tire removal, inner inspection, and plug-patch requirements.
- AAA — Tire Plug vs. Patch: Get the Right Tire Repair — plain-language explanation of temporary plugs and proper repair methods.

Related Articles

Danger of Using Summer Tires in Winter on a Hyundai Sonata
Potentially perilous, using summer tires in winter on your Hyundai Sonata can compromise safety—discover the hidden dangers that await you on icy roads.
Read More
Can You Mix Nitrogen and Air in Hyundai Sonata Tires? Answered
Discover the implications of mixing nitrogen and air in your Hyundai Sonata tires—are the benefits worth the risks? Explore the answer inside!
Read More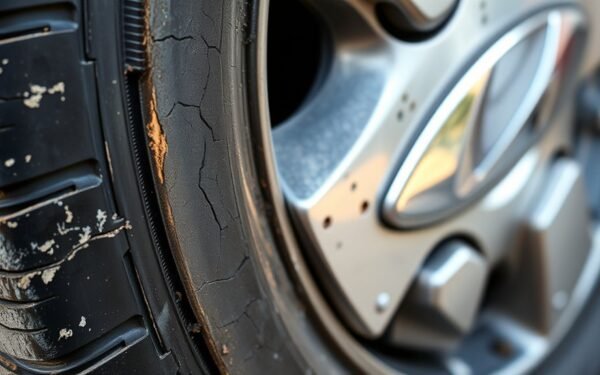
How to Tell If Hyundai Sonata Tires Are Too Old to Use Safely
Understand how to assess the age of your Hyundai Sonata tires and discover crucial signs of deterioration that could compromise your safety on the road.
Read More