
How to Remove a Seized Tire: Proven Methods & Safety Tips
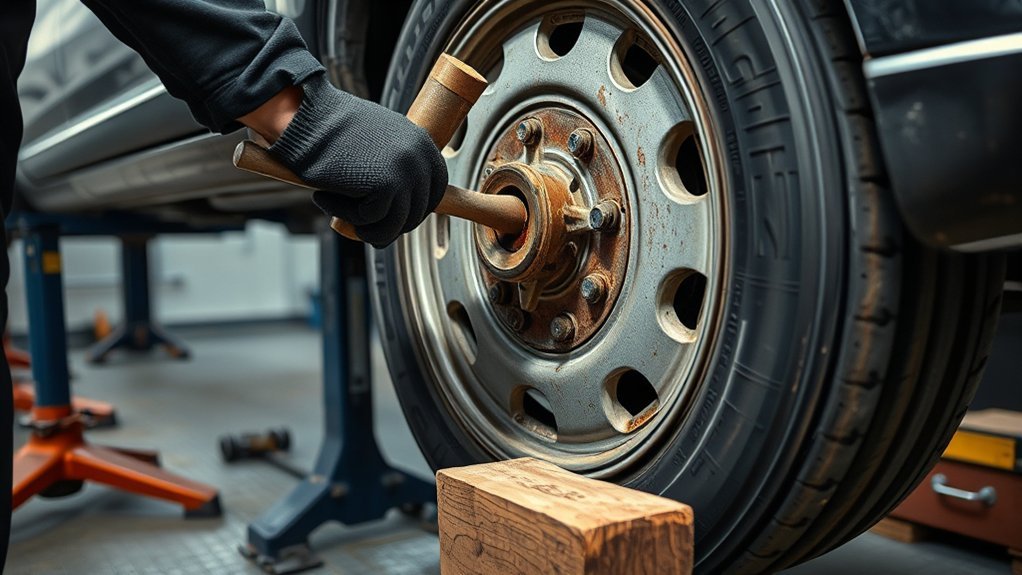
A wheel that will not come off after the lug nuts are removed is usually corroded to the hub at its center bore or mounting face. You can often free it with a targeted rust penetrant and controlled blows against the tire, but the vehicle must be properly chocked and supported before you apply force.
Quick Answer
To remove a wheel seized to the hub, park on firm level ground, chock the other wheels, loosen the lug nuts, and support the vehicle at its approved lifting points. Apply a small amount of penetrating oil at the center-bore seam, wait, then strike the tire sidewall evenly with a rubber mallet or dead-blow hammer.
Key Takeaways
- The wheel—not the rubber tire—is normally seized to the hub by rust, corrosion, or packed debris.
- Use a firm level surface, wheel chocks, the correct lifting points, and properly rated jack stands before applying force.
- Apply penetrant only at the wheel-to-hub seam and keep it off the brake rotor, brake pads, lug seats, studs, and nut threads.
- Strike the tire sidewall or a wood block held against it. Do not hammer the visible alloy rim or pry against brake components.
- Never drive with loosened lug nuts, deliberately rock a vehicle on stands, or use an open flame near penetrant, tires, brakes, or wheel bearings.
- Clean and inspect the mounting surfaces, then reinstall the wheel with dry fasteners tightened to the exact vehicle specification.
At a Glance
| Time Required | About 30–90 minutes; severe corrosion may require professional service |
| Difficulty | Moderate |
| Tools Needed | Wheel chocks, approved jack, rated jack stands, lug wrench, penetrating oil, rubber mallet or dead-blow hammer, wood block, wire brush, safety glasses, gloves, and torque wrench |
| Cost | No added cost if you own the tools; penetrating oil and a cleaning brush are the main consumables |
Warning: Never crawl beneath a vehicle supported only by a jack. Work on firm, level ground; chock the wheels that remain on the ground; and use only the lifting and support points listed in the owner’s manual. Stop immediately if the vehicle shifts on the jack or stands.
What Causes a Wheel to Seize?
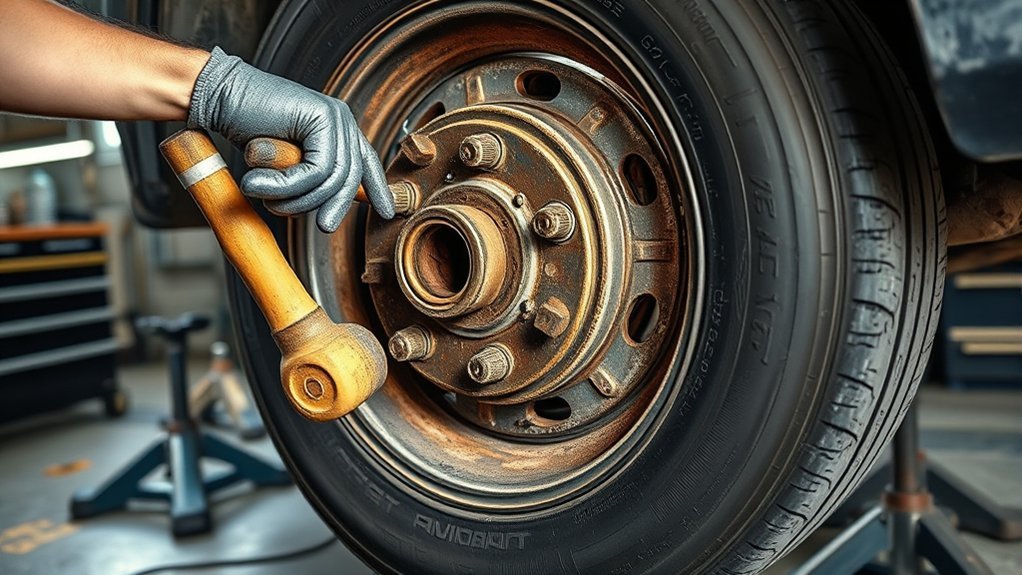
Although people often search for a “seized tire,” the rubber tire is not normally the stuck component. The wheel becomes bonded to the hub where the wheel’s center bore or rear mounting face contacts the hub.
Moisture, road salt, dirt, brake dust, and repeated wet-and-dry cycles can create a hard corrosion layer at that joint. The problem is common where an aluminum wheel fits over a steel or iron hub because corrosion products can pack tightly into the small clearance around the hub pilot.
A wheel can also become difficult to remove when:
- The mounting surfaces were not cleaned during an earlier tire rotation or brake service.
- The wheel has remained installed for several years.
- Road salt or water collected around the center cap or hub opening.
- The wheel is bent, damaged, or incorrectly fitted.
- Incorrect lug nuts or uneven tightening prevented the wheel from seating normally.
Note: A wheel that is stuck after all fasteners are removed is different from a seized lug nut. If a lug nut spins without coming off, has a damaged key, or turns with the stud, stop and use the repair procedure for damaged wheel hardware.
[Products Worth Considering]

Secure your parked vehicle quickly with AFA Tooling 4T rubber wheel chocks in a 4-pack for two dual-wheel sets. The ribbed design and textured base grip fast without pounding, so you can chock tires on trailers, RVs, ATVs, and work vehicles with confidence. EZ rustproof handles with rope ties keep the pair together for easy placement and removal, while nylon-reinforced rubber stands up to dirt, ice, salt, and harsh weather.

Camco’s RV wheel chocks with an attached rope help keep your travel trailer securely in place for safer unhitching or parking. This 2-pack is compatible with wheels up to 26-inch diameter and features durable UV-resistant construction for reliable outdoor performance. The rope enables quick, safe removal so you can prepare for your next trip with less hassle.

Secure your trailer or RV tires with a scissor-style wheel chock stabilizer that applies opposing force to help prevent wheel shift. It fits tight wheel gaps from 3.5 inches up to 12 inches and works for travel trailers, campers, fifth wheels, toy haulers, and heavy-duty trucks. The surface uses new electrophoretic technology to help prevent rust for reliable travel use.
Tools You’ll Need to Remove a Seized Wheel
- Vehicle owner’s manual
- Wheel chocks
- Vehicle jack rated for the vehicle
- Properly rated jack stands
- Lug wrench or breaker bar
- Safety glasses and work gloves
- Automotive penetrating oil with a precision straw
- Rubber mallet or dead-blow hammer
- Short wood block, such as a sound piece of 2×2 lumber
- Wire brush or abrasive cleaning pad
- Clean shop towels
- Brake cleaner approved for the vehicle’s braking components
- Torque wrench covering the required wheel-nut torque
Products such as PB B’laster Penetrant or WD-40 Specialist Penetrant are formulated for rusted parts. Follow the product label, use the smallest effective amount, and work outdoors or in a well-ventilated area.
Do not use a sledgehammer, steel pry bar, or chisel against the wheel, rotor, caliper, dust shield, or suspension. Those tools can damage parts and may apply enough force to move the vehicle on its supports.
Prepare the Vehicle Safely
- Move the vehicle to a firm, flat surface away from traffic.
- Switch on the hazard lights if roadside conditions require them.
- Place an automatic transmission in Park. Place a manual transmission in first gear or reverse, following the owner’s manual.
- Set the parking brake unless the vehicle manufacturer gives different instructions for the wheel being serviced.
- Chock the wheel diagonally opposite the stuck wheel. Add more chocks when needed to prevent movement in either direction.
- Remove the wheel cover or center cap if it blocks the fasteners or center bore.
- Loosen each lug nut about one-half turn while the tire is still on the ground. Do not remove the nuts yet.
- Position the jack only at the lifting point specified in the owner’s manual.
- Raise the vehicle until the tire clears the ground, then place a rated stand at the specified support point.
- Lower the vehicle gently onto the stand while leaving the jack in light contact as a backup, when the vehicle’s instructions permit.
OSHA’s jack requirements state that a raised load must be blocked, cribbed, or otherwise secured promptly. The UK Health and Safety Executive also warns that vehicles falling or rolling from incorrectly positioned jacks or stands are a major cause of fatal repair accidents.
The jack raises the vehicle. The stands, chocks, firm surface, and correct support points keep it from moving while you work.
Apply Penetrating Oil at the Hub
Remove the lug nuts after the vehicle is supported. Then thread two nuts back onto opposite studs by two or three full turns. These loose nuts are not used for driving; they only help catch the wheel if it suddenly releases while you are striking the tire.
Penetrant Application Points
Use the product’s straw to apply a small amount of penetrant at the seam between the wheel’s center bore and the raised hub pilot. On wheels with open lug holes, a small targeted application may also reach the back of the center-bore area. Do not flood the holes or spray blindly behind the wheel.
| Area | What to Do |
|---|---|
| Center-bore seam | Apply a narrow ring of penetrant with the straw. |
| Accessible hub-pilot edge | Wet the corroded joint without soaking nearby parts. |
| Brake rotor and pads | Shield them with clean cardboard or a shop towel while spraying. |
| Lug studs, nut seats, and threads | Keep them clean and dry unless the vehicle manufacturer specifically says otherwise. |
Let It Soak
Allow the penetrant to work for the time listed on its label. Fifteen to 30 minutes is a practical first attempt, but a badly corroded joint may need another careful application and a longer wait.
Do not assume that more product will work better. Excess liquid is more likely to run onto the rotor, pads, wheel seats, or floor. If penetrant reaches a braking surface, do not drive until the contamination has been removed with an approved brake cleaner and the brake components have been inspected.
Pro Tip: A center cap may hide the exact point where the wheel is corroded to the hub. Remove the cap when possible so the penetrant reaches the center-bore seam instead of being sprayed across the wheel face.
Break the Rust Bond With Controlled Strikes
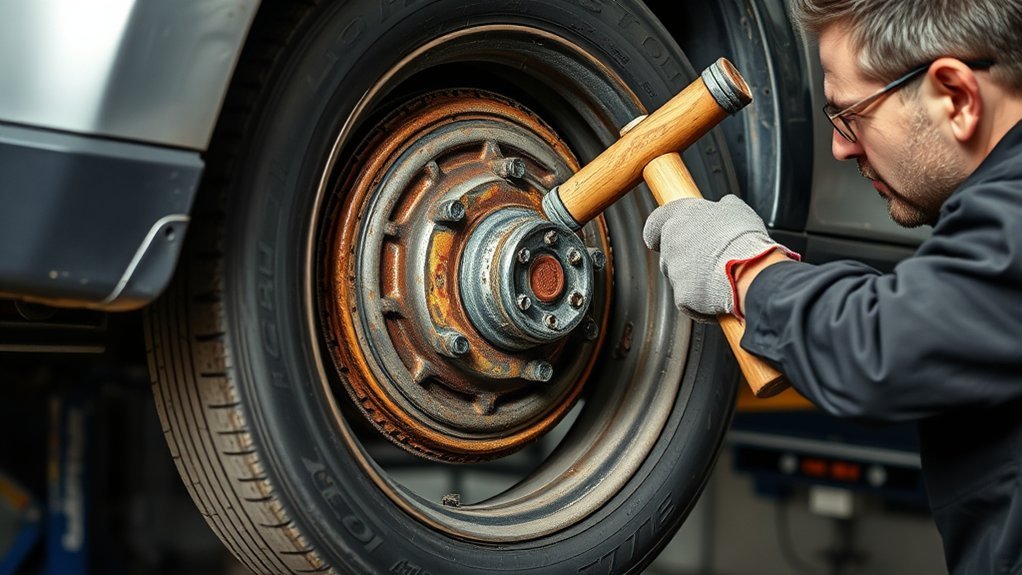
Confirm that the vehicle is stable and that two opposite lug nuts remain loosely threaded. Stand beside the wheel rather than beneath the vehicle.
Strike the rubber tire sidewall at the 3 o’clock and 9 o’clock positions with a rubber mallet or dead-blow hammer. Move to the 12 o’clock and 6 o’clock positions, then repeat the pattern. The aim is to rock the wheel slightly on the hub and break the corrosion evenly.
| Strike Point | Tool | Purpose |
|---|---|---|
| Outer tire sidewall | Rubber mallet | Gentle first attempt with low risk of rim damage |
| Inner tire sidewall | Dead-blow hammer | Stronger controlled force with limited rebound |
| Tire through a wood block | Wood block and mallet | Spreads the load across a larger rubber area |
| Visible alloy or steel rim | None | Do not strike; direct impacts can bend, chip, or crack the wheel |
Rotate the wheel about one-quarter turn between rounds when it can move freely. Reapply a small amount of penetrant at the center seam if needed, wait again, and repeat the alternating pattern.
Stop if:
- The vehicle shifts on its supports.
- A stand sinks, tilts, or moves.
- The wheel, tire, stud, rotor, or hub appears damaged.
- You need full-force swings to make progress.
- You cannot reach the inner tire safely without placing part of your body beneath the vehicle.
Do Not Drive With Loose Lug Nuts
Do not roll the vehicle, drive over rough pavement, make figure eights, or travel even a short distance with the wheel nuts loosened. Do not lower the vehicle and use its weight to shock a loosely retained wheel free.
A wheel that moves against loose fasteners can damage:
- The tapered or ball-shaped lug seats
- Wheel studs or wheel bolts
- Lug-nut threads
- The wheel’s center bore
- The hub face
- The wheel itself
The vehicle must also remain stationary while it is on a jack or stands. Never start the engine, select a drive gear, release the parking brake, or deliberately rock the body during this procedure.
Warning: Lug nuts that are “only slightly loose” are still loose. Wheel retention depends on the specified clamping force, correct seats, undamaged hardware, and proper torque.
Do Not Use an Open Flame on the Hub
Do not use a propane torch, oxy-fuel torch, or other open flame to remove a stuck wheel at home. This is especially important after applying an aerosol penetrant.
The current WD-40 aerosol safety data sheet, for example, classifies the product as an extremely flammable aerosol and directs users to keep it away from heat, sparks, hot surfaces, and open flames.
Uncontrolled heating may also affect nearby:
- Tire rubber and valve components
- Wheel finish or wheel strength
- Wheel-bearing seals and lubricant
- ABS wiring and wheel-speed sensors
- Brake hoses, pads, and caliper seals
- Hub, rotor, and wheel dimensions
If penetrant and controlled impacts do not release the wheel, a qualified shop can use a lift, a suitable wheel-removal tool, and controlled methods without placing the vehicle or nearby components at unnecessary risk.
[Products Worth Considering]

Camco Trailer Aid Plus tandem tire ramp lifts your trailer for quick, safe tire changes with ample clearance from its 5 1/2-inch lift. It helps you change a flat tire without unloading cargo, making roadside and routine maintenance more efficient. The heavy-duty, waterproof and rustproof polymer design supports up to 15,000 lb and is built for easy portability and storage.

This VEVOR tire bead breaker uses a slide-hammer impact and wedge tip to separate tire beads from rims quickly and efficiently without damaging hub surfaces. The long handle and sturdy steel construction help reduce user strain while providing reliable, portable tire changing for cars, trucks, and more. Ideal for home mechanics and repair shops handling multiple vehicle tire sizes.
Free the Wheel Without Damaging the Rim
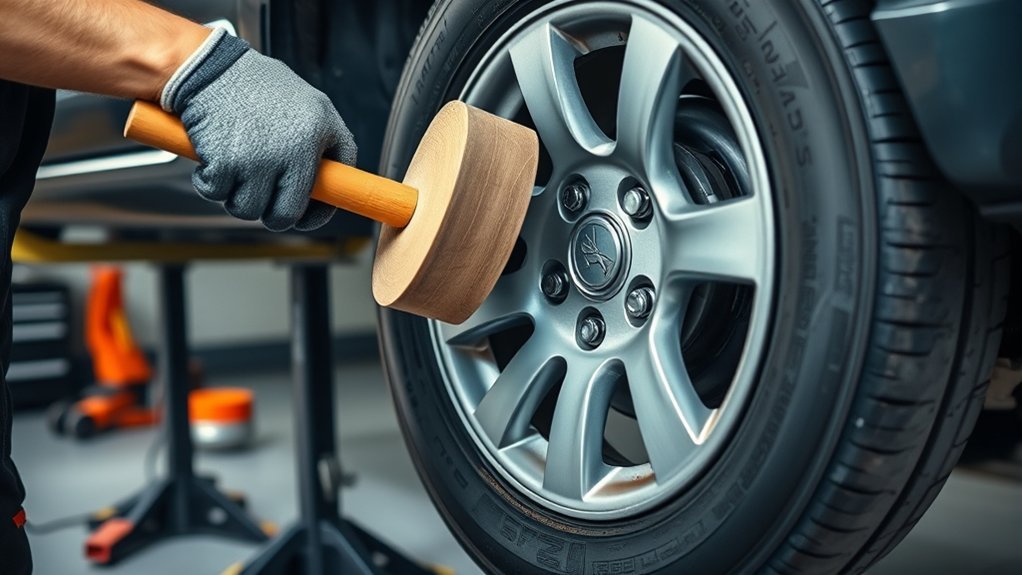
When the corrosion bond begins to break, the wheel may tilt slightly against the two loose lug nuts. Stop striking it at that point.
- Hold the wheel at the 3 o’clock and 9 o’clock positions.
- Pull one side toward you, then the other, using small controlled movements.
- Keep your feet clear of the wheel’s path.
- Support the wheel with both hands.
- Remove the two retaining lug nuts.
- Pull the wheel straight off the hub.
Large truck, SUV, and off-road wheels can be heavy. Do not let the wheel drop onto your hands, feet, brake rotor, or threaded studs. Ask for help or use a wheel dolly when the assembly is too heavy to control safely.
Do not insert a pry bar between the wheel and brake rotor. A pry bar can bend the rotor or dust shield, chip the wheel, damage a sensor, or create enough sideways force to disturb the vehicle’s supports.
Clean and Inspect the Hub Before Reinstallation
Once the wheel is removed, inspect the full assembly before reinstalling it. Look for:
- Heavy pitting or flaking corrosion on the hub pilot
- Cracks, deformation, or elongated lug holes in the wheel
- Damaged studs, bolts, threads, or lug-nut seats
- A bent wheel or damaged center bore
- Fresh hammer marks or tire damage
- A bent rotor shield
- Penetrant or grease on the rotor or pads
Clean the Hub and Wheel Mating Surfaces
Use a wire brush or abrasive pad to remove loose rust from the hub pilot and the flat hub surface. Clean the matching rear face and center bore of the wheel. Work carefully around wheel-speed sensors, tone rings, seals, and painted wheel finishes.
Wipe away all residue when the surfaces are flat, smooth, and dry. Do not grind away sound metal or enlarge the center bore.
Ford’s wheel-installation guidance instructs owners to remove corrosion, dirt, and foreign material from the wheel and hub mounting surfaces before installing a wheel.
Use Corrosion Protection Only When Approved
The safest general rule is to reinstall the wheel with clean, dry mounting faces and clean, dry fasteners. Do not apply grease or anti-seize to the wheel studs, wheel bolts, lug-nut seats, or nut threads unless the exact vehicle or wheel manufacturer specifically requires it.
Lubrication changes the relationship between torque and clamping force. Ford warns against grease or oil on wheel-stud and lug-nut interfaces because the nuts may loosen while driving.
Some vehicle service procedures permit a very thin, specified corrosion inhibitor on the raised hub pilot only. Follow that instruction only when it appears in the service information for the exact vehicle. Do not coat the flat clamping faces, add homemade spacers, or place tape or plastic between the wheel and hub.
Reinstall and Torque the Wheel
- Confirm that the hub face, wheel face, lug seats, studs, bolts, and nuts are clean and dry.
- Place the wheel squarely on the hub without dragging it across the studs.
- Install every lug nut by hand. Each nut should turn several full rotations without binding.
- Confirm that the tapered, rounded, or flat side of each nut faces the wheel exactly as designed.
- Snug the fasteners lightly in a criss-cross or star sequence.
- Raise the vehicle slightly, remove the jack stand, and lower the vehicle according to the owner’s manual.
- Use a calibrated torque wrench to tighten the fasteners in the specified sequence and to the exact torque listed for the vehicle and wheel.
- Reinstall the wheel cover or center cap only after the fasteners are correctly tightened.
Do not guess the torque or copy a value from a different model. Wheel-nut specifications vary by vehicle, wheel type, stud size, and fastener design.
Before returning to normal driving, press the brake pedal several times if the brake assembly was touched or cleaned. Confirm that the pedal feels normal, the wheel sits flush, and no tools or chocks remain around the vehicle.
When to Call a Mechanic
Stop the DIY attempt and arrange professional service when:
- The vehicle cannot be positioned on a firm, level surface.
- You do not have approved lifting points, suitable stands, or wheel chocks.
- The wheel does not respond to repeated soak-and-strike cycles.
- The vehicle moves when you apply moderate force.
- The wheel is cracked, bent, or visibly damaged.
- A stud, wheel bolt, or lug nut is stripped, bent, or spinning.
- Corrosion is deeply pitted or flaking from the hub.
- Penetrant has soaked the brake pads.
- You suspect damage to the rotor, bearing, ABS sensor, or hub.
- The wheel is too heavy for you to support safely.
A shop can support the vehicle on a lift and use a suitable wheel puller or other controlled equipment. That is safer than escalating to harder hammer blows, open flame, improvised pry bars, or loose-lug driving.
Frequently Asked Questions
How do you remove a wheel that is really stuck?
Support the vehicle correctly, leave two opposite lug nuts threaded a few turns, apply a small amount of penetrant at the center-bore seam, and wait. Strike the tire sidewall in an alternating pattern with a rubber mallet or dead-blow hammer. Stop if the vehicle shifts or the wheel does not respond to moderate force.
Will WD-40 remove a stuck wheel?
WD-40 Multi-Use Product has penetrating properties, while WD-40 Specialist Penetrant is made specifically for rust-bonded parts. Either may help with light corrosion, but use the product label as your guide and keep the spray away from brake surfaces and wheel fasteners. Severe corrosion may need a stronger penetrant or professional tools.
Why will the wheel not come off after the lug nuts are removed?
Rust and corrosion can bind the wheel’s center bore or rear mounting face to the hub. Packed dirt, a damaged center bore, a bent wheel, or an incorrect fit can cause similar symptoms. The rubber tire itself is usually not seized to the rotor or hub.
Can I hit the rim to free a seized wheel?
Do not strike the visible rim with a steel hammer. Direct impacts can chip, bend, or crack the wheel. Apply controlled blows to the rubber sidewall with a rubber mallet or dead-blow hammer, or strike a sound wood block held against the tire.
Can I drive with the lug nuts loose to break the wheel free?
No. Driving with loose wheel fasteners can damage the studs, lug seats, threads, wheel, and hub. It may also allow the wheel to loosen further. Keep the vehicle stationary and use penetrant, controlled tire-sidewall strikes, or professional removal equipment.
Should I heat a stuck wheel hub with a torch?
Do not use an open flame for a general DIY wheel-removal job, especially after applying an aerosol penetrant. Flammable vapors and nearby tire, brake, bearing, seal, sensor, and suspension components make uncontrolled heating unsafe. Refer a wheel that needs heat or specialized pulling equipment to a qualified shop.
Conclusion
A wheel seized to the hub should be removed with a controlled process: secure the vehicle, target the center-bore corrosion with penetrant, strike only the tire with a soft-faced tool, and stop before the force threatens the vehicle’s stability or damages the wheel.
Do not drive with loose lug nuts or use an open flame. After removal, clean and inspect the hub and wheel, keep the fasteners dry, and tighten them in the correct sequence with a torque wrench set to the vehicle manufacturer’s specification. When moderate force is not enough, professional removal is the safer next step.
Sources
- Occupational Safety and Health Administration — Jacks — requirements for securing a raised load.
- Health and Safety Executive — Working Under Vehicles — vehicle-support, stand-placement, and rolling hazards.
- Ford Owner Information — Wheels and Tires — cleaning corrosion and foreign material from wheel and hub mounting surfaces.
- Ford Owner Information — Changing a Road Wheel — warning against grease or oil on wheel-stud and lug-nut interfaces.
- WD-40 Company — Multi-Use Product Aerosol Safety Data Sheet — aerosol flammability, ventilation, and ignition-source precautions.
- B’laster Products — PB B’laster Penetrant — intended use on rusted and frozen parts.

Related Articles

How to Book a Costco Tire Center Appointment
Tired of guesswork? Learn how to book a Costco Tire Center appointment and avoid surprises before your next visit.
Read More
How to Use Costco Tire Inflation: Step-by-Step
Never overinflate at Costco—learn the exact steps, tools, and tips to fill your tires safely and leave with confidence.
Read More
How to Book a Tire Appointment at Walmart
Mysterious steps make booking a Walmart tire appointment simpler than you think, but one crucial detail could save you time and money.
Read More