
How to Measure Tire Wear: Tread Depth Check Guide
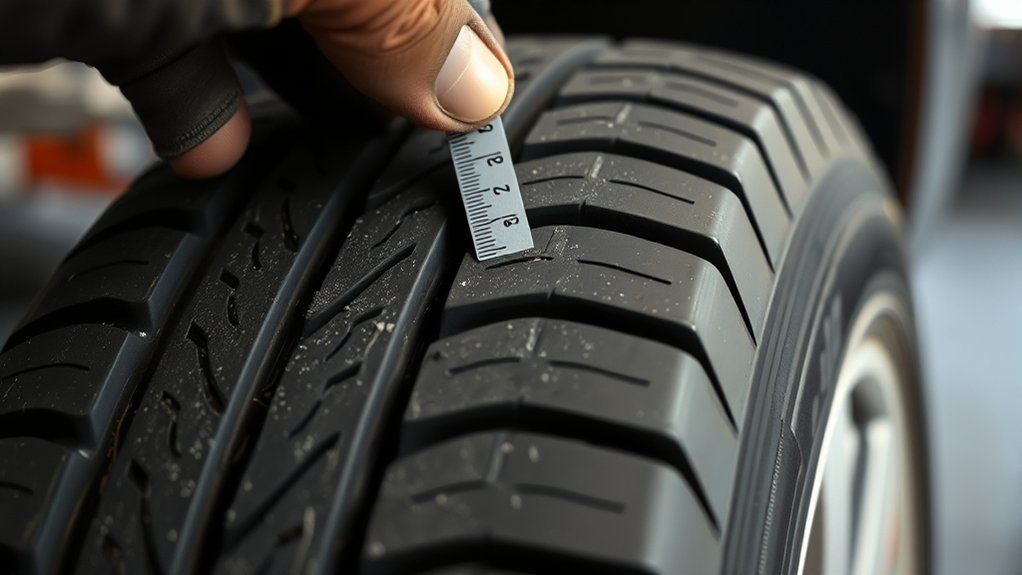
To measure tire wear, check the tread depth in several grooves on each tire, then compare the lowest reading with common safety thresholds. Many new passenger tires start around 10/32″ to 11/32″, but the exact depth depends on the tire model. A tread depth gauge gives the most accurate result, while the penny test, quarter test, and built-in wear bars give you quick checks at home.
Quick Answer
Measure tire wear by inserting a tread depth gauge into the main grooves and recording the lowest reading in 32nds of an inch. Replace tires at 2/32″ or when wear bars are flush. Use a quarter test around 4/32″ as an early warning for wet-weather grip.
Key Takeaways
- Use a tread depth gauge for the most accurate tire wear measurement.
- Check tread depth in the inner, center, and outer grooves on every tire.
- Replace tires at 2/32″ or when the tread is level with the wear bars.
- Use the penny test for a quick end-of-life check and the quarter test for an earlier wet-weather warning.
- Look for uneven wear, cracks, bulges, exposed cords, and tire age, not tread depth alone.
At a Glance
| Time Required | 5 to 10 minutes for all four tires |
| Difficulty | Easy |
| Tools Needed | Tread depth gauge, penny, quarter, flashlight, and notepad or phone |
| Cost | $0 with coins or usually under $10 for a basic tread depth gauge |
What Tire Tread Means
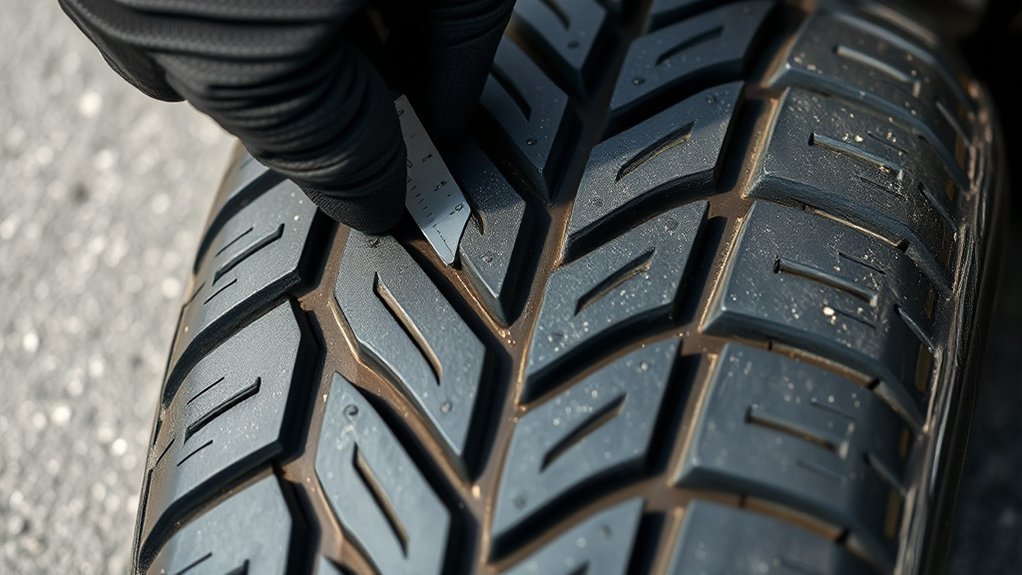
Tire tread is the patterned rubber that touches the road. It helps your tires grip pavement, move water away from the contact patch, and maintain braking and steering control. The National Highway Traffic Safety Administration says tire tread provides the gripping action that helps prevent slipping and sliding, especially on wet or icy roads.
Tread depth is usually measured in 32nds of an inch. A deeper tread groove can move more water away from the tire, while a shallow groove gives water less space to escape. That is why worn tires can feel less stable in rain, during hard braking, or when you hit standing water.
Your tire also has built-in tread wear indicator bars. These raised bars sit inside the tread grooves. When the tread surface is level with those bars, the tire has reached about 2/32″ of tread and should be replaced. Proper tread depth is essential for ensuring optimal performance and safety in various driving conditions.
Warning: Do not wait for a tire to look completely bald. If any tire measures 2/32″, has flush wear bars, shows cords, has a bulge, or has deep sidewall cracking, replace it before normal driving.
[Products Worth Considering]

This VEVOR tire bead breaker uses a slide-hammer impact and wedge tip to separate tire beads from rims quickly and efficiently without damaging hub surfaces. The long handle...
How to Measure Tire Tread Depth
You can check tread depth three reliable ways: with a tread depth gauge, a penny, or a quarter. A gauge gives the most precise reading, while coins help you make a fast roadside check. For the best result, measure all four tires and record the lowest number on each one.
Step-by-Step Tread Depth Check
- Park safely on level ground. Set the parking brake and turn the front wheels slightly so you can reach the tread more easily.
- Look over the whole tire first. Check for nails, cuts, bulges, cracks, exposed cords, and uneven wear.
- Measure the inner groove. Place the tread depth gauge probe into a main groove and press the gauge base flat against the tread ribs.
- Measure the center groove. Take another reading in the middle tread channel.
- Measure the outer groove. Check the outer tread channel, because shoulder wear can hide alignment or pressure problems.
- Repeat around the tire. Take readings at several points around the tire, not just one spot.
- Record the lowest reading. Use the lowest number for your safety decision because one worn area can reduce control.
- Repeat on every tire. Front and rear tires can wear at different rates, especially on front-wheel-drive vehicles.
Pro Tip: Write down the date, tire position, and lowest tread reading. This makes it easier to spot fast wear before it becomes a safety problem.
Tread Depth Chart: What the Numbers Mean
Tread depth numbers are easier to use when you know what each range means. Use this chart as a practical guide, then adjust for your weather, driving style, and local rules.
| Tread Depth | What It Usually Means | What To Do |
| 10/32″ to 11/32″ | Common starting range for many new passenger tires | Track wear during normal maintenance |
| 7/32″ | Good remaining tread for most normal driving | Keep checking monthly |
| 5/32″ | Usable, but wet and winter confidence may start dropping | Plan replacement if you drive often in rain or snow |
| 4/32″ | Early warning zone for wet-weather safety | Shop soon, especially before rainy seasons or long trips |
| 2/32″ | Minimum replacement threshold | Replace the tire now |
How the Penny and Quarter Tests Work
The penny test and quarter test use coin details as simple depth markers. They are not as exact as a tread depth gauge, but they help you decide whether a tire needs closer inspection.
For the penny test, place a penny into a main tread groove with Lincoln’s head upside down and facing you. If you can see the top of Lincoln’s head, your tread is at or below the replacement zone. NHTSA also recommends this penny method for checking whether tread has reached the minimum depth.
For the quarter test, place a quarter into the groove with Washington’s head upside down. If the tread covers part of Washington’s head, you have roughly 4/32″ or more. If the top of his head is visible, you are near the wet-weather caution zone and should check with a tread depth gauge.
Use the penny test when tires look close to worn out. Use the quarter test earlier, when you want more warning before rain traction drops. Recheck regularly so you can act before traction and braking efficiency fall. Additionally, maintaining proper treadwear ratings can significantly enhance tire longevity and performance.
How to Read Wear Indicator Bars
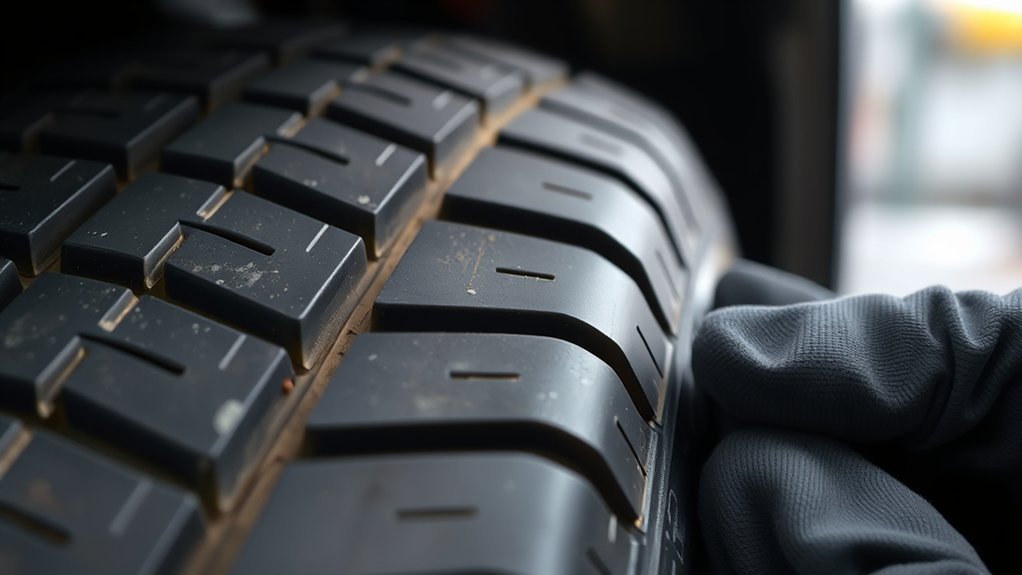
Another built-in check is the tread wear indicator bar molded into the tire groove. These bars sit across the tread channels and show when the tire has reached its wear limit. Many tires also have small “TWI” marks, arrows, or icons on the sidewall that point to the indicator bars.
During a tread depth check, look across the tire and compare the tread blocks with the bars. If the surrounding tread is level with the bar, the tire has reached about 2/32″ and should be replaced. Do not rely on one bar alone. Check several grooves and several points around the tire because uneven wear can make one area unsafe before the rest of the tire looks worn.
Tread depth gauges can confirm the numbers, but the bars give you a fast warning when you need to act. Additionally, maintaining proper tread depth is crucial for ensuring optimal performance in various driving conditions, especially when using all-terrain tires like the KO2 and KO3.
Using a Tire Tread Depth Gauge
A tire tread depth gauge gives you a precise reading in 32nds of an inch. To use it, extend the probe, place it into a main tread groove, and press the base of the gauge flat against the surrounding tread ribs. Read the number, then repeat in other grooves and around the tire.
Measure the inner, center, and outer tread sections. If one section is much lower than the others, the tire may have an alignment, inflation, suspension, or rotation issue. The Uniform Tire Quality Grading standards also show why treadwear and traction are treated as measurable tire-performance factors, not guesswork.
Record the lowest reading for regular maintenance and compare it over time. If one tire drops faster than the others, schedule an inspection before the wear pattern ruins the tire. Regularly monitoring tire tread depth can significantly enhance overall driving safety and performance.
What Uneven Tire Wear Means
Tire wear should be fairly even across the tread. When one part wears faster, the tire is telling you something about pressure, alignment, rotation, suspension, or driving habits.
- Center wear: Often linked to overinflation or frequent high-speed driving.
- Both-edge wear: Often linked to underinflation or heavy loads.
- One-side wear: Often points to alignment problems.
- Cupping or patchy wear: May point to worn suspension parts, imbalance, or neglected rotation.
- One tire wearing faster: Check rotation history, alignment, and whether that tire has been repaired or replaced separately.
Tread depth, tire pressure, tire temperature, and road condition can all affect tire behavior, so do not treat tread depth as the only safety check. A tire with enough tread can still be unsafe if it has sidewall damage, internal damage, severe vibration, or age-related cracking.
Note: Tire Pressure Monitoring Systems warn about significant underinflation, but they do not measure tread depth. You still need regular visual checks and tread measurements.
When to Replace Tires
Replace tires when any tread groove reaches 2/32″, when tread wear bars are flush, or when the tire has visible cords, deep cracks, a bulge, or damage that a tire professional says is unsafe. You should also replace earlier if your driving conditions demand more tread, such as frequent rain, snow, gravel roads, mountain driving, or long highway trips.
Also check tire age. Look for the DOT Tire Identification Number on the sidewall. The last four digits show the week and year the tire was made. For example, 2324 means the tire was made in the 23rd week of 2024. NHTSA notes that some vehicle and tire manufacturers recommend replacement at six to 10 years regardless of treadwear, so check your owner’s manual and tire manufacturer guidance.
Frequently Asked Questions
Should tires with 5/32″ tread be replaced?
Tires with 5/32″ tread are not at the 2/32″ replacement limit yet, but you should start planning if you drive often in rain, snow, or long highway conditions. At this depth, wet-weather confidence can drop, so measure monthly and replace sooner if wear is uneven.
Is 1/4 inch tread depth good?
Yes. A 1/4 inch tread depth equals 8/32″, which is generally a good amount of remaining tread for normal driving. Keep checking it monthly, especially before road trips or rainy seasons, because tread can wear unevenly across the tire.
How much is 10/32″ tread depth?
10/32″ is 0.3125 inch, or about 7.9 mm. That is near the starting depth for many new passenger tires, though exact new-tire depth varies by tire type, brand, and model.
Is 7/32″ tread depth good or bad?
7/32″ tread depth is generally good for normal use. It is well above the 2/32″ replacement threshold and above the 4/32″ wet-weather caution zone. Keep measuring because alignment, pressure, and rotation issues can make one area wear faster.
How often should you measure tire tread?
Check tread depth at least once a month when you check tire pressure. Also check before long trips, before winter, after hitting a pothole, and whenever you notice pulling, vibration, or unusual tire noise.
Can a tire be unsafe even if the tread depth looks fine?
Yes. A tire can be unsafe because of age, sidewall cracks, bulges, exposed cords, puncture damage, vibration, or internal damage. Tread depth is important, but it is only one part of a complete tire safety check.
Conclusion
Measuring tire wear is quick, simple, and worth doing every month. Use a tread depth gauge for the most accurate reading, then use the penny test, quarter test, and wear bars for quick checks. If your lowest reading is 2/32″, your wear bars are flush, or you see serious damage, replace the tire. If you catch uneven wear early, you may also fix the alignment, pressure, or rotation problem before it ruins another set of tires.
Sources
- NHTSA TireWise — tire tread replacement threshold, penny test, wear bars, monthly checks, TPMS limits, and tire aging guidance.
- 49 CFR § 575.104 Uniform Tire Quality Grading Standards — treadwear, traction, and temperature rating context for passenger tires.
- Extended Pacejka Tire Model for Enhanced Vehicle Stability Control — technical support for the effect of tread depth, inflation pressure, temperature, and road conditions on tire force behavior.
- Rubber Friction on Wet and Dry Road Surfaces — technical background on why wet surfaces reduce tire-road friction.

Related Articles
AWD Tire Rotation Pattern: How Often and How to Do It
W**ondering the right AWD tire rotation pattern and timing? Discover the simple method, ideal schedule, and mistakes to avoid before your tires wear unevenly.
Read More
Wheel Damage: Types, Repair Options, and Costs
Many wheel damages look minor, but some hide costly safety risks—learn which repairs are worth it and when replacement is smarter.
Read More
Tire Balancing Weights: Types, Cost, and Why You Need Them
Precisely chosen tire balancing weights reduce vibration and wear, but which type fits your wheels and what it really costs may surprise you.
Read More