
How to Work a Tire Machine: Step-by-Step Guide & Safety Tips
To work a tire machine safely, you first inspect the tire, rim, and TPMS, then put on safety glasses, gloves, snug clothing, and steel-toed shoes. Deflate the tire, remove the valve core, and break the bead with the bead breaker. Clamp the wheel securely on the turntable, lubricate the beads, and guide the new tire onto the rim. Inflate slowly to seat both beads, staying under 40 PSI. A few more steps can improve your results.
Key Takeaways
- Wear safety glasses, snug gloves, protective clothing, and steel-toed shoes before operating the tire machine.
- Inspect the tire, rim, and TPMS sensor for damage, correct sizing, and proper fit before mounting.
- Fully deflate the tire, remove the valve core, then use the bead breaker to separate the bead from the rim.
- Clamp the wheel securely on the turntable, lubricate the beads, and guide the mounting arm carefully during removal or installation.
- Inflate slowly in a safety cage, stop at 40 PSI maximum, and confirm both beads seat evenly before use.
Tire Machine Basics
A tire machine is a specialized tool that helps you remove and install tires on wheels with far less manual effort while reducing the risk of rim damage. You use a tire changer machine to control the tire changing process with precision, whether you’re working with swing arm, tilt back, leverless, heavy-duty, or motorcycle models. The bead breaker splits the tire from the rim, then the turntable clamps the wheel so you can work securely. Next, the mounting arm guides the tire on and off, while lubricant reduces friction and supports proper bead seating. You should follow safety precautions and manufacturer instructions every time, because accurate operation protects both you and the wheel. Choose tire machines that match the tire size and application you handle most. Keep regular maintenance on schedule so components stay aligned, responsive, and reliable. When you understand these basics, you gain cleaner results, greater autonomy, and less physical strain on every job. Additionally, being aware of tire recycling processes can enhance your understanding of the tire’s entire lifecycle.
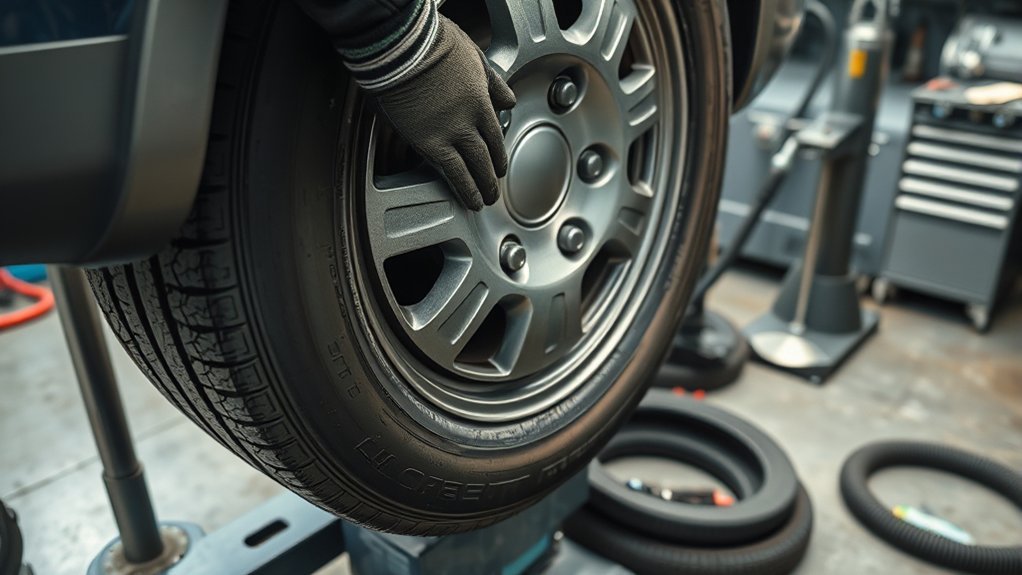
Check Safety Gear and Fit
Before you start the tire machine, inspect your safety gear and make sure it fits properly. Put on safety glasses to shield your eyes from debris while operating a tire machine. Choose tight-fitting gloves, ideally leather or mechanics gloves, so you can grip tools and keep hands clear of sharp edges and moving parts. Wear durable clothing that fits snugly; loose sleeves, cords, and cuffs can snag and create personal injury risks. Select steel-toed, oil-resistant shoes so you stay stable on slick floors and protect your feet from dropped equipment. Follow safety guidelines by checking that every piece of protective gear stays secure when you bend, reach, and step around the machine. If you work in a loud bay or for long shifts, add hearing protection and consider back support if needed. Proper fit lets you move freely, work efficiently, and keep control while operating a tire machine. Additionally, it’s crucial to understand the treadwear ratings of the tires you’re working with to ensure optimal performance and safety.
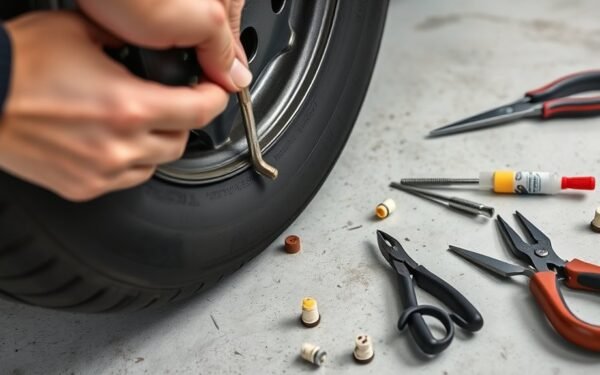
Inspect the Tire, Rim, and TPMS
Check that the tire size and construction match the wheel specifications before you mount it. Inspect the rim for rust, cracks, bent flanges, or other damage that could cause leaks or failure. Handle TPMS sensors carefully during inspection so you don’t damage them and trigger a costly replacement. Additionally, ensure you have a reliable spare tire kit on hand for emergencies, as it can provide essential tools for unexpected repairs.
Tire Size Match
Start by verifying that the tire size and construction match the wheel’s rating, because the wrong match can compromise fitment, safety, and performance. Confirm the tire size match against the wheel diameter, then inspect the tire sidewall and bead area for cuts, bead damage, or irregular wear. Check tire pressure before mounting, since underinflation can distort seating and mask fitment issues. Look for rim damage, rust, or deformation that could interfere with the bead seal. Handle TPMS sensors carefully; don’t pry against them or you may trigger faults or costly replacements. Match asymmetrical or run-flat designs to the manufacturer’s specifications, so every safety features works as intended. When the dimensions and construction align, you work with control, reduce waste, and keep the machine’s process clean, efficient, and reliable.
Rim Condition Check
Once you’ve confirmed the tire size and construction match the wheel, inspect the rim, tire, and TPMS components for damage before mounting. During this rim condition check, look for visible damage on the wheel: rust, cracks, and bent flanges. Any damage to the rim can reduce safety and performance and prevent proper mounting. Then examine the tire for bead cuts, sidewall injury, or other defects that could cause leaks during inflation. Verify the valve stem is straight, secure, and functional, because a faulty stem can leak air and disrupt inflation. Handle TPMS parts carefully so you don’t damage them while working.
- Check for corrosion
- Inspect bead and sidewall
- Confirm valve stem alignment
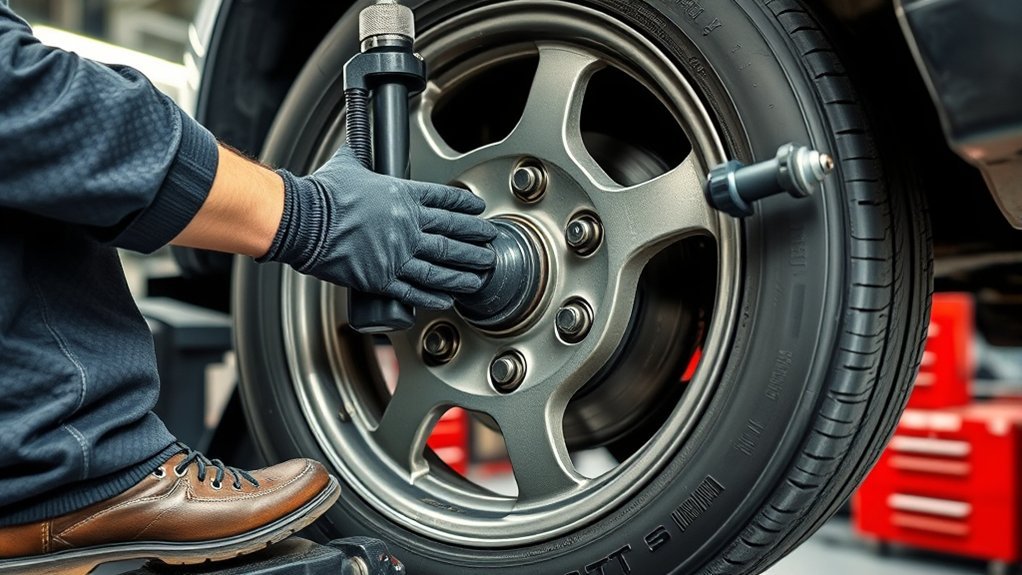
TPMS Sensor Awareness
Before you dismount or mount the tire, inspect the TPMS sensor so you don’t damage it during the process. Check the sensor location, valve stem, and wheel well before tire changes, and keep tools clear of the assembly. Verify the tire and rim are compatible with the TPMS, because some sensors only fit specific wheel types and sizes. During mounting, protect the sensor from bead tools and lubricants that could interfere with readings. After installation, confirm proper pressure and watch for the warning light. If it stays on, inspect the sensors again and reset them per manufacturer guidelines. Following these safety guidelines helps you work cleanly, avoid costly failures, and keep every wheel ready for reliable, self-directed travel.
Break the Bead
Remove the valve stem core and fully deflate the tire so air pressure does not resist bead separation. Position the tire upright, with the valve stem facing up near the bead breaker on the tire machine. Put on protective gear, then activate the bead breaker with the foot pedal. Keep your hands, feet, and limbs clear of moving parts so you can break the bead safely and correctly. After the bead releases, use the machine to hold the tire and rim steady before you remove the tire. Then use a lever bar to pry the bead away from the rim without gouging either surface.
- Check that the bead has fully dropped into the wheel well.
- Keep steady pressure; don’t force the tool.
- Work methodically to protect the tire and wheel. Additionally, ensure that the tire type matches the vehicle specifications to avoid compatibility issues during installation.
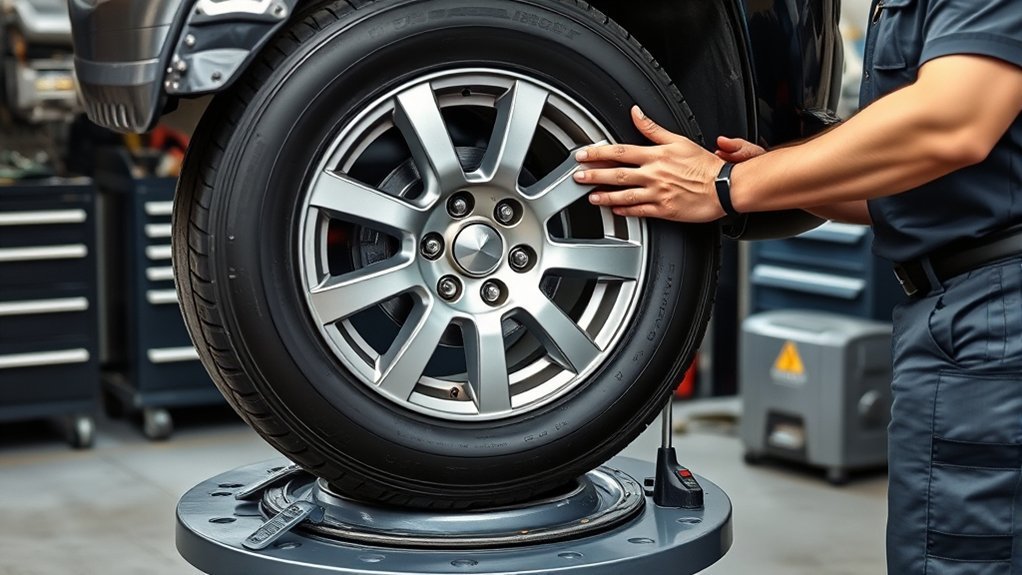
Clamp the Wheel Securely
Center the wheel on the turntable and make certain it’s clean and free of debris before you clamp it. On your tire changing machine, choose the correct clamping method—inside or outside—based on the rim design and machine model. This helps you clamp the wheel securely without stressing the wheel flange. Next, adjust the clamping arms to match the wheel diameter, then close them evenly until they grip snugly. Don’t overforce the jaws; excess pressure can warp the rim and cause wheel damage. Before you start, inspect the clamping jaws for wear, chips, or poor alignment, and replace any damaged parts right away. Confirm the wheel stays centered as you tighten so the setup remains balanced. When you make certain the wheel is held with steady, even pressure, you achieve the best gripping performance and keep the job safe and efficient. Additionally, ensuring the tire size matches the specifications will help maintain optimal performance and safety.
Dismount the Tire
Lower the tire pressure by removing the valve stem core so the bead releases more easily. Then position the tire upright on the tread with the valve stem facing up, and line it near the bead breaker. Activate the bead breaker arm to unseat the tire bead from the wheel; keep the machine stable. Secure the tire and rim tightly on the machine before you use a lever bar to dismount the assembly. Work the bar in controlled strokes to separate the bead from the rim, and avoid twisting the tire.
- Check that the bead is fully broken on both sides.
- Keep your hands clear of pinch points.
- Stop if you see rim damage or excessive resistance.
Once the bead is free, lift the tire away from the rim with steady pressure. Move deliberately, stay in control, and protect every surface so you can work with confidence and freedom. Additionally, ensure your tire choice is appropriate for your driving conditions to enhance performance and safety.
Mount the New Tire
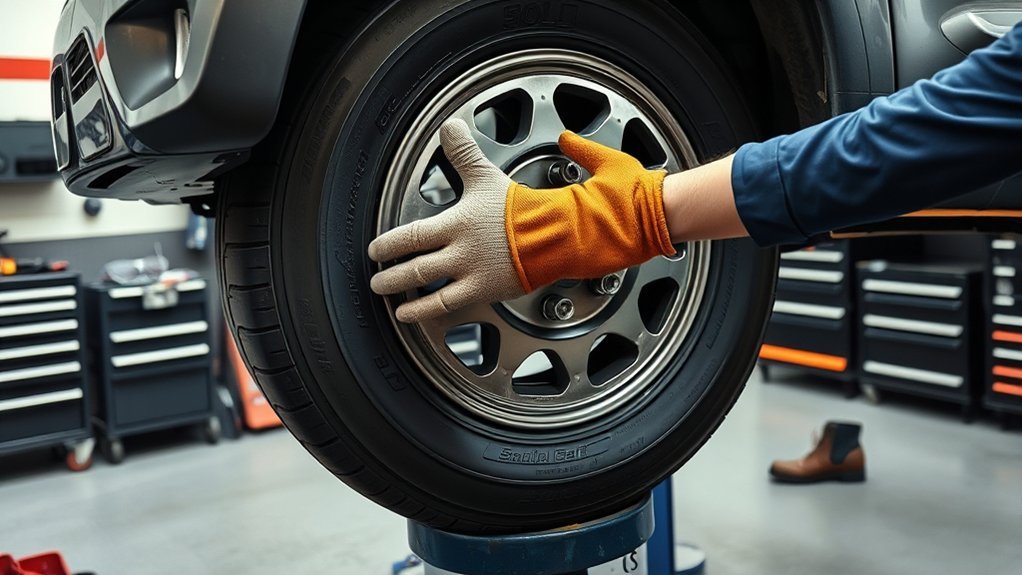
Lock the wheel securely in the tire machine and make certain the valve stem is removed before you start mounting the new tire. With the wheel securely locked, lubricate both beads and the rim edge with rubber lubricant. This reduces friction, protects the bead of the tire, and helps you mount cleanly. Follow these step-by-step instructions: position the tire at an angle over the rim, engage the mounting head, and guide the lower bead into the drop center. Keep steady pressure so the bead doesn’t climb out of position. Continue mounting a tire by rotating the assembly until the upper bead passes over the rim without force. Then inflate the tire gradually to confirm bead seating; listen for the pop and verify both beads seat evenly. Don’t exceed 40 PSI while checking. Once you’ve confirmed the tire is seated correctly, inspect it visually and install the valve stem only after you verify proper seating and alignment. Choosing the right tire can significantly impact ride comfort and safety, making this process crucial for vehicle performance.
Inflate to Seat the Beads
Inflate the tire slowly and stay clear of the assembly while you monitor the beads, keeping pressure at or below 40 PSI. Use rubber lubricant on the bead edges if needed, and watch for the audible pop that tells you each bead has seated. Once both beads pop, inspect the rim line visually to confirm they’re evenly seated all the way around. It’s essential to ensure proper tire performance as it directly affects handling and safety.
Bead Seating Pressure
Seat the beads by introducing air in a controlled burst, starting at a minimum of 7 PSI and never exceeding 40 PSI during inflation. You set the bead seating pressure by keeping both beads properly aligned with the rim and checking for visible gaps before you inflate. Watch the pressure gauge closely; a minimum of 7 PSI starts seating, while a maximum of 40 PSI protects the tire from damage.
- Use rapid air release systems for tough run-flat or asymmetrical tires.
- Keep your body clear of the tire path to guarantee safety.
- Stop when the beads snap into place and pressure stabilizes.
This method lets you work efficiently, control the process, and move forward with confidence.
Safe Inflation Steps
Once the beads are positioned correctly and the seating pressure is set, you can begin the inflation step with control and caution. Keep the tire inflation safety cage in place whenever you can, then apply air gradually. Use these safe inflation steps:
| Action | Purpose |
|---|---|
| Check both tire beads | Prevent blowouts |
| Inflate to 40 PSI max | Limit risk |
| Monitor tire pressure | Stay within range |
| Reapply lubricant to the bead | Improve seating |
Watch for both tire beads to become properly seated against the rim. As you inflate, monitor tire pressure closely and stay at or below the maximum inflation pressure. You may hear an audible pop when the bead locks in. If the beads don’t seat within the limit, deflate the tire fully, add lubricant to the bead areas, and try again. This method protects your freedom to work safely and decisively.
Confirm Bead Pop
As you add air, listen for the audible “pop” that signals both beads have seated against the rim, and keep the pressure increase gradual, with 40 PSI as the maximum during bead seating. To confirm bead pop, inflate the tire from a safe distance and check tire pressure often. Use rubber lubricant on the beads so they move cleanly into place and avoid tire damage. Then stop and perform a visual inspection: both beads should sit evenly seated in the rim’s drop center before you continue.
- Inflate the tire slowly; don’t exceed a maximum of 40 PSI.
- Listen for the pop on both sides, then pause.
- Verify even seating and add pressure only after inspection.
Common Tire Machine Mistakes to Avoid
When you work a tire machine, avoid the mistakes that most often damage the tire, wheel, or machine. On the tire changer, guarantee correct alignment before you begin the tire-changing process; a shifted wheel creates uneven pressure and can scar components. Use proper clamping techniques: outside clamps hold the wheel securely, while inside clamps can cause damage to the rim. Check for mispositioned tire beads before you inflate the tire, because trapped tension can tear the bead or distort the sidewall. During seating, avoid overinflation; never exceed 40 PSI, then return to the manufacturer’s recommended pressure. Keep your hands on the controls and work slowly, especially when the bead starts to pop or the wheel settles. Fast operation at critical moments reduces control and increases error. A disciplined pace protects the tire, the wheel, and your ability to work free from unnecessary repairs. Additionally, using a tubeless tire repair kit can help quickly resolve punctures that may occur during the process.
Tire Machine Safety Checklist
Before you operate the tire machine, complete a safety checklist so you can work efficiently and reduce the risk of injury or equipment damage. Put on safety glasses and gloves, then inspect the tire machine for wear, loose parts, or damage. Read the owner’s manual for your model so you understand its safety features and operational requirements. Verify the lubrication system is serviced; dry components can increase friction, slow performance, and lead to mechanical failure.
- Keep loose clothing, jewelry, and accessories away from moving parts.
- Keep the workspace clear of tools, cords, and debris.
- Confirm controls, guards, and emergency stops function before you start.
If anything looks abnormal, stop and correct it before use. This checklist lets you stay in command, protect your tools, and work without avoidable interruptions. By checking each item every shift, you maintain safer operation, preserve equipment life, and keep your workflow free and efficient. Regular tire maintenance practices can further enhance the longevity of your equipment.
Frequently Asked Questions
How Does a Tire Machine Work?
A tire machine works by using Tire machine components to clamp the wheel, break the bead, and guide the tire off during Tire removal steps, then assist the Tire installation process by levering the bead over the rim. You control air for seating, track Tire pressure importance, and inspect with Tire maintenance tips. It also supports Tire repair methods, Tire balancing techniques, Tire rotation benefits, and a Tire types overview.
How to Work a Tire Pressure Machine?
You work a tire pressure machine by connecting it to the valve, selecting the right pressure settings, and reading the digital gauges for accurate tire inflation. You’ll follow safety precautions, avoid common mistakes like overinflation, and check that the tire’s seated properly. During machine operation, use troubleshooting techniques for leaks or faulty readings. Keep up maintenance tips, including calibration and inspection, so you can trust every measurement and keep your vehicle free.
How to Use a Tire Workout Machine?
Like a forge shaping steel, you’ll use a tire workout machine by setting resistance, warming up, and driving each rep with controlled power. Focus on workout techniques that recruit major muscle groups, and follow safety precautions to avoid common mistakes. Track workout intensity, rotate tire workout routines, and support tire machine benefits with recovery strategies. Keep equipment maintenance routine so the machine stays reliable, and let your training build strength, agility, and freedom.
What Is the 3 Rule for Tires?
The 3 rule for tires means you replace tires every three years, rotate them every six months, and check pressure every month. You should follow tire maintenance tips, perform tire tread inspection, keep a tire rotation schedule, and use tire pressure monitoring. Also, review a tire buying guide, tire storage solutions, tire repair techniques, tire alignment importance, and tire recycling options to stay safe and in control.
Conclusion
Now you’ve got the basics to work a tire machine like a pro, but don’t get cocky—one rushed move can turn a routine job into a tire-smashing, rim-bending disaster. Always double-check your safety gear, inspect the wheel, clamp it securely, and inflate with care. Follow the checklist every time, and you’ll mount tires with precision, protect TPMS components, and avoid costly mistakes. Work methodically, stay alert, and let the machine do the heavy lifting.
Related Articles
How to Use Tire Plugs: Step-by-Step Repair Guide in 10 Minutes
Tire punctures can be fixed fast, but only if you know the right steps—discover the 10-minute repair guide before you risk a bad plug.
Read More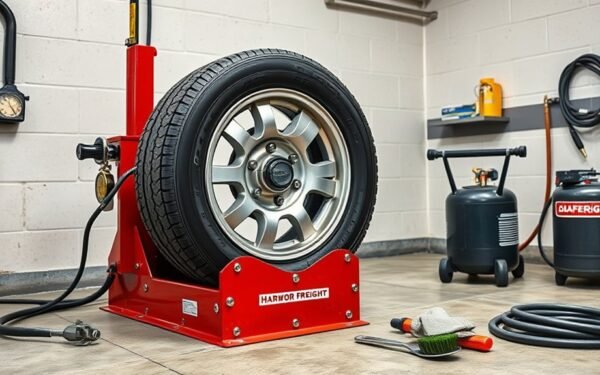
How to Use Harbor Freight Tire Changer: Full Operation Guide
Navigate Harbor Freight tire changer setup, bead breaking, mounting, and balancing with pro tips that reveal crucial fixes and finer points.
Read More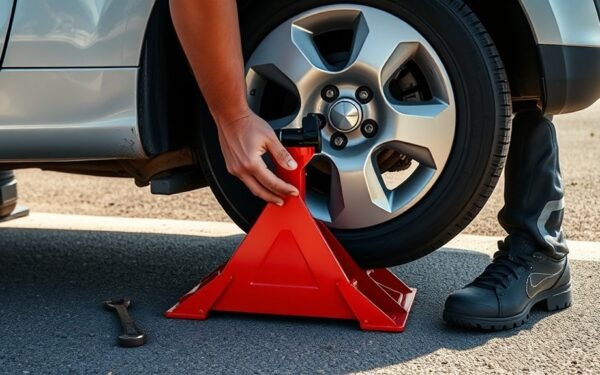
How to Use a Tire Jack Safely: Step-by-Step Guide
Use a tire jack safely with these essential steps and avoid dangerous mistakes that could leave you stranded.
Read More