
How to Use Harbor Freight Tire Changer: Full Operation Guide
Bolt the Harbor Freight tire changer to a solid concrete floor, inspect the frame and hardware, and set the wheel securely in the clamps. Break the bead with controlled pressure, keeping the rim clear, then apply tire lubricant around both beads. Use the lever arm to mount the first bead, then the second, while keeping the tire centered in the drop center. Balance the wheel after installation, and if you keep going, you’ll catch the fixes and finer points.
Key Takeaways
- Bolt the Harbor Freight tire changer securely to a stable concrete floor before use.
- Inspect all parts, hardware, and the frame for damage, then follow the owner’s manual assembly steps.
- Center and clamp the wheel firmly, using protective padding or lubrication to reduce rim damage.
- Break the bead carefully with controlled pressure, keeping the sidewall tool against the bead, not the rim.
- Mount both beads with the lever arm, then balance the wheel and add weights opposite the heavy spot.
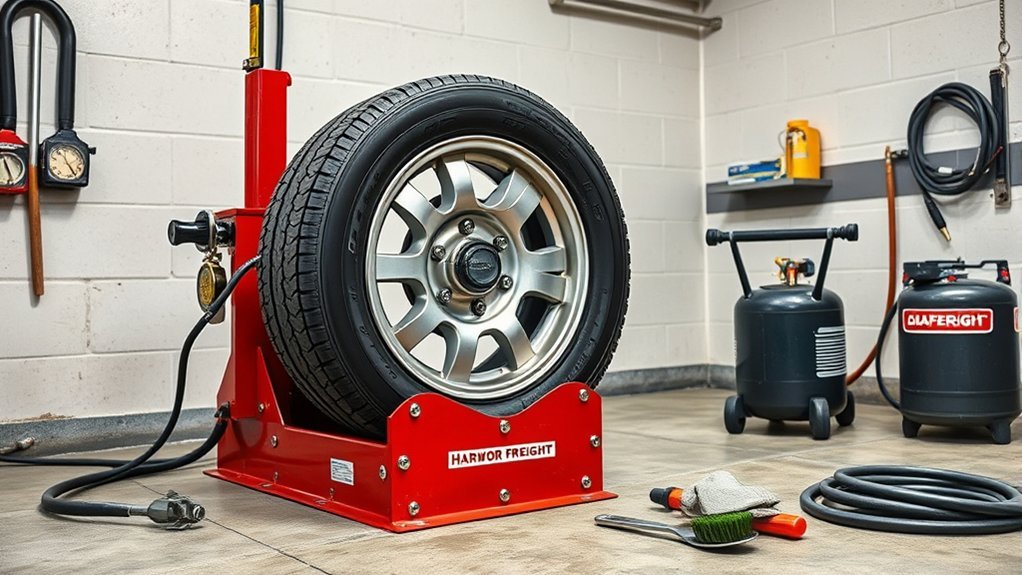
Get the Harbor Freight Tire Changer Ready
Before you start, bolt the Harbor Freight tire changer securely to a stable concrete surface using the predrilled base so it stays steady during use. Then confirm every part is included and follow the Owners Manual assemble instructions. Check the unit’s size—36 inches high, 9 inches wide, and 9 inches long—so you can plan placement and movement. Inspect the tire changer for cracks, bent hardware, or other defects before you work; the 90-day warranty covers defects in materials and workmanship, but you still need a sound tool. Review its all-steel construction and tire range from 8-inch wheels to light truck sizes up to 12.5L16, so you know what it can handle. Complete your workspace preparation by setting out a tire iron and bead breaker within reach. A clean, organized setup helps you work faster, safer, and with more control. Additionally, ensure you have the right tire size and load index to match your vehicle’s specifications.
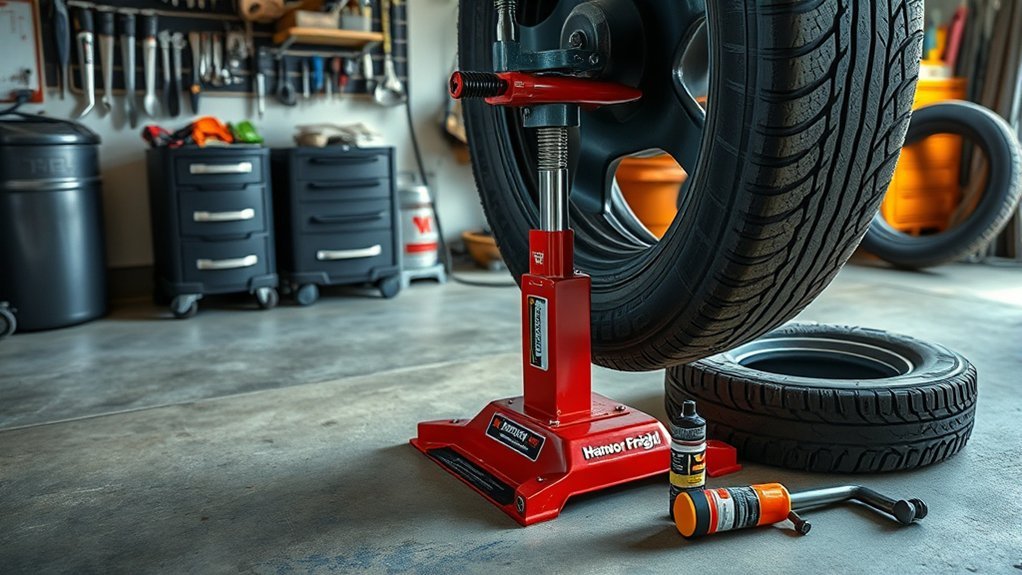
Secure the Tire on the Mount
Make sure the tire changer is bolted to a stable surface before you mount the tire. Center the tire on the mounting arm and align the bead with the rim. Then lock the rim firmly with the bead holder so it stays secure while you work. This process is crucial for achieving reliable all-season tire performance to ensure safety and comfort during driving.
Mount Base Stability
A stable tire changer starts with a solid mount: bolt the unit securely to a concrete floor using the predrilled base, then confirm the tire sits correctly on the mount before you begin. This mount base stability gives you a secure installation and keeps the tire changer from shifting under load. Use quality anchors, tighten every bolt, and recheck hardware before each session. If the base flexes, stop and correct it. Add protective padding or Mojo blocks where needed to reduce rim contact and improve grip. Customer reviews show a rigid floor mount cuts movement and makes work safer and smoother. Keep the base clean, dry, and level so you can work with control, speed, and confidence.
Center Tire Properly
Position the tire on the changer’s mounting arm so the rim seats firmly against the arm, then align the bead with the mounting head for a snug fit that won’t slip. You keep the tire changer centered by checking the rim’s position from above and adjusting until the tire sits even on the mount. Use the built-in lever to guide the tire onto the bead seating area and apply steady pressure around the circumference. This keeps the bead seating smooth and controlled while you work. If the tire drifts, stop and realign it before continuing. A quick visual check helps you confirm the setup stays true. When you mount with care, you reduce resistance, protect the tire, and make the job more efficient.
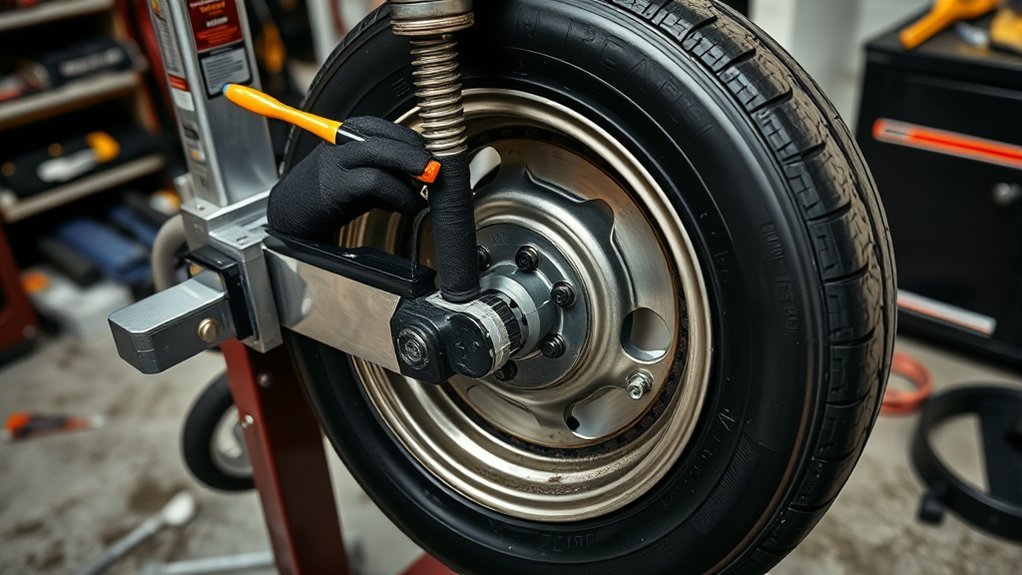
Lock Rim Firmly
Set the tire changer on a solid, predrilled base before you load the rim so the machine stays stable during mounting. Clean the rim fully; grit or rust can stop the clamps from gripping right. Place the wheel squarely, then adjust the jaws to lock rim firmly without wobble. Use the machine’s all-steel leverage to press the rim down with enough force to secure the old tire and keep the Tire Bead from shifting. Don’t overclamp; you want control, not damage to the inner tube. After the rim seats, check each clamp again and verify alignment. If anything moves, reset it before you continue. A tight, stable setup lets you work cleanly and frees you from fighting the tool.
Break the Bead Without Damaging the Rim
Before you break the bead, make sure the tire changer is securely bolted to a concrete surface so it won’t shift under load. Position the tire with the valve stem easy to reach, then use a tire bead breaker to press the sidewall at the bead, not the rim. Keep the tool square and let it work on the rubber edge only. Apply lubricant around the bead to cut friction and help the bead release cleanly without gouging the wheel. Work slowly, adding pressure in small steps instead of forcing one hard hit; that controlled approach reduces rim deformation and protects the flange. If the bead resists, reset the tool and try again from a fresh angle. Stay deliberate, keep your hands clear, and let the machine do the heavy work. This method gives you control, preserves your rim, and moves you toward a cleaner, freer tire change. Additionally, ensuring proper surface prep can significantly enhance the effectiveness of your tire repair efforts.
Apply Tire Lubricant Before Mounting
Brush a generous coat of Ru-Glyde tire bead lubricant onto both the tire bead and the rim before mounting. You want full coverage, so spread the tire lubricant evenly around the entire circumference of the tire bead. This lowers friction, helps the tire slide onto the changer smoothly, and reduces the chance of pinching an inner tube. A well-lubricated bead also cuts the risk of damage and supports a proper seal between the tire and rim. Don’t rush this step; the mounting process works best when the contact surfaces are slick, uniform, and ready. Apply only the amount the manufacturer recommends for that specific product, since compatibility matters. If the lubricant isn’t distributed evenly, you’ll fight the install and increase stress on the tire. Keep your movements deliberate and controlled, and you’ll set up the rest of the job for cleaner, safer results.
Mount the First Bead Over the Rim
Place the tire on the changer with the rim facing up, and make sure the bead and rim are clean, aligned, and ready for mounting. Set the first bead against the rim’s outer edge so it sits evenly around the circumference. Use the lever arm to work the bead over the rim with steady pressure, rotating the tire as needed until the bead seats fully. It’s important to ensure that the spare tire is properly inflated to the correct tire pressure to facilitate easier mounting.
Prepare Bead And Rim
Clean the tire and rim first so debris doesn’t interfere with mounting, then position the tire changer securely on a bolted concrete surface for stability. You’re setting up for clean control, not struggle. Inspect the tire bead and rim edge for dirt, rust, or nicks, then lubricate both with Ru-Glyde or a similar tire lubricant.
- Wipe the bead area dry.
- Check the rim seat for damage.
- Apply lubricant evenly around the bead.
- Confirm the tire sits flat before moving on.
When you prepare the bead and rim this way, the first bead seats smoother and the tool works with you, not against you. Keep pressure steady, stay deliberate, and let the machine do the heavy work.
Position First Bead
Set the rim on the tire changer’s turntable and align it with the mounting arm so you’ve got clear access to the bead. Apply tire lubricant, like Ru-Glyde, around the first bead to cut friction and protect the tire. Bring the mounting head into position, then use the tire changer to lift the first bead over the rim. Keep the bead centered as you work, and rotate the turntable slowly while you apply steady pressure with the mounting arm. Don’t force it; controlled movement keeps the bead from pinching or tearing. Watch the bead track into the rim’s drop center, and confirm it’s fully seated before you move on. This gives you a clean, secure start and keeps the job efficient and safe.
Work Bead Over Rim
With the tire secured in the changer’s clamps, use the mount head to lift the first bead over the rim. Keep the tire changer steady, and apply smooth, even pressure so you don’t gouge the wheel or stretch the bead. Rotate the tire slowly as you guide the mount head around the rim, letting the bead follow the tool instead of fighting it. If the rubber drags, add a thin film of lubricant like Ru-Glyde to cut friction and free the motion. Follow these steps:
- Hold alignment.
- Lift the bead.
- Rotate with control.
- Check seating.
When the first bead clears, confirm it sits fully in the rim’s well before you move on. That’s how you work clean and stay in command.
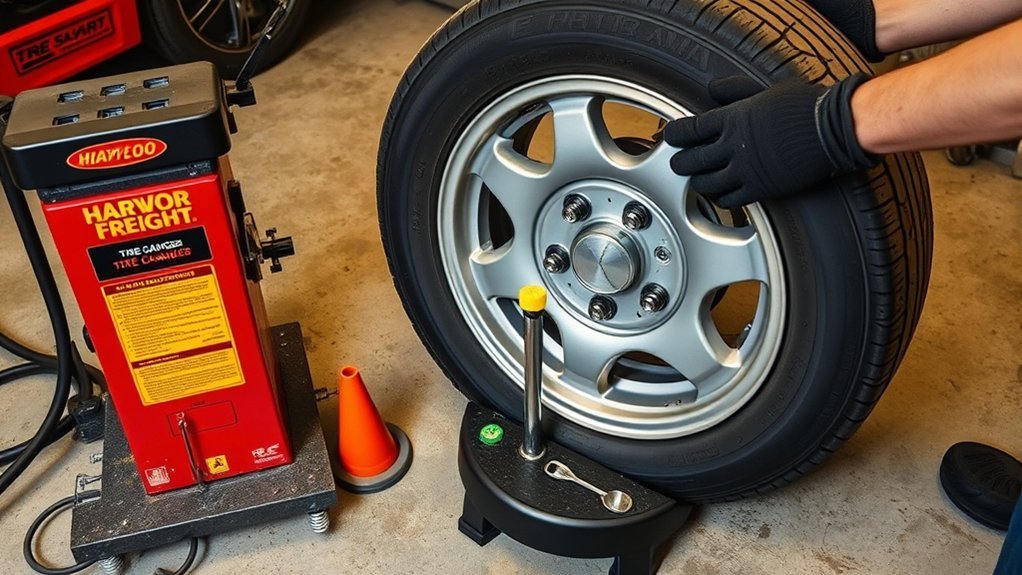
Install the Second Bead
Position the tire on the changer so the first bead is fully seated in the rim well, then align the tire carefully to prepare for the second bead. Keep the tire changer steady, because correct alignment reduces pinching and uneven seating during installation. Apply tire lubricant, such as Ru-Glyde, only if the bead resists sliding. Then use the lever arm to push the second bead over the rim in one controlled motion. Maintain steady pressure; don’t jerk the tool or force the rubber against the rim edge. Work around the rim until the second bead drops into place. This tire changer step gives you direct control, helping you complete the installation without fighting the machine or damaging your wheel. After the bead is fully seated, inspect the entire rim line for gaps or visible high spots. If you see any, reset the tire before inflating. This process is particularly important for all-season tire installation, ensuring optimal performance across various conditions.
Balance the Tire for a Smooth Ride
Now balance the tire so it runs smoothly at speed, since an unbalanced tire can cause vibration and uneven wear. Mount the wheel on a Marc Parnes wheel balancer and let it reveal the heavy and light spots. Clean the inner rim, then use Ru-Glyde tire bead lubricant if the bead needs to settle fully; a seated tire balances more accurately and reduces rim damage.
- Spin the wheel and mark the heavy point.
- Place adhesive weights on the inner rim opposite that spot.
- Space the weights evenly so the balance stays centered.
- Recheck the wheel until it rests without dropping to one side.
You’re not chasing perfection; you’re removing friction from the ride and keeping control in your hands. After any rotation, repair, or tire swap, check the balance again. Regular rebalance work preserves handling, cuts vibration, and helps the tire wear evenly for more miles. Additionally, consider the tread design when selecting tires, as it significantly influences performance on various terrains.
Fix Harbor Freight Tire Changer Problems
If your Harbor Freight tire changer feels unstable or won’t handle a tire cleanly, bolt it securely to a concrete floor first; that extra rigidity makes the tool far safer and easier to control. Next, troubleshoot the setup by checking every fastener, pivot, and contact point for play, wear, or misalignment. Inspect the all-steel frame regularly so you catch cracks, bent parts, or loose hardware before they slow you down. Use the changer’s built-in design to shield inner tubes and reduce rim damage during removal and installation. If the bead still fights you, consult the Owners Manual & Safety Instructions for exact adjustment and service steps. When you need more control, add accessories such as Mojo blocks and levers; they can improve rim protection and make stubborn tires easier to move. With a solid mount, clean parts, and the right accessories, you keep the Harbor Freight changer working hard and free from avoidable failure. Additionally, ensure your tire changer’s performance aligns with the best tire recommendations for optimal results.
Frequently Asked Questions
Can This Tire Changer Handle Motorcycle Tires?
Yes, it can handle some motorcycle tires, but you’ll need the right adapters and careful setup. Check motorcycle compatibility first, since narrow rims and low-profile beads can slip or deform. In a tire changers comparison, this unit works best as a budget base, not a dedicated bike machine. Watch safety considerations closely: stabilize the wheel, protect the rim, and use controlled force so you keep freedom from shop dependency.
What Rim Sizes Work With Harbor Freight Tire Changers?
Harbor Freight tire changers usually fit rims from 8 to 18 inches, depending on the model and adapter setup. You should check your unit’s rim compatibility before mounting, because some wide, low-profile, or motorcycle rims need extra tools. Keep up tire changer maintenance by greasing moving parts and inspecting clamps. For user safety, you’ll need to secure the wheel, release pressure, and work deliberately so you stay in control.
How Often Should Moving Parts Be Lubricated?
A stitch in time saves nine: you should lubricate moving parts before each use and after every 8–10 tire changes, or whenever you notice drag. Keep to a consistent lubrication frequency to protect wear points, reduce friction, and boost performance enhancement. Your maintenance tips should include wiping debris first, then applying light grease to pivots, slides, and cams. Don’t overgrease; you want smooth motion, not slop, for liberated, efficient operation.
Does It Require Bolting to the Floor?
Yes, you should bolt it down for reliable floor stability, especially during tire changer setup. Most installation requirements don’t strictly demand anchoring, but the unit can shift if you force stiff beads or work fast. You’ll get better control and safer leverage when you secure it to concrete or a heavy base. If you can’t bolt it, add weight and keep the surface flat, rigid, and level.
Can Bead-Breaking Be Done With Low-Profile Tires?
Yes, you can break beads on low-profile tires, but it’s a stubborn beast. You’ll need controlled force, proper tire changing techniques, and the right bead breaking tools to avoid sidewall damage. Work slowly, support the rim, and apply pressure close to the bead seat. These tire maintenance tips matter: use lubricant, inspect for rim lip interference, and reposition often. With patience, you can free that tight bead without fighting the machine.
Conclusion
Using your Harbor Freight tire changer correctly makes tire swaps faster, safer, and far less frustrating. You’ve learned how to prep the tool, secure the wheel, break the bead, lubricate, mount both beads, and balance the tire for a smooth ride. If the machine starts acting up, you can diagnose the issue before it turns into a headache. With the right technique, this setup can feel like it saves you a mountain of time.
Related Articles

How to Use a Tire Jack Safely: Step-by-Step Guide
Use a tire jack safely with these essential steps and avoid dangerous mistakes that could leave you stranded.
Read More
How to Use a Tire Changing Machine: Easy Beginner’s Tutorial
Now learn the simple steps to use a tire changing machine safely, and discover the key mistake beginners must avoid.
Read More
How to Set a Bead on a Tire: Easy Methods That Actually Work
Discover simple, safe ways to set a tire bead, and find out what to do when the bead still won’t seal.
Read More