
How to Manual a Bicycle: Lifting the Front Tire Off the Ground
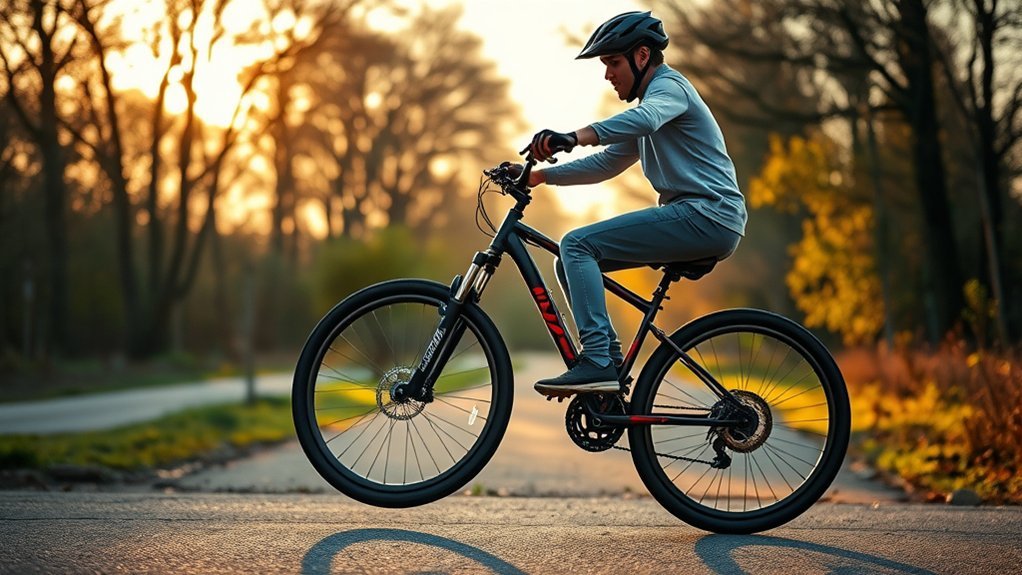
To manual a bicycle, coast at a controlled jogging pace, start from a neutral standing position, load the bike by pressing down, then shift your hips back as your arms and legs straighten. The front wheel should rise from your body weight and momentum, not from yanking the handlebars. Keep one finger over the rear brake so you can bring the front wheel down if the bike tips too far back.
Quick Answer
A bicycle manual is a front-wheel lift held without pedaling. Start standing with level pedals, bend your knees and elbows, push down to load the bike, then move your hips back and low over the rear wheel. Use small hip movements to balance and tap the rear brake if you start to loop out.
Key Takeaways
- A manual is not a wheelie: you coast and balance with body position instead of pedaling to hold the front wheel up.
- The movement is “down, then back.” Load the bike first, then push your hips back and low over the rear wheel.
- Keep your arms mostly straight once the wheel rises. Your hips create the lift, not your biceps.
- Cover the rear brake before every attempt. A light tap drops the front wheel if the bike starts to tip backward.
- Practice on flat, open ground with a painted line or small stick before trying trail obstacles.
At a Glance
| Time Required | 10–20 minutes per practice session; expect several sessions to build balance |
| Difficulty | Intermediate bike-control skill |
| Tools Needed | Bicycle, certified helmet, working rear brake, flat open practice area, and a line or small stick as a marker |
| Cost | $0 if your bike is already safe to ride |
Warning: Practice manuals away from traffic, pedestrians, curbs, stairs, and parked cars. Wear a properly fitted bicycle helmet, check your brakes before riding, and learn the rear-brake bailout before trying to hold the front wheel high.
What Is a Manual on a Bicycle?
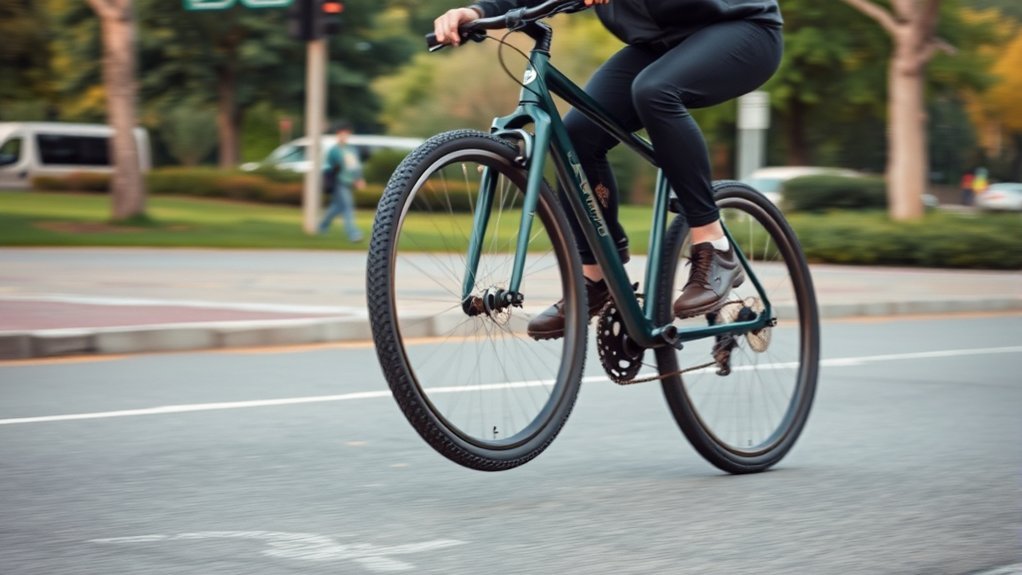
A manual on a bicycle is a controlled front-wheel lift where you roll on the rear wheel without pedaling. It looks similar to a wheelie, but the technique is different. In a wheelie, you usually pedal to lift and hold the front wheel. In a manual, you use momentum, body position, and balance.
The goal is not to pull the bike as high as possible. The goal is to find the balance point, where your center of mass sits over the rear wheel and the front wheel floats without dropping or tipping too far back. A manual helps you unweight the front wheel over small trail obstacles, roots, rollers, and curbs, and it also builds better overall bike control.
REI explains that a manual differs from a wheelie because you do not pedal, and that the key is using your body weight to lift and balance the front wheel. REI’s manual guide also recommends keeping a finger on the rear brake so you can drop the front wheel quickly if needed.
[Products Worth Considering]

This PXZBLG bike repair kit helps you tackle common tire and on-the-ride issues with a compact, ride-ready tool collection. It includes a mini tire pump supporting both Presta and Schrader valves, a 16-in-1 bike multitool, tire levers, glueless patches with a plastic box, plus 4mm and 5mm Allen wrenches. A convenient bike bag stores everything so you can mount it on your road bike or mountain bike for lightweight, portable preparedness.

Tiakia’s mini high-pressure frame pump delivers up to 260 PSI for faster, more efficient inflations with an optimized intake volume. It features a double-head valve design compatible with Schrader and Presta, plus a conversion for Donlop, making it versatile for bikes and many inflatables. The lightweight anodized aluminum build includes a mounting bracket for convenient carry, while the flexible high-pressure hose and IPX4 waterproof body support outdoor use.

Convert Presta bicycle valves to accept standard Schrader pump nozzles for fast, hassle-free inflation. This kit includes durable brass adapters with leak-resistant connections, plus sports inflation needles and protective valve caps for convenient use on bikes and ball sports equipment.
Check Your Bike Before You Practice
Before you try a manual, make sure your bike is safe. The move depends on a working rear brake, stable tires, and a bike that fits well enough for you to move freely over the rear wheel.
- Helmet: Wear a properly fitted bicycle helmet that meets the safety standard in your country. In the United States, the U.S. Consumer Product Safety Commission explains that bicycle helmet requirements test impact protection, retention strength, stability, and vision clearance.
- Brakes: Test both brakes before practice. Your rear brake must work smoothly because it is your safety control if the front wheel rises too high.
- Tires: Inflate your tires within the pressure range printed on the sidewall. Do not run them so soft that the tire folds, squirms, or risks a pinch flat.
- Chain and pedals: Make sure the chain moves freely and your pedals give you solid footing. Flat pedals are easier and safer for learning because you can step off quickly.
- Saddle height: Lower the saddle or use a dropper post so your hips can move back without hitting the seat.
The NHTSA pre-ride safety check recommends checking air, brakes, and chain before riding, and it also reminds riders to wear a properly fitted helmet.
Set Up for a Better Manual
A good manual starts before the front wheel leaves the ground. Set your speed, body position, pedals, and brake hand first. Rushing this setup is why many beginners yank the bars, stall the bike, or loop out.
Start in a Neutral Riding Position
Stand out of the saddle with your pedals level, usually at 3 and 9 o’clock. Bend your knees and elbows, keep your chest open, and look ahead instead of down at the front wheel. Your weight should feel centered between both wheels.
Liv Cycling teaches riders to start manual front wheel lifts in neutral with knees and arms slightly bent, pedals level, and a jogging pace. Liv’s front wheel lift guide also stresses that riders should stay within their limits and avoid risky maneuvers when riding alone.
Load the Bike
From neutral, press your weight down into the bike. Think of this as compressing a spring. Your knees and elbows bend slightly more, and your feet drive pressure into the pedals.
This load matters because it gives the bike energy to rebound. If you skip it and only pull on the bars, the front wheel may pop up for a moment and drop right away.
Shift Your Hips Rearward
After loading the bike, push your hips back and low toward the rear wheel. This is the main movement. Your arms should extend as the bike moves forward under you, but your hands should not yank the handlebars toward your chest.
- Move down first, then back.
- Keep your hips low, not high and stiff.
- Keep your heels heavy so your feet stay planted.
- Let your arms straighten as your body moves back.
Pro Tip: Say “down, then back” before each attempt. That cue helps you avoid the most common beginner mistake: pulling up with your arms before your weight has moved behind the bike.
How to Lift the Front Wheel
Use this sequence when you are ready to try the manual front wheel lift:
- Coast at a jogging pace. Go fast enough for stability, but slow enough that you can step off or brake calmly.
- Cover the rear brake. Keep one finger ready on the lever before the wheel comes up.
- Stand in neutral. Pedals level, knees bent, elbows bent, eyes forward.
- Load the bike. Press down through your feet and hands to build pressure.
- Push hips back. Move your hips back and low as your arms and legs straighten.
- Let the front wheel rise. Keep even pressure on both pedals and both grips so the bike does not twist.
- Return to neutral. Bring your hips forward again so the front wheel lands smoothly.
The lift should feel like the bike moves forward and up underneath you. If it feels like a heavy deadlift with your arms, reset and make the movement more about your hips.
Find the Manual Balance Point
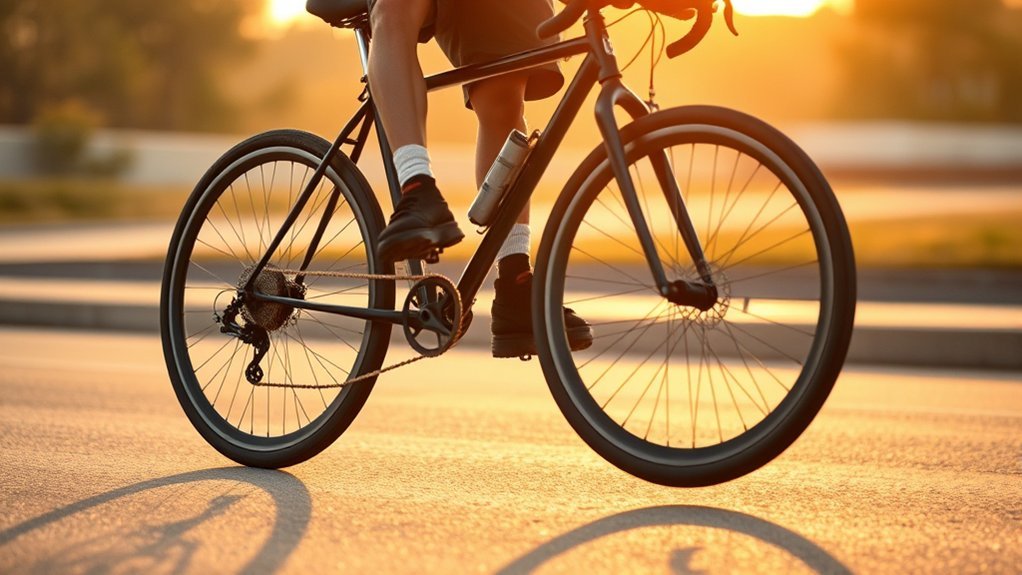
The balance point is the place where the front wheel stays up with very little effort. You will not find it by pulling harder. You find it by moving your hips in small, calm adjustments.
- If the front wheel drops: your hips are probably too far forward, or you did not load the bike enough.
- If the bike tips too far back: tap the rear brake and move your hips forward.
- If the bike wobbles sideways: keep even pressure on both pedals and look farther ahead.
- If your feet lift off the pedals: drop your heels and keep pressure through your feet as the bike rises.
Do not chase height first. Start by lifting the front wheel just a few inches and landing smoothly. Once that feels controlled, work on holding it slightly longer.
Control the Manual With Hips, Momentum, and Rear Brake
A manual is controlled by body position, not pedaling cadence. Set your speed before the move, coast into the lift, and use your hips to make small corrections.
[Products Worth Considering]

This 4-pack kit converts Presta bike valves to standard Schrader valves so you can inflate with any regular pump or air compressor. The solid brass adapters include an O-ring for a tight, leak-proof seal and provide a simple screw-on setup. Compatible with road bikes, mountain bikes, e-bikes, and e-scooters, it’s designed for convenient, everyday carry readiness.
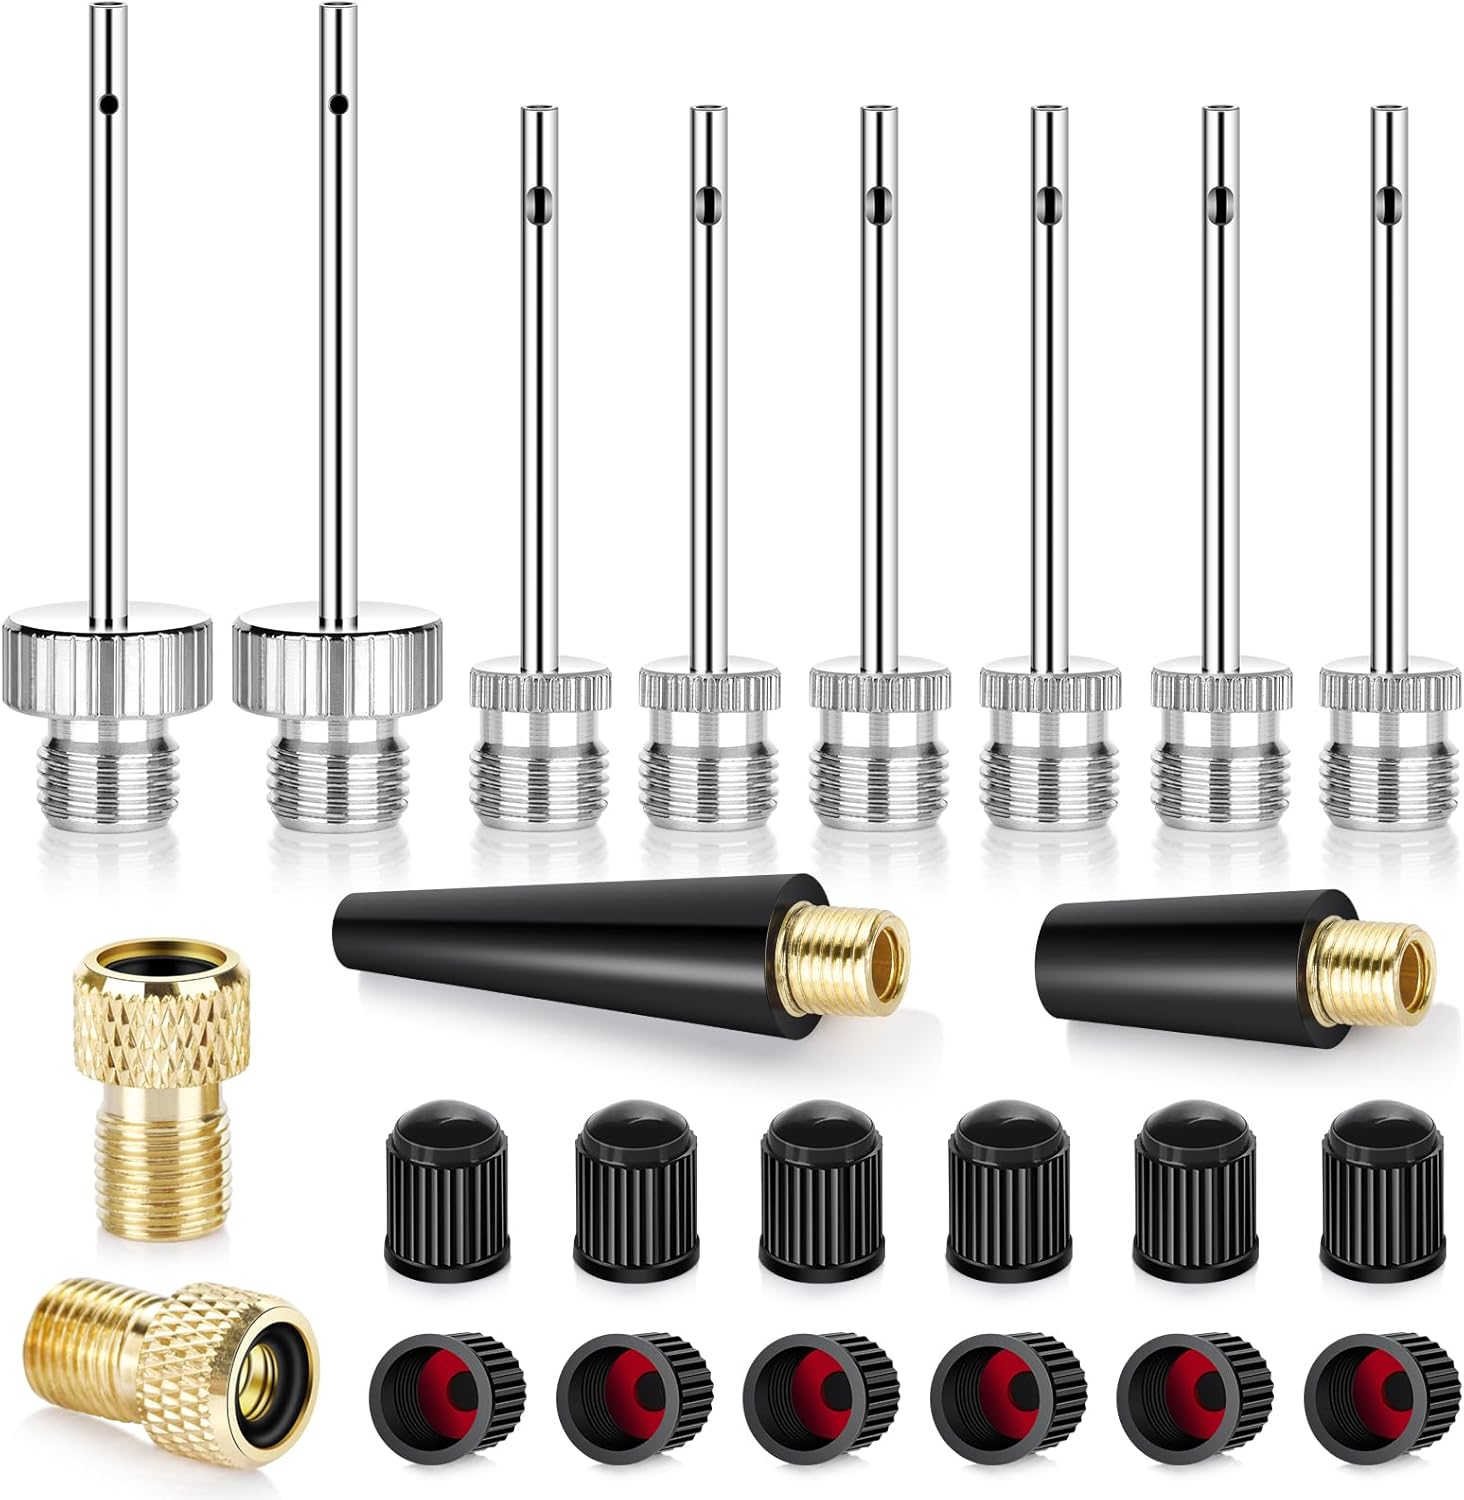
This ball pump needles kit includes brass ball needles for inflating footballs, soccer balls, basketballs, and volleyballs, plus conical nozzles for air mattresses, exercise balls, balloons, and swim rings. It also offers Presta to Schrader valve adapters for easy use with compatible bikes and rideables. The set includes sealed valve caps and a storage case, helping keep your equipment organized and ready to inflate quickly.
Use Momentum, Not Pedaling
Start with enough rolling speed to keep the bike stable. A slow walking pace usually feels twitchy, while too much speed can make mistakes bigger. A jogging pace is a good practice speed for most riders.
Once the front wheel is up, do not try to pedal to save it. That turns the movement into a wheelie. Instead, keep your feet heavy, your arms long, and your hips moving slightly forward or back.
Use the Rear Brake as Your Safety Control
The rear brake is your escape button. If the bike starts to tip backward, lightly tap the rear brake. The front wheel will drop. Practice this on purpose before trying long manuals.
Try this drill: lift the front wheel a few inches, tap the rear brake, and let the wheel come down. Repeat until braking feels automatic. This habit helps prevent looping out.
Note: A hard rear-brake grab can slam the front wheel down. Use one light finger and build feel gradually.
Practice Front Wheel Lifts Safely
Practice in short sessions. Stop before you get tired or sloppy. A tired rider usually pulls harder, reacts slower, and forgets the rear brake.
Drill 1: Line Lift
Find a painted line, crack in the pavement, or flat stick. Coast toward it and lift your front wheel just enough to clear the marker. Land smoothly and return to neutral. This teaches timing without chasing height.
Drill 2: Brake Drop
Lift the front wheel slightly, then tap the rear brake to bring it down. Do not worry about distance yet. The goal is to teach your hand that the rear brake stops a loop-out.
Drill 3: Hips Back and Forward
Lift the front wheel, move your hips back until the wheel rises, then move your hips forward until it lands. This teaches you that your hips control the manual more than your arms do.
Drill 4: One-Bike-Length Manual
Once the lift and brake drop feel natural, try to hold the front wheel up for one bike length. Keep your eyes ahead, breathe, and land before you lose control.
Fix Common Manual Mistakes
Most manual problems come from timing, body position, or fear of the balance point. Use these fixes before trying to go higher or farther.
- The front wheel barely lifts: load the bike more and move your hips farther back. Do not just pull harder.
- The front wheel pops up and drops fast: keep your arms longer and your hips lower over the rear wheel.
- You loop out or feel like you will fall backward: cover the rear brake earlier and practice the brake-drop drill.
- Your arms bend too much: focus on pushing the bike forward with straight arms as your hips move back.
- Your feet come off the pedals: drop your heels and keep steady pressure through both feet.
- The bike turns sideways: keep your shoulders square, apply even pressure through both grips, and look straight ahead.
- You freeze at the balance point: lower the front wheel sooner and build confidence with smaller lifts.
The best manual is not the highest one. It is the one you can lift, control, brake, and land smoothly every time.
Tune Your Bike for Manuals
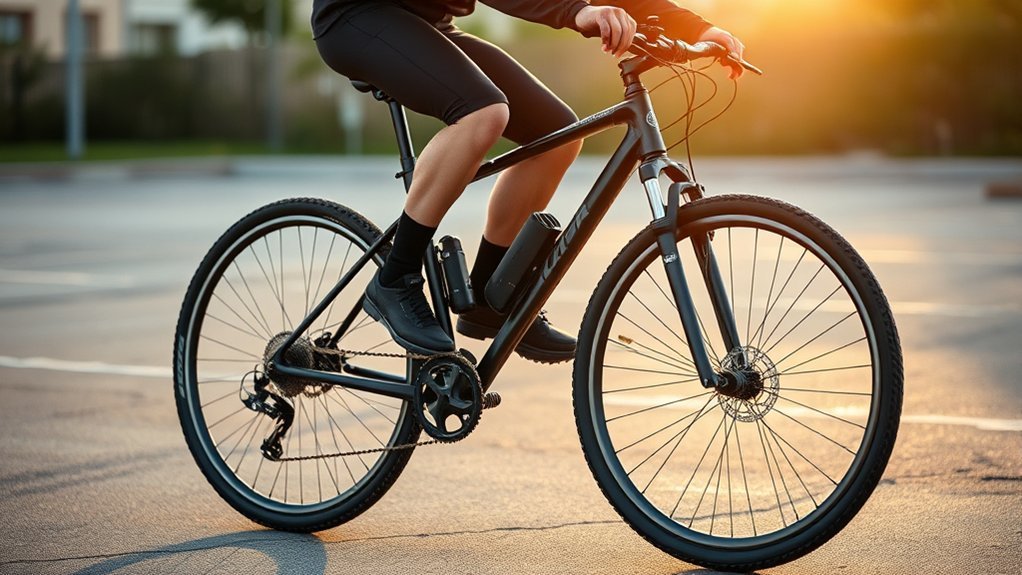
A well-set-up bike makes manuals easier and safer. You do not need a special bike to learn, but a few adjustments help.
- Lower the saddle: a lower seat gives your hips room to move back.
- Use a working rear brake: the rear brake must be predictable and easy to reach with one finger.
- Check tire pressure: use a pressure that gives grip without folding the tire or risking rim strikes. Schwalbe notes that correct tire pressure depends on rider weight, load, tire size, and the pressure range printed on the tire sidewall. Schwalbe’s tire pressure guide explains why you should not exceed or fall below the tire’s pressure limits.
- Choose flat pedals while learning: flat pedals make it easier to step off if the bike tips.
- Use a bike that fits: if the bike is too large, moving behind the saddle and controlling the landing will be harder.
Frequently Asked Questions
How do you raise the front wheel of a bicycle?
Start in a neutral standing position with level pedals, bent knees, bent elbows, and your eyes forward. Press down to load the bike, then push your hips back and low as your arms and legs straighten. Keep one finger on the rear brake so you can drop the front wheel if it rises too high.
How is a manual different from a wheelie?
A manual is held without pedaling. You lift and balance the front wheel with momentum, hips, and body position. A wheelie usually uses pedal power to lift and keep the front wheel up.
Should I pull the handlebars to manual?
No. Pulling hard with your arms usually makes the wheel drop quickly and can throw your balance off. Load the bike, move your hips back, and let your arms straighten as the bike comes up underneath you.
Why does my front wheel keep dropping?
Your hips are probably too far forward, your arms may be bending too much, or you may not be loading the bike before moving back. Practice the “down, then back” motion and try lifting over a painted line before holding the wheel longer.
What should I do if I start to loop out?
Tap the rear brake and move your hips forward. The rear brake brings the front wheel down. Practice this brake-drop response at low height until it becomes automatic.
Where should I practice manuals?
Use a flat, open area away from traffic, pedestrians, curbs, and obstacles. A quiet parking lot, smooth path, or empty paved area works well. Start with small front-wheel lifts before trying to hold a full manual.
Conclusion
Learning how to manual a bicycle takes patience, but the movement is simple when you break it down: coast at a controlled speed, load the bike, push your hips back, keep your arms long, balance with small hip movements, and use the rear brake if the front wheel rises too high. Start small, practice in a safe open area, and focus on smooth lifts and clean landings before distance or height. With steady practice, your manuals will become safer, calmer, and more controlled.
Sources
- REI Co-op Expert Advice: How to Manual on a Mountain Bike — supports manual-vs-wheelie difference, body-weight technique, hip balance, and rear-brake control.
- Liv Cycling: How to Do a Front Wheel Lift on a Mountain Bike — supports neutral position, jogging pace, loading the bike, shifting weight back, and safe riding limits.
- NHTSA: Pre-Ride Bicycle Safety Check — supports checking air, brakes, chain, and wearing a properly fitted helmet before riding.
- U.S. Consumer Product Safety Commission: Bicycle Helmets — supports helmet safety standard information.
- Schwalbe: Bicycle Tire Pressure — supports using pressure within the tire’s limits and adjusting pressure based on load and tire type.

Related Articles
How to Book a Costco Tire Center Appointment
Tired of guesswork? Learn how to book a Costco Tire Center appointment and avoid surprises before your next visit.
Read More
How to Use Costco Tire Inflation: Step-by-Step
Never overinflate at Costco—learn the exact steps, tools, and tips to fill your tires safely and leave with confidence.
Read More
How to Book a Tire Appointment at Walmart
Mysterious steps make booking a Walmart tire appointment simpler than you think, but one crucial detail could save you time and money.
Read More