
How to Fix a Nail Puncture in a Honda Accord Tire
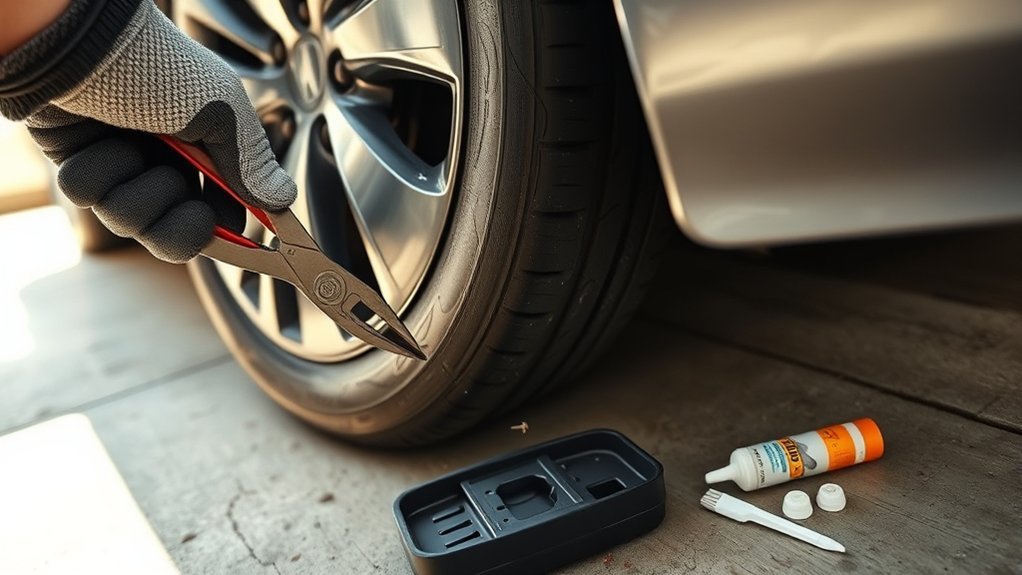
If you find a nail in your Honda Accord tire, treat it as a safety issue first and a repair job second. A temporary tire repair kit can help with a small tread puncture, but it will not fix every flat. Before you add sealant or air, park safely, check the puncture location, read the tire placard, and plan to have the tire inspected by a professional as soon as possible.
Quick Answer
You can use a Honda Accord temporary tire repair kit only for a small puncture in the tread area, usually no larger than about 3/16 inch. Do not use it on sidewall damage, a blowout, a badly underinflated tire, or multiple flats. After sealing, drive slowly, recheck pressure, and get a professional tire inspection.
Key Takeaways
- Use the temporary repair kit only if the puncture is small and located in the tire tread, not the sidewall or shoulder.
- Do not remove the nail until you are ready to follow the kit instructions, because the object may be slowing the air leak.
- Inflate the tire to the pressure listed on your driver-door tire placard or in your Honda owner’s manual, not a guessed PSI range.
- After applying sealant, drive gently for about 10 minutes below the kit’s speed limit, then stop safely and recheck tire pressure.
- Treat sealant as temporary. A tire shop still needs to inspect the tire from the inside and decide whether it can be permanently repaired.
At a Glance
| Time Required | 15 to 30 minutes for a temporary sealant repair, plus time for a professional inspection later. |
| Difficulty | Easy to moderate, but only if the vehicle is parked safely and the puncture is repair-kit eligible. |
| Tools Needed | Honda temporary tire repair kit, sealant bottle, compressor, valve cap, tire pressure gauge, gloves, and flashlight. |
| Cost | Temporary kit use costs nothing if your kit is complete and sealant is not expired. A shop repair or tire replacement costs extra. |
Warning: Do not drive on a fully flat tire. Driving even a short distance can damage the tire, wheel, valve stem, TPMS sensor, suspension parts, and your ability to control the car. If the tire is shredded, off the rim, or damaged on the sidewall, call roadside assistance instead of using sealant.
Check Whether the Nail Puncture Can Be Temporarily Repaired
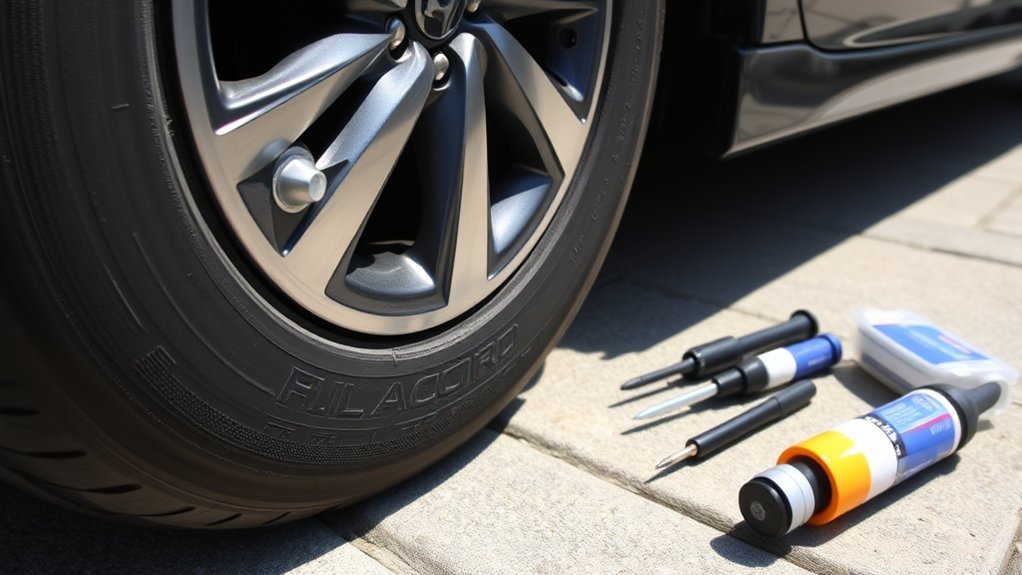
Start by looking at where the nail entered the tire. A temporary sealant kit is mainly for a small puncture in the tread area, where the tire contacts the road. Do not use the kit if the nail is in the sidewall, shoulder, bead area, or near a visible split.
Also skip the kit if the tire has a bulge, exposed cords, a long cut, multiple punctures, or damage from driving while flat. Those signs point to structural damage. Sealant may slow a leak for a short time, but it cannot rebuild the tire casing.
Most temporary tire sealants are intended for small punctures around 3/16 inch or less. Some professional tire repairs allow a slightly larger tread puncture, but that decision requires the tire to come off the wheel for an internal inspection. Your roadside goal is only to reach a safe place or repair shop.
Note: If the nail is still in the tire and you are using the Honda-style sealant kit, do not pull it out right away. The nail may be slowing the leak. Follow your kit instructions before removing any object.
[Products Worth Considering]

This tire repair kit provides fast emergency puncture repair without removing the tire from the rim, helping you get back on the road quickly. Its screw plug system is designed for punctures in both tread and sidewall and includes a complete patch plug tool set with essential accessories. A portable storage bag makes it easy to carry for cars, trucks, SUVs, motorcycles, and heavy-duty applications.

This tire repair patch tool kit helps you quickly seal small punctures using upgraded mushroom plugs and a built-in roller system that presses for even penetration. The tungsten buffing wheel and HSS twist drill bits prepare the damaged surface for stronger adhesion, while the crown-angle friendly plugs are designed to keep water and debris out. Ideal for puncture repairs on many vehicle types, from cars and trucks to bikes and scooters.

This compact capsule-style tire repair kit helps you quickly fix punctures and plug flats with minimal effort. The rugged stainless steel shell protects the contents for reliable roadside use, while the simple plug assembly makes repairs fast and tool-free. Suitable for motorcycles, cars, ATVs, UTVs, and even mountain bikes.
Park Safely Before You Open the Repair Kit
If the low tire pressure warning appears or the Accord starts pulling, vibrating, or feeling heavy, hold the steering wheel firmly and slow down gradually. Avoid hard braking. Move to a firm, level area away from traffic, turn on the hazard lights, shift to Park, set the parking brake, and turn the power mode off.
Only inspect the tire if you can stand away from moving traffic. If you are on a narrow shoulder, bridge, construction zone, or dark road, stay in the vehicle with your seat belt on if that is safer and call roadside assistance. A temporary tire repair is not worth risking a roadside injury.
Before inflating the tire, check the pressure listed on your driver-door tire placard or in your Honda owner’s manual. Do not rely on a generic Accord PSI number because pressure can vary by model year, tire size, trim, and load.
Prepare the Temporary Tire Repair Kit
Open the trunk floor area and remove the temporary tire repair kit. Place the kit on stable ground with the label facing up. Keep the hose straight, keep the compressor away from water, and check the sealant bottle expiration date before you connect anything.
If the sealant is expired, missing, leaking, or already used, do not depend on it. The compressor may still inflate a slow leak in some cases, but it cannot seal the puncture without usable sealant. Call for help if the tire will not hold air.
- Confirm the puncture is small and in the tread area.
- Make sure only one tire is flat.
- Check that the wheel is not cracked or bent.
- Read the warning label on the kit.
- Keep children and passengers away from traffic while you work.
How to Use the Honda Accord Temporary Repair Kit
The exact layout can vary by model year, so follow the instructions printed on your kit and in the owner’s manual. The steps below match the common process used by Honda-style sealant-and-compressor kits.
Connect the Sealant Hose to the Valve Stem
Remove the valve cap from the flat tire and keep it where it will not roll away. Attach the sealant hose firmly to the valve stem. A loose hose can leak sealant and air, making the repair messy and ineffective.
Do not run the compressor yet. First, confirm the hose is straight, the bottle is properly seated, and the compressor power cord can reach the accessory power socket without being stretched across a moving part or wet surface.
Inject Sealant and Add Air
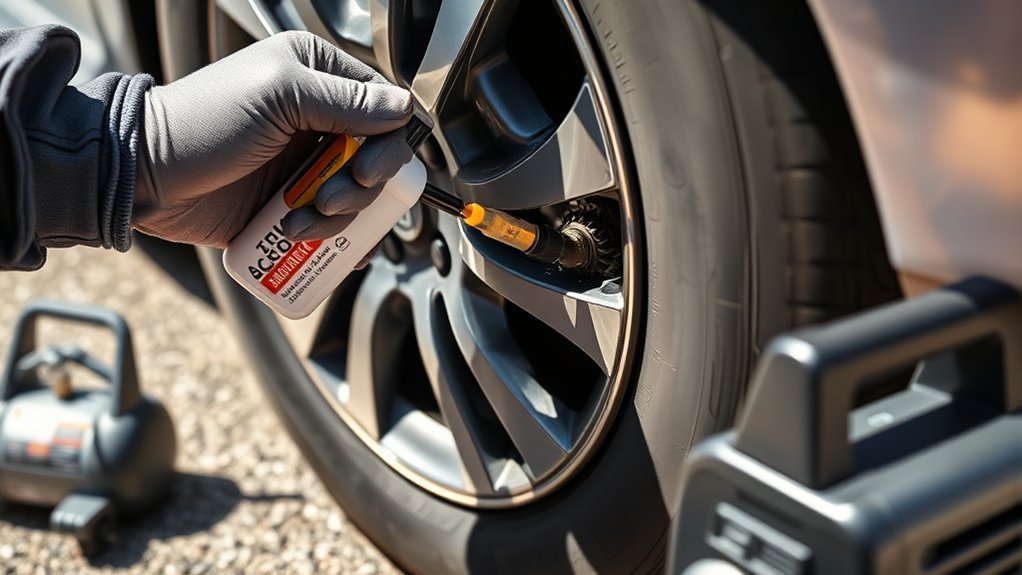
Plug the compressor into the accessory power socket and turn the power mode on as your manual instructs. Start the compressor and allow the kit to inject sealant and air into the tire. Watch the pressure gauge closely while the tire inflates.
Stop when the tire reaches the pressure shown on your tire placard or owner’s manual. If the tire does not begin to inflate, or if sealant leaks from the sidewall, tread split, bead, or hose connection, stop using the kit. The tire may not be repairable at the roadside.
Pro Tip: Keep the compressor running only as long as the kit instructions allow. Many portable compressors can overheat if they run continuously for too long.
Drive Briefly to Distribute the Sealant
After the tire reaches the correct pressure, disconnect the hose, reinstall the valve cap, stow the kit, and drive gently for about 10 minutes. Keep your speed below the limit printed on the kit or speed restriction label, commonly 50 mph or 80 km/h.
This short drive helps spread sealant across the inside of the tire so it can reach the puncture. Avoid hard braking, fast turns, potholes, and highway speeds. The tire still has only a temporary repair.
Recheck Tire Pressure After the First Drive
After the short drive, pull over in a safe place and recheck the tire pressure. Turn the compressor off before reading the gauge so you get a more accurate measurement. Compare the reading with the driver-door tire placard or owner’s manual.
If the pressure is still within the safe range, continue carefully to a tire shop or Honda service center. If the pressure has dropped, reinflate only if the kit instructions allow it and the tire still looks intact. If pressure drops again, stop driving and call roadside assistance.
| Problem | What It Usually Means | What To Do |
|---|---|---|
| Tire will not inflate | Large puncture, bead leak, bad valve, or sidewall damage | Stop and call roadside assistance. |
| Sealant leaks out | Hole is too large or outside the tread area | Do not continue the repair. |
| Pressure drops after 10 minutes | Seal did not hold | Reinflate only if the manual allows it, then go directly to service. Stop if it drops again. |
| Vibration or pulling | Possible tire, wheel, or balance issue | Slow down, stop safely, and get help. |
Driving Limits After a Temporary Sealant Repair
A sealed tire is not back to normal. Drive only as far as needed to reach a safe repair location, and follow the speed and distance limits on your kit label. Keep the speed restriction label visible so you do not forget the tire’s temporary status.
Avoid highway speeds, heavy loads, long trips, aggressive cornering, and rough roads. If the tire pressure warning returns, the car vibrates, or the steering changes, stop in a safe location. The seal may have failed or the tire may have internal damage.
Temporary Sealant vs Professional Tire Repair
Sealant is a roadside aid, not a final repair. A tire shop must remove the tire from the wheel, inspect the inside, clean out sealant, and check whether the puncture is in a repairable area. If the tire qualifies, the usual permanent repair is an internal patch-plug style repair, not just liquid sealant.
Tell the technician you used sealant. Some sealants can leave residue inside the tire and around the valve stem or TPMS sensor. The shop may need extra cleaning time before balancing or repairing the tire.
If the tire was driven while very low, the shop may find internal sidewall damage even if the outside looks normal. In that case, replacement is safer than repair.
[Products Worth Considering]
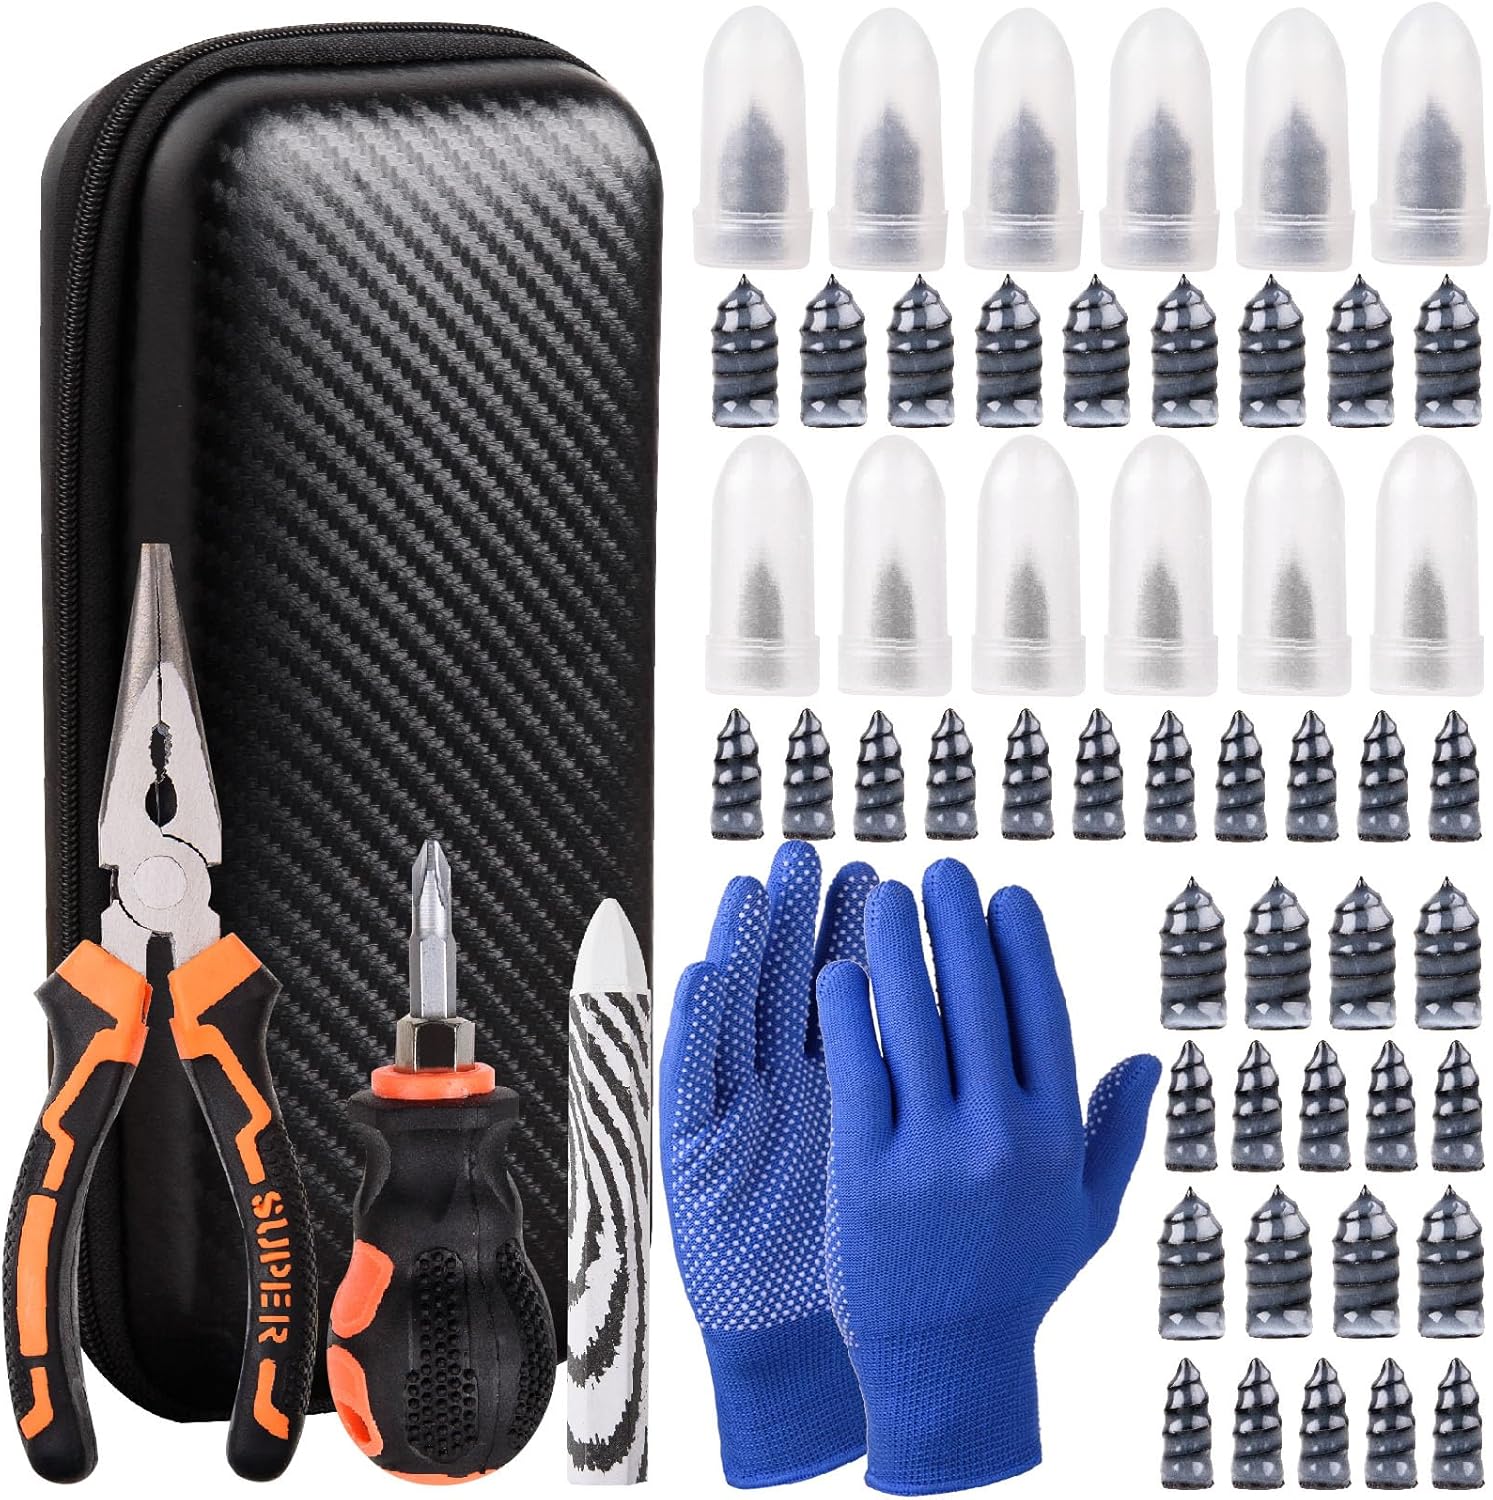
This tire sidewall puncture repair kit fixes flats fast without removing the tire, helping you get back on the road in minutes. It includes self-tapping repair nails, essential tools, gloves, and a portable storage bag for convenient roadside use. Designed for tubeless tires, it helps create a tight, leak-resistant seal for cars, motorcycles, trucks, SUVs, and ATVs.
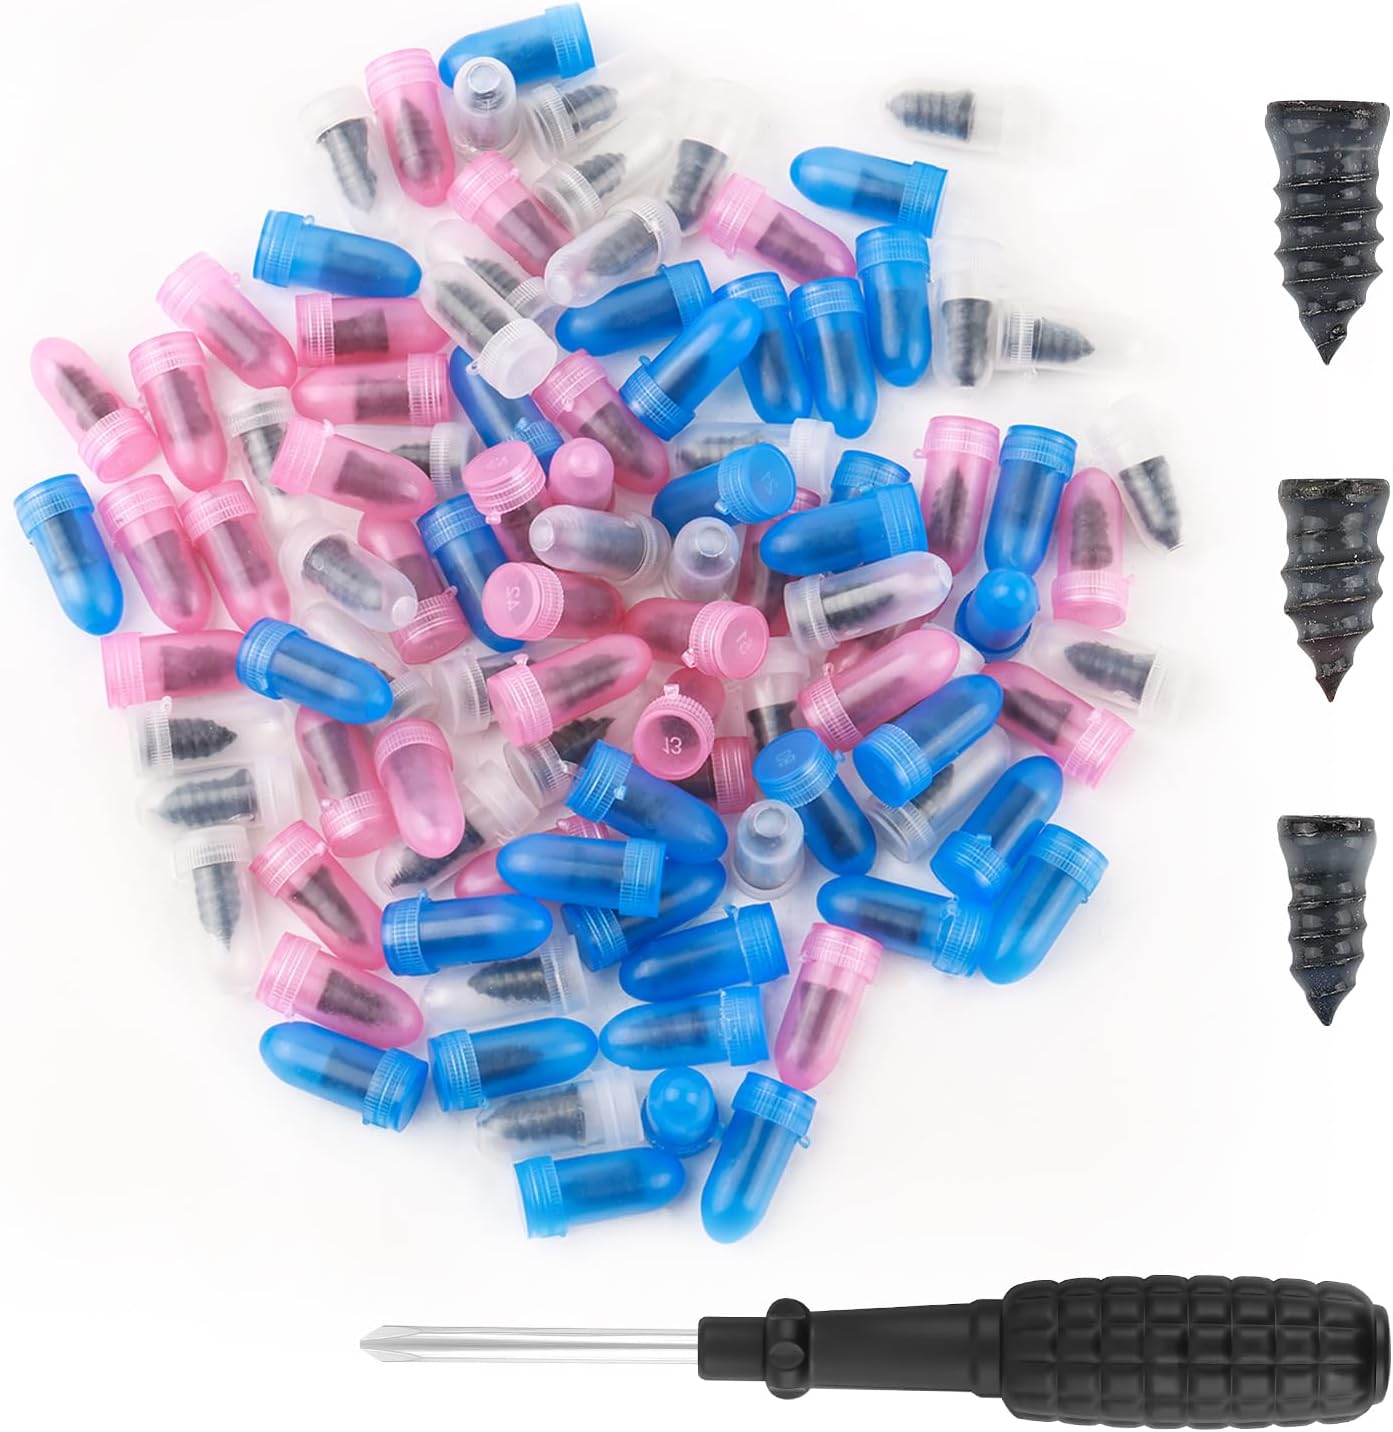
This 100-piece tire repair screw plug kit provides a fast, self-service solution for punctures on the road. Choose the correct plug size, insert it into the break, and screw it in to help seal the puncture and temporarily restore tire pressure. Thickened threads and rubber-wrapped plugs improve bite and sealing while remaining compact and easy to carry.
Why Rechecking Tire Pressure Matters
Correct tire pressure helps your Accord brake, steer, carry weight, and wear evenly. Under-inflated tires flex more than they should, which builds heat and can increase the risk of tire failure. Over-inflated tires can reduce ride comfort and cause uneven tread wear.
Check pressure when the tires are cold, ideally before driving or after the car has been parked for several hours. Use the pressure listed on the tire placard, not the maximum pressure printed on the tire sidewall. The sidewall number is a tire limit, not your Accord’s recommended everyday setting.
Proper pressure also helps fuel economy. FuelEconomy.gov notes that correct tire pressure can improve gas mileage, while low pressure can reduce it. A safe way to state the common government figure is that fuel economy can drop by about 0.2% for every 1 psi low across all tires.
A temporary sealant repair buys time. It does not prove the tire is safe for normal driving until a tire professional inspects it from the inside.
Troubleshoot Your Flat Tire Sealant Kit Issues
If the kit does not work, do not keep forcing the repair. A tire that will not inflate or hold pressure may have damage beyond what sealant can handle. Stop, move away from traffic, and choose the safer option.
- Expired sealant: Replace it before relying on the kit.
- Loose hose: Reconnect it firmly to the valve stem and check for leaks.
- No compressor power: Confirm the accessory socket is active and the cord is fully plugged in.
- Pressure will not rise: Stop the repair. The puncture may be too large or the tire may be damaged.
- Pressure drops twice: Do not continue driving. Call for service.
How to Maintain Your Temporary Repair Kit
Check your temporary repair kit every few months, especially before a road trip. Make sure the compressor, hoses, sealant bottle, instructions, and power cord are present. Replace the sealant when it expires or after you use it once.
Store the kit in its proper trunk location so it does not bounce around or get damaged. Keep the compressor dry, and do not wrap the hose so tightly that it cracks. A complete kit can save time during a small puncture, but only if it works when you need it.
When to Seek Professional Help for Tire Issues
Get professional help immediately if the puncture is larger than the kit limit, the nail is in the sidewall or shoulder, the tire has a bulge, the wheel is damaged, or the tire was driven while flat. You should also stop driving if the sealant repair loses pressure after the first recheck.
Even if the kit works, visit a tire shop or Honda service center as soon as possible. Ask the technician to inspect the inside of the tire, clean out the sealant, check the TPMS sensor and valve stem, and decide whether the tire can be safely repaired.
Frequently Asked Questions
Can you fix a Honda Accord tire with a nail hole?
Yes, but only if the nail caused a small puncture in the tread area and the tire has no sidewall, shoulder, bead, or internal damage. A temporary sealant kit can help you reach service, but a tire professional must inspect the tire before you treat it as safely repaired.
How much does it usually cost to fix a nail in a tire?
A basic puncture repair often costs less than replacing the tire, but the final price depends on your shop, tire size, local labor rate, TPMS work, and whether sealant cleanup is needed. If the puncture is outside the repairable tread area or the tire has internal damage, replacement may be required.
Which type of tire puncture cannot be repaired?
Do not repair punctures in the sidewall, shoulder, or bead area. Also avoid repairing tires with bulges, exposed cords, large cuts, multiple close punctures, severe tread wear, or damage from being driven while flat. A shop must inspect the tire internally to make the final call.
Can I drive 2 miles on a flat tire?
You should not drive two miles on a fully flat tire. Even a short distance can damage the tire and wheel and make the car harder to control. Pull over safely, inspect the tire only if the area is safe, and use the temporary kit only if the damage qualifies.
Can I keep driving normally after using tire sealant?
No. Tire sealant is temporary. Follow the speed and distance limits on the repair kit, avoid aggressive driving, recheck pressure after the first short drive, and go directly to a tire shop or Honda service center for inspection.
Conclusion
A nail in your Honda Accord tire may look minor, but you should handle it carefully. Use the temporary repair kit only when the puncture is small, in the tread area, and the tire has no visible structural damage. Inflate to the pressure on your tire placard, drive gently, recheck pressure, and schedule a professional inspection right away.
The safest mindset is simple: sealant helps you move the car out of trouble, not ignore the problem. If the tire will not hold pressure, the sidewall is damaged, or the car feels unstable, stop driving and call for help.
Sources
- Honda Owner’s Manuals — Honda-specific tire repair kit and tire placard guidance.
- National Highway Traffic Safety Administration: Tires — tire safety, pressure, tread, and maintenance guidance.
- FuelEconomy.gov: Keeping Your Car in Shape — tire pressure and fuel-economy guidance.
- Michelin: Tire Repair — repairability limits and professional tire repair guidance.
- Bridgestone: How to Check Tire Pressure — cold tire pressure and pressure-checking basics.

Related Articles
How Tall Is a 305 70 R17 Tire? Exact Height, Width & Dimensions
Curious how tall a 305 70 R17 tire really is—and whether it fits your truck?
Read More
Can-Am Defender Tire Size Guide: Stock Specs & Upgrade Options
Just how big can you go on a Can-Am Defender before mods become necessary?
Read More
How Tall Is a 275 65 20 Tire? Exact Height, Width & Dimensions
Check the exact height, width, and hidden fitment effects of a 275/65R20 tire before you buy or upgrade.
Read More