
How to Fix a Tire With a Nail in It on a RAV4: Step-By-Step
To fix a tire with a nail in your RAV4, start by evaluating the damage. If the nail is in the tread and the hole is under 0.64 cm, you can proceed. Gather your tools: a tire plug kit, portable inflator, and needle nose pliers. Remove the nail, enlarge the hole, and insert a plug. Trim excess, inflate to the recommended PSI, and check for leaks. For further tips on maintenance and safety, keep exploring your options.
Assessing Tire Damage: Can It Be Repaired?
When you discover a nail in your tire, the first step is evaluating the damage to determine if it can be repaired. Start with a thorough tire inspection, focusing on the puncture criteria. If the hole is larger than 0.64 cm, it’s likely time for a replacement instead of a repair. Additionally, check the nail’s location; punctures within the tread area are typically repairable, while those on the sidewall usually aren’t safe to fix.
To identify air leaks, apply soapy water around the puncture; bubbles will form if air is escaping. Consider the tire’s age and tread wear, as older tires might lack the integrity needed for a reliable repair. Finally, consult a tire technician for a professional evaluation. They’ll help determine whether a plug or patch is the best solution for your specific situation, ensuring your safety and liberation on the road.
Decide: Patch or Plug?
When you face a tire puncture, you need to choose between patching and plugging. Patching offers better durability for small holes, while plugging is a quicker, cost-effective solution. Always consult a tire technician to determine the best method based on the damage.
Patch Advantages
While many drivers face the dilemma of choosing between patches and plugs for tire repairs, opting for a patch often proves to be the more reliable solution. Patches provide enhanced patch longevity and a stronger seal against air leaks compared to plugs. Here are some key advantages of using a patch:
- Durability: Patches offer a more robust repair, especially for holes larger than typical nail punctures.
- Cost-Effectiveness: Professional patch repairs usually range from $20 to $26, making them a smart long-term investment.
- Safety: Although rebalancing may be necessary, it guarantees peak performance and safety for your vehicle.
Plug Advantages
Opting for a plug can be a practical choice for small tire punctures, especially if you need a quick and budget-friendly solution. Plugging benefits include a low cost—typically between $10 and $15—compared to patching, which can run $20 to $26. DIY plug kits are widely available at stores like Walmart and AutoZone, enabling you to make swift, temporary repairs until you can seek professional help. While plugs work best for tread-area punctures smaller than 0.64 cm, many users report successful long-term performance when installed correctly. However, remember that plugging is a temporary solution; it’s essential to follow up with a professional repair for enhanced safety and durability.
Repair Durability Comparison
Choosing between a patch and a plug for tire repair involves weighing durability against convenience. Here’s what to evaluate:
- Patch Longevity: Patching typically offers greater durability, making it ideal for long-term use.
- Plug Effectiveness: Plugs are a quicker, budget-friendly solution but may only serve as a temporary fix.
- Severity Limitations: Holes larger than 0.64 cm should be replaced, as plugs can’t handle severe damage.
While patching often requires rebalancing the tire and may affect the Tire Pressure Monitoring System (TPMS), professional patches are preferred for ensuring safety. DIY plugs can work for small holes but don’t offer the same reliability. Ultimately, if you’re looking for lasting repairs, a patch is your best bet.
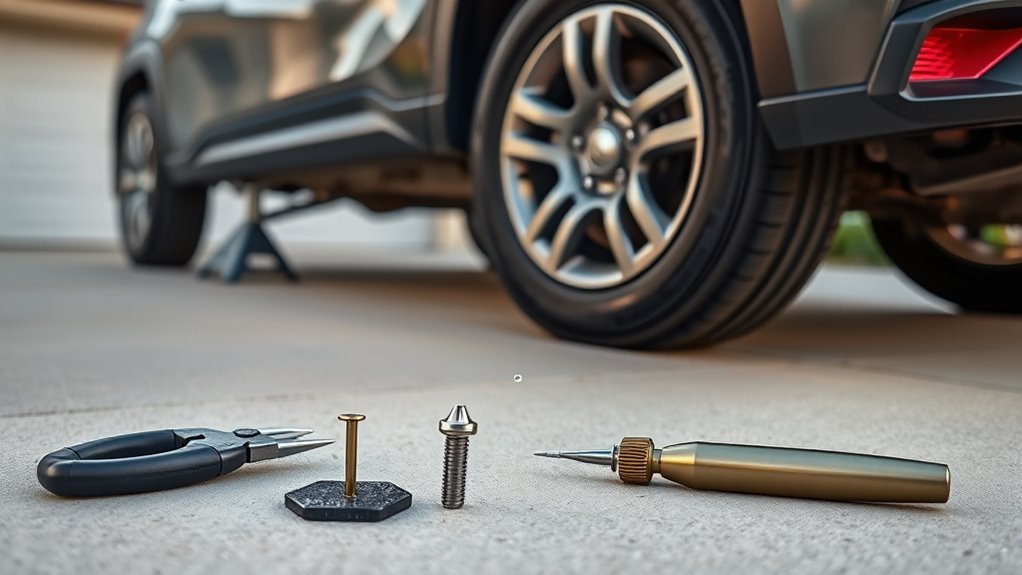
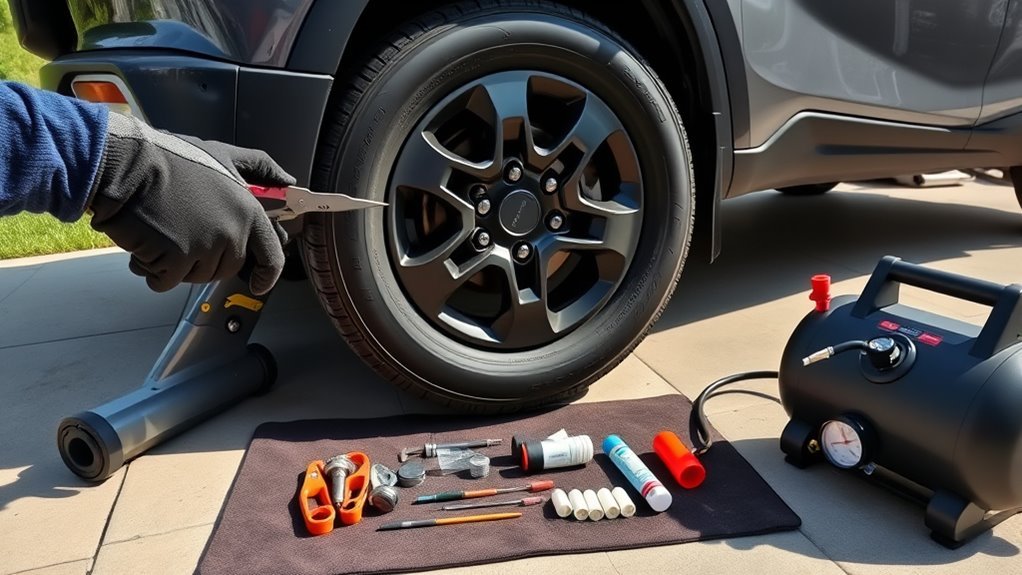
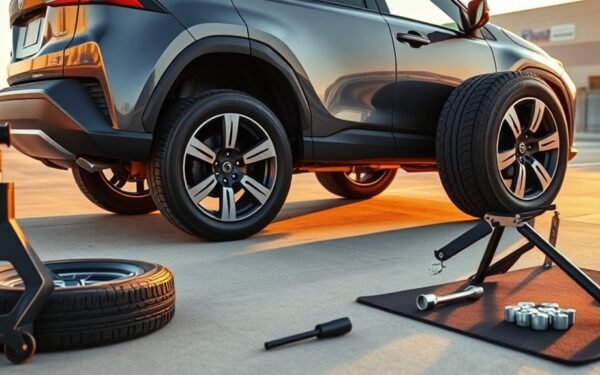
Gather Your Tools for a Quick Fix
Before you start, make sure you’ve got the right tools on hand for a quick fix. You’ll need a tire plug kit, a portable inflator, and needle nose pliers to handle the repair efficiently. Don’t forget to wear safety gloves to protect your hands while working.
Essential Tools Needed
To successfully fix a tire with a nail, you’ll need a few essential tools at your disposal. These items are critical for effective tire maintenance and to enhance your emergency preparedness. Here’s what you should gather:
- Tire plug kit: Includes plugs, an insertion needle, and a rasp tool for DIY repairs.
- Portable tire inflator and pressure gauge: Important for reinflating the tire to the recommended PSI after the fix.
- Needle nose pliers: Helpful for safely removing the nail without causing additional damage.
Having these tools ready guarantees you can swiftly tackle a tire issue, allowing you to get back on the road with confidence and peace of mind.
Safety Gear Checklist
Having the right tools is just the start; safety gear is equally important when fixing a tire with a nail. First, grab safety goggles to shield your eyes from debris and gloves to protect your hands while handling sharp objects. Your repair checklist should include a tire plug kit, which features tire plugs, an insertion needle, and a rasp tool. You’ll also need needle nose pliers to safely remove the nail or puncturing object. Don’t forget a portable tire inflator and a tire pressure gauge to guarantee proper inflation after the plug. If you’re working in low light, a flashlight or headlamp can improve visibility, making the process smoother and safer. Always prioritize your safety!
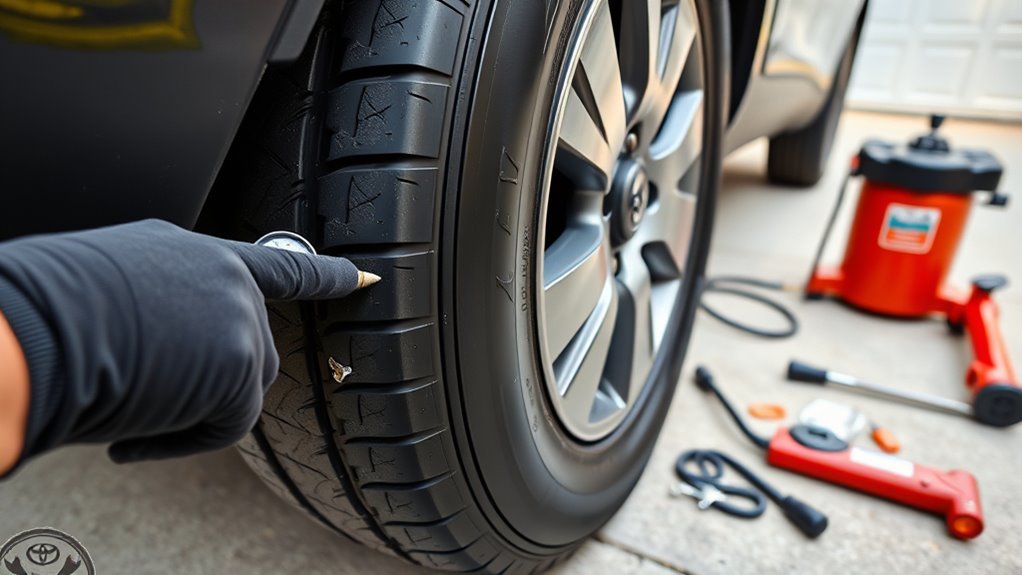
Fixing a Tire With a Nail: Using a Tire Plug Kit
Repairing a tire with a nail puncture can be straightforward when you have a tire plug kit. Here’s how to effectively use it:
- Gather your tools: You’ll need tire plugs, an insertion needle, a rasp tool, a portable tire inflator, and a gauge.
- Prepare the puncture: Remove the nail with needle nose pliers, then use the rasp tool to enlarge the hole for better plug insertion.
- Install the plug: Insert the plug into the needle, push it into the hole until about 1.3 cm remains above the tire surface, and then pull the needle out, leaving the plug in place.
Trim any excess rubber from the plug so it’s flush with the tire tread. Finally, inflate the tire to the recommended pressure and check for leaks. Remember, these tire puncture techniques are temporary; drive to a technician for a professional repair soon.
Safety First: Key Considerations Before Driving
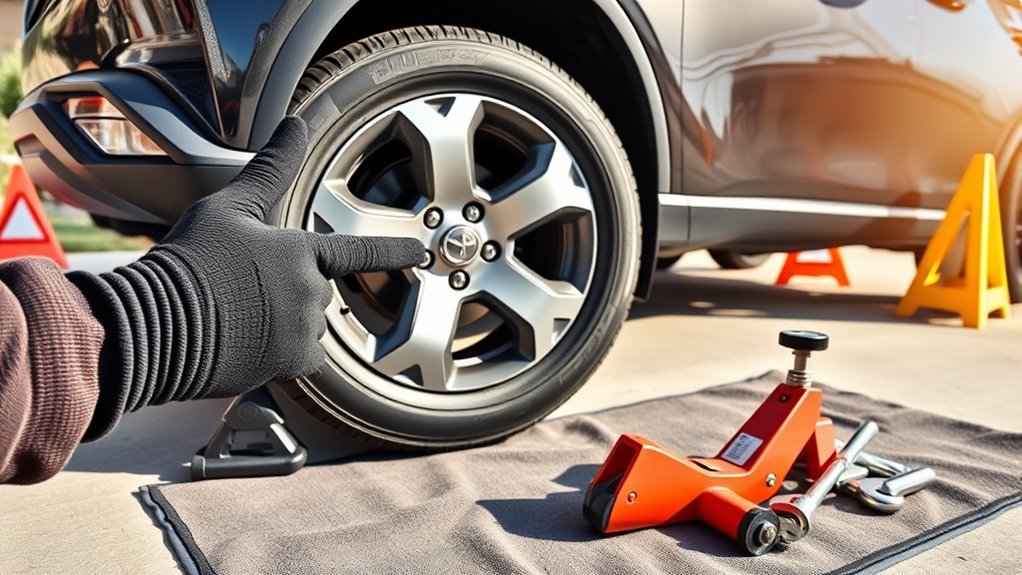
Before hitting the road, it’s crucial to assess your tire’s condition carefully. A thorough tire inspection helps prevent accidents caused by flat tires. If you notice visible damage or air leaks, don’t drive; instead, use a spare tire or call a tow truck. Driving on a flat can lead to loss of control and further tire damage.
Make sure you know your tire’s air pressure limits and maintain proper inflation for safe driving. Remember, temporary repairs like plug kits are just that—temporary. Avoid extended driving on a plugged tire, as this can compromise your safety.
Here’s a quick reference table for tire safety:
| Inspection Item | Action Required | Frequency |
|---|---|---|
| Visual Damage | Check for cuts/bulges | Before each drive |
| Air Pressure | Verify with a gauge | Weekly |
| Plug Condition | Assess for wear | Every month |
| Tread Depth | Measure with a penny | Monthly |
| Spare Tire Check | Make sure it’s inflated | Before long trips |
When to Call a Mechanic for Professional Help?
Knowing when to call a mechanic can save you time and guarantee your safety on the road. Here are key situations where you should seek professional help:
- If the puncture is larger than 0.64 cm, a tire replacement is necessary.
- Notice significant air loss or visible tire damage? It’s essential to consult a mechanic for proper repair techniques.
- If the nail is on the sidewall, always opt for a mechanic consultation, as this often requires a replacement.
Additionally, if your Tire Pressure Monitoring System (TPMS) malfunctions or you face issues during a DIY repair, don’t hesitate to contact a professional. Ensuring tire safety is paramount; a mechanic’s expertise can provide peace of mind and confirm the integrity of your repair. Remember, prioritizing safety will keep you on the road confidently.
Preventing Flats: Tire Maintenance Tips
To prevent flats and guarantee peak tire performance, regular maintenance is essential. Start by checking your tire pressure regularly; under-inflated tires wear out faster and are more prone to punctures. Aim for the recommended PSI, which can usually be found on the driver’s side door jamb. Next, inspect your tires for embedded objects that could cause flats, such as nails or glass. Monitor for slow leaks, as they can lead to significant air loss over time, necessitating prompt repair.
Don’t forget to rotate your tires every 5,000 to 7,500 miles to maintain even tread depth, extending their lifespan and reducing flat risks. Keeping a spare tire in your vehicle is also wise, as is using tire sealants for minor punctures. By following these simple yet effective maintenance tips, you’ll enhance tire longevity and enjoy a safer driving experience.
Success Stories: Effective DIY Tire Repairs
Many DIY enthusiasts have successfully tackled tire repairs at home, demonstrating that with the right tools and techniques, you can address punctures effectively. User experiences highlight the reliability of DIY repair techniques, showcasing several success stories:
- One user fixed a drywall screw puncture and drove 50,000 km without leaks.
- A mechanic with 30 years of experience regularly plugs 4-5 tires annually without removing wheels, proving it’s a practical method.
- Many users report maintaining tire pressures in the 40s to 50s PSI after using plug kits, experiencing no leaks even at speeds up to 130 MPH.
Frequently Asked Questions
How Do I Know if My Tire Can Be Repaired?
To determine if your tire’s repairable, check the puncture location and tire tread. If the puncture’s in the tread and smaller than a quarter, you can likely fix it. If it’s on the sidewall, replacement’s necessary.
What Is the Difference Between a Patch and a Plug?
Around 80% of tire repairs use plugs, while patches provide a more durable solution. For effective tire maintenance, consider nail removal techniques, as each method addresses different types of damage and repair needs.
Can I Drive on a Plugged Tire Long-Term?
You shouldn’t drive on a plugged tire long-term. For ideal tire safety and repair longevity, consider replacing it. Regularly inspect the plug, as degradation can compromise performance and increase risks on the road.
How Often Should I Check Tire Pressure?
Ever wonder how often you should check tire pressure? For ideal tire maintenance, check it monthly using a pressure gauge. Consistent checks guarantee safety, enhance fuel efficiency, and prolong tire life—your ride deserves it.
What Should I Do if the Plug Fails?
If the plug fails, replace it with a new one or consider using a tire repair kit from your emergency kit. Regular tire maintenance can prevent future issues, ensuring safer travels and greater peace of mind.
Conclusion
To sum up, fixing a tire with a nail can save you time and money if done correctly. Remember, “a stitch in time saves nine”—addressing the issue promptly prevents further damage. If you’ve followed the steps and confirmed safety, you can confidently hit the road again. However, if you’re uncertain about your repair, don’t hesitate to consult a professional. Regular tire maintenance will go a long way in preventing future flats and guaranteeing a smooth ride.
Related Articles
Upsizing Wheels on a Toyota RAV4: Pros, Cons, and Considerations
Boost your Toyota RAV4's performance with larger wheels, but discover the hidden trade-offs that could impact your ride before you decide.
Read More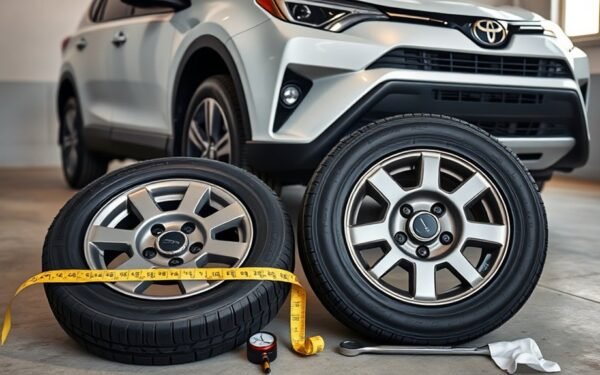
Can I Change Tire Size on My Toyota RAV4? Rules and Recommendations
Are you considering changing the tire size on your Toyota RAV4? Discover the essential rules and recommendations before making a decision.
Read More
What to Do If the TPMS Light Comes On in Your RAV4
Understand the steps to take when the TPMS light illuminates in your RAV4, as overlooking it could lead to serious tire problems.
Read More