
How to Mount Tires on Honda Accord Rims Safely

Mounting tires on Honda Accord rims is possible with the right tire size, a clean undamaged wheel, approved tire mounting lubricant, and proper inflation equipment. It is also a high-pressure tire service job, not the same as simply changing a mounted wheel on the car. If you do not have a tire changer, clip-on inflator, accurate gauge, approved lubricant, and a safe way to stay out of the inflation trajectory, have a trained tire technician mount the tires.
Quick Answer
To mount tires on Honda Accord rims safely, confirm the tire size and cold PSI on the driver’s doorjamb placard, inspect the rim and tire bead, install or service the valve stem, lubricate both beads with approved tire lubricant, mount the tire with a tire changer, inflate only from a safe position, check for leaks, and balance the wheel.
Key Takeaways
- Use the tire size and cold inflation pressure on your Accord’s driver’s doorjamb placard or owner’s manual, not a generic online tire size.
- Never mount a tire on a cracked, bent, heavily corroded, welded, or mismatched rim.
- Use approved tire mounting lubricant, not petroleum products, silicone, antifreeze, starter fluid, or flammable bead-seating tricks.
- If the beads will not seat, stop, deflate the tire, inspect the problem, relubricate, and try again instead of adding unsafe pressure.
- After mounting, check for bead and valve leaks, balance the wheel, set cold PSI, and follow the owner’s manual for TPMS calibration if required.
At a Glance
| Time Required | About 20–45 minutes per tire with the right machine; longer for cleaning, inspection, leak checks, and balancing. |
| Difficulty | Advanced DIY / professional tire-service task because bead seating uses compressed air. |
| Tools Needed | Tire changer, approved tire lubricant, valve core tool, new valve stem or TPMS service kit, clip-on air chuck, remote gauge/regulator, soapy water, tire pressure gauge, wheel balancer, and eye/hand protection. |
| Cost | DIY supplies are low-cost if you already own the equipment; professional mounting and balancing is usually the safer value for most owners. |
Warning: A tire and wheel assembly contains stored energy when inflated. Do not stand, lean, or reach over the assembly during inflation. Do not use flammable substances or “explosive” bead-seating methods. If the bead will not seat, deflate the tire and find the cause.
Essential Tools for Mounting Tires on Honda Accord Rims
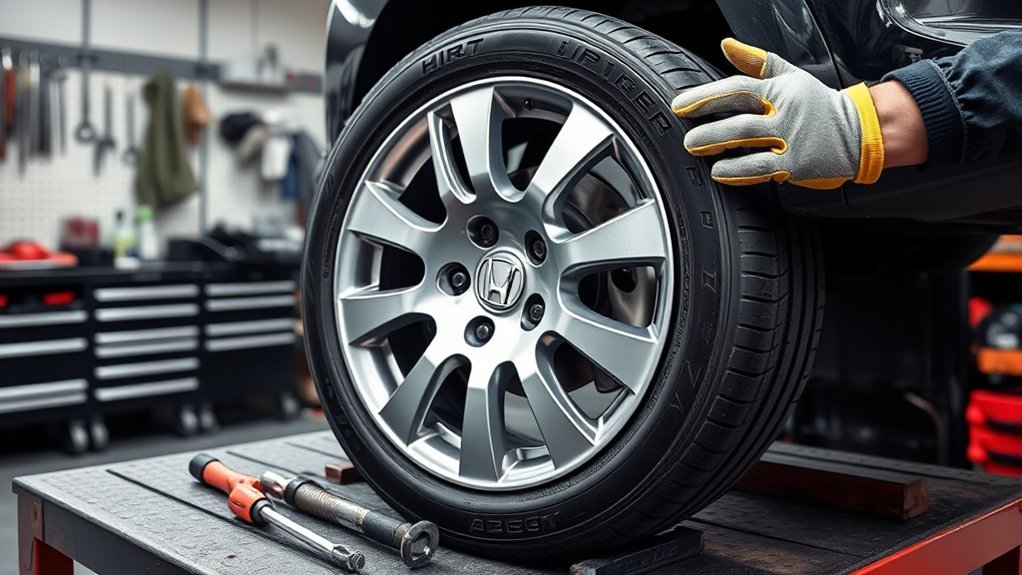
The safest way to mount modern Honda Accord tires is with a tire changer made for passenger-car wheels. Accord wheels can be 17 inches, 19 inches, or another size depending on model year and trim, so stiff sidewalls and low-profile tires can be difficult to mount by hand without damaging the bead, wheel finish, or TPMS hardware.
Gather these items before you start:
- Tire changer with a properly protected mount head
- Approved nonflammable tire mounting lubricant
- Valve core tool
- New rubber valve stem, metal valve stem seal kit, or TPMS service kit as applicable
- Clip-on air chuck with a remote hose and pressure gauge
- Air regulator and accurate tire pressure gauge
- Soapy water in a spray bottle for leak checking
- Wheel balancer and wheel weights
- Eye protection and cut-resistant gloves
- Soft brush or non-abrasive pad for cleaning the bead seat
A pry bar or tire iron can help in limited situations, but it should not be the main tool for forcing a tight bead over an Accord rim. Excess force can tear the bead, scratch alloy wheels, or damage a TPMS sensor.
Pro Tip: Use a dedicated tire mounting lubricant. It helps the bead slide into place, reduces bead damage, and dries in a way that helps the tire stay seated. Avoid petroleum-based lubricants, silicone, antifreeze, and flammable products.
[Products Worth Considering]

This VEVOR tire bead breaker uses a slide-hammer impact and wedge tip to separate tire beads from rims quickly and efficiently without damaging hub surfaces. The long handle and sturdy steel construction help reduce user strain while providing reliable, portable tire changing for cars, trucks, and more. Ideal for home mechanics and repair shops handling multiple vehicle tire sizes.

The AstroAI 2 pack air chucks provide a heavy-duty, closed-flow locking design that helps keep air flowing during inflation while securely attaching to the valve stem. Built with 250 PSI rated brass components and compatible with Schrader valves, they feature 1/4" female NPT threads for a wide fit with common inflators. The straight tip and locking clip make filling tires and monitoring pressure more convenient.
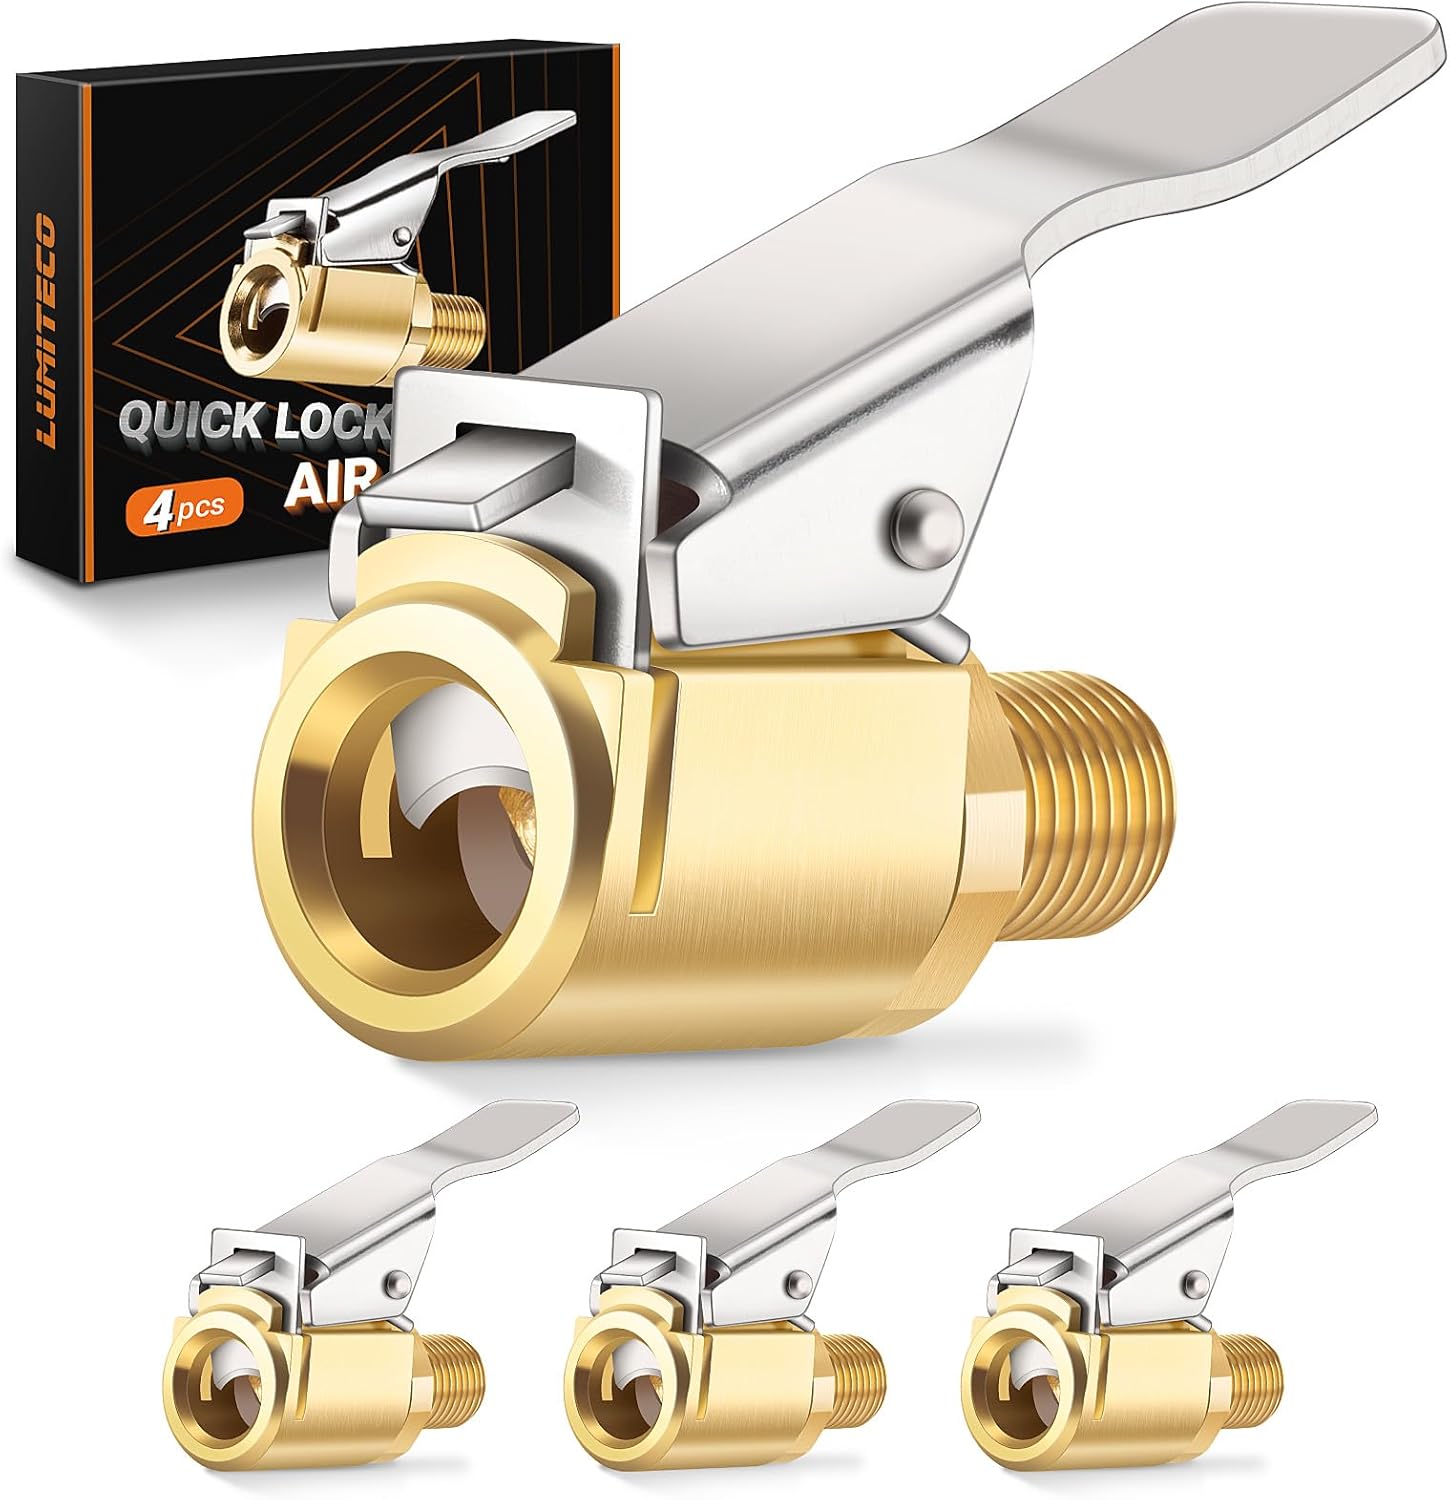
This brass air chuck adapter converts a screw-on inflator connection into a lock-on quick connect for hands-free, no-leak tire inflation. Clip the chuck onto Schrader valve stems and lock it in place to simplify inflating car, bike, and motorcycle tires. Built for durability with a corrosion-resistant brass body and strong quick operation.
Inspecting Your Honda Accord Rims for Damage
Before mounting the tire, inspect the wheel carefully. A clean rim can still be unsafe if it is bent, cracked, repaired poorly, or badly corroded around the bead seat.
Visual Damage Assessment
Look at the inner and outer lip of the rim, the bead seat area, the spokes, and the valve-stem hole. Do not mount a tire on a rim with visible cracks, severe bends, sharp gouges, heavy corrosion, or signs of welding or heating. If the wheel was driven flat, hit a deep pothole, or came from an unknown used set, have it inspected by a wheel or tire professional.
| Inspection Area | What to Look For | Why It Matters |
|---|---|---|
| Rim lip | Bends, chips, flat spots, cracks | Can stop the bead from sealing |
| Bead seat | Rust, corrosion, old rubber, dirt | Can cause slow leaks |
| Spokes and barrel | Cracks, impact marks, previous repairs | Can weaken the wheel |
| Valve hole | Burrs, corrosion, oval shape | Can leak around the valve stem |
Check for Cracks and Bent Edges
Use a bright light and inspect both sides of the wheel. Hairline cracks often appear near the spokes, inner barrel, or bead seat after pothole impacts. A bent inner rim can be easy to miss because it is not visible when the wheel is mounted on the car.
If you find a crack, do not mount the tire. If you find a bend, have the wheel checked for runout before using it. A tire may mount and inflate on a bent wheel but still vibrate, leak, or wear unevenly.
Clean the Bead Seat
Remove old rubber residue, adhesive, dirt, corrosion, and dried lubricant from the bead seat. Use a soft brush, plastic scraper, or approved wheel-cleaning pad. Avoid grinding aggressively on alloy wheels because removing too much material can change how the bead seals.
Choosing the Right Tires for Your Accord
The correct tire for a Honda Accord depends on the model year, trim, wheel diameter, and market. Do not assume that one Accord tire size fits all Accords. The best first source is the Tire and Loading Information Label on the driver’s doorjamb. Honda states that this label lists the original front, rear, and spare tire sizes and the proper cold tire pressure.
For example, Honda’s 2024 Accord owner information lists a 17-inch regular tire specification of 225/50R17 94V with cold pressure of 33 psi front and 32 psi rear for that listed configuration. Other Accord trims and model years may use a different size, load index, speed rating, wheel diameter, or pressure. Always confirm your own vehicle before buying or mounting tires.
Check these details before mounting:
- Tire size: The tire’s rim diameter must match the wheel diameter exactly. A 17-inch tire goes on a 17-inch rim only.
- Load index and speed rating: Match or exceed the rating recommended for your Accord. Do not downgrade load capacity.
- Construction: Use the tire type recommended for the vehicle. Do not mix radial and bias construction.
- Season and use: Choose all-season, summer, winter, or touring tires based on climate and driving needs.
- Directional or asymmetrical markings: Follow “rotation,” “outside,” and “inside” markings before mounting.
- Wheel specs: Replacement wheels should match the original wheel’s important specifications, including diameter, width, offset, bolt pattern, center bore, and lug-seat style.
Note: The maximum PSI molded on a tire sidewall is not the normal inflation pressure for your Accord. Set final pressure to the vehicle’s recommended cold PSI on the doorjamb placard unless the owner’s manual or tire manufacturer gives a specific approved alternative.
Preparing the Rim and Tire for Mounting
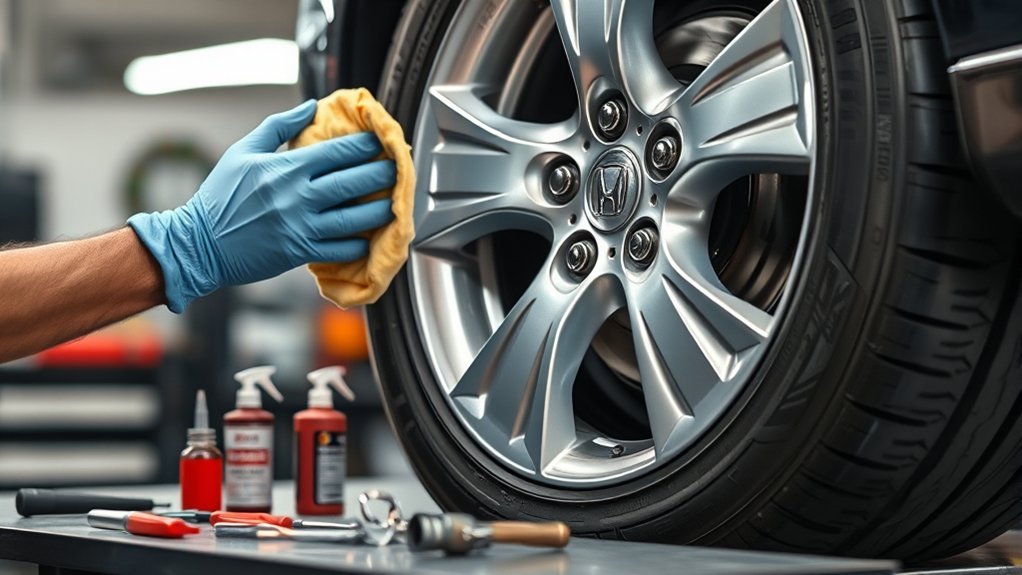
Preparation is where many tire-mounting problems are prevented. A tire that is the correct size can still leak or fail to seat if the bead, rim, valve stem, or TPMS parts are not ready.
Valve Stem and TPMS Preparation
If the wheel uses a standard rubber snap-in valve stem, install a new valve stem before mounting the tire. If the wheel uses a TPMS sensor with a metal valve stem, replace the service parts recommended for that sensor, such as the grommet, nut, valve core, and cap. Reusing old sealing parts can cause slow leaks at the valve hole.
Make sure the valve stem is seated straight and tightened to the correct specification for that valve type. Keep tire tools away from the TPMS sensor during mounting and demounting.
Lubrication Techniques
Apply approved tire mounting lubricant to both tire beads and the wheel bead-seat areas. Use enough lubricant for a smooth installation, but do not leave heavy puddles inside the tire. Lubrication helps the bead move into place instead of binding and stretching.
Do not use oil, grease, silicone spray, antifreeze, starter fluid, gasoline, ether, or aerosol inflators. These can damage rubber, create slip problems, or introduce fire and explosion hazards.
Proper Tire Positioning
Place the wheel securely on the tire changer. Check the tire sidewall before the first bead goes on. If the tire is directional, the arrow must point in the correct rolling direction for the side of the car where the wheel will be installed. If the tire is asymmetrical, the “outside” sidewall must face outward after the wheel is on the vehicle.
Align the tire so the bead enters the drop center of the wheel. The drop center is the recessed middle area of the rim that gives the bead enough room to stretch over the outer lip without damage.
Step-by-Step Guide to Mounting Tires on Honda Accord Rims
The process below assumes you are using a tire changer designed for passenger-car wheels. If you are working only with hand tools, stop if the bead requires heavy force. Modern Accord tires, especially low-profile 19-inch tires, can be damaged by improvised mounting methods.
- Confirm the tire and wheel match. Check the tire size, load index, speed rating, wheel diameter, rim width, and sidewall orientation.
- Inspect the tire. Do not mount a tire with bead damage, sidewall bubbles, exposed cords, cracking, or punctures outside the repairable tread area.
- Install or service the valve stem. Replace rubber valve stems or TPMS sealing parts as needed.
- Clamp the wheel correctly. Use protective clamps or covers to avoid scratching alloy wheels.
- Lubricate both beads. Apply approved lubricant to the tire beads and wheel bead seats.
- Mount the lower bead. Keep the bead in the drop center and rotate the tire changer slowly.
- Mount the upper bead. Keep hands clear and watch that the bead does not pinch or tear.
- Remove the valve core if your equipment procedure calls for it. This can improve airflow during initial seating, but follow the tire changer and tire manufacturer’s instructions.
- Inflate from a safe position. Use a clip-on air chuck and stand away from the trajectory path.
- Seat the beads. Listen and watch for the beads to move evenly onto the bead seats. Do not exceed the tire manufacturer’s bead-seating pressure limit.
- Set final pressure. After the beads are seated, install the valve core if removed and adjust the tire to the Accord’s recommended cold PSI.
- Leak-check the assembly. Spray soapy water around both bead seats and the valve stem.
- Balance the wheel. Do not skip balancing after mounting a new tire.
If the tire bead is not seated evenly, more pressure is not the answer. Deflate the tire, break the bead back down, inspect the fit, relubricate, and restart the seating process safely.
How to Use a Tire Changer for Honda Accord Rims
A tire changer reduces the force needed to mount the tire and helps protect the wheel and bead. Before using one, read the machine’s instructions and use the correct mount head, clamp setup, and pressure controls for alloy passenger-car wheels.
| Step | Action | Important Detail |
|---|---|---|
| 1 | Secure the wheel | Clamp it squarely and protect the rim finish |
| 2 | Lubricate the beads | Use approved tire mounting lubricant |
| 3 | Mount the first bead | Keep the bead in the drop center |
| 4 | Mount the second bead | Avoid TPMS contact and bead pinching |
| 5 | Inflate safely | Use a clip-on chuck and stand clear |
During mounting, keep the bead opposite the mount head pressed into the wheel’s drop center. This is the key detail that keeps the tire from fighting the machine. If the tire starts to bind, stop the machine, reposition the bead, and add more approved lubricant.
Warning: Never try to seat a stubborn bead with starter fluid, ether, gasoline, brake cleaner, or any other flammable substance. This can cause an explosion and can damage the tire internally.
How to Inflate Your Tire and Make Sure It Seals Right
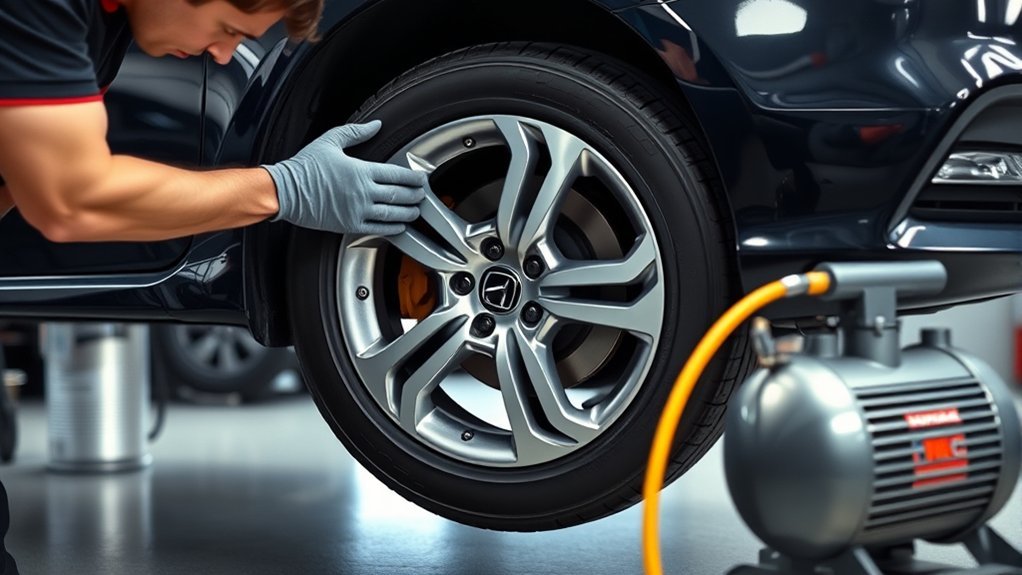
Inflation is the most hazardous part of mounting a tire. Use a clip-on air chuck, a remote hose, a working gauge, and a regulator. Keep your face, hands, arms, and body out of the trajectory path. Do not lean over the tire while it is inflating.
Inflate only enough to seat the beads. Follow the tire manufacturer’s maximum bead-seating pressure. If no tire-specific limit is available, do not exceed 40 psi for bead seating. If the beads do not seat by that point, completely deflate the tire, inspect the tire and rim, relubricate, reposition the bead, and try again.
After both beads are fully seated, adjust the tire to the cold pressure listed on your Accord’s doorjamb placard. Then spray soapy water around these areas:
- Outer bead seat
- Inner bead seat
- Valve core
- Valve stem base
- Any repaired tread area
Bubbles that keep growing show a leak. Do not install or drive on a leaking tire. Deflate it, correct the problem, and test again.
Balancing Your Tires After Mounting
Every newly mounted tire and wheel assembly should be balanced before it goes on the car. Even a correctly mounted tire can have heavy spots that cause vibration, steering-wheel shake, uneven wear, and extra stress on suspension parts.
A balancing machine spins the tire and wheel assembly, identifies the heavy spots, and shows where to add wheel weights. Use the correct weight type for the wheel, and clean the wheel surface before applying adhesive weights.
Balancing is also a good time to confirm that the wheel is not bent. If the assembly needs an unusual amount of weight or shows visible wobble on the balancer, inspect the tire and rim before installing it on the Accord.
[Products Worth Considering]

This 4-in-1 tire valve core removal tool helps you deflate, unblock, and remove or install valve cores quickly for easier tire repair. The multifunction design also supports re-taping damaged threads and reaming inside the valve stem for smoother service. Included as a 2-pack, it’s compact for convenient carry and works for cars, bicycles, and motorcycles.

This multi-function tire valve stem removal tool set makes it fast to remove, install, bleed, and clean valve cores for easier tire maintenance. It includes valve core removers, a 4-way spool tool, replacement valve caps, and spare cores to handle replacements and repairs with confidence. Universal compatibility suits cars, trucks, motorcycles, bicycles, and more for roadside convenience.
Installing the Mounted Wheel Back on the Accord
If the tire is already mounted and balanced, install the wheel carefully. Clean the hub face, align the wheel, start each lug nut by hand, and tighten in a star pattern. Use a torque wrench and the lug-nut torque specification in your owner’s manual for your exact Accord. Do not rely on an impact wrench for final tightening.
After installation, check all four tires cold and set them to the placard pressure. If your Accord’s TPMS system requires calibration after tire rotation, pressure adjustment, or tire replacement, follow the owner’s manual procedure. Drive gently at first and recheck for leaks, vibration, or pressure loss.
Note: Honda recommends checking tire pressure monthly and examining tires for wear and foreign objects. A fresh mount is not the last check; it is the start of regular tire maintenance.
Safety Precautions for Mounting Tires on Honda Accord Rims
Safe tire mounting comes down to correct parts, clean components, proper tools, and controlled inflation. Do not rush the job.
Wear Eye and Hand Protection
Wear safety glasses whenever cleaning wheels, removing valve cores, seating beads, or inflating tires. Gloves help protect your hands from sharp rim edges, exposed belts on damaged tires, and tool slips.
Use a Clean, Stable Work Area
Work on a level surface with enough room to move around the tire changer. Keep loose cords, tools, and old wheel weights away from your feet. A cluttered work area increases the chance of tool slips and mounting mistakes.
Stay Out of the Inflation Trajectory
The trajectory is the path where air blast or wheel parts could travel if a tire or rim fails during inflation. Use a clip-on chuck and remote gauge so you do not need to hold your hand near the valve stem while the assembly is pressurized.
Do Not Repair Unsafe Wheels
Do not rework, weld, braze, heat, or hammer a damaged rim to make it hold air. Replace unsafe wheels instead. A repaired-looking wheel can still fail under pressure or on the road.
Troubleshooting Common Tire Mounting Problems
| Problem | Likely Cause | Safe Fix |
|---|---|---|
| Bead will not go over rim | Bead not in drop center, not enough lubricant, wrong tire size | Stop, reposition bead, relubricate, verify tire size |
| Bead will not seat | Dirty bead seat, stiff sidewall, bent rim, poor lubrication | Deflate, inspect, clean, relubricate, and retry safely |
| Slow leak at bead | Corrosion, debris, bead damage, bent lip | Demount, clean bead seat, inspect tire and rim |
| Leak at valve stem | Old valve stem, bad valve core, TPMS seal leak | Replace valve core, valve stem, or TPMS service kit |
| Vibration after mounting | Out-of-balance assembly, bent rim, tire runout | Rebalance and inspect wheel/tire runout |
Top 5 Common Mistakes When Mounting Tires on Honda Accord Rims
Most tire mounting problems come from skipping basic checks. Avoid these five mistakes:
- Using the wrong tire size. Always match the tire to the rim diameter and vehicle placard.
- Skipping rim inspection. Cracks, bends, corrosion, and bad valve holes can cause leaks or unsafe operation.
- Using the wrong lubricant. Use approved tire lubricant, not oil, grease, silicone, or flammable products.
- Overinflating to force the bead to seat. If the bead will not seat, deflate and troubleshoot.
- Skipping balancing and leak checks. A tire is not ready for the road until it holds pressure and spins smoothly.
Frequently Asked Questions
Can I mount tires on Honda Accord rims myself?
Yes, but only if you have the correct tire size, a safe tire changer, approved lubricant, a clip-on inflator, accurate gauges, and enough experience to handle bead seating safely. If you do not have that equipment, professional mounting and balancing is the safer choice.
What is the best tire mounting technique?
The best technique is to use a tire changer, keep the tire bead in the wheel’s drop center, apply approved lubricant to both beads, avoid TPMS contact, and inflate with a clip-on chuck while standing clear of the trajectory path.
Does it matter which way a tire is mounted on a Honda Accord rim?
Yes. Directional tires must follow the rotation arrow, and asymmetrical tires must have the “outside” sidewall facing outward. Incorrect orientation can reduce wet traction, increase noise, or cause uneven wear.
What causes a tire not to seat on a rim?
Common causes include the wrong tire size, a dirty or corroded bead seat, a bent rim, bead damage, not enough mounting lubricant, or the bead not sitting in the drop center during mounting. Deflate the tire before making corrections.
What PSI should I use after mounting Accord tires?
Use the recommended cold tire pressure on your Accord’s driver’s doorjamb Tire and Loading Information Label. Do not use the maximum PSI on the tire sidewall as the normal driving pressure unless the vehicle or tire manufacturer specifically instructs it.
Do Honda Accord tires need balancing after mounting?
Yes. A newly mounted tire should be balanced before driving. Balancing helps prevent vibration, uneven tire wear, steering shake, and extra stress on suspension components.
Conclusion
Mounting tires on Honda Accord rims safely starts with the correct tire size and pressure information from the vehicle placard, then continues with careful rim inspection, valve-stem or TPMS service, proper lubrication, safe bead seating, leak checks, and balancing. If anything looks damaged, mismatched, or difficult to seat, stop and have a trained tire professional handle it. A properly mounted and balanced tire protects the wheel, improves ride quality, and helps keep your Accord safe on the road.
Sources
- Honda Accord Owner’s Manual: Tire and Loading Information Label — supports using the driver’s doorjamb label for original tire size and cold pressure.
- Honda Accord Owner’s Manual: Tire and Wheel Replacement — supports matching tire size, load range, speed rating, and wheel specifications.
- Honda Accord Owner’s Manual: Specifications — supports example 2024 Accord 17-inch tire and pressure specifications.
- OSHA 29 CFR 1910.177: Servicing Rim Wheels — supports tire service training, lubricant, compatible wheels, inflation trajectory, and restraining-device safety.
- U.S. Tire Manufacturers Association Tire Information Service Bulletin — supports warnings about bead seating pressure, proper lubricant, and avoiding flammable bead-seating methods.
- NHTSA Tire Safety Brochure — supports regular tire pressure checks, load-limit awareness, and tire inspection for preventing tire failure.

Related Articles
How Tall Is a 305 70 R17 Tire? Exact Height, Width & Dimensions
Curious how tall a 305 70 R17 tire really is—and whether it fits your truck?
Read More
Can-Am Defender Tire Size Guide: Stock Specs & Upgrade Options
Just how big can you go on a Can-Am Defender before mods become necessary?
Read More
How Tall Is a 275 65 20 Tire? Exact Height, Width & Dimensions
Check the exact height, width, and hidden fitment effects of a 275/65R20 tire before you buy or upgrade.
Read More