
How To Fix a Bead Leak on a Toyota Tacoma Tire
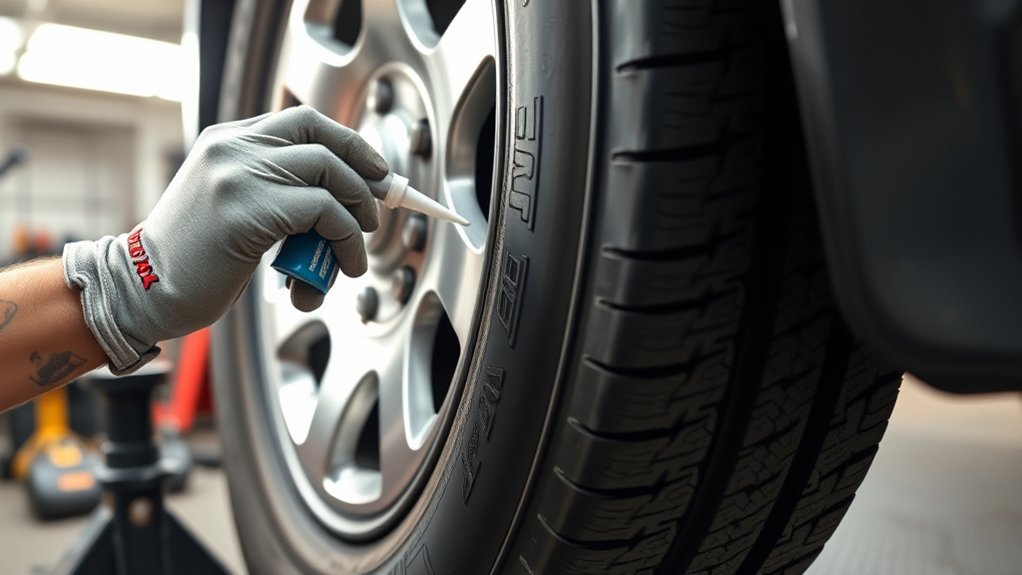
A slow tire bead leak on your Toyota Tacoma can look minor at first, but steady air loss can affect handling, tire life, and safety. Start by confirming the leak with soapy water, then check the valve stem, tire bead, and wheel rim before you add any sealant. If you see sidewall damage, bead damage, rim damage, or a leak you cannot identify, skip the DIY fix and have a certified tire shop inspect it.
Quick Answer
To fix a Toyota Tacoma tire bead leak, confirm the leak with soapy water, inspect the valve stem and rim, then use a tire sealant only if the tire and wheel have no unsafe damage. Follow the sealant maker’s dosage guide, inflate the tire cold to the doorjamb PSI, drive slowly as directed, and recheck pressure after 24 hours.
Key Takeaways
- A bead leak often comes from dirt, corrosion, a damaged bead, a valve leak, or an imperfect tire-to-rim seal.
- Use soapy water around the bead and valve stem; steady bubbles show where air is escaping.
- Do not use sealant on sidewall or shoulder damage, unknown leak locations, rim damage, or a tire that keeps losing pressure.
- For TireJect, use the manufacturer’s on-road dosage by tire size instead of assuming 4 oz fits every Tacoma tire.
- Inflate to the cold PSI on your Tacoma’s Tire and Loading Information Label or owner’s manual, not the max pressure printed on the tire sidewall.
At a Glance
| Time Required | 20 to 45 minutes for inspection and sealant application; longer if the wheel needs shop service. |
| Difficulty | Easy to moderate if the leak is confirmed and the tire has no visible damage. |
| Tools Needed | Soapy water, spray bottle, tire pressure gauge, valve core remover, air compressor, tire sealant kit, gloves, eye protection, jack, jack stands, and wheel chocks if removing the wheel. |
| Cost | Low for a sealant kit; higher if a shop must clean the bead seat, replace a valve stem, balance the tire, repair rim corrosion, or replace the tire. |
How to Fix a Tire Bead Leak on Your Toyota Tacoma
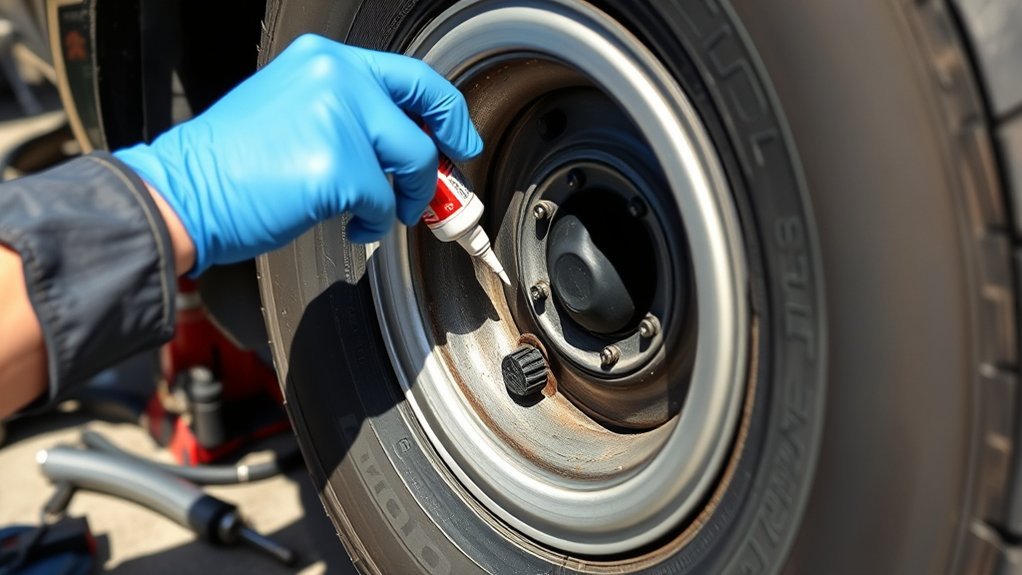
If you notice one Tacoma tire losing air again and again, do not assume the bead is the only problem. A slow leak can also come from the valve core, valve stem, TPMS valve seal, tread puncture, rim corrosion, or a damaged tire bead. Your first job is to find the exact leak location.
Warning: Do not drive at highway speed on a tire that is visibly damaged, repeatedly going flat, leaking from the sidewall or shoulder, or losing pressure after a repair attempt. Install the spare or call roadside help instead.
Park your Tacoma on a flat surface, set the parking brake, and chock the wheels. If you remove the wheel, support the truck with jack stands at the correct lift points. Never rely on the jack alone while you inspect or work near the tire.
Spray soapy water around the bead on both sides of the wheel. Also spray the valve stem, valve core area, and any tread puncture you can see. Slow, steady bubbles show escaping air. Mark the leak with chalk or tape so you can find it again after the tire is deflated.
If the leak is a small bead leak and the tire, bead, and rim look safe, you can use a product such as TireJect Automotive as directed. TireJect says its automotive formula installs through the valve stem, then the tire should be reinflated to the recommended PSI and driven at low speed for 2 to 3 minutes to seal the tire. Follow the current TireJect automotive installation instructions for the exact product you use.
[Products Worth Considering]

This 4-in-1 tire valve core removal tool helps you deflate, unblock, and remove or install valve cores quickly for easier tire repair. The multifunction design also supports re-taping damaged threads and reaming inside the valve stem for smoother service. Included as a 2-pack, it’s compact for convenient carry and works for cars, bicycles, and motorcycles.

The JACO FlowPro Tire Inflator measures, inflates, and airs down tires up to 100 PSI with battery-free operation and ±2% accuracy after calibration. It features a glowing pressure dial for night visibility, a heavy-duty steel build with a hybrid hose, and a precision push-to-inflate thumb trigger. The patented Lightning Air Chuck locks on for a secure seal, and the kit includes quick-connect hardware for easy inline use with your air compressor.

EVOULTES heavy duty tire inflator with an integrated gauge delivers accurate pressure readings from 10–120 PSI, helping you inflate, deflate, and check tires in one tool. The 16.5-inch extended dual-head air chuck with swivel base reaches hard-to-access dual wheel valves on trucks and RVs. A brass trigger core and side-mounted air release valve make operation smooth, with standard 1/4" NPT threading and quick-connect compatibility for easy setup.
Tools for Tire Bead Leak Repair
Gather every tool before you deflate the tire. A bead leak repair can get messy, and you do not want to search for an air compressor while the tire is flat.
- Soapy water in a spray bottle: Use it to find bubbles around the bead, valve stem, and tread.
- Tire pressure gauge: Use a reliable gauge, not only the TPMS light.
- Valve core remover: This lets you deflate the tire and install some sealants through the valve stem.
- Air compressor: You need enough air flow to reinflate the tire to the correct cold PSI.
- Tire sealant kit: Use an on-road tire sealant only if the leak type fits the product directions.
- Gloves and eye protection: Protect your skin and eyes from sealant spray, dirt, and pressurized air.
- Jack, jack stands, and wheel chocks: Use these if you need to remove the wheel for a closer inspection.
- Clean towels and water: Keep them nearby for spills around the valve stem and wheel.
Your Tacoma’s correct inflation pressure is not the maximum PSI printed on the tire sidewall. Use the cold PSI listed on the Tire and Loading Information Label on the driver’s doorjamb or in your owner’s manual. NHTSA also recommends checking tire pressure when tires are cold, meaning the vehicle has not been driven for at least three hours.
Detecting Tire Bead Leaks: A Step-by-Step Guide
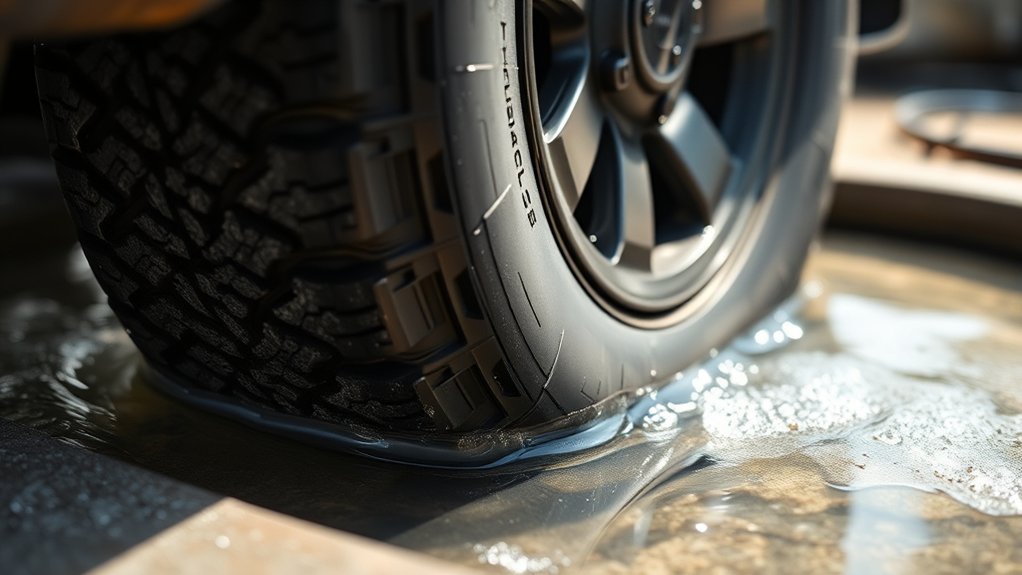
A good repair starts with a good diagnosis. Do not add sealant before you know where the air is escaping.
- Check the tire pressure cold. Write down the PSI before you add air. If the tire is dangerously low, install the spare before driving.
- Inspect the tread and sidewall. Look for nails, screws, cuts, bulges, exposed cords, cracks, and shoulder damage.
- Spray the valve area. Bubbles around the valve core or valve stem may mean the bead is not the problem.
- Spray the outer bead. Coat the seam where the tire meets the rim. Watch for small bubbles that keep forming.
- Check the inner bead if possible. The inner bead can leak too, especially if the rim is corroded or dirty.
- Mark the leak. Use chalk or tape so you can locate it after moving or deflating the tire.
- Repeat the test after inflation. Some bead leaks appear only when the tire is at full pressure.
Pro Tip: If bubbles appear around the valve stem, tighten or replace the valve core first. A valve leak is usually easier and cleaner to fix than a bead leak.
If bubbles come from the bead all the way around the rim, the tire may need to be demounted so a shop can clean corrosion or debris from the bead seat. Sealant may slow the leak, but it will not fix a bent rim, torn bead, cracked wheel, or unsafe tire.
Applying TireJect Sealant: An Effective Method
TireJect sealant can help with a slow bead leak when the tire and rim are otherwise safe. Use it as a controlled repair, not as a way to ignore damage. TireJect’s on-road dosage guide says small pickup tires up to 245/65/18 use 6 oz per tire, full-size pickup tires up to 275/70/22 use 10 oz per tire, and oversize tires up to 315/70/22 use 12 oz per tire. Check the current TireJect on-road dosage guide before you start.
- Confirm the leak location. Use the soapy-water test before adding any product.
- Check the tire and rim for damage. Do not use sealant if the leak source is unknown or the tire has sidewall, shoulder, bead, tread, or rim damage outside the product limits.
- Remove the valve core. Use the valve core tool from the kit and let the tire deflate fully.
- Add the correct amount of sealant. Use the injector or cap method supplied with your kit, and measure the dose by tire size.
- Reinstall the valve core. Make sure it seats cleanly and does not leak.
- Reinflate the tire. Use the cold PSI on your Tacoma’s doorjamb label or owner’s manual.
- Drive slowly as directed. TireJect’s automotive guide says to drive at low speed for 2 to 3 minutes after installation.
- Retest with soapy water. Spray the bead and valve again after the sealant has had time to distribute.
Note: TireJect says not to use its on-road product for sidewall or shoulder punctures, unknown leak locations, punctures larger than 1/4 inch, tire damage, rim damage, or multiple applications on the same highway-speed tire.
Safety Precautions During Tire Bead Leak Repair
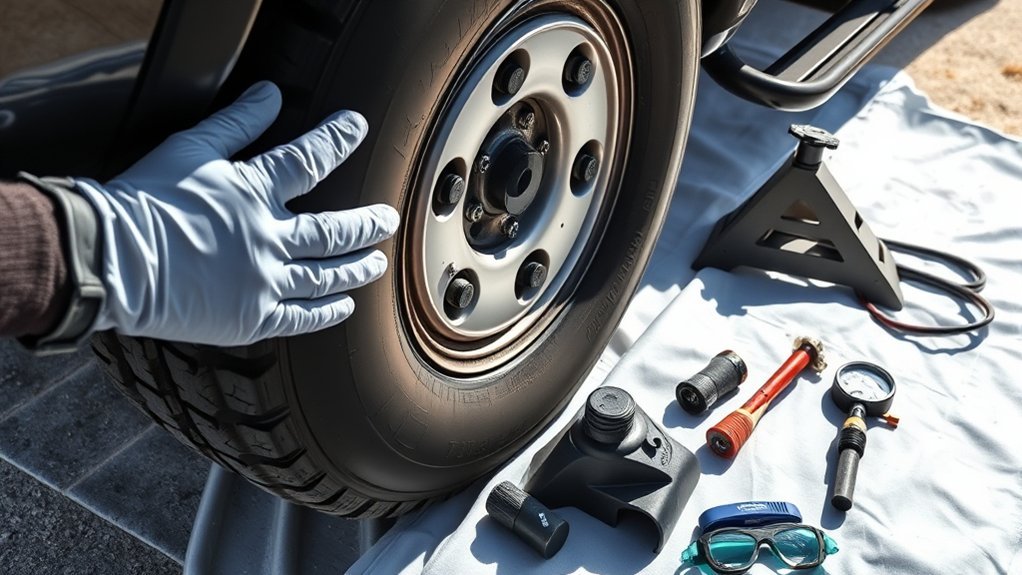
Tire pressure stores energy, and a damaged tire can fail without much warning. Keep your face and hands away from the bead area while inflating. Add air in short bursts, check pressure often, and stop if the bead looks uneven or the tire shape changes.
Always work on a flat, stable surface. If the wheel stays on the Tacoma, keep the truck in Park, set the parking brake, and chock the opposite wheels. If you remove the wheel, use jack stands and follow the lift points in your owner’s manual.
Wear gloves and eye protection while removing the valve core, adding sealant, and inflating the tire. Wipe spills quickly so sealant does not dry on the wheel face, brake parts, or driveway.
Do not repair a tire with exposed cords, bulges, deep cracks, shoulder damage, sidewall damage, a bent rim, or a bead that looks cut or torn. Those signs point to a safety problem, not a simple slow bead leak.
[Products Worth Considering]

The AstroAI 2 pack air chucks provide a heavy-duty, closed-flow locking design that helps keep air flowing during inflation while securely attaching to the valve stem. Built with 250 PSI rated brass components and compatible with Schrader valves, they feature 1/4" female NPT threads for a wide fit with common inflators. The straight tip and locking clip make filling tires and monitoring pressure more convenient.

Upgrade your air tools with this 18-piece air compressor accessory kit featuring a 25ft recoil poly hose, 1/4" NPT quick connect fittings, and a 100 PSI tire inflator gauge. The set also includes a heavy-duty blow gun with safety and tapered nozzles, plus couplers, inflation needles, plugs, and other essentials for everyday mechanic and workshop tasks. Corrosion-resistant steel and brass components help keep connections reliable for inflating, blowing out, and general pneumatic use.
Next Steps After Fixing Your Tire Bead Leak
Once you finish the repair, your job is not done. You need to confirm that the tire holds pressure under normal conditions.
- Check for bubbles again. Spray the repaired bead and the valve stem after reinflation.
- Check cold pressure after 24 hours. Use a gauge before driving, then compare the reading with the placard PSI.
- Check again after a few days. A small pressure drop can show that the leak was only slowed, not fixed.
- Watch the TPMS light. TPMS is helpful, but it does not replace regular pressure checks with a gauge.
- Avoid heavy loads until confirmed. Do not tow, haul, or take a long highway trip until the tire holds pressure.
- Schedule shop service if pressure drops again. A shop can demount the tire, clean the bead seat, inspect the rim, and balance the assembly.
NHTSA reports that poor tire maintenance, including underinflation, can lead to a flat tire, blowout, or tread separation. A bead leak should be treated as a safety issue, not just an annoyance.
When to Seek Professional Help for Tire Issues
A tire shop is the safer choice when the leak keeps coming back, the wheel is corroded, the bead is damaged, or the leak source is unclear. A technician can break the bead, inspect the inside of the tire, clean the rim, apply professional bead sealer, replace the valve stem or TPMS service parts, remount the tire, balance it, and pressure-test it.
Use this guide to decide when to stop the DIY repair:
| Issue | What It Means | Best Action |
|---|---|---|
| Sidewall or shoulder leak | Not a safe sealant repair for highway-speed use | Install the spare and have the tire inspected |
| Bent, cracked, or heavily corroded rim | The bead cannot seal against a bad rim surface | Have the wheel cleaned, repaired, or replaced |
| Pressure drops after repair | The leak may be larger or coming from another location | Get a demount inspection and pressure test |
| Valve stem or TPMS valve leak | The bead may not be the problem | Replace the valve core, stem, or TPMS service kit |
| Leak source is unknown | Sealant may hide a problem without fixing it | Have a tire shop inspect the assembly |
Frequently Asked Questions
How do you get a tire bead to stop leaking?
First, confirm the bead leak with soapy water. Then inspect the rim, bead, and valve stem. If the tire and wheel are safe, use an on-road bead-sealing product exactly as directed. If the rim is corroded or the tire bead is damaged, a tire shop should demount the tire, clean the bead seat, reseal it, and pressure-test it.
Can a tire bead be repaired?
Yes, some bead leaks can be repaired, but the right fix depends on the cause. Dirt, light corrosion, or a poor bead-seat seal may be repairable. A cut bead, cracked rim, bent wheel, sidewall damage, or recurring air loss needs professional inspection and may require tire or wheel replacement.
Can I drive on a tire with a bead leak?
You should avoid driving on a tire that is losing air. If the pressure is low, install the spare or inflate only enough to reach a nearby tire shop safely. Do not take a long trip, tow, haul, or drive at highway speed until the leak is fixed and the tire holds cold pressure.
Why won’t my tire bead seal?
A tire bead may not seal because of rim corrosion, dirt on the bead seat, a damaged tire bead, a bent wheel, old rubber, low pressure, or improper mounting. A valve stem leak can also mimic a bead leak, so test the valve area before treating the bead.
How much TireJect should I use in a Toyota Tacoma tire?
Use TireJect’s current on-road dosage guide for your tire size. Do not assume every Tacoma tire takes 4 oz. Many small pickup tire sizes use 6 oz, while larger pickup tire sizes may use more. Check your tire size on the sidewall and follow the product directions.
Should I use the PSI on the tire sidewall?
No. The sidewall usually shows the tire’s maximum pressure, not your Tacoma’s recommended operating pressure. Use the cold PSI on the driver’s doorjamb Tire and Loading Information Label or in the owner’s manual.
Conclusion
Fixing a Toyota Tacoma tire bead leak starts with careful diagnosis. Use soapy water to confirm the leak, check the valve stem and rim, and only use sealant when the tire and wheel are safe. If you use TireJect, follow the current dosage guide for your tire size, inflate to the correct cold placard PSI, and recheck pressure after 24 hours. If the tire keeps losing air or shows any damage, let a tire shop inspect it before you drive farther.
Sources
- NHTSA TireWise Tire Safety Ratings and Awareness — tire pressure, tire maintenance, tread safety, TPMS, and tire-related crash safety context.
- TireJect Automotive Installation Instructions — valve-core removal, injector use, reinflation, and low-speed driving instructions.
- TireJect On-Road Tire Sealant Dosage Guidelines — dosage by vehicle/tire size and limits for highway-speed tire repairs.

Related Articles

How Tire Weight Affects Toyota Tacoma Performance
How does tire weight influence your Toyota Tacoma's performance and efficiency? Discover the surprising effects that could change your driving experience.
Read More
Tire Noise Levels by Tire Type on a Toyota Tacoma
A comprehensive look at how tire types affect noise levels in your Toyota Tacoma reveals surprising insights that could enhance your driving experience.
Read More
How To Choose Tires for a Dual Use Toyota Tacoma
Unlock the secrets to selecting the perfect tires for your dual-use Toyota Tacoma, ensuring optimal performance and comfort on every adventure. Discover more inside!
Read More