
Asymmetric Tyre Treads: How They Work and How to Mount Them

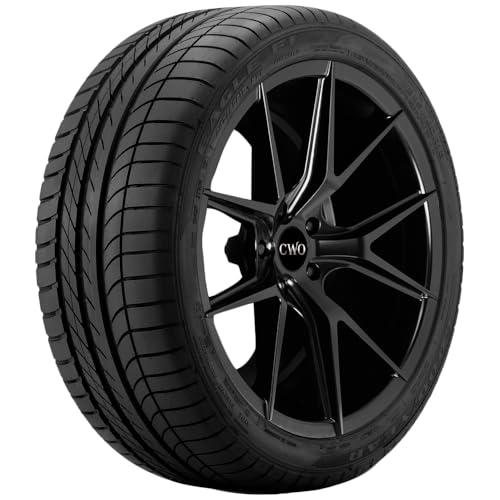
Asymmetric tyre treads are split into two zones: an outer section with stiff blocks for dry cornering grip, and an inner section with grooves for rapid water evacuation and reduced hydroplaning. Always mount them with the sidewall-marked “outside” facing outward, follow manufacturer bead and pressure specs, and rotate front-to-rear without demounting to preserve the tread orientation. If you notice pulling or uneven wear, check alignment and tyre pressures first.
What Are Asymmetric Tyre Treads?
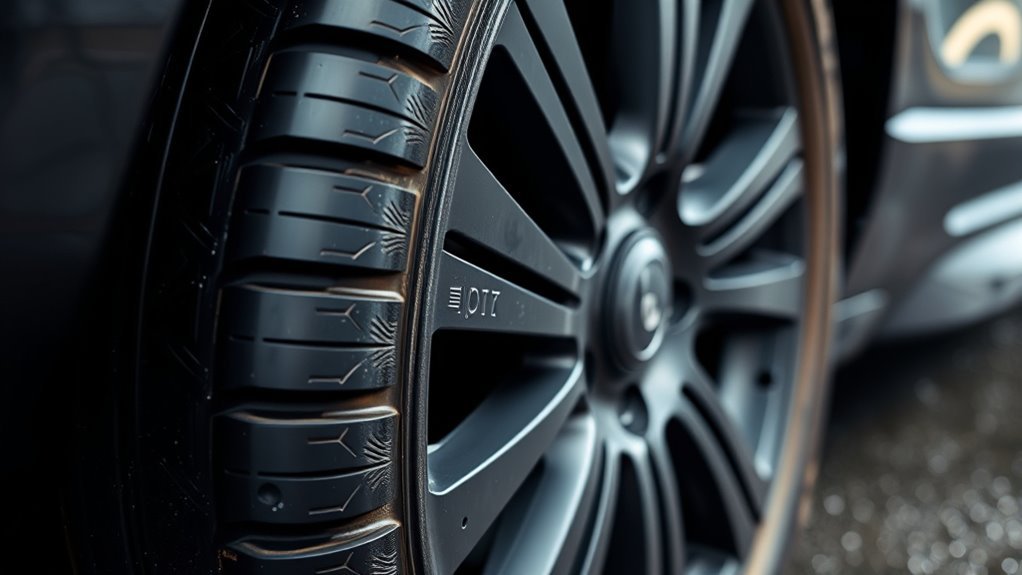
Think of an asymmetric tire as a two‑zone tool: the outer section uses rigid tread blocks for dry‑surface grip and cornering stability, while the inner section has grooved channels to evacuate water and reduce hydroplaning risk.
The outer pattern is dense and solid, providing lateral stiffness. The inner pattern is perforated and channeled to move water quickly away from the contact patch. That deliberate division delivers measurable performance benefits: improved steering response, predictable breakaway, and maintained traction across varied conditions.
You must mount the tire with its marked outer side facing outward. Reversing it negates the design geometry and undermines control. Manufacturers fit these tires to high‑performance vehicles because the design lets you push handling limits without sacrificing wet‑weather safety. The asymmetric layout gives you targeted block rigidity where you need dry grip and efficient channeling where you need hydroplaning resistance. Follow the mounting rules to preserve the engineered tradeoffs and sustain the intended controllability and stability.
How Asymmetric Tread Improves Wet and Dry Performance
Because asymmetric tread separates functions between inner and outer zones, you get both rapid water evacuation and firm dry‑surface contact without compromise. The design uses targeted geometry: inner grooves channel water to reduce hydroplaning, while outer blocks deliver larger contact patches for better dry performance and cornering stability.
Asymmetric tread channels water inside while outer blocks deliver solid dry contact—wet grip and dry precision, uncompromised.
- Inner channels: deep, continuous grooves evacuate water quickly, lowering aquaplaning risk and boosting wet performance.
- Outer blocks: stiff, wide elements increase lateral stiffness and footprint stability, sharpening dry performance and steering precision.
- Compound tuning: advanced rubber compounds balance grip and wear, maintaining consistent traction across conditions.
- Functional separation: distinct zone roles preserve performance under mixed conditions, so you get handling and safety at the same time.
Asymmetric architecture gives you reliable wet and dry performance across varied weather conditions.
How to Mount Asymmetric Tyres Correctly
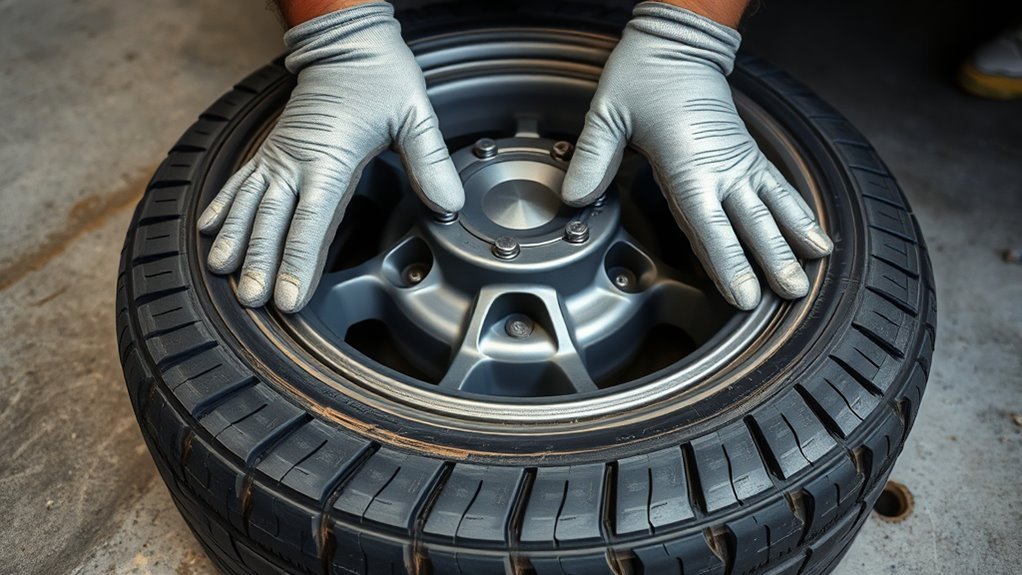
When mounting asymmetric tyres, make sure the sidewall marking for “outside” faces outward. This keeps the inner water‑evacuation channels and outer cornering blocks positioned as designed, preserving the intended wet and dry behavior.
Before fitting the tyre, inspect sidewall markings, bead seating, and rim direction. Match the indicated outside to the vehicle flange, confirm tyre pressure, and torque wheel fasteners to manufacturer specs. Follow the tyre maker’s positioning guidelines precisely to maintain performance and avoid uneven wear.
If you’re unsure, seek professional installation. Technicians have calibrated equipment and the training to catch mounting errors that degrade handling. After installation, verify valve stems, wheel balance, and that the tyre beads are uniformly seated. Keep a record of the mounting orientation and pressures for future reference. These steps protect safety and preserve the tyre’s design intent.
[Products Worth Considering]
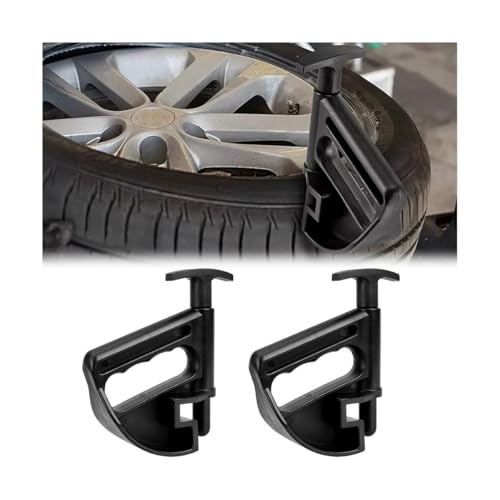
Soft & Durable Material: The tire chucker is made of nylon. The nylon material has good strength and abrasion resistance, which makes the tire chock made of nylon able to withstand high pressure and not easy to be deformed or damaged. During the tire changing process, the tire chock needs to be in close contact with the tire and rim and exert a certain force to hold the tire in place.

All our efforts have to date made us one of the biggest internationally operative tool manufacturers with customers in over 135 countries of the world.

【HIGHQUALITY MATERIALS】 The duck head of this tire changer is made of highstrength nylon and plastic materials, and its quality and performance are guaranteed. Strong and , wearresistant, not easy to corrode and rust.
Rotation Rules, Demounting and Lifespan Effects
Asymmetric tyres offer more rotation flexibility than directional designs, but you must keep the marked “outside” facing outward during any repositioning. You can rotate tyres front-to-rear without demounting, as long as the outer designation stays correct. This preserves the asymmetric geometry and the compound layout that controls grip and water evacuation. Stick to a disciplined rotation pattern to manage tread wear and equalize load across axles.
- Inspect sidewall “outside” markings before any move. Never flip the orientation.
- Use front-to-rear or cross-axle patterns allowed by the vehicle while keeping outside out.
- Demount only when replacing, repairing, or correcting incorrect orientation. Remount with outer side out.
- Schedule rotations at manufacturer intervals to prevent uneven tread wear and extend tyre lifespan.
Following these rules protects handling and safety. Proper rotation and careful demounting help prevent premature replacement and keep performance predictable.
Asymmetric vs Symmetrical vs Directional Tyres
Choose the tread type that matches your driving priorities. Asymmetric tyres put a dedicated inner and outer pattern to work for balanced wet evacuation and dry cornering. Symmetrical tyres use a uniform pattern that lets you mount and rotate them freely, offering low rolling resistance and smooth wear. Directional tyres use a V-shaped pattern optimized for high-speed water-shedding and straight-line traction, but require remounting to change rotational direction.
Pick based on your performance goals: asymmetric for mixed conditions and cornering stability, symmetrical for simplicity and lower rolling drag, directional for maximum hydroplaning resistance.
| Type | Strength | Mounting note |
|---|---|---|
| Asymmetric | Balanced wet/dry grip, improved cornering | Outer side must face out |
| Symmetrical | Smooth ride, low rolling resistance | Any orientation; simple rotation |
| Directional | Superior water evacuation, straight traction | Must mount to roll correct way |
Match tread design to how you drive, then mount precisely to get the best performance from your tyres.
[Products Worth Considering]
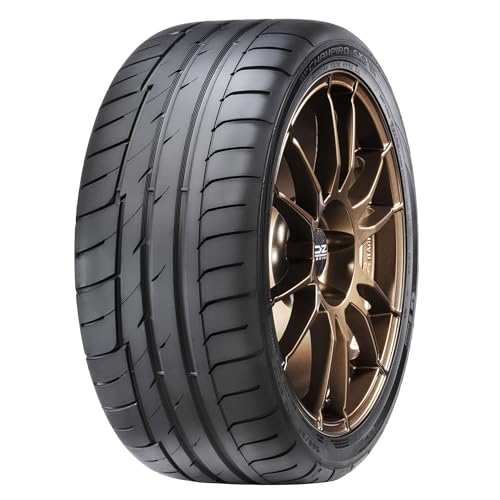
Built with a gradient step that reduces heat generation in the central tread ribs to promote a longer tread life

This product is not for sale in the state of Arkansas
Troubleshooting Handling, Alignment and Pull Issues
Start by verifying alignment with cross-camber and thrust-angle checks to rule out suspension-induced pull. Inspect mounting orientation and rotation history, since asymmetric tires must have the outer shoulder facing outward and the correct rotational position to prevent tire-induced pulling. If symptoms persist, such as uneven wear, steering vibration, or consistent pull, get a professional assessment for conicity or residual cornering force.
[Products Worth Considering]

Excellent Durability -- This wheel alignment tool is made of high-quality thick stainless steel plate with baked coatings, which has corrosion resistance and durability for the toe alignment plate, ensuring long-lasting performance. The high hardness of stainless steel can prevent deformation and rust, adapt to various environments, and significantly improve the service life and reliability of alignment plate tools. Therefore, with our thick stainless steel plate alignment tool, you will experience unparalleled durability.
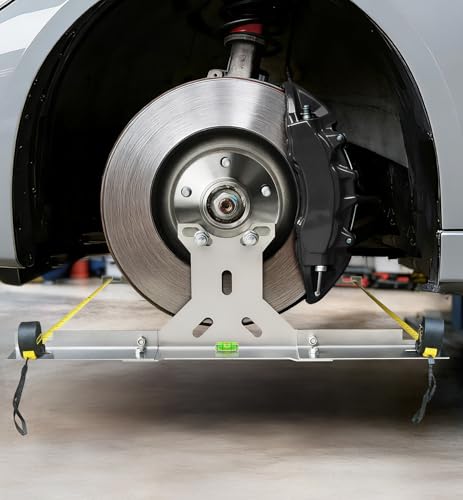
DIY front‑end toe adjustment for home garages - Designed for car owners and home garages who want tocheck front-end toe and assist with basic adjustments between professional visits. Use after minor suspension, steering, or tire work to verify toe settings and keep steering stable without a costly shop trip.

【Caliper Removal Not Required】 Unlike traditional wheel alignment tools, our upgraded alignment tool eliminates the need for brake caliper removal. The inclusion of versatile extension pieces allows for direct and immediate use, streamlining the entire process for a truly efficient DIY experience.
Alignment Check Procedures
When diagnosing handling and pull issues, start with a systematic alignment check. Measure cross-camber, cross-caster, and thrust angle, then compare them to manufacturer specs to pinpoint misalignment causing uneven tread wear or steering pull. Document deviations and apply adjustment techniques within tolerances. Regular checks after installation or rotation prevent progressive damage and restore control.
- Measure cross-camber left and right, compare to specs, adjust toe if needed.
- Measure cross-caster, note asymmetry, apply caster shims or suspension adjustments.
- Check thrust angle relative to the vehicle centerline. Correct rear toe to centerline.
- Inspect tire condition and rotation history. If pull persists, evaluate conicity and residual cornering force.
Tire-Induced Pulling
Tires are often the primary cause of a persistent steering pull, so isolate tire-induced factors before looking at suspension or steering components. Check installation orientation, bead seating, and bead-to-rim fit. Improper installation can introduce conicity or ply steer, both of which change how the tire performs.
Verify inflation pressures across axles, since even small differences alter handling dynamics and can induce pull. Measure Residual Cornering Force and inspect tread for asymmetric wear patterns, as both produce consistent directional pull. Perform alignment checks to correct cross-camber, cross-caster, and thrust angle, since misalignment compounds tire-driven pull.
If pull persists after confirming correct installation, pressures, and alignment, the issue may be suspension or steering related. Pursue component diagnostics rather than further tire adjustments at that point.
Rotation And Mounting
A key step in troubleshooting handling and pull is verifying correct rotation and mounting of asymmetric tires. The designated outer side must always face outward to maintain intended tread geometry and lateral grip. Confirming the outer label and valve stem orientation before and after rotation prevents directional errors that cause pulling and uneven tread wear.
- Inspect mounting: confirm the outer side faces outward. Consult a professional if uncertain.
- Follow rotation: front-to-back swaps keep outer sides unchanged with no demounting needed.
- Monitor tyre maintenance: track pressures, alignment, and inspect for asymmetric wear patterns.
- Address issues promptly: incorrect installation leads to handling instability. Correct mounting restores predictable cornering.
Frequently Asked Questions
Can Asymmetrical Tires Be Mounted on Either Side?
Yes, asymmetrical tires can be mounted on either side of the vehicle, as long as the marked outer side always faces outward. You can rotate them front-to-rear on the same side without remounting.
What Does Asymmetric Tread Design Mean?
Asymmetric tread design means the inner and outer tread patterns are different. The inner grooves fight hydroplaning while the outer blocks improve cornering, giving you better control across a range of conditions.
What Happens if You Mount Asymmetrical Tires Backwards?
Mounting asymmetrical tires backwards reduces performance, compromises cornering grip and wet traction, and accelerates uneven tread wear. Handling becomes unpredictable and stability suffers. The tyre’s design benefits are lost entirely.
Conclusion
Asymmetric tyre treads split roles between inner blocks for water evacuation and outer ribs for cornering grip. Mount them with the marked outside facing out, and follow rotation patterns to preserve that balance.
Correct mounting and timely rotation also support wear, alignment, and handling goals: they keep hydroplaning risk, uneven wear, and steering pull in check. Follow load and speed ratings, and inspect regularly to sustain performance and extend tyre life.
Related Articles

What Is a Fat Tire? Complete Guide & Best Options
I’ll show you what makes fat tires different, which setups work best, and why the right choice could change your ride.
Read More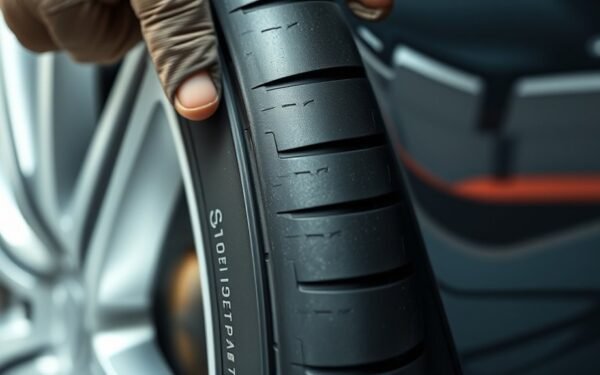
What Does W Mean on a Tire? Load, Speed & Rating Guide
Huh, what does W on a tire really mean, and why could choosing the wrong rating affect your safety and performance?
Read More
What Does Tire Flipping Work? Muscles, Benefits & Workout Guide
Strong tire flips hammer your entire body, but which muscles and benefits matter most?
Read More