
Tire Bead Leak: What Causes It and How to Fix It on a Truck Wheel
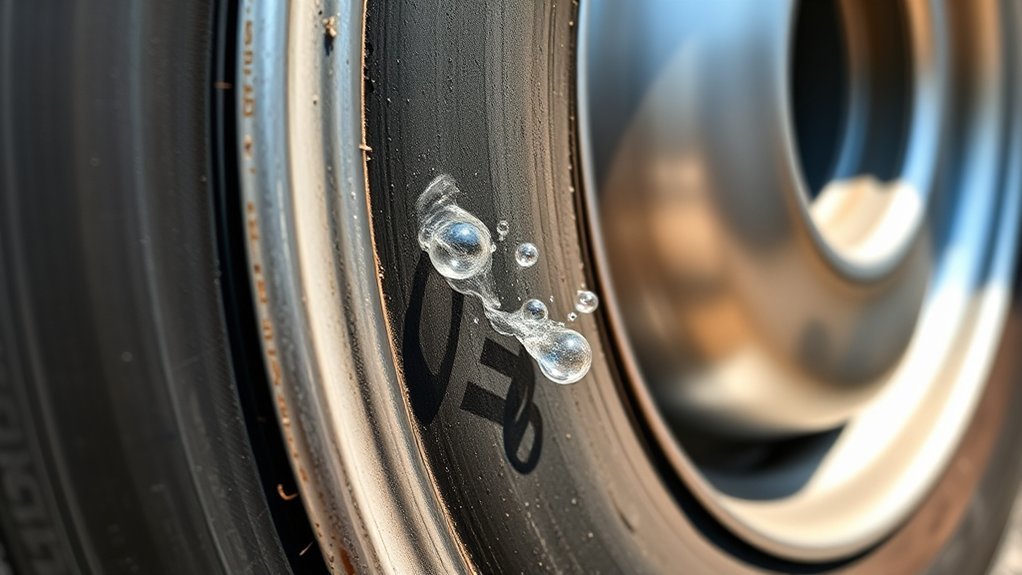
A slow bead leak can make a truck tire lose pressure even when the tread has no nail, screw, or visible cut. The leak happens where the tire bead seals against the wheel, so the real fix is usually cleaning, inspecting, and resealing that mating surface rather than just adding more air. This guide shows you how to confirm a bead leak, what a safe repair involves, what not to use, and when the wheel or tire needs professional service.
Quick Answer
To fix a truck tire bead leak, confirm the leak with soapy water, fully deflate and dismount the tire with proper equipment, clean and inspect the bead seat, apply automotive bead sealer only if the wheel is serviceable, then remount, inflate safely, and set pressure to the vehicle’s cold placard pressure.
Key Takeaways
- Most bead leaks come from corrosion, dirt, old rubber buildup, a bent rim, a damaged tire bead, or a poor previous mount.
- Check the valve stem, valve core, tread, sidewall, wheel surface, and both bead areas before assuming the bead is the only leak point.
- Bead sealer can help a clean, serviceable wheel seal, but it cannot safely repair a cracked, bent, deeply pitted, or mismatched wheel.
- Use the cold tire pressure on the driver-door placard or owner’s manual, not the maximum pressure printed on the tire sidewall.
- Commercial truck, multi-piece, split-rim, high-pressure, or damaged wheel assemblies should be handled by a trained tire technician.
At a Glance
| Time Required | 10 to 20 minutes to diagnose; longer if the tire must be dismounted, cleaned, sealed, remounted, and rebalanced |
| Difficulty | Easy for leak detection; intermediate to professional for tire demounting, bead cleaning, resealing, inflation, and balancing |
| Tools Needed | Tire pressure gauge, spray bottle with soapy water, air source, valve tool, tire machine or bead breaker, nonflammable tire lubricant, wheel-safe brush, bead sealer, and balancing equipment |
| Cost | Depends on severity: simple diagnosis and valve service cost less, while severe corrosion, TPMS parts, wheel repair, wheel replacement, or tire replacement cost more |
Warning: Do not try to demount, seat, or inflate a commercial truck tire, split-rim wheel, multi-piece rim, severely underinflated tire, or damaged wheel without proper training and equipment. Tire assemblies can release air violently. If you are unsure what type of wheel you have, stop and use a professional tire shop.
Can You Fix a Tire Bead Leak Yourself?
You can safely do the first part yourself: check pressure, spray soapy water, find bubbles, and mark the leak. That diagnosis helps you decide whether the problem is a valve, puncture, wheel crack, or bead-seat leak.
The repair side is different. A proper bead repair usually means removing the tire from the wheel, cleaning the bead seat, checking the tire bead, reseating the tire, inflating it safely, and balancing the assembly. That work needs the right tire equipment, especially on truck tires, high-load tires, dual-wheel setups, or wheels with TPMS hardware.
For rim-wheel service, OSHA’s rim-wheel safety rule requires trained service procedures, correct tools, compatible wheel components, nonflammable lubricant, complete deflation before demounting, and safe inflation practices. Even if you own basic tire tools, stop and use a tire shop when the wheel is damaged, the tire was driven very low, or you do not know the wheel type.
NHTSA reported 511 tire-related crash fatalities in 2024, which is why pressure loss, underinflation, and tire damage deserve prompt attention.
What Causes Tire Bead Leaks on Truck Wheels?
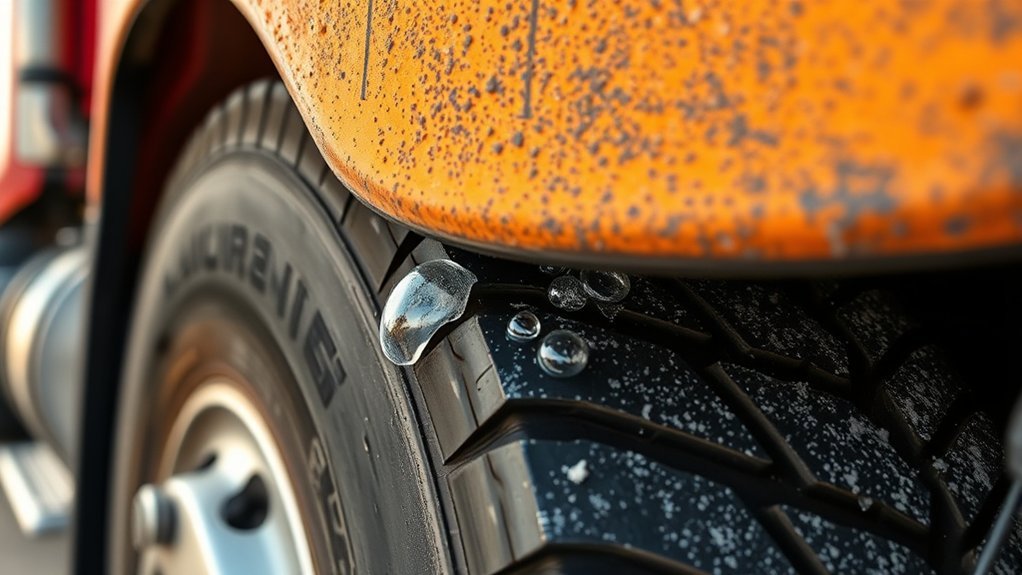
A tire bead leak happens when air escapes between the tire bead and the wheel bead seat. On truck wheels, the most common causes are corrosion, dirt, road-salt buildup, old rubber stuck to the rim, damaged paint or coating, a bent rim flange, or a tire bead that was stretched or nicked during mounting.
Aluminum wheels often develop oxidation around the bead seat, while steel wheels can rust in the same area. Either problem creates a rough surface that prevents the bead from sealing evenly. Pothole impacts and curb strikes can also bend the rim just enough to create a slow leak.
Do not overlook simple causes. A loose valve core, cracked valve stem, damaged TPMS valve, tread puncture, porous wheel casting, or tiny wheel crack can mimic a bead leak. That is why you should test the whole tire and wheel assembly before removing the tire.
Why a Slow Bead Leak Is Still a Safety Issue
A slow bead leak may only drop a few PSI at first, but it can leave the tire underinflated during towing, hauling, or highway driving. Underinflation increases heat, worsens wear, reduces handling response, and can raise the risk of tire failure.
NHTSA TireWise says proper tire pressure affects safety, durability, and fuel consumption. It also recommends checking tire pressure at least once a month when tires are cold and using the pressure listed on the Tire and Loading Information Label or owner’s manual.
Do not use the maximum pressure printed on the tire sidewall as your normal pressure target. That sidewall number is a tire rating, while your vehicle’s placard pressure is the setting chosen for that vehicle, load rating, and tire size.
Before You Blame the Bead, Check These Leak Points
Start with the easiest checks first. Inflate the tire to the vehicle’s recommended cold pressure, then spray soapy water over the tread, sidewall, valve stem, valve core, wheel lip, and both bead areas. Bubbles that keep growing show where air is escaping.
- Valve core: Bubbles from the center of the valve usually mean the valve core is loose or damaged.
- Valve stem or TPMS valve: Bubbles around the base of the stem can point to a cracked rubber stem, bad seal, loose TPMS nut, or corroded TPMS stem.
- Tread puncture: A nail or screw may leak slowly and look like a bead problem if the air runs along the wheel.
- Sidewall damage: Bubbles from the sidewall mean the tire needs professional inspection and usually replacement.
- Wheel crack: Bubbles from the wheel itself, especially near a spoke, weld area, or inner barrel, mean the wheel needs professional inspection.
- Bead area: Bubbles along the rim edge usually confirm a bead-seat sealing issue.
Note: A TPMS warning light does not tell you exactly where a leak is. Under federal TPMS rules, the system warns when a tire is significantly underinflated, but it is not a replacement for regular pressure checks with a gauge.
Diagnosing Tire Bead Leaks Effectively
Use a careful step-by-step check so you do not reseal the bead when the real problem is a valve, puncture, or wheel crack.
- Check pressure cold. Use the cold pressure listed on the driver-door placard or in the owner’s manual. The number on the tire sidewall is a maximum tire rating, not the normal vehicle setting.
- Clean the outside edge. Wipe heavy dirt from the rim lip so bubbles are easier to see.
- Spray the valve area. Test the valve core, valve stem, and TPMS nut or rubber base before moving to the bead.
- Spray the tread and sidewall. Check the full tread face and both sidewalls, especially if the tire was driven low.
- Spray both bead areas. Test the outer bead first, then check the inner bead if you can safely access it.
- Watch for steady bubbles. Small foam that appears once and stops may be leftover soap. A true leak keeps making new bubbles.
- Mark the leak. Use chalk or tape so the tire shop can find the exact area after the tire is removed.
If bubbles appear around the bead, the tire usually needs to come off the rim so the bead seat can be cleaned and inspected. Spraying sealant from the outside rarely fixes the root cause.
Fixing a Tire Bead Leak: Your Step-by-Step Guide
A proper bead-leak repair starts with safety. The tire should be fully deflated before demounting, and the wheel and tire should be checked for compatible size, bead condition, cracks, bends, and heavy corrosion. For large truck rim-wheel service, OSHA’s rim-wheel rules require clean bead seating surfaces, proper tools, correct lubricant, and safe inflation practices.
- Deflate the tire completely. Remove the valve core before breaking the bead. Never try to correct bead seating on a pressurized tire.
- Dismount the tire safely. Use the correct tire machine or bead breaker for the wheel size and type. Avoid prying in a way that cuts, stretches, or tears the bead.
- Inspect the tire bead. Look for cuts, tears, exposed cords, deformation, flat spots, or old sealant buildup. Replace the tire if the bead is damaged.
- Inspect the wheel. Check the bead seat, rim flange, valve hole, and inner barrel. A cracked, bent, deeply pitted, or badly corroded wheel should be replaced or professionally repaired, not sealed over.
- Clean the bead seat. Remove corrosion, dirt, loose rubber, and old sealant with a wheel-safe brush or abrasive pad. Do not grind away metal or reshape the bead seat.
- Install or service the valve. Replace a leaking rubber valve stem or service the TPMS valve seal when needed.
- Apply tire bead sealer if appropriate. Use automotive tire bead sealer only on a clean and serviceable bead seat. Treat it as a sealing aid, not a structural repair.
- Use nonflammable tire lubricant. Apply approved rubber lubricant to the bead and wheel mating surfaces unless the tire or wheel maker says not to.
- Remount and seat the tire. Inflate only enough to seat the bead, following safe inflation practices and staying out of the sidewall trajectory.
- Set final pressure cold. Adjust the tire to the vehicle manufacturer’s recommended cold pressure on the placard or owner’s manual.
- Recheck for leaks. Spray the bead, valve, and repaired area again. Balance the tire if it was dismounted.
Pro Tip: After a bead repair, check the tire pressure the next morning while the tire is cold, then check it again after a few days. A successful repair should hold steady pressure without repeated top-offs.
Common Mistakes That Make Bead Leaks Worse
A bead leak can turn into a bigger tire or wheel problem when the repair skips inspection or uses the wrong materials. Avoid these mistakes:
- Using household sealants: Silicone, glue, grease, and general-purpose adhesives are not proper bead-seat repairs.
- Using internal emergency sealant as the main repair: Emergency sealant may help a temporary tread puncture in some cases, but it does not clean corrosion from the bead seat.
- Ignoring a leaking valve: A valve stem or TPMS seal can leak at the same time as a bead leak.
- Sanding too aggressively: Removing corrosion is useful, but reshaping the bead seat can ruin the wheel.
- Heating or striking the wheel: Heat, hammering, and flammable sprays can damage the tire or wheel and create serious injury risk.
- Reusing a damaged tire bead: A torn, kinked, or stretched bead should not be sealed back onto the wheel.
When Bead Sealer Is Not Enough
Bead sealer helps only when the tire and wheel are still structurally sound. It should not be used to hide damage that can cause sudden air loss later.
Replace the tire, wheel, valve, or TPMS part instead of resealing if you find:
- Deep pitting, flaking corrosion, cracks, or bends on the bead seat or rim flange
- A tire bead that is torn, kinked, stretched, or missing rubber
- A wheel that leaks through a crack, weld area, or porous casting area
- A valve stem or TPMS seal that bubbles during the leak test
- Sidewall bulges, exposed cords, severe dry cracking, or irregular wear
- A tire that was driven very low, overloaded, or overheated
- A tire that keeps losing pressure after a proper bead-seat cleaning and reseal
What a Tire Shop Should Check
If you take the truck to a shop, ask the technician to check more than the outer rim lip. A good bead-leak inspection should include the inner and outer bead seats, both rim flanges, the valve hole, TPMS hardware, the tire bead, the inner barrel, and any spot where bubbles appeared during your soapy-water test.
The shop should also rebalance the tire if it was dismounted. If corrosion or damage is severe, replacing the wheel may be safer than trying to keep sealing the same rough surface.
Tips to Prevent Tire Bead Leaks
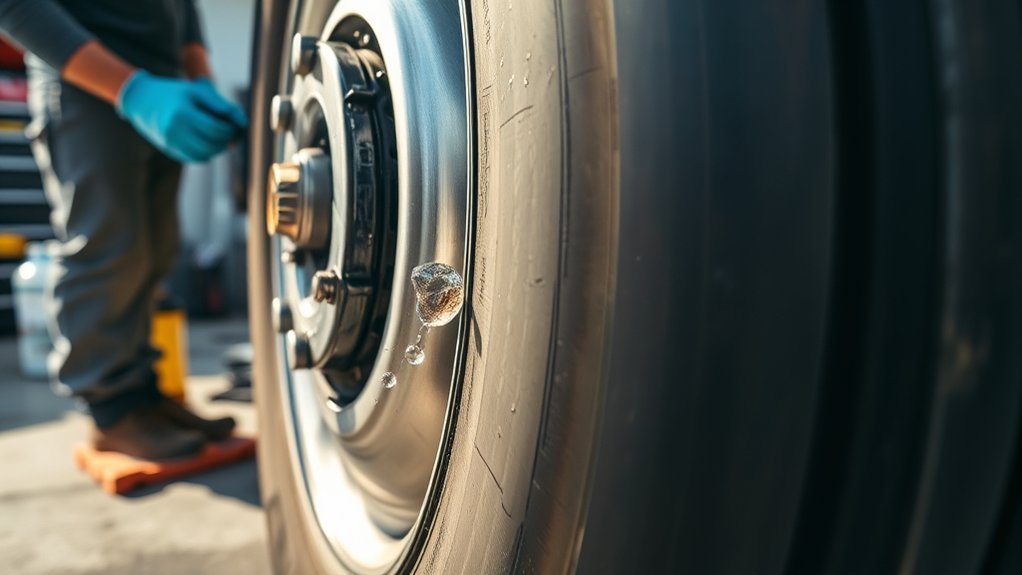
You can reduce the risk of tire bead leaks by keeping the bead area clean, protecting the wheel finish, and avoiding long periods of underinflation. Moisture, road salt, and damaged wheel coatings speed up corrosion around the sealing surface.
- Check pressure monthly. Use an accurate gauge when the tires are cold. Check before towing, hauling, or long highway trips.
- Do not rely only on TPMS. TPMS is a warning system, not a replacement for regular pressure checks.
- Clean wheels during tire service. Ask the shop to clean the bead seat when tires are rotated, replaced, or remounted.
- Use the right balancing weights. Stick-on weights can reduce rim-edge coating damage on many aluminum wheels, but the best choice depends on wheel design.
- Replace aging valves. Valve stems and TPMS seals can leak as rubber hardens or metal corrodes.
- Fix impact damage early. A bent rim from a pothole or curb can create a bead leak even if the tire still looks normal.
- Watch tire age. Some tire and vehicle manufacturers recommend replacement at six to 10 years, even with usable tread. Replace sooner if the tire cracks, bulges, vibrates, or cannot hold pressure.
When to Seek Professional Help for Tire Repairs
Get professional help if the tire keeps losing air after a basic valve and soapy-water check, or if the leak appears around the bead on a truck used for towing, hauling, work, or highway driving. A slow bead leak can become a safety issue if the tire runs underinflated and overheats.
You should also use a tire shop if the truck has large commercial tires, dual wheels, multi-piece rims, split rims, high inflation pressure, TPMS hardware, severe corrosion, bent wheels, sidewall damage, or a tire that was driven very low. A trained technician can demount the tire, inspect the rim, clean the bead seat, service the valve, rebalance the assembly, and confirm the repair under safe conditions.
Warning: Do not use heat, flammable sprays, starting fluid, or hammer strikes to seat a tire bead. These methods can cause an explosion, wheel damage, tire damage, or serious injury.
Frequently Asked Questions
How do you get a tire bead to stop leaking?
Confirm the bead leak with soapy water, fully deflate and dismount the tire with proper equipment, clean the bead seat, inspect the wheel and tire bead for damage, apply automotive bead sealer only if the wheel is serviceable, then remount, inflate safely, set cold placard pressure, and recheck for bubbles.
What can you use to seal tire beads?
Use a tire bead sealer made for automotive tire service after the rim and bead area are clean and inspected. Do not use household adhesives, silicone caulk, grease, flammable sprays, or internal emergency sealant as a bead-seat repair.
Can Fix-a-Flat seal a tire bead leak?
It is not the right repair for a bead leak. Internal emergency sealants may temporarily slow some tread-area leaks, but a bead leak usually needs the tire removed so the bead seat can be cleaned, inspected, and sealed correctly.
Can a tire bead reseal itself?
A tire bead usually does not reseal itself in a reliable way. Temperature changes or driving may temporarily slow the leak, but corrosion, dirt, a damaged bead, or a bent rim still needs inspection and repair.
Is it safe to drive with a bead leak?
It is not safe to ignore a bead leak. Even a slow leak can leave the tire underinflated, which can increase heat, wear, handling problems, and tire-failure risk. Inflate the tire to the proper cold pressure and have the leak repaired as soon as possible.
Can rim corrosion cause a bead leak?
Yes. Corrosion, oxidation, rust, old rubber, and flaking coating on the bead seat can create tiny gaps between the tire and wheel. The fix is to remove the tire, clean and inspect the bead seat, and replace the wheel if corrosion is severe.
Should you replace the rim if corrosion caused the leak?
Replace the rim if corrosion is deep, flaky, pitted, or close to structural damage. Light surface corrosion may clean up during tire service, but a wheel that cannot provide a smooth, sound bead seat should not be sealed over repeatedly.
How much does it cost to fix a tire bead leak?
The cost depends on what the shop finds. A simple bead cleaning and reseal usually costs less than repairs involving TPMS service, valve replacement, heavy corrosion, wheel repair, wheel replacement, or tire replacement. Ask for an itemized out-the-door estimate before approving the work.
Conclusion
A truck tire bead leak is fixable when the wheel and tire are still in good condition, but the repair needs more than a quick shot of air or sealant. Find the leak with soapy water, rule out the valve and tread first, then clean and inspect the bead seat before resealing the tire.
If you see heavy corrosion, a bent rim, a damaged tire bead, TPMS trouble, sidewall damage, or any commercial-style wheel assembly, let a qualified tire technician handle it. A careful repair helps the tire hold pressure, protects handling, and reduces the risk of a low-pressure failure on the road.
Sources
- NHTSA TireWise — supports cold tire pressure, monthly pressure checks, tire aging, TPMS limitations, tire-related crash fatality data, and tire maintenance guidance.
- OSHA 29 CFR 1910.177 — supports rim-wheel service safety, bead-seat cleaning, tire/wheel inspection, lubricant use, compatible wheel requirements, and inflation precautions.
- 49 CFR § 571.138, Tire Pressure Monitoring Systems — supports TPMS purpose, significant-underinflation warning language, cold placard pressure language, and TPMS limitations.

Related Articles
Toyota Tundra Uneven Wear on Passenger Front Tire: Diagnosing the Cause
Get to the root of uneven tire wear on your Toyota Tundra's passenger front tire and discover essential tips to avoid costly repairs.
Read More
Steering Wheel Shake at High Speed on a Tundra: Tire-Related Causes
Steering wheel shake at high speeds in your Tundra? Discover the surprising tire-related causes that could be jeopardizing your safety on the road.
Read More
Tire Keeps Losing Air on a Tundra: 6 Hidden Causes Beyond a Nail
Get to the bottom of why your Tundra's tires keep losing air—discover 6 hidden causes that might surprise you. What could be lurking beneath the surface?
Read More