
How to Torque Lug Nuts on a Toyota Tundra: Correct Sequence and Specs
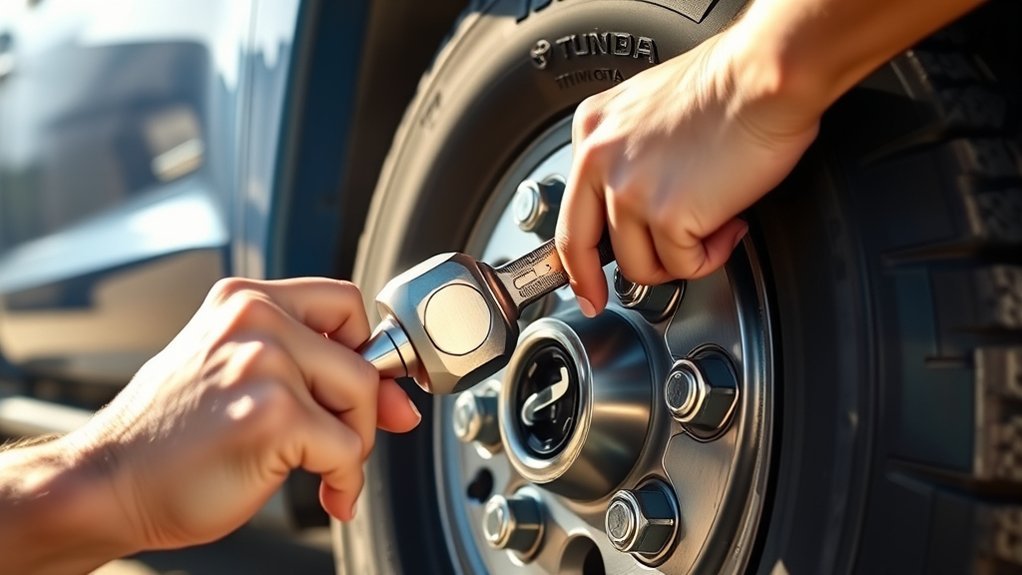
Correct Toyota Tundra lug nut torque depends on the truck’s model year, wheel material, and whether you are using factory or aftermarket hardware. For many factory aluminum-wheel setups, the common spec is 97 ft-lb, while newer steel wheels or steel spares may call for 154 ft-lb. Older 2000–2006 Tundras commonly use 83 ft-lb. Always confirm your exact value in your owner’s manual or with the wheel manufacturer before final tightening.
Last updated: July 7, 2026 · Reviewed against available Toyota owner-manual references and wheel-torque guidance.
Quick Answer
Many Toyota Tundra factory aluminum wheels use 97 ft-lb (131 N·m), while newer steel wheels or steel spare wheels may use 154 ft-lb (209 N·m). First-generation 2000–2006 Tundras use 83 ft-lb (110 N·m). Use a calibrated torque wrench, tighten in a star pattern, and confirm the spec for your exact model year, wheel type, and lug nut hardware.
Key Takeaways
- Use 83 ft-lb for many 2000–2006 factory Tundra wheel nuts.
- Use 97 ft-lb only when your manual or wheel maker lists it for your factory aluminum wheels.
- Use 154 ft-lb only when your manual or wheel maker specifies steel wheels or a steel spare.
- Hand-start each lug nut, tighten in stages, and finish with a torque wrench in a star pattern.
- Aftermarket wheels, lug nuts, and spacers may have different torque requirements.
At a Glance
| Time Required | 10–20 minutes per wheel once the truck is safely positioned |
| Difficulty | Beginner to moderate |
| Tools Needed | Torque wrench, snug-fitting 6-point socket, breaker bar, wheel chocks, jack and jack stands if removing a wheel |
| Cost | No extra cost if you already own the tools; otherwise varies by torque-wrench quality and drive size |
Recommended Torque Specifications for Toyota Tundra Lug Nuts
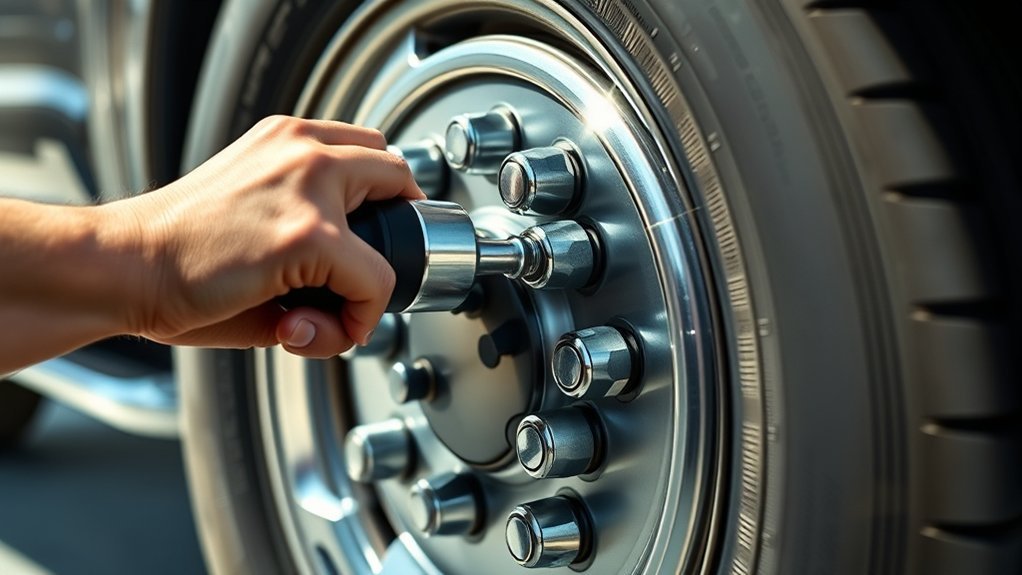
The safest torque spec is the one listed for your exact Tundra, wheel type, and lug nut hardware. Use the chart below as a practical guide for factory-style wheels, then confirm it against your owner’s manual or wheel manufacturer.
| Tundra model years | Wheel / hardware type | Torque spec | Important note |
|---|---|---|---|
| 2000–2006 | Factory wheel nuts | 83 ft-lb (110 N·m) | Toyota’s published U.S. manual value is 83 ft-lb. Some online charts show 81 ft-lb because they directly convert 110 N·m. |
| 2007–2021 | Many factory aluminum wheels | 97 ft-lb (131 N·m) | Confirm your exact manual if wheels, studs, or lug nuts have been changed. [VERIFY: confirm each 2007–2021 model-year manual before final publication.] |
| 2022–2026 | Factory aluminum wheels | 97 ft-lb (131 N·m) | Newer owner manual tables commonly separate aluminum and steel wheel torque values. [VERIFY: confirm 2026 owner-manual value if this page targets 2026 owners.] |
| 2022–2026 | Steel wheels or steel spare where specified | 154 ft-lb (209 N·m) | Do not use this higher number on aluminum wheels unless the manual or wheel maker specifically calls for it. [VERIFY: confirm 2026 steel-wheel/spare value if this page targets 2026 owners.] |
For newer Tundras, Toyota manual tables list steel wheels at 154 ft-lbf and aluminum wheels at 97 ft-lbf. For first-generation trucks, the 2006 Toyota owner manual lists wheel nut torque as 110 N·m, 11.5 kgf·m, or 83 ft·lbf.
[Products Worth Considering]

Universal magnetic jack pad with aluminum grooved design to protect vehicle pinch welds during lifting. Durable nylon pad inserts are upgraded and secured with screws to resist damage and keep in place. Designed to fit most single vehicle pinpoint welds for safer, stable jacking when changing tires, repairs, or performing oil changes.

This VEVOR tire bead breaker uses a slide-hammer impact and wedge tip to separate tire beads from rims quickly and efficiently without damaging hub surfaces. The long handle and sturdy steel construction help reduce user strain while providing reliable, portable tire changing for cars, trucks, and more. Ideal for home mechanics and repair shops handling multiple vehicle tire sizes.

Camco Trailer Aid Plus tandem tire ramp lifts your trailer for quick, safe tire changes with ample clearance from its 5 1/2-inch lift. It helps you change a flat tire without unloading cargo, making roadside and routine maintenance more efficient. The heavy-duty, waterproof and rustproof polymer design supports up to 15,000 lb and is built for easy portability and storage.
Where to Confirm Your Exact Tundra Torque Value
Use this chart as a quick lookup, but final torque should come from the source that matches your truck and wheel hardware. Check the “Specifications,” “If you have a flat tire,” or “Changing wheels” section in your owner’s manual. Toyota’s owner portal is the best starting point for current manuals, and older manuals may list the wheel nut torque in the specifications section.
- Confirm your model year and wheel type before choosing a torque value.
- Check whether the wheel is aluminum, steel, or a temporary steel spare.
- Follow the wheel or lug nut manufacturer’s value if you use aftermarket wheels, adapters, spacers, or non-factory lug nuts.
Warning: Do not guess on torque when using aftermarket wheels, aftermarket lug nuts, wheel adapters, or spacers. The wheel maker’s instructions can override the factory wheel torque value.
What Tools Do You Need for Proper Torque?
To torque Toyota Tundra lug nuts correctly, use tools that fit tightly and measure torque accurately. A loose socket, weak jack setup, or uncalibrated wrench can create problems even if you know the right number.
[Products Worth Considering]

Secure your trailer or RV tires with a scissor-style wheel chock stabilizer that applies opposing force to help prevent wheel shift. It fits tight wheel gaps from 3.5 inches up to 12 inches and works for travel trailers, campers, fifth wheels, toy haulers, and heavy-duty trucks. The surface uses new electrophoretic technology to help prevent rust for reliable travel use.

Camco’s RV wheel chocks with an attached rope help keep your travel trailer securely in place for safer unhitching or parking. This 2-pack is compatible with wheels up to 26-inch diameter and features durable UV-resistant construction for reliable outdoor performance. The rope enables quick, safe removal so you can prepare for your next trip with less hassle.
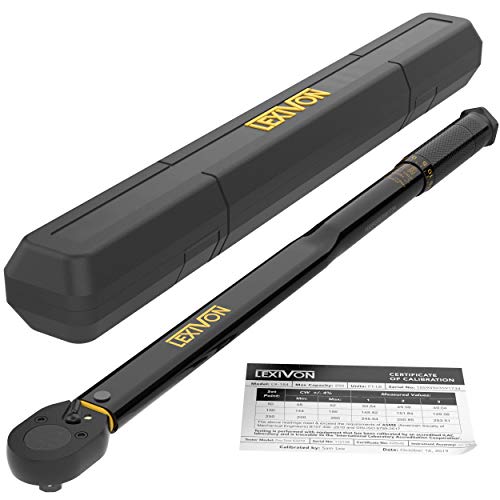
PRECISION - Ships pre-calibrated to +/- 4% accuracy and ready to use. Include calibration certificate with traceable serial number.
Essential Torque Wrench Types
A 1/2-inch drive torque wrench is the best choice for Tundra lug nuts because the values are high enough that smaller wrenches may be outside their ideal range. Common torque wrench types include:
- Click-type torque wrench: The most common DIY option. It clicks when the set torque is reached.
- Digital torque wrench: Easy to read and often very accurate, but it depends on batteries.
- Beam torque wrench: Simple and durable, but you must read the scale carefully while pulling.
- Dial torque wrench: Accurate and easy to verify, but usually more expensive and less common for home use.
If you use a click-type torque wrench, store it at its lowest marked setting after use, not below the scale. Many torque wrench manuals recommend this to help protect calibration.
Recommended Socket Sizes
Tundra lug nut socket size can vary by generation and lug nut style. Many older Toyota factory-style lug nuts fit a 21 mm or 13/16-inch socket. Many newer M14-style lug nuts may use a 22 mm or 7/8-inch socket. The safest rule is simple: test the socket by hand and use the snugest 6-point socket that fully seats on the lug nut.
Do not force a loose socket onto swollen, rounded, spline-drive, or security lug nuts. If the lug nut uses a special key, use the correct key and inspect it for damage before applying high torque.
Additional Helpful Accessories
These accessories make the job safer and cleaner:
- Breaker bar: Use this to loosen lug nuts before lifting the truck. Do not use the torque wrench as a breaker bar.
- Wheel chocks: Chock the wheels that stay on the ground.
- Jack stands: Support the truck with stands any time you remove a wheel. Do not rely on a jack alone.
- Wire brush: Clean dirty wheel studs and hub faces before reinstalling the wheel.
- Thin hub-face anti-seize only when appropriate: A small amount on the hub face can help prevent wheel-to-hub corrosion, but avoid the lug nut seats and lug threads unless the manufacturer specifically instructs otherwise.
Note: Torque specs are normally applied to clean, dry lug hardware. Lubricating the threads can change clamp load at the same wrench reading.
How to Torque Your Tundra’s Lug Nuts: A Step-by-Step Guide
Use this process after a tire rotation, brake job, flat tire change, wheel swap, or any service where a wheel was removed. Proper torque requires the right spec, a seated wheel, clean hardware, and even tightening.
Step 1: Park and Prepare Safely
- Park on level, solid ground.
- Set the parking brake.
- Chock the wheels that will stay on the ground.
- If you are removing a wheel, slightly loosen the lug nuts while the tire is still touching the ground.
- Lift only at the correct jack point and support the truck with jack stands before working near or under the wheel area.
Step 2: Clean and Inspect the Hardware
Before reinstalling the wheel, inspect the studs, lug nuts, wheel seats, and hub face. Remove loose rust, dirt, and debris. Replace any lug nut that is swollen, rounded, cracked, cross-threaded, or difficult to start by hand.
Warning: Every lug nut should thread on by hand for several turns. If one binds, stops, or feels gritty, stop and inspect the stud and nut before applying torque.
Step 3: Hand-Start and Snug the Lug Nuts
Place the wheel squarely against the hub. Hand-thread every lug nut first. Then use a wrench to snug them lightly in a crisscross pattern so the wheel seats evenly. Do not jump straight to final torque while the wheel is still loose or tilted on the hub.
Step 4: Tighten in a Star Pattern
For a six-lug Tundra wheel, tighten across the wheel rather than around in a circle. A common six-lug pattern is 1-4-2-5-3-6. The original 1-3-5-2-4-6 pattern is also a crossing pattern when used consistently. The key is to spread clamping force evenly across the wheel.
For best results, tighten in stages:
- First pass: about half of final torque.
- Second pass: full final torque.
- Final check: repeat the same star pattern at the final value to confirm every nut is seated.
Step 5: Lower and Final Torque
For final torque, the tire should be touching the ground enough to keep the wheel from spinning, but the full vehicle weight should not be fighting a loosely seated wheel. Pull the torque wrench smoothly from the handle until it clicks or reaches the set reading. Stop at the click; do not keep clicking the same lug nut.
Pro Tip: Set the torque wrench to the correct value before you start the final pass, then read the scale again before tightening the first lug nut. A quick double-check prevents many over-torque mistakes.
Why Is the Correct Torque Sequence Important?
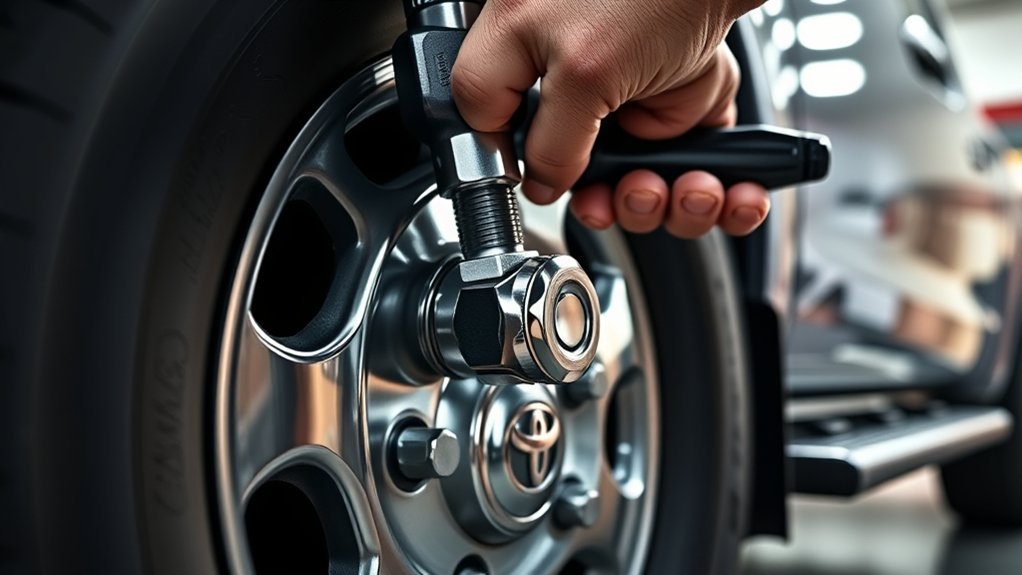
The torque sequence matters because the wheel must sit flat against the hub. Tightening around the circle can pull one side in first, leaving the wheel slightly uneven until the final nuts are tightened. A star or crisscross pattern spreads the clamping force more evenly.
Proper torque also helps protect the studs, lug nuts, brake rotors, and wheel mounting surface. Tire Rack notes that correct tools, procedures, and patterns help prevent stripped threads, stretched studs, and warped brake drums, rotors, or hubs.
Wheel torque is not just “tight enough.” It is a measured clamping force that helps keep the wheel seated without damaging the hardware.
Common Mistakes to Avoid During the Torque Process
Most lug nut torque problems come from rushing, using the wrong tool, or assuming every wheel uses the same value. Avoid these mistakes:
- Using an impact wrench for final torque: Impact tools are helpful for removal or light snugging, but final torque should be done with a torque wrench.
- Using the wrong torque value: Aluminum wheels and steel wheels may use different specs.
- Skipping the star pattern: A crisscross pattern helps the wheel seat evenly.
- Lubricating lug threads without guidance: Oil, grease, or anti-seize can change the torque-to-clamp-load relationship.
- Torquing damaged hardware: Stretched studs, swollen lug nuts, and cross-threaded nuts should be replaced before driving.
- Using a loose socket: A loose socket can round the lug nut and make future removal difficult.
How to Check and Adjust Torque After Installation
After a wheel has been removed and reinstalled, check the lug nut torque again after the initial drive period recommended by your tire shop, wheel maker, or owner’s manual. For new wheels, Tire Rack recommends re-torquing after the first 50 to 100 driving miles. Toyota’s aluminum-wheel precautions also tell owners to check that the wheel nuts are still tight after rotating, repairing, or changing tires.
To recheck torque, set the torque wrench to the correct value and follow the same star pattern. A lug nut that moves slightly before the click may have settled. A lug nut that turns a lot, will not tighten, or feels rough should be inspected before the truck is driven further.
| Task | When to do it |
|---|---|
| Initial torque application | Every time a wheel is installed |
| Early recheck | After the first short drive period recommended by your tire shop, wheel maker, or owner’s manual; for new wheels, 50–100 driving miles is a common Tire Rack recheck window |
| Routine inspection | During tire rotations, before long towing trips, and after rough-road driving |
| Torque wrench storage | After use, return click-type wrenches to the lowest marked setting and store in the case |
Why Over-Torquing Lug Nuts Can Be a Big Problem?
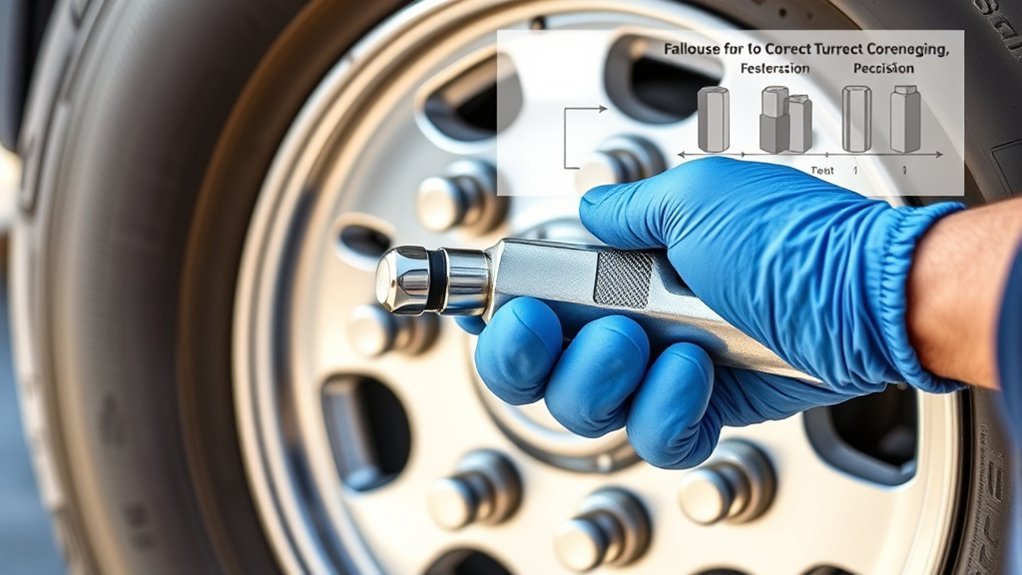
Over-torquing lug nuts can be just as risky as leaving them too loose. Too much torque can stretch wheel studs, damage threads, distort wheel seats, and make future roadside removal much harder. In some cases, excessive or uneven clamping force can contribute to brake pulsation or rotor distortion.
Common over-torque causes include:
- Impact gun overuse: Air or battery impact wrenches can exceed the target torque quickly.
- Repeated clicking: Clicking a torque wrench again and again on the same lug can add extra torque.
- Lubricated threads: Grease or anti-seize on the threads can increase clamp load at the same torque setting.
- Wrong spec: Applying the 154 ft-lb steel-wheel value to an aluminum wheel that calls for 97 ft-lb can overload the hardware.
How to Prevent Over-Torquing and When to Retorque?
To prevent over-torquing, use the correct torque value, tighten in stages, and stop when the torque wrench reaches the set point. Keep the threads clean and dry unless the wheel or vehicle manufacturer gives a different instruction. If your torque wrench has not been calibrated in years, has been dropped, or no longer feels consistent, have it checked or replace it.
Retorque or recheck after wheel installation according to the instructions from your tire shop, owner’s manual, or wheel maker. Also recheck before towing, after off-road use, or if you feel vibration after a wheel service.
Aftermarket Wheels, Lug Nuts, and Spacers
Aftermarket parts can change the correct procedure. A factory Tundra torque number is for the factory-style wheel, stud, and lug nut combination. If you install aftermarket wheels, confirm:
- lug nut seat type: conical, ball, shank, or washer-style;
- thread size and engagement;
- center bore and hub-centric fit;
- wheel maker’s torque value;
- whether a retorque is required after installation.
Wheel spacers and adapters require extra care. Torque the spacer-to-hub fasteners to the spacer manufacturer’s specification. Then torque the wheel-to-spacer lug nuts to the value specified by the wheel, spacer, or vehicle instructions. Do not assume the same value applies to both sets of fasteners.
Warning: Do not use spacers or adapters unless they match your Tundra’s bolt pattern, hub bore, stud size, and load requirements. If you are unsure, have a qualified tire or 4×4 shop inspect the setup.
[Products Worth Considering]

Universal Fitment: Compatible with Lexus LX570 2008-2016| to-yo-ta Sequoia 2008-2021| Tundra 2007-2021| Land Cruiser 2009-2016. If not sure,please contact us before purchase
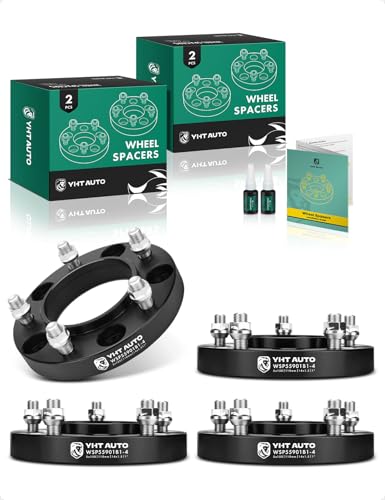
Installation with Confidence: 1 inch wheel spacers| Bolt Pattern: 5x150mm| Hub Bore: 110mm| Threaded Studs/Nuts: M14x1.5| Recommended torque: 85-90 FT/LBS (Vibration can be avoided by simply following the recommended torque for installation, keeping the wheel adapters & spacers tight against the hub and Clean the rust of wheel and hub surfaces)

【Bolt On Wheel Spacers Parameter】-- VEHICLE Bolt Pattern = WHEEL Bolt Pattern : 5x150mm || Thickness: 1.5 inch(38mm) || Threaded Studs/Nuts: M14x1.5 || Center Bore: 110mm (with lip) || Recommended torque: 85-90 ft/lbs || Quantity: 4pcs. Please use a professional tool (micrometer) to measure your car
Best Practices for Long-Lasting Toyota Tundra Lug Nuts
Good lug nut maintenance is simple, but it has to be consistent. Follow these habits to protect the wheel studs and make future service easier:
- Use the correct torque spec: Match the value to the model year, wheel material, and hardware.
- Use clean, dry threads: Dirty or lubricated threads can give misleading torque results.
- Hand-start every lug nut: This helps prevent cross-threading.
- Use the correct socket: A snug 6-point socket reduces the chance of rounding.
- Replace bad hardware early: Swollen, cracked, rusted, or distorted lug nuts should not be reused.
- Check after service: Recheck torque after wheel removal and before heavy towing or long trips.
Troubleshooting Lug Nut Torque Problems
If something feels wrong during torque, stop and inspect before driving. Here is what the most common symptoms usually mean:
| Problem | Likely cause | What to do |
|---|---|---|
| Lug nut will not hand-thread | Cross-threading, damaged stud, wrong lug nut | Stop and inspect. Replace damaged parts before driving. |
| Torque wrench clicks immediately | Nut may already be tight, wrench may be set wrong, or threads may be binding | Confirm the setting, loosen slightly if needed, and retorque smoothly. |
| Lug nut keeps turning without tightening | Stripped nut or stud | Do not drive. Replace the damaged hardware. |
| Vibration after wheel service | Loose lug nuts, wheel not seated, imbalance, or hub debris | Stop safely, check torque, and inspect wheel seating. |
Frequently Asked Questions
What is the torque spec for Toyota Tundra lug nuts?
Many factory aluminum Toyota Tundra wheels use 97 ft-lb (131 N·m). Newer steel wheels or steel spares may use 154 ft-lb (209 N·m). Many 2000–2006 Tundras use 83 ft-lb (110 N·m). Always confirm your exact owner’s manual, wheel type, and lug nut hardware.
What is the torque spec for 8×170 wheel spacers?
8×170 is not a factory Toyota Tundra bolt pattern. For any Tundra wheel spacer or adapter, use the spacer manufacturer’s torque value for spacer-to-hub fasteners, then use the correct wheel or vehicle torque value for the wheel-to-spacer lug nuts. Confirm bolt pattern, hub bore, stud size, and load rating before installation.
Should Toyota Tundra lug nuts be torqued wet or dry?
Use clean, dry lug studs and lug nuts unless Toyota, the wheel maker, or the lug nut maker specifically says otherwise. Lubricants can change the clamping force created at the same torque wrench setting.
Can I use an impact wrench to tighten Tundra lug nuts?
You can use an impact wrench carefully to remove lug nuts or lightly snug them, but do not use it for final torque. Final tightening should be done with a calibrated torque wrench in a star pattern.
What socket size do Toyota Tundra lug nuts use?
Many older Tundra factory lug nuts fit 21 mm or 13/16-inch sockets. Many newer lug nuts may fit 22 mm or 7/8-inch sockets. Because lug nut style can change, test the socket by hand and use a snug 6-point socket.
Do aftermarket wheels use the same torque as factory Tundra wheels?
Not always. Aftermarket wheels may use different lug seats, different lug nuts, or different torque requirements. Follow the wheel manufacturer’s instructions when they differ from the factory wheel spec.
Conclusion
Toyota Tundra lug nut torque is simple once you match the spec to the exact wheel setup. Use 83 ft-lb for many 2000–2006 factory wheels, 97 ft-lb for many factory aluminum wheels, and 154 ft-lb only when your manual or wheel maker specifies steel wheels or a steel spare. Hand-start the lug nuts, tighten in stages, follow a star pattern, and use a torque wrench for the final pass. If the hardware is damaged, the lug nut will not thread by hand, or your wheel setup includes aftermarket parts, stop and confirm the correct procedure before driving.
Sources
- Toyota Owners — 2025 Tundra Manuals & Warranties — official Toyota manual access point for current Tundra owner information.
- 2024 Toyota Tundra Owner’s Manual, page 558 — backs up 97 ft-lbf aluminum wheel and 154 ft-lbf steel wheel torque values.
- 2006 Toyota Tundra Owner’s Manual — backs up 110 N·m / 83 ft·lbf first-generation wheel nut torque.
- Tire Rack — How Do I Properly Torque My Wheel Lug Nuts or Bolts? — backs up correct tools, procedures, and risks of improper torque.
- Discount Tire — Wheel Torque Specs — backs up torque-wrench use and tightening pattern guidance.
- Click-Type Torque Wrench Manual — backs up storing click-type torque wrenches at the lowest marked setting.

Related Articles
Toyota Tundra Tire and Wheel Package: What to Consider Before Buying
Unlock the secrets to choosing the perfect tire and wheel package for your Toyota Tundra—essential tips await to enhance your ride.
Read More
Do Bigger Tires Void a Toyota Tundra Warranty? Magnuson-Moss Act Explained
Bigger tires might not void your Toyota Tundra warranty, but understanding the Magnuson-Moss Act is crucial—discover how to protect your investment effectively.
Read More
Toyota Tundra Tire Rack Setup: Garage Storage Ideas for Seasonal Sets
Better tire storage for your Toyota Tundra awaits—discover essential tips to maximize space and protect your seasonal sets in the garage!
Read More