
How to Lower the Spare Tire on a Toyota Tundra (Without Getting Frustrated)
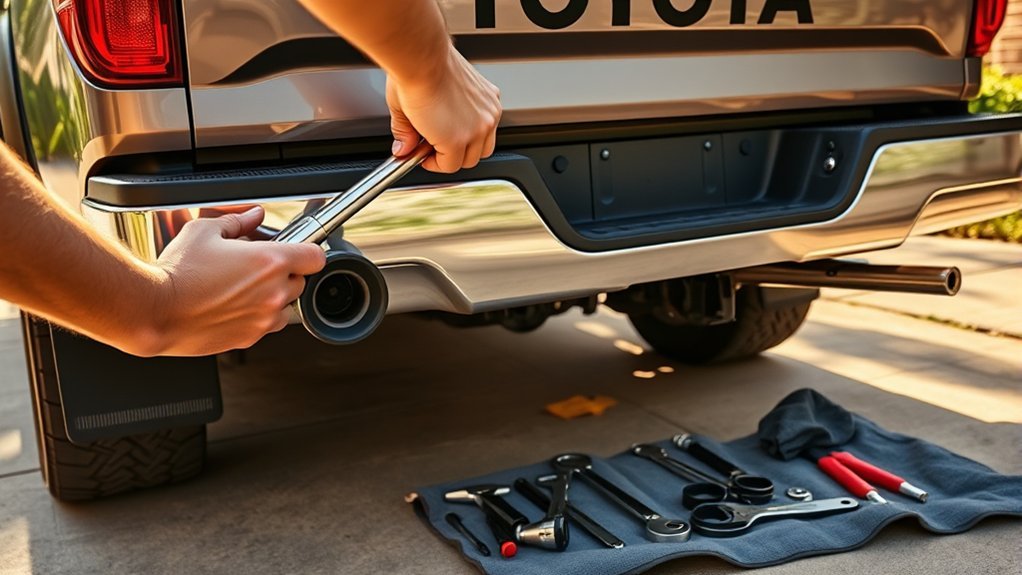
Lowering the spare tire on a Toyota Tundra is simple once you know where the access point, jack handle extension, and holding bracket are. Before you start, park on a hard, flat surface away from traffic, set the parking brake, shift to Park, turn on the hazard lights, and use wheel chocks if you are changing a flat tire.
Quick Answer
To lower a Toyota Tundra spare tire, assemble the jack handle extension from the tool bag, insert the end into the lowering screw through the access slot above the rear license plate area, and turn counterclockwise. Lower the tire completely to the ground before removing the holding bracket.
Key Takeaways
- Use the factory jack handle extension and insert it fully into the lowering screw before turning.
- Turn counterclockwise to lower the spare tire and clockwise to raise it back into place.
- Lower the tire completely before removing the holding bracket from the wheel.
- If you are changing a flat, loosen the lug nuts before lifting the truck and tighten the wheel nuts to the correct torque for your model year and wheel type.
- Check the spare tire pressure monthly when cold, including before long trips.
At a Glance
| Time Required | 5–10 minutes to lower the spare; 20–40 minutes for a complete roadside tire change |
| Difficulty | Easy to moderate |
| Tools Needed | Factory jack handle extension, wheel nut wrench, jack, wheel chocks, gloves, flashlight, tire pressure gauge, and torque wrench |
| Cost | Usually $0 if the factory tools are present; replacement tools or a torque wrench may add cost |
Warning: Do not continue driving on a flat tire. Do not place any part of your body under the truck while it is supported only by the jack. If the shoulder is narrow, the ground is soft, traffic is close, or the spare carrier is seized, call roadside assistance instead of forcing the repair.
How to Inspect and Lower Your Spare Tire Mechanism
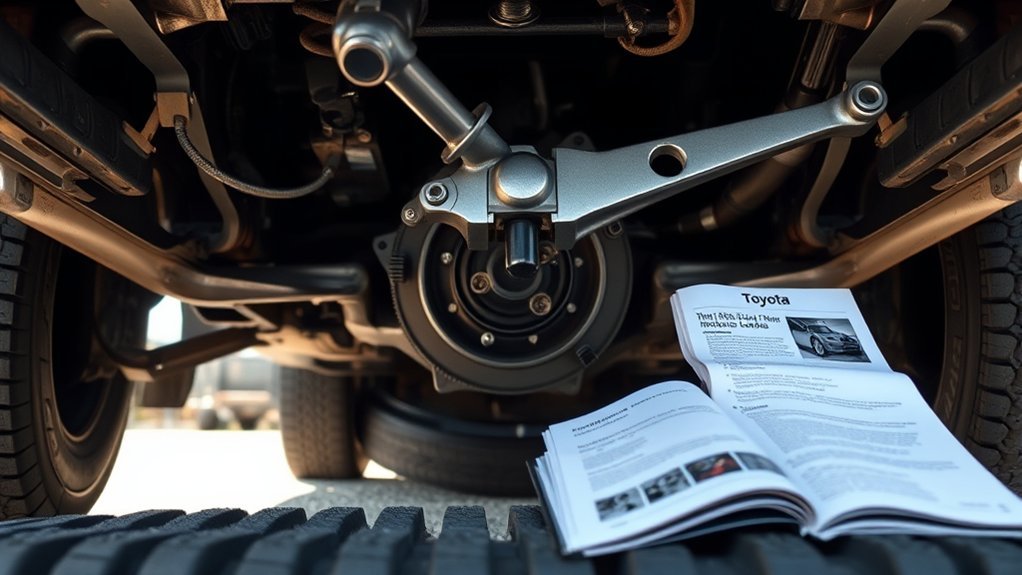
Start by finding the spare tire access slot near the rear license plate area. On late-model Tundras, Toyota describes the part you engage as the lowering screw. The factory jack handle extension fits into that screw and turns the under-bed carrier that lowers the spare tire.
Before turning the tool, make sure the handle extension is fully seated. If it is only partly engaged, the handle may slip, round the contact point, or make the carrier feel stuck even when it is not. Turn slowly and steadily rather than jerking the tool.
Because Tundra cab styles, trims, wheels, and model years can vary, check the correct Toyota owner’s manual for your truck if the tool location or carrier layout looks different. Toyota’s current owner resources provide model-year manuals for Tundra owners at Toyota Manuals and Warranties.
Note: If your Tundra has wheel locks, keep the wheel lock key with the tire tools. Toyota stores the jack, tool bag, and wheel lock key in different rear-seat/tool areas depending on cab style and model year.
[Products Worth Considering]

This spare tire tool kit is designed for the 2004 to 2018 Ford F-150 to help you loosen and tighten wheel lug nuts and manage the spare tire and provided jack functions from underneath the vehicle. It includes the lug nut wrench and extension pieces plus a convenient storage carrying case for organized transport. The jack itself is not included.

Universal magnetic jack pad with aluminum grooved design to protect vehicle pinch welds during lifting. Durable nylon pad inserts are upgraded and secured with screws to resist damage and keep in place. Designed to fit most single vehicle pinpoint welds for safer, stable jacking when changing tires, repairs, or performing oil changes.

This roadside assistance kit helps drivers and passengers in urgent situations after an accident or breakdown, providing practical support while waiting for help. It includes a lightweight, compact tire inflator for fast inflation of standard vehicle tires, plus reinforced jumper cable protection for safer handling. Ideal for winter weather, road trips, camping, and travel, with everything stowed neatly in a trunk bag.
Essential Tools for Tire Change
For a safe Toyota Tundra tire change, gather the tools before you lift the truck. The factory kit normally includes the jack, tool bag, jack handle extension, and wheel nut wrench. Use the jack supplied with the vehicle unless you are using properly rated shop equipment at approved lift points.
- Jack handle extension: Used to reach and turn the spare tire lowering screw.
- Wheel nut wrench: Used to loosen and tighten the wheel nuts.
- Factory jack: Used only at the correct jack points shown in the owner’s manual.
- Wheel chocks: Used to help prevent the truck from rolling.
- Gloves and flashlight: Helpful when the spare is dirty or the roadside is dark.
- Tire pressure gauge: Needed because the spare may be low even when it looks fine.
- Torque wrench: Used after installation to tighten the wheel nuts to the specified torque.
Pro Tip: Practice lowering the spare tire at home once a year. That lets you confirm the tools are present, the carrier moves, and the spare is inflated before you are stuck on the side of the road.
Steps to Lower Your Spare Tire
Follow this order to lower the spare tire safely and avoid fighting the carrier.
- Park safely. Stop on a hard, flat surface away from traffic. Set the parking brake, shift to Park, stop the engine, and turn on the emergency flashers.
- Chock the wheels if changing a flat. Chock the tire diagonally opposite the flat tire when possible.
- Get the jack tools. Remove the tool bag and assemble the jack handle extension securely.
- Find the access slot. Look above the rear license plate area and align the extension with the lowering screw.
- Seat the tool fully. Push the extension in until it engages the lowering screw firmly.
- Turn counterclockwise. Rotate the handle slowly and steadily to lower the spare tire.
- Lower it completely. Keep turning until the tire rests fully on the ground and the carrier chain or cable has slack.
- Remove the holding bracket. Slide the bracket through the center of the wheel only after the tire is completely on the ground.
Toyota’s 2025 Tundra manual gives the same core sequence: assemble the jack handle extension, insert it into the lowering screw, turn counterclockwise, then remove the holding bracket after the tire is fully lowered. You can review the official procedure in Toyota’s 2025 Tundra flat tire instructions.
How to Fix Common Spare Tire Lowering Issues
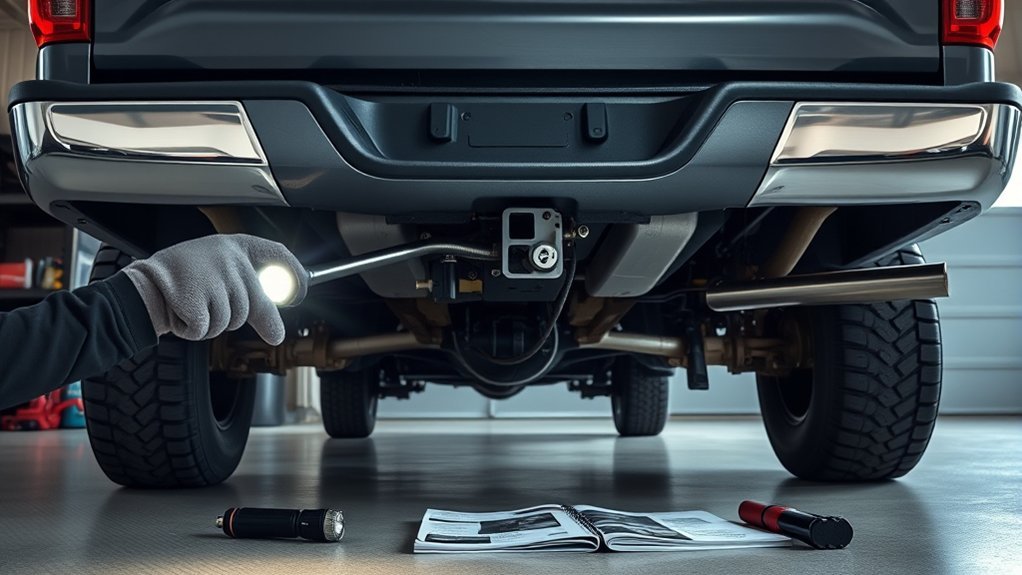
If the spare tire will not lower, do not force the tool with sudden pressure. Most problems come from poor tool engagement, rust, dirt, cable tension, or a damaged hoist.
| Issue | Likely Cause | What to Do |
|---|---|---|
| Handle slips or grinds | Tool is not fully seated in the lowering screw | Remove the extension, realign it, and insert it straight before turning again. |
| Tire starts down, then stops | Carrier cable or chain is binding | Raise it slightly, then lower again slowly. Stop if it binds hard or hangs crooked. |
| Mechanism will not turn | Rust, road debris, or damaged hoist | Do not crawl under the truck to force it. Use roadside assistance or have the carrier inspected. |
| Tool is missing | Tool bag was removed or incomplete | Order the correct replacement tool for your model year or contact a Toyota dealer. |
| Spare is loose after raising | Holding bracket not centered or tire caught on surrounding parts | Lower it, center the bracket, raise it straight, then push, pull, and try rotating the tire to confirm it is secure. |
Warning: A seized spare tire hoist can release suddenly if damaged or forced. If the carrier is badly rusted, the cable is frayed, or the tire hangs unevenly, stop and have the spare tire carrier serviced.
How to Safely Remove and Install Your Spare Tire
Once the spare tire is on the ground, remove the holding bracket and slide the tire out from under the truck. If you are replacing a flat tire, keep the truck on the ground while you loosen the wheel nuts about one turn. Then position the jack only at the correct jack point and raise the truck just enough for the tire to clear the ground.
- Remove the flat tire. Finish removing the loosened wheel nuts and place the flat tire on the ground with the wheel face up to avoid scratches.
- Clean the contact surface. Remove dirt, rust flakes, or debris from the wheel mounting surface so the spare sits flat.
- Install the spare by hand. Start all wheel nuts by hand before using the wrench. This helps prevent cross-threading.
- Snug in a star pattern. Tighten the nuts evenly in a crisscross pattern while the tire is still slightly off the ground.
- Lower the truck. Lower it fully, then tighten the wheel nuts again in the proper pattern.
- Torque the nuts. Use a torque wrench as soon as possible. For example, Toyota’s 2025 Tundra manual lists 154 ft-lbf for steel wheels and 97 ft-lbf for aluminum wheels after replacing a tire; confirm the correct value for your model year and wheel type.
- Retighten after driving. Toyota instructs owners to retighten wheel nuts within 100 miles after a tire change.
Do not touch the brake area immediately after driving. Brake parts and wheels can be hot enough to burn your hands.
How to Stow the Flat Tire, Jack, and Tools
After the spare is installed, secure the flat tire in the under-bed carrier correctly. A loose tire can damage the carrier or become dangerous during hard braking or a collision.
- Lay the tire down with the valve stem facing up.
- Insert the holding bracket through the wheel center and make sure it is centered in the hub opening.
- Turn the jack handle extension clockwise to take up slack.
- Raise the tire straight up so it does not catch on nearby parts.
- Once tight, push and pull the tire, try rotating it, and visually confirm it is not loose or hung on surrounding parts.
- Stow the jack, tool bag, wheel lock key, and wrench securely.
Note: Repeat the looseness check any time the spare tire or flat tire is lowered, disturbed, or reinstalled in the under-bed carrier.
[Products Worth Considering]

Camco’s RV wheel chocks with an attached rope help keep your travel trailer securely in place for safer unhitching or parking. This 2-pack is compatible with wheels up to 26-inch diameter and features durable UV-resistant construction for reliable outdoor performance. The rope enables quick, safe removal so you can prepare for your next trip with less hassle.

Camco Trailer Aid Plus tandem tire ramp lifts your trailer for quick, safe tire changes with ample clearance from its 5 1/2-inch lift. It helps you change a flat tire without unloading cargo, making roadside and routine maintenance more efficient. The heavy-duty, waterproof and rustproof polymer design supports up to 15,000 lb and is built for easy portability and storage.
Tips for Keeping Your Spare Tire Ready for Emergencies
A spare tire is easy to forget because it sits under the truck, but it needs the same attention as the tires on the road. The National Highway Traffic Safety Administration warns that poor tire maintenance can contribute to flats, blowouts, and tread separation.
NHTSA reported 511 motor vehicle traffic fatalities in tire-related crashes in 2024, which makes tire maintenance more than a convenience check.
Regular Pressure Checks
Check the spare tire pressure monthly when the tire is cold. Federal tire-pressure warning language says each tire, including the spare if provided, should be checked monthly and inflated to the vehicle manufacturer’s recommended pressure. You can find that pressure on the tire information placard or in your owner’s manual.
Do not rely only on the tire pressure warning light. Some temporary spare tires do not have a tire pressure warning valve and transmitter, so low spare pressure may not trigger the dashboard warning.
Annual Maintenance Schedule
At least once a year, lower the spare tire at home and inspect the whole setup. Look for sidewall cracks, bulges, exposed cords, rust on the carrier, frayed cable or chain, missing tools, and a damaged holding bracket. Clean off packed mud and road debris before raising the tire again.
If the spare tire is old, damaged, or marked “TEMPORARY USE ONLY,” treat it as an emergency tire and replace it with a standard tire as soon as practical after use. Do not use more than one temporary spare at the same time.
What to Do in Tire-Related Emergencies?
In a tire emergency, safety comes before saving time. Pull as far away from traffic as practical, turn on emergency flashers, and avoid changing the tire on soft ground, steep slopes, or narrow shoulders. If the work area is unsafe, stay clear of traffic and call for help.
Emergency Kit Essentials
Keep a small tire emergency kit in your Tundra so you are not relying only on the factory tool bag.
- Reflective triangles or road flares: Help other drivers see you.
- Flashlight or headlamp: Keeps both hands free in the dark.
- Gloves: Protect your hands from hot parts, dirt, and sharp edges.
- Pressure gauge: Confirms the spare is inflated before driving.
- Portable inflator: Helpful if the spare is low but still usable.
- Torque wrench: Lets you tighten wheel nuts correctly after installation.
Practice Changing Tires
Practice the complete process in a driveway or garage before you need it on the road. Lower the spare, remove and reinstall the holding bracket, confirm the jack point locations, and make sure the wheel nut wrench fits. This short practice run can reveal missing tools, a stuck carrier, or a low spare tire while you still have time to fix the problem.
Frequently Asked Questions
What is the 50/50 rule on spare tires?
The 50/50 rule usually means driving no faster than 50 mph and no farther than 50 miles on a temporary “donut” spare. For a Toyota Tundra, the most important rule is to follow the owner’s manual and the spare tire sidewall. Toyota warns not to exceed 50 mph with a temporary spare, but distance limits can vary by tire type and model.
Which way do I turn the Toyota Tundra spare tire tool?
Turn the jack handle extension counterclockwise to lower the spare tire. Turn it clockwise to raise the tire back into the under-bed carrier.
Where are the Toyota Tundra jack and spare tire tools?
On many Tundra models, the jack and tool bag are stored in the rear-seat area, but the exact location depends on cab style, trim, and model year. Check your owner’s manual if you do not see the jack, tool bag, or wheel lock key right away.
What should I do if the spare tire will not lower?
First, remove and reseat the jack handle extension so it engages the lowering screw fully. If the carrier still will not turn, the hoist may be rusted, jammed, or damaged. Do not crawl under the truck or force the mechanism with excessive pressure. Call roadside assistance or have the spare tire carrier inspected.
How often should I check my Toyota Tundra spare tire?
Check the spare tire pressure monthly when cold and before long trips. Lower and inspect the spare tire carrier at least once a year so you can find rust, low pressure, missing tools, or carrier problems before an emergency.
Conclusion
Lowering a Toyota Tundra spare tire comes down to three things: use the correct jack handle extension, engage the lowering screw fully, and turn counterclockwise until the tire is completely on the ground. The bigger difference is safety. Park on solid level ground, chock the wheels when changing a flat, use the approved jack points, torque the wheel nuts correctly, and secure the flat tire back in the carrier before driving away.
Sources
- Toyota 2025 Tundra Owner’s Manual: If You Have a Flat Tire — backs the lowering screw, counterclockwise lowering, holding bracket, jack safety, chocking, torque, temporary spare, and stowing guidance.
- Toyota Manuals and Warranties: Tundra — provides current official owner-manual access by model year.
- NHTSA TireWise — backs tire-maintenance safety guidance and tire-related crash context.
- 49 CFR § 571.138 Tire Pressure Monitoring Systems — backs monthly cold tire-pressure checks, including the spare tire when provided.
- Toyota Genuine Tundra Parts — supports using model-appropriate replacement parts and tools.

Related Articles
Toyota Tundra Tire and Wheel Package: What to Consider Before Buying
Unlock the secrets to choosing the perfect tire and wheel package for your Toyota Tundra—essential tips await to enhance your ride.
Read More
Do Bigger Tires Void a Toyota Tundra Warranty? Magnuson-Moss Act Explained
Bigger tires might not void your Toyota Tundra warranty, but understanding the Magnuson-Moss Act is crucial—discover how to protect your investment effectively.
Read More
Toyota Tundra Tire Rack Setup: Garage Storage Ideas for Seasonal Sets
Better tire storage for your Toyota Tundra awaits—discover essential tips to maximize space and protect your seasonal sets in the garage!
Read More