
What Is an Inner Tube? Complete Beginner’s Guide
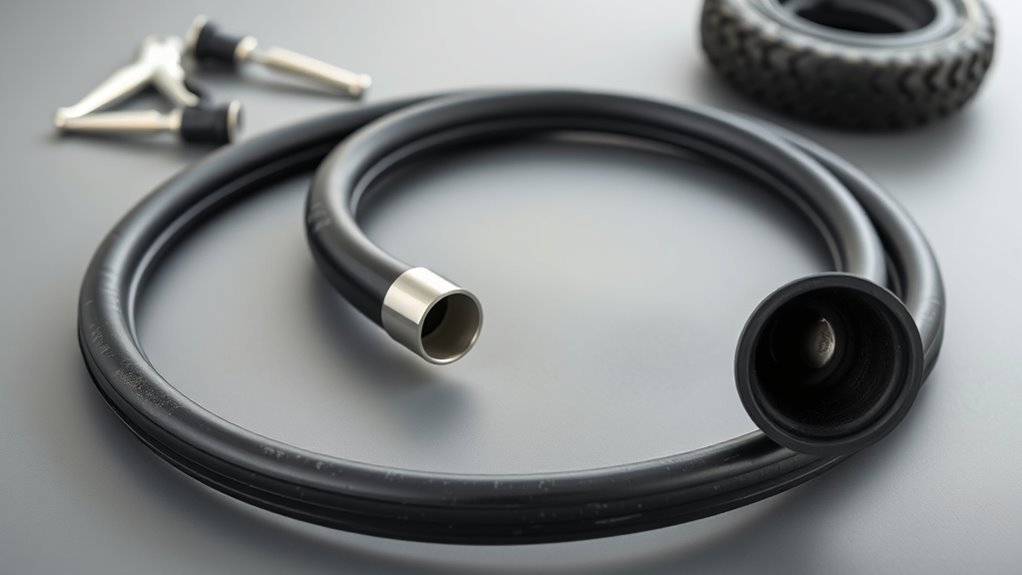
An inner tube is the inflatable rubber or plastic bladder inside many clincher bicycle tires. It holds air, gives the tire its shape, supports rider weight, and helps absorb road or trail vibration. To choose the right one, match the tube’s diameter and width range to your tire, then choose the valve type and valve length that fit your rim and pump.
Quick Answer
A bike inner tube is the airtight bladder fitted inside a clincher tire. Buy one by matching the tire’s printed size, especially the ETRTO code such as 25-622, then choosing the correct valve type, valve length, and tube material for your riding style.
Key Takeaways
- Match the tube’s diameter exactly to the tire and rim. Width can fall within the printed tube range.
- Use the valve your rim accepts: Presta/Sclaverand, Schrader/auto, or Dunlop/Woods.
- Butyl is best for everyday reliability; latex and TPU are lighter performance options with more care requirements.
- Most flats repeat if you do not remove the cause, so inspect the tire casing, rim tape, and valve area before fitting a new tube.
- Tubeless riders should still carry a spare tube for cuts or sealant failures.
At a Glance
| Time Required | 10–20 minutes for a roadside tube change |
| Difficulty | Beginner to intermediate |
| Tools Needed | Correct spare tube, tire levers, pump or CO2 inflator, patch kit, and optional tire boot |
| Cost | Usually low for butyl tubes; higher for latex and TPU tubes |
What an Inner Tube Is and How It Works
Think of an inner tube as a doughnut-shaped airtight chamber that sits between the wheel rim and the tire casing. When you inflate it through the valve stem, the tube expands and presses the tire beads into the rim’s bead seat. That pressure holds the tire in shape and lets the tire support the bike, rider, and cargo.
Inner tubes are used with many clincher tires. The tire provides tread, sidewall support, and grip; the tube provides the air chamber. If the tube is the wrong size, twisted, pinched, or installed against damaged rim tape, it can leak or puncture quickly.
Note: The tube does not determine the tire’s outside size by itself. The tire and rim must already be compatible. The tube simply needs to fit inside that tire without stretching excessively or bunching.
Which Bikes and Tires Use Inner Tubes: Clincher vs Tubeless-Ready
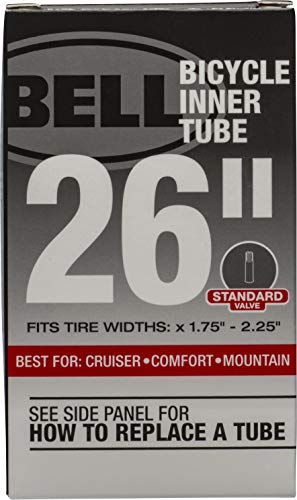
Most road, hybrid, commuter, kids’, city, BMX, and many mountain bikes can use inner tubes. Road bikes often use 700C tires, while mountain bikes commonly use 26-inch, 27.5-inch, or 29-inch wheels. Folding bikes, cargo bikes, and kids’ bikes may use smaller sizes such as 16-inch, 20-inch, or 24-inch.
A tubeless-ready tire is different. It is designed to seal directly against a compatible tubeless rim with tubeless tape, a tubeless valve, and liquid sealant. Tubeless can reduce pinch flats and allow lower pressures, but it requires more setup care and regular sealant maintenance. If a tubeless tire gets a large cut, a spare inner tube can still get you home.
Before choosing tubes or switching to tubeless, check your tire sidewall, rim instructions, and the tire/rim compatibility guidance from the manufacturer. Continental’s tire-rim guidance recommends checking both the tire and rim manufacturer limits, including maximum pressure and rim compatibility.
How to Choose the Right Inner Tube
Use this checklist before buying a replacement tube:
| What to Check | Why It Matters | Example |
|---|---|---|
| Diameter | Must match the wheel and tire exactly. | 700C / 622 mm, 27.5 inch / 584 mm, 26 inch / 559 mm |
| Width range | The tire width must fall inside the tube’s printed range. | A 700 x 18–28 tube fits many 700C tires from 18 mm to 28 mm wide. |
| Valve type | The valve must fit the rim hole and your pump. | Presta/SV, Schrader/AV, or Dunlop/DV |
| Valve length | Deep rims need longer valves so the pump can attach securely. | 40 mm for shallow rims; 60–80 mm for deeper road rims |
| Material | Affects weight, price, air retention, repairability, and ride feel. | Butyl, latex, TPU, or sealant-filled butyl |
| Rim tape condition | Damaged rim tape can puncture a new tube from the inside. | Replace tape that is split, shifted, brittle, or exposing spoke holes. |
[Products Worth Considering]

The GERCHWAY Presta Valve Adaptor Pump offers a versatile dual‑head chuck that fits both Presta and Schrader valves, eliminating the need for extra adapters. Its precision gauge accurately reads 5–100 PSI with ±2 PSI tolerance, ensuring safe and optimal tire inflation for bikes, motorcycles, SUVs, and cars. The 18‑inch hose provides flexible reach, while the 3‑in‑1 design lets you check pressure, release air, or inflate directly from an air compressor.

Stay prepared for any bike emergency with this all-in-one repair kit featuring a compact CO2 inflator, 2 × 16 g cartridges, multi‑tool Allen keys, and tire repair accessories. The lightweight design fits easily in a saddlebag, allowing quick fixes of flats and minor adjustments on the road or trail. Chrome vanadium steel construction ensures durability, while the included patches and levers cover all basic tire repairs.
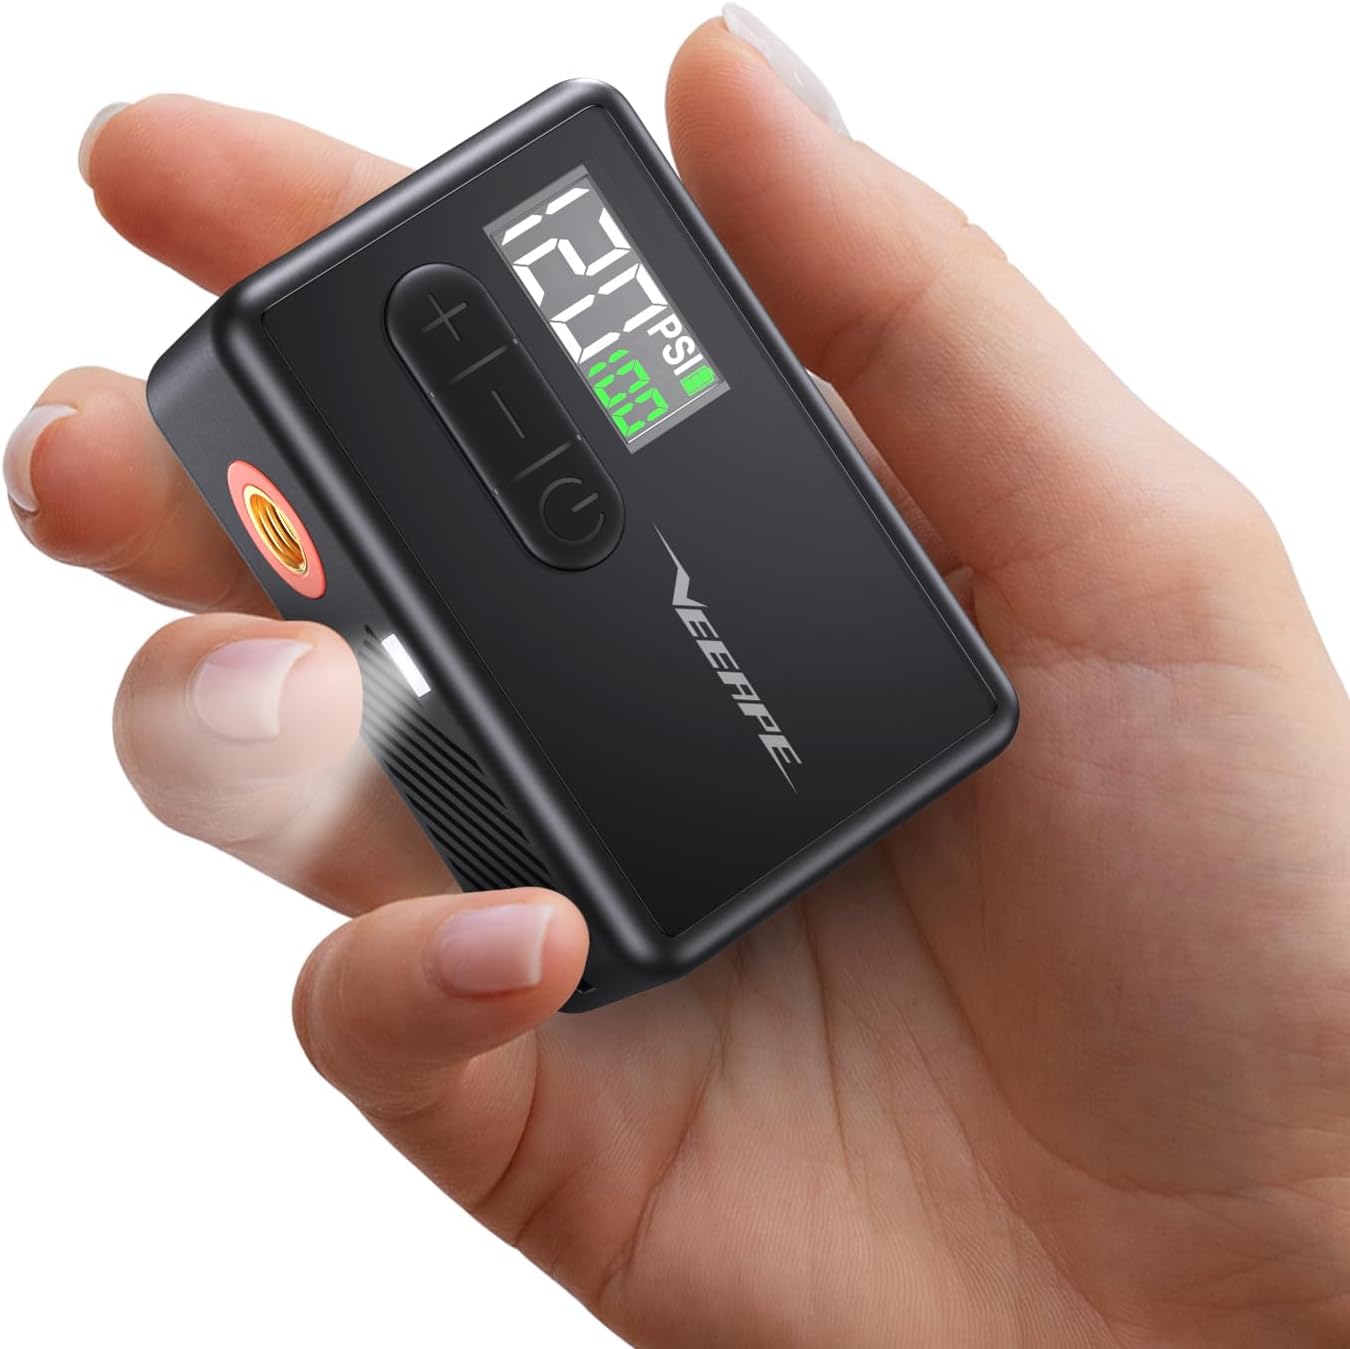
The Tiny Pump Mini Bike Tire Pump delivers rapid inflation up to 120 PSI with a compact, lightweight design that fits in any pocket or backpack. Its digital screen and auto‑stop function ensure precise pressure control, while the 4000mAh battery provides long‑lasting power and quick charging via Type‑C. Includes multiple valve adapters and accessories for bicycles, e‑bikes, and sports balls, making it a versatile tool for every cyclist.
Inner Tube Sizes and ETRTO: How to Match Tube to Tire
The best way to match a tube is to read the tire sidewall. You may see older inch or French sizing, such as 700 x 25C, alongside an ETRTO size such as 25-622. The first ETRTO number is the tire width in millimeters. The second number is the tire’s inner diameter, also called bead-seat diameter.
For example, a tire marked 25-622 is about 25 mm wide and fits a 622 mm bead-seat diameter rim. A suitable tube might be labeled 700 x 18–28C or 18/28-622. The diameter must match; the width only needs to fall within the tube’s stated range.
Pro Tip: When two tube sizes both seem to fit, choose the one whose width range centers closest to your tire. A tube stretched too far can be fragile; a tube that is too wide can fold or pinch during installation.
Installing an Inner Tube: Step-by-Step Roadside Guide
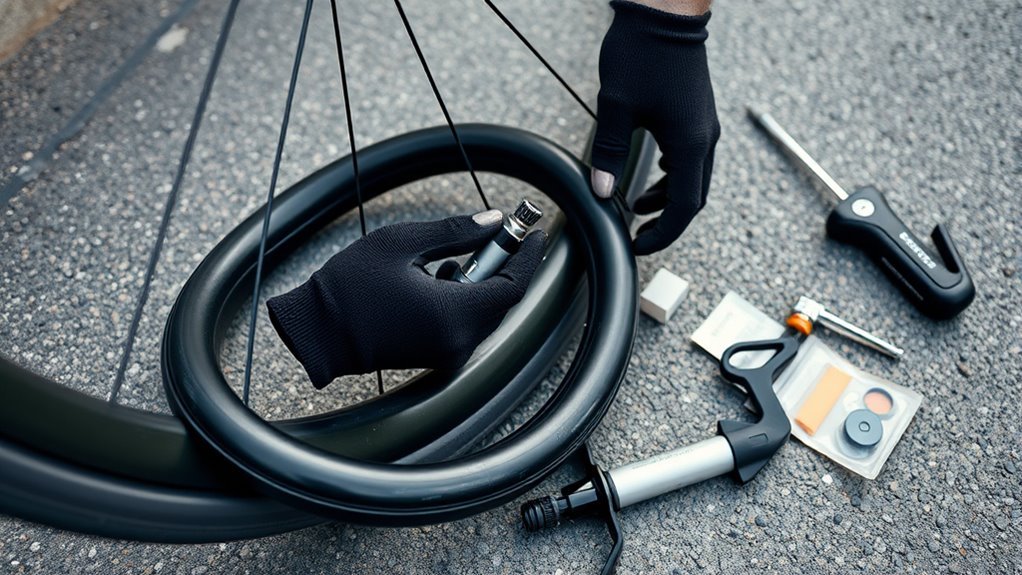
If you get a flat on the road, work slowly enough to avoid pinching the new tube. A careful five-minute inspection can prevent a second flat a few minutes later.
| Step | Action |
|---|---|
| 1 | Shift to an easy gear if removing the rear wheel, open the brake if needed, and remove the wheel from the bike. |
| 2 | Fully deflate the tube. Push the tire beads toward the center channel of the rim. |
| 3 | Use tire levers to lift one tire bead over the rim. Avoid screwdrivers or sharp tools because they can damage the rim, tire, or tube. |
| 4 | Remove the tube. Keep its orientation if possible so you can match the puncture location to the tire or rim. |
| 5 | Inspect the tire casing, tread, sidewalls, rim tape, spoke holes, and valve hole. Remove glass, thorns, wire, or sharp debris. |
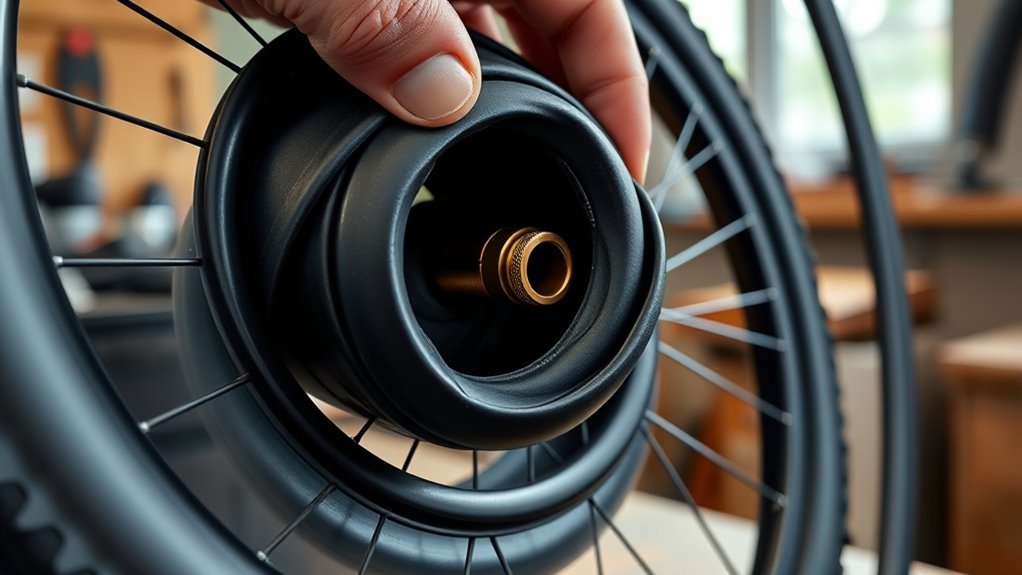
| 6 | Slightly inflate the new tube so it holds a round shape. Insert the valve straight through the rim and tuck the tube inside the tire. |
| 7 | Seat the tire bead by hand, working evenly around the rim. Keep the tube away from the bead as the final section goes on. |
| 8 | Inflate in stages. Stop at low pressure to check both sides of the bead and confirm the valve is straight. |
| 9 | Inflate to the correct pressure range, reinstall the wheel, secure the brake, and test the bike in a safe area. |
Warning: Never exceed the maximum pressure printed on the tire or allowed by the rim manufacturer. Before full inflation, check that the tire bead is seated evenly all the way around both sides of the rim.
[Products Worth Considering]

The AZUNO digital tire inflator gauge offers precise pressure readings for both Presta and Schrader bike valves, eliminating the need for separate adapters. Its bright LCD backlight and automatic shut‑off conserve battery life, while the included 18‑inch hose and accessories make setup quick and hassle‑free. Built with durable steel and brass components, it provides reliable performance for bicycles, motorcycles, and other vehicles.

The GERCHWAY Digital Bike Tire Pressure Gauge offers precise ±1% accuracy across a 3–200 PSI range, fitting both Presta and Schrader valves without extra adapters. Its 16‑inch hose provides extra reach for easy inflation on bikes, motorcycles, SUVs, and cars, while the 1/4" NPT quick connector enables direct compressor attachment. Designed for quick checks, deflation, and inflation, it delivers reliable, leak‑free performance for all your tire needs.
Mold cured rubber for consistent side wall–prevents high pressure blow outs
Inner Tube Valve Types: Presta, Schrader and Dunlop
You will usually see three inner tube valve types:
- Presta valve / Sclaverand valve / SV: narrow, common on road, gravel, performance, and many tubeless-ready rims. Unscrew the small tip before inflating.
- Schrader valve / auto valve / AV: wider, similar to a car tire valve, common on many hybrid, mountain, kids’, and utility bikes.
- Dunlop valve / Woods valve / DV: common in some city and utility-bike markets. It fits a Schrader-sized rim hole but often inflates with a Presta-compatible pump head.
Some newer systems, such as Schwalbe Clik Valve, also exist, but Presta, Schrader, and Dunlop remain the main valve choices when buying most replacement tubes. Match the valve to the rim hole rather than forcing a different style. A Schrader tube will not fit through a Presta-drilled rim, and a Presta tube in a Schrader-drilled rim can move around unless the setup is properly adapted.
Choosing Valve Length and Tube Width
Valve length matters most on deep rims. A valve that barely clears the rim can be difficult to inflate and can stress the tube near the valve base. Common Presta valve lengths include about 40 mm, 48 mm, 60 mm, and 80 mm. For very deep aerodynamic rims, you may need a longer valve or a valve extender.
Valve Stem Length Options
For shallow box-section rims, a 40 mm valve is often enough. For medium-depth rims, 48–60 mm is usually easier to use. For deep-section road rims, choose 60–80 mm or follow the wheel manufacturer’s recommendation. You want enough exposed valve for the pump head to clamp securely without bending the stem.
Matching Tube Width Range
Tube width ranges are flexible within limits. A tube labeled 700 x 25–32C can usually work in tires from 25 mm to 32 mm wide. A tube labeled 29 x 2.1–2.4 should be used only with 29-inch tires within that width range. Do not mix wheel diameters just because the tube stretches; the wrong diameter can bunch, fold, or fail.
Inner Tube Materials: Butyl, Latex, TPU and Sealant-Filled Options
Inner tube material affects ride feel, weight, air retention, price, and repair options. There is no single best choice for every bike.
| Tube Type | Best For | Main Benefits | Trade-Offs |
|---|---|---|---|
| Butyl | Commuting, touring, training, kids’ bikes, everyday riding | Affordable, durable, easy to patch, good air retention | Heavier and usually higher rolling resistance than latex or many TPU options |
| Latex | Road racing, fast group rides, smooth pavement | Supple ride feel, light weight, low rolling resistance | Loses air faster, needs careful installation, usually costs more |
| TPU | Lightweight spares, performance road/gravel setups, riders saving pack space | Very compact, often very light, efficient feel | More expensive, brand-specific repair rules, more sensitive to installation mistakes |
| Sealant-filled butyl | Commuters and utility riders who want extra small-puncture protection | Can seal some small holes automatically | Heavier, messier, and not a substitute for inspecting the tire |
[Products Worth Considering]

【Wide Size Compatibility for Road & Gravel】Designed for 700C tires from 18mm to 32mm (18C–32C), this TPU inner tube fits most modern road and gravel bikes. Compatible with both rim brake and disc brake wheelsets for versatile use across different riding setups.
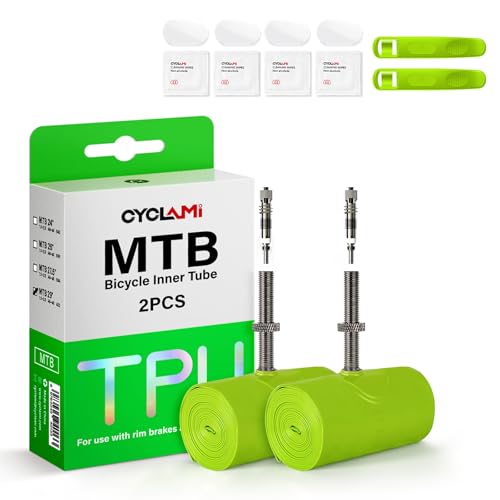
【Wide compatibility】The size of the CYCLAMI TPU inner tube with Presta valve is 45 mm. This MTB mountain bike tube is compatible with many tyre sizes 29'' ×1.9/2.0/2.1/2.2/2.3/2.4/2.5

Light and subtle latex bike inner tube for cyclists who require the best performances in race; extremely light-weight bike tubes designed to bring "life" to your tires, making them noticeably lighter!
Butyl: Durable and Affordable
Butyl is the standard inner tube material for most riders. It holds air well, tolerates daily use, and works with common vulcanizing patch kits. Choose butyl if you want low maintenance, easy repairs, and good value.
Latex: Lightweight and High Performance
Latex tubes feel more supple and can reduce rolling resistance compared with standard butyl tubes. They are popular with performance road riders, but they are more porous, so they lose air faster and should be checked before every ride. Latex tubes also require careful installation because they can pinch easily under the tire bead.
TPU: Lightweight and Compact
TPU, or thermoplastic polyurethane, tubes are usually much lighter and more compact than standard butyl tubes. Many riders like them as saddle-bag spares because they take up little room. Performance varies by brand and model, so avoid assuming every TPU tube is faster or tougher than every latex or butyl tube.
Note: TPU tubes often need TPU-specific patches or adhesives. Do not assume a standard butyl patch kit will work unless the tube maker says it will.
Puncture Protection: Thorn-Resistant Tubes, Sealant and Patches
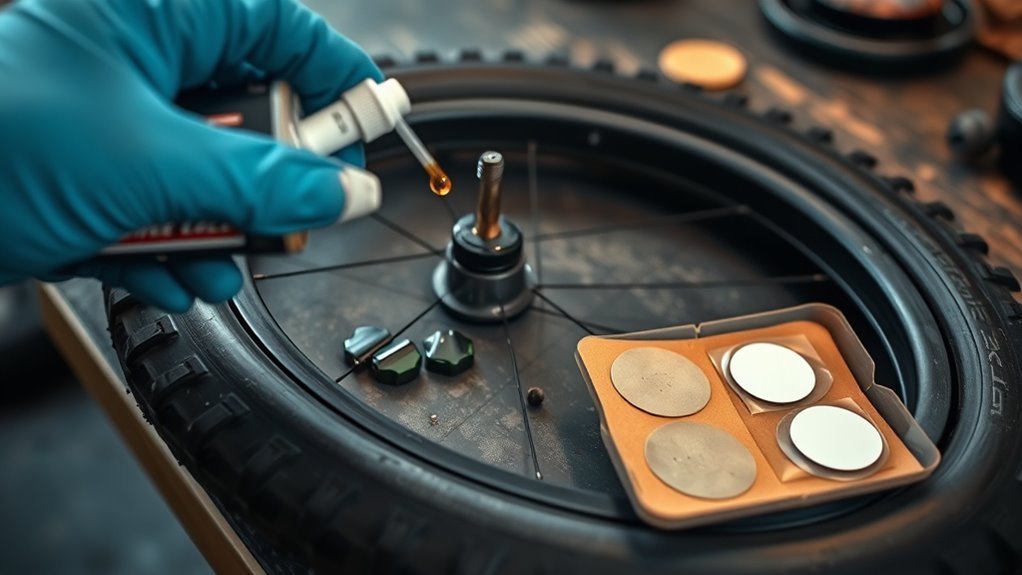
To reduce flats, match the protection to your riding conditions. Thorn-resistant tubes use thicker rubber to resist thorns, glass, and small debris, but they add weight. Sealant-filled tubes can close some small punctures as they happen, but they are not a cure for cuts, sidewall damage, or poor rim tape. Patches are useful for repairs, especially on butyl tubes, but the correct patch type matters.
How to Diagnose a Flat Inner Tube
Before installing a new tube, inspect the old one. The puncture pattern often tells you what caused the flat.
| What You Find | Likely Cause | Fix Before Reinstalling |
|---|---|---|
| One hole on the outside-facing part of the tube | Glass, thorn, wire, nail, or other tread debris | Run fingers carefully inside the tire and remove the object. |
| Hole on the rim-facing side | Bad rim tape, exposed spoke hole, burr, or sharp rim edge | Replace rim tape or smooth the problem area before fitting a tube. |
| Two parallel slits, often called a snakebite | Pinch flat from low pressure, hard impact, or tube trapped under bead | Use correct pressure, inspect the rim, and install the tube without pinching it. |
| Tear near valve base | Crooked valve, tire creep, underinflation, or pump stress | Keep the valve straight and avoid pulling the pump sideways. |
| Slow leak with no obvious hole | Valve core, tiny puncture, dried sealant, or aged tube | Check valve tightness and use water to locate bubbles. |
Tubeless vs Inner Tube: When to Switch and Emergency Kit Checklist
Inner tubes are simple, cheap, and easy to repair on the roadside. Tubeless can be better for riders who want fewer pinch flats, lower tire pressures, and self-sealing protection from small punctures. The trade-off is setup complexity: tubeless needs compatible tires, compatible rims, airtight tape, tubeless valves, and sealant.
When to Go Tubeless
Consider tubeless if you often ride gravel, rocky trails, loose surfaces, or rough roads where pinch flats are common. Tubeless also makes sense if you are comfortable topping up sealant and troubleshooting beads, valves, and tape. If you ride mostly casual pavement and want the easiest repair system, tubes may still be the better choice.
Emergency Tube Kit Essentials
For a bike that uses tubes, carry:
- One correctly sized spare tube
- Two tire levers
- Mini pump or CO2 inflator
- Patch kit matched to your tube material
- Tire boot or folded emergency cash for larger casing cuts
For a tubeless bike, carry:
- Tubeless plug kit
- Valve-core tool
- Small sealant top-up or sealant injector for longer rides
- One spare inner tube for cuts that sealant cannot fix
- Pump or CO2 inflator
Sealant and Repair Tools
Sealant can close many small punctures, but it dries out over time and may not seal large cuts. Check your sealant level on a schedule that matches your climate and riding frequency. Hot, dry conditions usually dry sealant faster. If you install a tube inside a tubeless tire during an emergency, remove sharp tubeless plugs or debris first so they do not puncture the tube.
Tube Care, Storage and Replacement Signs
To keep inner tubes reliable, store spare tubes in a cool, dry place away from direct sunlight, solvents, and sharp tools. Keep them lightly folded or in a small bag so they do not rub against a multi-tool or tire lever in your saddle pack.
Replace a tube if it has repeated slow leaks, cracks, a damaged valve stem, a tear near the valve base, or several old patches close together. Also replace any tube that was badly pinched or stretched during installation. A tube is inexpensive compared with the risk of being stranded.
Frequently Asked Questions
How do I figure out what inner tube I need?
Read the tire sidewall first. Match the tube diameter exactly, choose a width range that includes your tire width, then match the valve type and valve length to your rim and pump. If your tire says 700 x 25C or 25-622, choose a 700C / 622 mm tube with a width range that includes 25 mm.
Why don’t some riders use inner tubes anymore?
Many riders use tubeless systems because they can reduce pinch flats, run lower pressures, and seal small punctures automatically. Inner tubes are still widely used because they are cheaper, simpler, compatible with many bikes, and easier for many riders to repair on the roadside.
What does inner tube mean?
An inner tube is the inflatable chamber inside a bicycle tire. It holds air pressure, supports the tire shape, and cushions the bike as it rolls. Most bike tubes are made from butyl rubber, latex, or TPU.
What’s the difference between Presta and Schrader?
Presta valves are narrow and common on road, gravel, and performance bikes. Schrader valves are wider and similar to car tire valves. The valve must fit your rim hole and pump head. Many modern pumps work with both, but you may need an adapter.
Can I put a tube in a tubeless tire?
Yes, in many cases you can install a tube in a tubeless tire as an emergency repair. Remove the tubeless valve, check for thorns or plugs inside the tire, and fit the tube carefully. This is a backup fix, not a replacement for repairing a damaged tire or rim tape.
Are TPU tubes worth it?
TPU tubes can be worth it if you want a very light, compact spare or a performance-focused tube setup. They cost more than butyl tubes and may need special patches, so check the manufacturer’s repair and inflation instructions before relying on one for long rides.
Conclusion
The inner tube is simple, but it does important work. Match the size to your tire, choose the correct valve and valve length, install it without pinching, and inspect the tire and rim whenever you fix a flat. Butyl tubes are the practical everyday choice, while latex and TPU tubes suit riders who value lighter weight or a faster ride feel. Whether you ride tubes or tubeless, carrying the right repair kit keeps a small puncture from ending the ride.
Sources
- Schwalbe Tire Sizes FAQ — ETRTO size markings and tire-size interpretation.
- Continental Tire/Rim Combinations and ETRTO Standards — tire/rim compatibility and pressure-limit guidance.
- Park Tool Tire and Tube Removal and Installation — tire and tube removal, inspection, and installation procedure.
- Park Tool Tubeless Tire Mounting and Repair — tubeless setup, sealant, and repair considerations.
- Vittoria Tire Accessories Technical FAQ — latex tube benefits, air retention, and material differences.
- Tubolito Patch Kit — TPU tube patch compatibility and repair requirements.
Related Articles

What Does THE P Stand For on a Tire? Full Meaning Explained
I’ll explain what the “P” on a tire really means and why it could change how you choose your next set.
Read More
How to Use a Tubeless Tire Repair Kit: Complete Field Guide
Learn how to fix tubeless tire punctures fast with the right kit, because one small mistake can leave you stranded on the trail.
Read More
How to Tell a Tire’s Diameter: Easy Guide to Reading Tire Size
Want to decode tire sidewall numbers and find the right diameter, but wonder what those hidden digits really mean?
Read More