
Tire Tube Guide 2026: Sizes, Valves, Repairs & Care
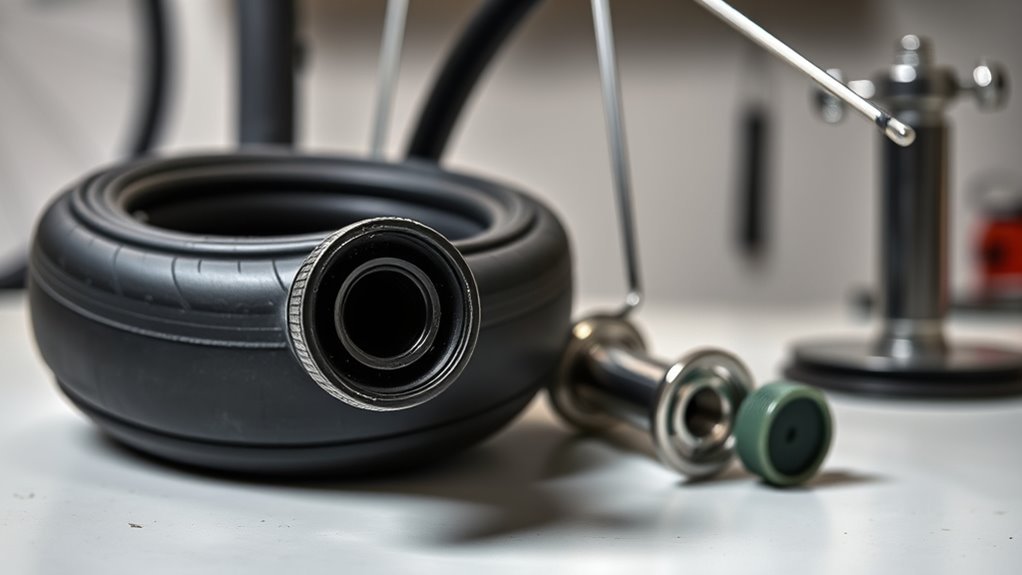
Tire Tube Guide: Inner Tube Sizing, Valves, Repairs, and Care
What’s in This Article
- Who Should Read This Guide and How to Use It
- What Is an Inner Tube and How Is It Different From Tubeless?
- Inner Tube Parts: Valve, Core, Body, and Wall Thickness
- Inner Tube Materials: Butyl, Latex, and TPU
- How to Pick the Right Tube Size and Valve
- Recommended Tire Pressures and How Pressure Affects Ride
- Step by Step: Install an Inner Tube Correctly
- Repair or Replace a Tube on the Road
- Tube vs Tubeless vs Sealant: How to Choose for Your Ride
- Where to Buy Tubes and What to Pack in a Spare Kit
A flat tire can turn a smooth ride into a roadside repair in minutes. A tire tube gives a clincher tire its air chamber, helps cushion the ride, and gives you a simple part to patch or replace. This guide explains how inner tubes work, how to choose the right size and valve, and how to install, maintain, and repair them with confidence.
Quick Answer
A tire tube is an inflatable sleeve that sits inside a clincher tire and holds pressurized air. Choose one that matches your tire diameter, tire width, valve type, and rim depth. Install it with care so you don’t pinch the tube under the tire bead.
Key Takeaways
- Match the tube size to the tire sidewall markings before you buy or install it.
- Choose Presta or Schrader valves based on your rim hole and pump setup.
- Use butyl for daily reliability, latex for speed, and TPU for a light spare or mixed use.
- Check tire pressure before rides to reduce pinch flats and improve control.
- Carry a spare tube, tire levers, a pump or CO2 inflator, and a patch kit.
Who Should Read This Guide and How to Use It
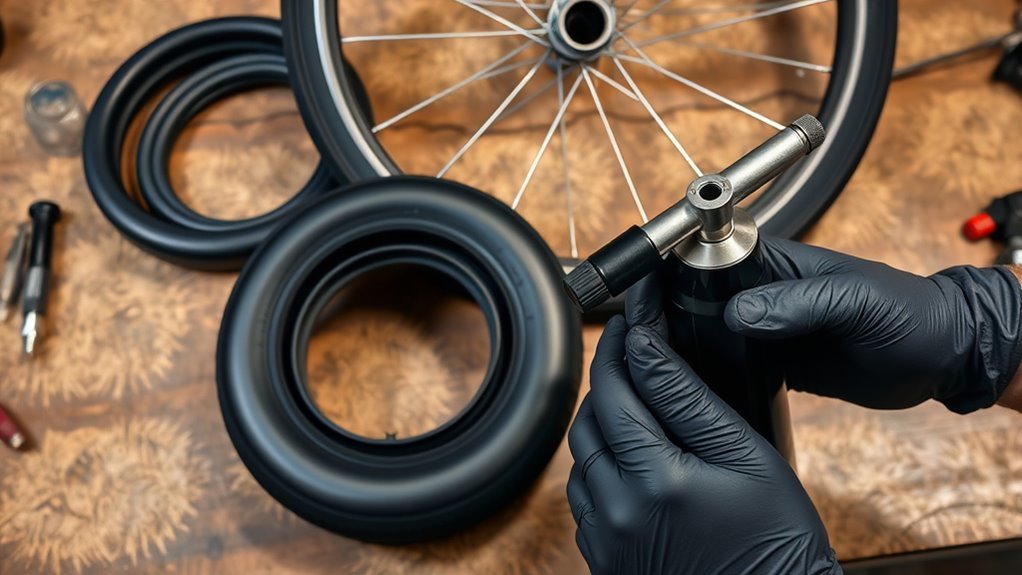
You should read this guide if you ride, repair, or maintain bicycles or other gear that uses inner tubes. Use it as a plain reference for inner tube maintenance, selection, and field repairs.
You’ll learn how tubes hold air, add cushioning, and give you a simple repair path. You’ll also see how butyl, latex, and thermoplastic polyurethane (TPU) tubes differ in weight, air retention, and puncture behavior.
The guide covers sizing, valve choice, installation, pressure checks, and roadside fixes. Follow the steps to reduce downtime and keep your tire setup safer and more reliable.
What Is an Inner Tube and How Is It Different From Tubeless?
An inner tube is a doughnut-shaped inflatable sleeve made from rubber or synthetic material. It sits inside a clincher tire and holds the pressurized air that supports your weight and cushions the ride.
A tubeless system works in a different way. It seals the tire directly to the rim and uses liquid sealant to help close small punctures.
Both systems work well when you match them to your rim, tire, terrain, and maintenance habits. Tubes suit riders who want simple repairs, while tubeless systems suit riders who want lower pressure, better grip, and fewer pinch flats.
Inner Tube Basics
Think of an inner tube as a separate air bladder inside your tire. It uses a valve to let air in and keep air from leaking out.
You must match the tube diameter and width to the tire. A poor size match can stretch the tube, create folds, or raise the risk of pinch flats.
Most bicycle tubes use Presta or Schrader valves. Butyl tubes offer durability and strong air retention, while latex and TPU tubes focus more on ride feel, low weight, or compact storage.
Tubeless Versus Tube
Inner tubes create a separate air chamber inside the tire. Tubeless tires form an airtight seal between the tire bead and rim instead.
Tubeless setups can reduce pinch flats because no tube sits between the tire and rim. Sealant can also close many small punctures while you ride.
Inner tubes still make sense for many riders. They cost less, fit most standard clincher rims, and let you make easy roadside repairs with a spare or patch kit.
Inner Tube Parts: Valve, Core, Body, and Wall Thickness
Four main parts make up an inner tube: the valve stem, internal valve core, rubber body, and wall thickness. Each part affects fit, air retention, and repair ease.
The valve stem passes through the rim and lets you inflate the tube. The valve core seals the air inside and lets you release pressure when needed.
The tube body holds the air. Wall thickness often affects weight, ride feel, and puncture resistance, so choose a tube that fits your terrain and load.
Warning: A crooked valve or pinched tube can cause sudden air loss, so check alignment before full inflation.
Inner Tube Materials: Butyl, Latex, and TPU
You’ll choose between butyl, latex, and TPU based on air retention, elasticity, weight, cost, and puncture resistance. No tube material wins every category.
Butyl works best for everyday use because it holds air well and costs less than most performance tubes. Latex feels supple and can reduce rolling losses, but it loses air faster and needs careful installation.
TPU tubes pack small and weigh little, which makes them useful as spares or performance upgrades. They often cost more, and you should follow the maker’s inflation and patching rules.
[Products Worth Considering]

The GERCHWAY Presta Valve Adaptor Pump offers a versatile dual‑head chuck that fits both Presta and Schrader valves, eliminating the need for extra adapters. Its precision gauge accurately reads 5–100 PSI with ±2 PSI tolerance, ensuring safe and optimal tire inflation for bikes, motorcycles, SUVs, and cars. The 18‑inch hose provides flexible reach, while the 3‑in‑1 design lets you check pressure, release air, or inflate directly from an air compressor.
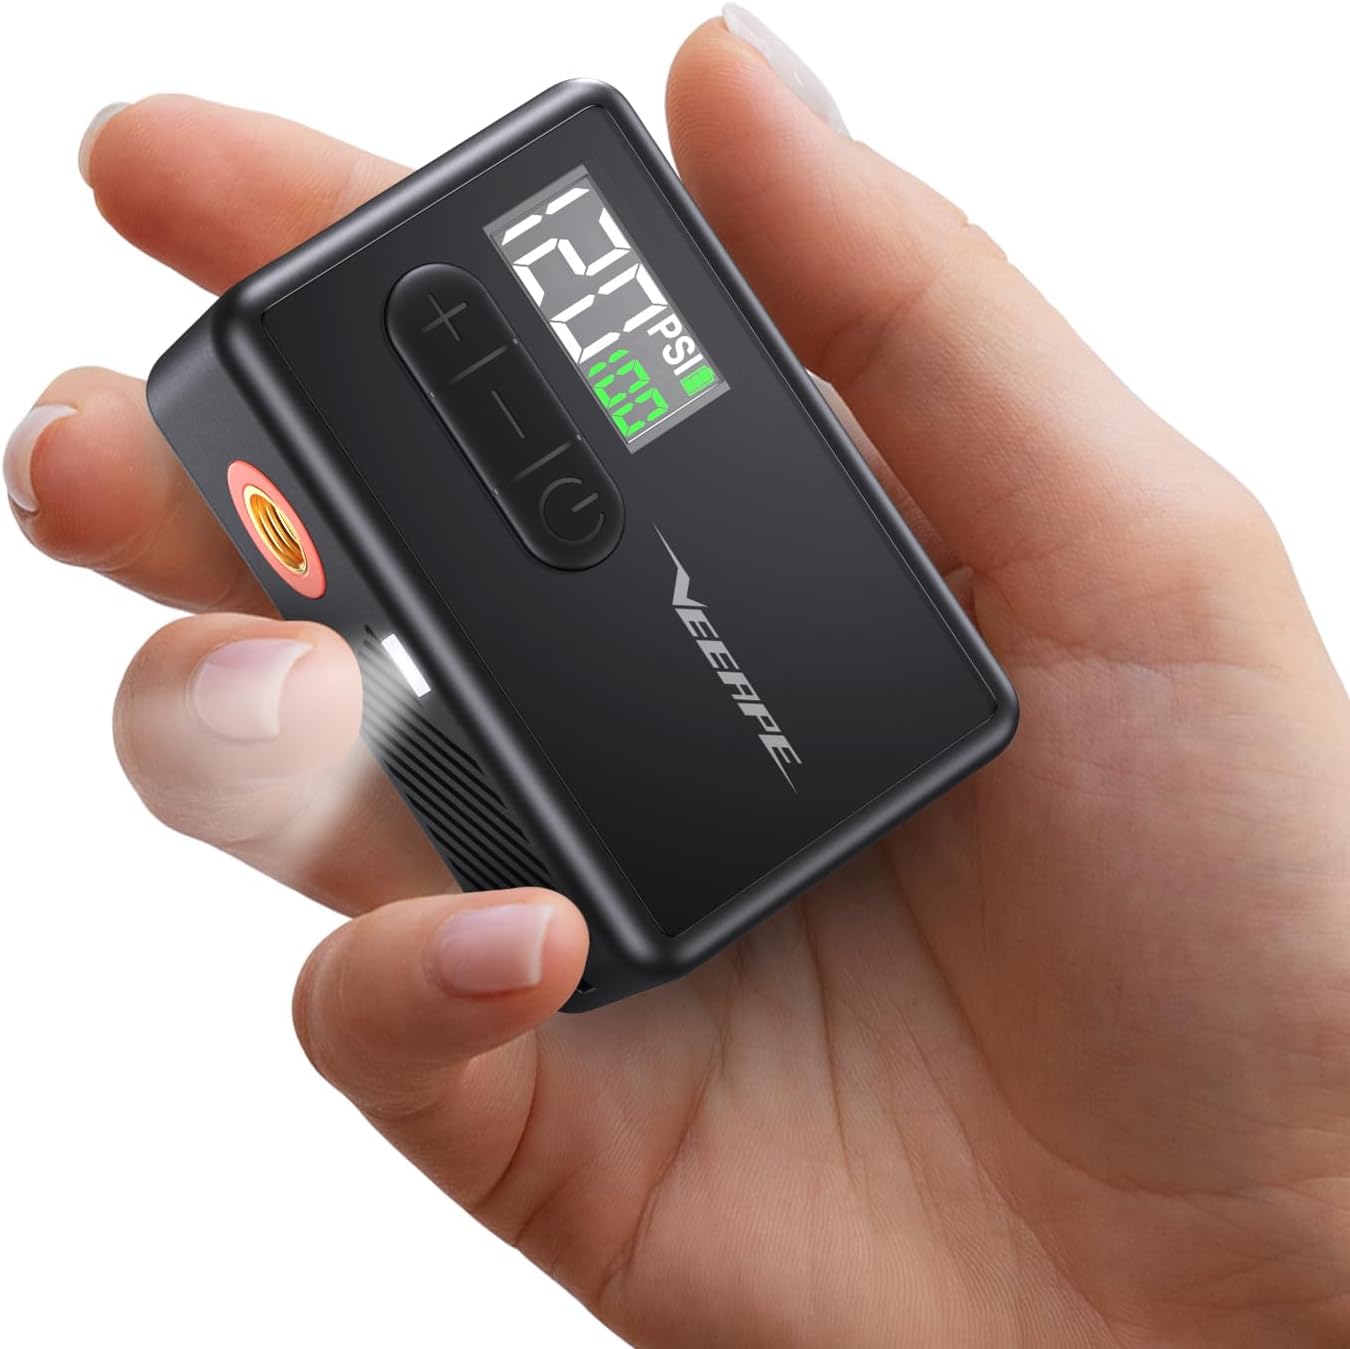
The Tiny Pump Mini Bike Tire Pump delivers rapid inflation up to 120 PSI with a compact, lightweight design that fits in any pocket or backpack. Its digital screen and auto‑stop function ensure precise pressure control, while the 4000mAh battery provides long‑lasting power and quick charging via Type‑C. Includes multiple valve adapters and accessories for bicycles, e‑bikes, and sports balls, making it a versatile tool for every cyclist.

The CO2 Bike Tire Inflator provides fast, precise inflation for road and mountain bikes with a CNC‑machined aluminum body and brass internals. Its control lever lets you regulate gas flow, preventing freezing and ensuring safe, leak‑free connections to both Presta and Schrader valves. Compact and lightweight, it’s ideal for race, group rides, and timed events, delivering reliable performance with premium threaded CO2 cartridges.
Material Properties Compared
Compare tube materials across three main traits: air retention, rolling resistance, and durability. Those traits shape how often you pump your tires and how the bike feels on the road.
Butyl offers strong air retention and easy installation. It works well for commuting, training, and general riding.
Latex offers high elasticity and a smoother ride feel. TPU sits between daily use and performance use because it combines low weight with compact storage.
Performance and Tradeoffs
Use your riding goals to choose the best tube. For commuting, durability and easy repairs matter more than small weight savings.
For racing or fast group rides, latex or TPU may appeal because they can reduce weight or improve ride feel. You’ll need to accept higher cost, more care, or more frequent pressure checks.
For mixed use, a quality butyl tube remains the most practical choice. Carrying a compact TPU spare can also save space in a small saddle bag.
How to Pick the Right Tube Size and Valve
Pick the right inner tube by checking your tire sidewall first. The markings show the tire diameter and width, such as 700 x 25c or 29 x 2.25.
Match both numbers to the range printed on the tube box. A tube can usually fit a range of widths, but the diameter must match your tire.
Next, choose the valve type that fits your rim. Presta valves fit many road and performance rims, while Schrader valves fit many hybrid, mountain, and utility bikes.
| Item | Recommendation |
|---|---|
| Diameter | Match the tire sidewall marking |
| Width | Choose a tube width range that covers your tire width |
| Valve type | Match the rim hole and pump head |
| Valve length | Choose enough length for your rim depth |
Rim depth also matters. Deeper rims need longer valve stems so you can attach a pump head without trouble.
Recommended Tire Pressures and How Pressure Affects Ride
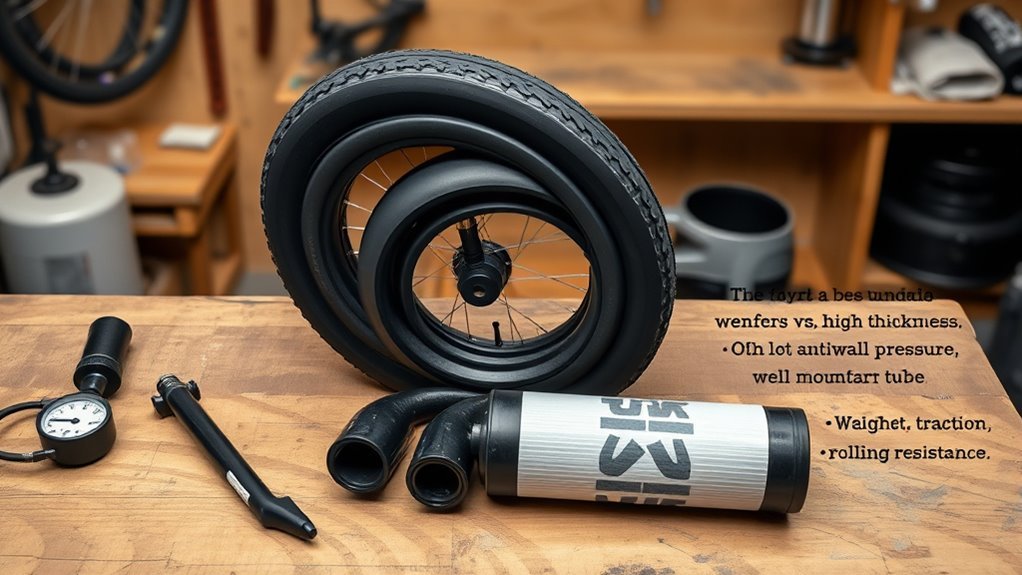
After you match the tube and valve, set the right tire pressure. Pressure affects speed, comfort, grip, tire wear, and puncture risk.
Many road tires use higher pressure than mountain bike tires, but the best number depends on tire width, rider weight, terrain, and the tire maker’s limits. Always stay within the pressure range printed on the tire sidewall.
Higher pressure can feel faster on smooth roads, but too much pressure reduces comfort and grip. Lower pressure can improve control on rough ground, but too little pressure raises the risk of pinch flats.
Pro tip: Check pressure before rides because tubes lose air slowly even when they have no puncture.
Step by Step: Install an Inner Tube Correctly
Careful installation prevents most tube damage. Work slowly, keep the tube clear of the tire bead, and check both sides before full inflation.
What You’ll Need
- A correctly sized spare tube
- Tire levers
- A pump or CO2 inflator
- A patch kit for small punctures
- A clean rag for checking the tire and rim
Installation Steps
- Remove the wheel and fully deflate the old tube.
- Lift one tire bead over the rim edge with tire levers.
- Extract the old tube and note the valve type and tube size.
- Inspect the tire casing, tread, and rim strip for glass, thorns, or sharp edges.
- Inflate the new tube slightly so it holds its round shape.
- Insert the valve through the rim hole and tuck the tube evenly into the tire.
- Seat the tire bead by hand, working away from the valve.
- Check both sides of the tire to confirm the tube is not trapped under the bead.
- Inflate to the recommended pressure and confirm the valve sits straight.
Rushing the last part causes many pinch flats. If the bead feels tight, push the mounted bead into the center channel of the rim before using more force.
Repair or Replace a Tube on the Road
Once you remove the damaged tube, decide whether to patch it or swap in a spare. A spare tube gives you the fastest and most reliable roadside fix.
Use a patch for a small puncture when you have time and a clean work area. Roughen the rubber, apply adhesive if your kit requires it, wait until it turns tacky, then press the patch firmly in place.
A plug usually applies to tubeless tires, not standard inner tubes. If your tube has a large tear, a damaged valve base, or more than one puncture, replace it instead of patching it.
Before you reinstall a tube, run your fingers carefully inside the tire to find debris. Glass, wire, or thorns left in the tire can puncture the new tube right away.
Tube vs Tubeless vs Sealant: How to Choose for Your Ride
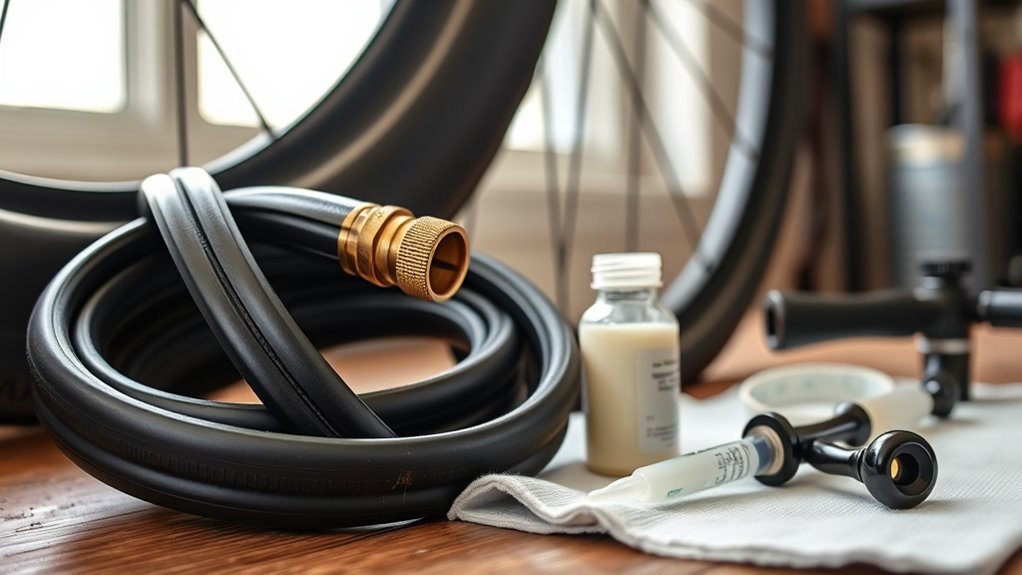
Your best tire system depends on how you ride and how much maintenance you’ll do. Inner tubes keep setup simple and repairs easy.
Tubeless setups remove the tube and use sealant to hold air and close many small punctures. They can let you run lower pressure for better grip, especially off road.
Sealant needs upkeep because it dries out over time. Choose tubes for low-effort commuting and simple service, or choose tubeless with sealant for grip, comfort, and puncture resistance on rough terrain.
[Products Worth Considering]

The CO2 Inflator Kit provides rapid tire inflation for road and mountain bikes, delivering up to 100 psi in seconds with threaded 16 g cartridges. Its compact design fits easily in a saddle bag, and the included insulated sleeve protects hands from the cold discharge. Compatible with both Presta and Schrader valves, it offers a lightweight alternative to hand pumps for quick repairs on the trail.

Stay prepared for any bike emergency with this all-in-one repair kit featuring a compact CO2 inflator, 2 × 16 g cartridges, multi‑tool Allen keys, and tire repair accessories. The lightweight design fits easily in a saddlebag, allowing quick fixes of flats and minor adjustments on the road or trail. Chrome vanadium steel construction ensures durability, while the included patches and levers cover all basic tire repairs.

Long-lasting latex formula provides superior durability, staying effective for 2-3 times longer than standard sealants to minimize maintenance and downtime. 60-120 days between top-offs.
Common Inner Tube Problems and What Causes Them
Most tube failures come from punctures, pinch flats, valve damage, poor rim tape, or incorrect pressure. The hole shape often tells you what went wrong.
- Single small hole: Look for glass, wire, thorns, or other sharp debris in the tire.
- Two side-by-side cuts: Suspect a pinch flat from low pressure or a hard rim strike.
- Leak near the valve: Check for a crooked valve, rim edge damage, or stress at the valve base.
- Repeated rim-side punctures: Inspect the rim strip or tape for spoke hole exposure.
Fix the cause before you fit another tube. A new tube won’t last if the tire or rim still has a sharp point.
Where to Buy Tubes and What to Pack in a Spare Kit
You can buy inner tubes from local bike shops, auto-parts stores, and online retailers. A local shop can help you match size, valve type, and valve length.
Before you buy, inspect the tube package and valve area. Look for consistent wall thickness, a secure valve base, and clear size markings from a reputable maker.
Build a compact spare kit before your next ride. Pack a correctly sized spare tube, tire levers, a pump or CO2 inflator, and a patch kit.
You can also carry thorn-resistant or self-sealing tubes if you ride rough roads or thorn-heavy trails. Check your spare kit from time to time so dry patches, empty CO2 cartridges, or cracked old tubes don’t surprise you.
[Products Worth Considering]

Bicycle Repair Kit: include mini bicycle pump + bike multitool + crank extractor and wrench + bone wrench + tire lever + bike glueless patches set. for home bike, road bike, mountain bike and mtb bike emergency, repairs, removing, replacing, maintenance, gift. Bike Repair Tool Advent Calendar for Adult Men Teen Boys, Christmas Countdown Gifts for Husband Son.

Slime's SKABS are a simple, one step solution to a punctured tyre and no glue or cement required, means no mess

Repair puncture related flats on ATVs, mowers, bicycles and wheelbarrows
Frequently Asked Questions
What Is Better, Presta or Schrader?
Presta valves suit narrow rims, higher pressures, and many road or performance bikes. Schrader valves suit many hybrid, mountain, and utility bikes because pumps and replacement parts are easy to find.
What Does 700 Mean on an Inner Tube?
700 refers to the tire’s nominal diameter used in common road bike sizing. You still need to match the tube’s width range and valve type to your tire and rim.
What Are Two Types of Inner Tube?
Two common tube types are butyl and latex. Butyl works well for daily durability and air retention, while latex focuses on a lighter, more supple ride.
Can You Put Sealant Inside an Inner Tube?
You can use sealant only with tubes and valves that support it. Some removable-core tubes accept sealant, but you should follow the sealant and tube maker’s instructions.
How Often Should You Replace an Inner Tube?
Replace an inner tube when it has a damaged valve, large tear, repeated leaks, or cracked rubber. You don’t need to replace a sound tube on a fixed schedule if it holds air well and shows no damage.
Conclusion
The right inner tube keeps your tire inflated, your ride controlled, and your repair plan simple. Match the tube to your tire size, rim, valve type, and riding conditions before you install it.
Practice changing a tube at home so roadside repairs feel calm and familiar. Keep a spare, tire levers, inflation tool, and patch kit with you every time you ride.
With the right setup and a few basic habits, you’ll spend less time fixing flats and more time riding.
References
- Tires — Sheldon Brown, reference guide
- Tire and Tube Removal and Installation — Park Tool
- Flat Tire Repair — Park Tool

Related Articles
What Does THE P Stand For on a Tire? Full Meaning Explained
I’ll explain what the “P” on a tire really means and why it could change how you choose your next set.
Read More
How to Use a Tubeless Tire Repair Kit: Complete Field Guide
Learn how to fix tubeless tire punctures fast with the right kit, because one small mistake can leave you stranded on the trail.
Read More
How to Tell a Tire’s Diameter: Easy Guide to Reading Tire Size
Want to decode tire sidewall numbers and find the right diameter, but wonder what those hidden digits really mean?
Read More