
How to Inspect a Tire: 8-Point Safety Check
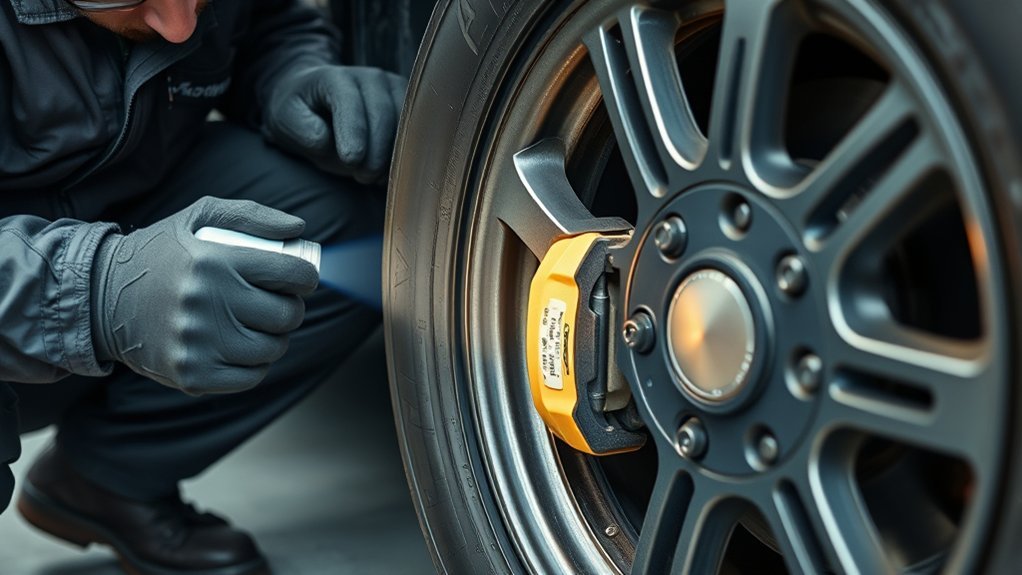
You can inspect a tire in minutes with an 8-point safety check. Start with cold tire pressure and compare it to the door label, then measure tread depth and look for uneven wear. Examine sidewalls for cracks, bulges, cuts, and dry rot. Check valve stems for leaks, clear debris from the tread, and confirm alignment signs. If you spot damage or low tread, repair or replace it, and there’s more to verify next.
Key Takeaways
- Check tire pressure when tires are cold and compare it with the manufacturer’s recommended pressure on the door label.
- Measure tread depth with the penny test and replace tires if tread is below 2/32 inch.
- Inspect sidewalls for cracks, cuts, bulges, dry rot, or exposed cords that need repair or replacement.
- Look for uneven wear, scalloping, or cupping, which can indicate alignment or suspension problems.
- Remove debris from tread grooves and check valve stems for leaks or damage to maintain safe inflation.
[Products Worth Considering]

Measure tire tread depth quickly and accurately with this LUMITECO dial gauge that reads in 1/32" increments up to 14/32". The color-coded green/yellow/red zones make it easy to judge tire wear and know when replacement is needed. A rugged, compact design with a protective pouch helps keep the gauge ready for use on cars, trucks, motorcycles, and more.

Monitor tire tread wear with a smart, color-coded depth gauge that shows clear condition ranges at a glance. The bar is range marked for fast, easy readings, helping you maintain safer traction and performance. Each gauge is portable with a pocket clip, and the set includes 20 units for daily use and sharing.

The SAFELIFE dial tire tread depth gauge measures tread depth in 1/32 inch increments with clear, easy-to-read 2-inch dial face. Color zones using a traffic light system help you quickly judge whether tread is low, marginal, or ample for safer driving. Built with a durable zinc cast body and a metal detect probe for precise, comfortable use across cars, motorcycles, trucks, and buses.
What Is the 8-Point Tire Safety Check?
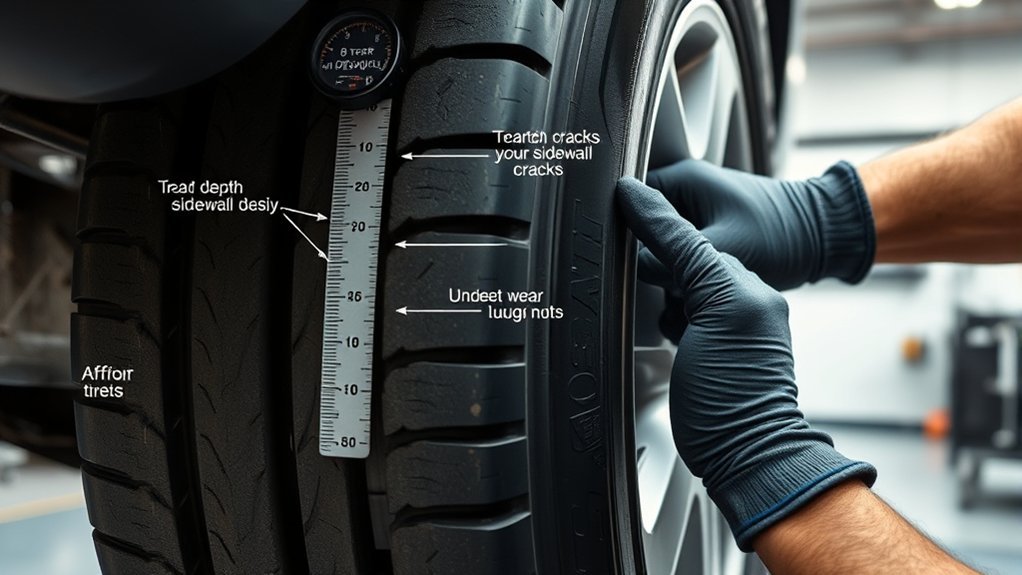
The 8-Point Tire Safety Check is a free New Zealand service that helps you spot basic safety issues before a long trip or when warning lights appear.
During this tire safety check, you can inspect your tires for worn tires, confirm tire pressure, measure tread depth, and note wheel alignment concerns that affect vehicle safety.
Inspect tires for wear, check pressure, measure tread depth, and note alignment concerns affecting vehicle safety.
Technicians also review battery condition, engine oil level, wiper blades, headlights, and the air filter, giving you a practical snapshot of your vehicle’s condition.
Use it as a quick screening tool, not a replacement for a full WOF or mechanical service. Regular checks help you catch faults early, and that matters because poor tire maintenance can reduce braking efficiency and handling.
You can book online with no obligation for extra work, so you can assess tire safety without risk.
Check Tire Pressure and Tread First
Start with two basics: tire pressure and tread depth. Use a handheld gauge to check tire pressure when the tires are cold, including the spare. Compare each reading with the manufacturer’s recommended pressure on the driver’s side door label. Proper inflation supports handling, fuel economy, and tire safety, so adjust pressure before driving if needed.
As part of routine tire maintenance, measure tread depth next. Perform the penny test by inserting a penny upside down into the grooves; if Lincoln’s head is visible, the tread is worn and you need replacement. Keep in mind that 2/32 inch is the legal minimum, and built-in treadwear indicators can also signal wear.
This quick tire safety inspection helps you catch problems early, maintain traction, and reduce accident risk. If tread depth is low or pressure is off, address it right away before the vehicle goes back on the road.
Inspect Sidewalls for Cracks and Bulges
Inspect the sidewalls closely for cracks, cuts, and weathering, since these usually indicate rubber degradation from age, sunlight, or exposure.
Check for bulges or blisters, because they often signal internal damage or a weak spot that can fail under load.
If you see visible cords, air loss, or any notable damage, you should replace the tire or get it professionally inspected, especially if it’s over six years old.
Spotting Sidewall Cracks
Look closely at the sidewalls for cracks, since rubber can degrade from age and exposure, leading to air loss or even tire failure.
During each inspection, trace the sidewalls for fine cracks, cuts, and aging marks. Small fissures between the tread blocks and sidewalls can be normal, but deep cracking or exposed cords signal serious wear and reduced safety.
Check for blisters, because they often indicate internal damage that can worsen under load. If you see repeated cracking, the tire’s performance may decline and the risk of failure rises.
Regular visual checks help you catch degradation early, especially after long exposure to sun, heat, or chemicals.
If cracks are visible, have a professional assess the tire promptly and replace it if needed.
Identifying Bulges Early
Sidewall cracks aren’t the only warning sign to check for; bulges can also point to internal damage or pressure problems that weaken the tire’s structure.
You should inspect both sidewalls closely and rotate the wheel slowly so light reveals any raised areas, cuts, or cracks. A bulge usually means the tire’s internal cords have failed, so the casing can’t hold shape.
Don’t ignore even a small swelling, because it can grow and lead to a blowout while driving. Regularly checking tires helps you catch damage before it affects safety.
If you find any cracks or bulges, have the tire inspected by a professional and replace it if needed. Damaged sidewalls contribute to crashes every year, so prompt action protects you and your passengers.
Look for Uneven Wear and Alignment Issues
Uneven tread wear often points to alignment issues, with one side of the tire wearing faster because of improper suspension or steering angles.
During a visual inspection, check every tire for uneven wear, scalloping, cupping, or flat spots across the tread. Compare the inner, center, and outer sections; even wear should look uniform.
If you see clear signs of wear that differ from tire to tire, schedule a condition check and wheel alignment. You can also use tire rotation intervals to spot patterns early, since repeating wear on the same edge usually signals misalignment.
Catching these problems matters because misaligned tires increase rolling resistance and can reduce fuel efficiency, costing you more at the pump.
A precise inspection now helps you preserve tread life, maintain handling, and keep the vehicle stable. If wear looks abnormal, don’t ignore it.
Test Valve Stems for Leaks
Inspect the valve stems for cracks, brittleness, or other damage, and make sure the caps and cores sit securely.
Apply a soapy water solution around the stem and watch for bubbles, which show air leaking out.
If you find a damaged valve core or stem, replace it right away to keep tire pressure stable.
[Products Worth Considering]

Accurately measure tire tread depth with a calibrated gauge marked from 0 to 1 inch in 1/32 inch increments. The color-coded bar helps you quickly identify tread condition ranges, supporting safe driving for trucks, motorcycles, automobiles, and passenger vehicles.

Keep your tires properly inflated with this analog VONDIOR tire pressure gauge, designed for fast, easy readings without batteries. The swiveling, two-axis hose and large glow dial help you measure at any tire angle with instant visibility. Built with a protective rubber shield, it supports durable, low-maintenance use for cars and trucks.

This 100-piece set of snap-in tubeless tire valve stems is designed for standard 0.453 in (11.5 mm) rim holes and helps maintain reliable, steady tire pressure. Made with ozone-resistant rubber and brass cores, the valves are built for durability and long-term use. Easy to install by hand, they support safe driving and are suitable for cars, light trucks, trailers, and more.
Valve Stem Visual Check
Start by checking each valve stem for visible cracks, tears, or bulges, since even minor damage can cause air leaks and gradual tire deflation. During this visual check, confirm the valve cap is tight and intact; it helps keep dirt and moisture out. On older tires, watch for rubber degradation around the stem base, where failure often starts. A damaged valve stem can lower pressure, create handling issues, and hurt fuel efficiency. Use this quick reference:
| Check Point | What You See | Action |
|---|---|---|
| Stem body | Cracks | Replace |
| Stem body | Tears | Replace |
| Stem body | Bulges | Replace |
| Cap | Missing/loose | Secure |
| Tire age | Deterioration | Inspect often |
If you spot damage, correct it before driving, since pressure loss worsens fast.
Soapy Water Leak Test
With the tire properly inflated, apply a soap-and-water solution to the valve stem and surrounding area, then watch closely for bubbles, which show escaping air.
This soapy leak test is simple, but it’s highly effective for finding small valve leaks you can’t see during a visual check. Use enough solution to coat the stem, valve core area, and base, then observe for several seconds.
If bubbles appear or grow, air is escaping and the tire can’t hold pressure properly. In that case, you should replace the valve stem to stop loss and protect performance.
Make this check part of routine tire inspection so you can catch problems early, maintain correct inflation, and avoid unexpected deflation on the road.
Replace Damaged Valve Cores
If the soapy water test shows bubbles at the valve stem or valve core, replace the damaged core right away. During inspection, check valve stems for leaks, wear, and cracking, because they hold air and protect tire pressure. Use a valve core tool to remove the old core, then screw in a new one; you don’t need to remove the tire. | Step | Action | Result |
| — | — | — |
|---|---|---|
| 1 | Test with soapy water | Locate leaks |
| 2 | Remove damaged core | Stop air loss |
| 3 | Install new core | Restore performance |
Regular maintenance of valve stems prevents pressure loss, supports safer driving, and extends tire lifespan. If the stem itself is damaged, replace it, too. Monitor pressure after service and confirm the repair holds.
Clear Out Tread Debris
Brush out any stones, dirt, or other debris trapped in the tread grooves during your monthly tire inspection. Use a pick or stiff brush to clear the tread without damaging the rubber, then check the full circumference for lodged material.
When you remove debris, you restore normal contact with the road, which helps preserve grip and traction, supports braking performance, and keeps water channels open for better drainage in wet conditions. This simple maintenance step also limits uneven wear, since packed dirt and stones can create localized stress and shorten tire life.
Make debris removal part of every inspection so you catch performance issues early and reduce unnecessary replacement costs. A clean tread gives you more consistent safety, steadier handling, and more responsive stopping.
If you find material embedded deeply, have it removed carefully before you drive farther.
Check for Cuts, Bulges, and Dry Rot
Next, inspect the tire sidewalls and tread for cuts, bulges, and signs of dry rot. During visual inspections, you should check for cuts in the rubber on your tires, because even small slices can weaken structural integrity and lead to blowouts.
Look for:
- cuts along grooves and shoulders
- bulges on sidewalls that suggest weak spots
- dry rot cracks or fissures from age or sun
- exposed cords, which mean tire replacement
Run your hand lightly over the surface to feel irregularities, but keep your eyes focused on damage patterns. Bulges often signal internal separation and possible tire failure, so don’t ignore them.
Dry rot usually appears as fine cracking that spreads as the tire ages. Perform these checks monthly and before long trips to catch problems early.
If you spot severe damage, schedule tire replacement immediately to maintain road safety.
Know When to Repair or Replace Tires
Know when tire damage calls for a simple repair and when it means replacement. During tire inspections, check your tread with the penny test; if Lincoln’s head shows when upside-down, the worn out tread is below 2/32 inch and you should replace tires. | Condition | Action |
| — | — |
|---|---|
| Tread below 2/32 in. | Replace tires |
| Sidewall crack, bulge, puncture | Replace tires now |
| Uneven tire wear | Get an alignment check |
| Low pressure monthly | Check the tire pressure |
Also confirm the tire is properly inflated, because underinflation accelerates tire wear and can raise blowout risk. If a tire shows a stubborn puncture or structural damage, don’t delay replacement. Age matters too: many manufacturers say to replace tires at six to ten years, even if tread remains. By checking tread depth, pressure, and sidewall condition, you can decide fast whether repair is safe or replacement is the correct choice.
Book Tire Repair, Rotation, or Alignment
Schedule tire repair, rotation, or an alignment check as soon as you spot wear, damage, or handling changes, because regular service can extend tire life by up to 4,700 miles.
When you inspect tire condition, look for cuts, bulges, vibration, and uneven tire wear, then book service before the problem spreads. A timely safety check helps you keep control and protect your investment.
- Tire repair: fix punctures only when the casing is sound.
- Tire rotation: schedule every 5,000 to 8,000 miles to balance wear.
- Alignment: request a proper wheel alignment if your vehicle pulls.
- Inspection: ask for a free review of tread, pressure, and suspension.
Proper wheel alignment can also improve fuel efficiency and reduce scrub losses.
If steering feels off or one shoulder wears faster, don’t wait. Call a shop, confirm the service plan, and document mileage so you can extend tire life and maintain safe, predictable handling.
Frequently Asked Questions
How to Check Tires for Safety?
You check tires with visual inspections for sidewall cracks, uneven wear, and tire tread depth, then do pressure monitoring, seasonal checks, and age assessment. If you spot alignment issues, get service before driving.
What Is the 7 7 Rule for Tires?
The 7 7 rule can save your life: replace tires at seven years or when tread depth drops below 7/32 inch. Check tire pressure, sidewall damage, uneven wear, age factors, seasonal changes, alignment issues, and maintenance tips.
What Are the 7 Steps of the Inspection Process?
You inspect tread depth, sidewall damage, air pressure, uneven wear, valve stems, tire rotation, age inspection, and seasonal changes. You’ll spot hazards, verify PSI, and decide whether you need service or replacement.
What Is the 3 Rule on Tires?
The 3 rule means you should replace tires at 3/32-inch tire tread, before wet-road grip fades. You’ll check air pressure, sidewall cracks, uneven wear, valve stems, alignment issues, seasonal changes, and tire age.
Conclusion
By checking pressure, tread, sidewalls, wear patterns, valve stems, debris, damage, and service needs, you keep your tires road-ready and your vehicle safer. Think of each tire as a lone watchdog: if it weakens, the whole system suffers. You can catch problems early, avoid blowouts, and decide when repair or replacement makes sense. Stay consistent, and you’ll protect handling, braking, and tire life with a simple 8-point routine.
[Products Worth Considering]

The Big Rig Defense Tire Thumper is a truck tire pressure checker that lets you quickly check multiple tires by giving them a firm whack. Listen for a reassuring thump and feel the stick bounce when a tire is fully inflated, helping you get back on the road safely. It features a comfortable, glove-friendly handle and a secure wrist strap for confident use on busy routes.

Steelman white tire marking crayons provide high-contrast, semi-permanent marks for repairing and inspecting tires and equipment. They write on wet or dry, smooth or coarse surfaces including rubber, metal, glass, and wood, making them ideal for puncture location and damage outlining. The lead- and zinc-free crayons resist weather and fading yet wipe away when you no longer need the marks.
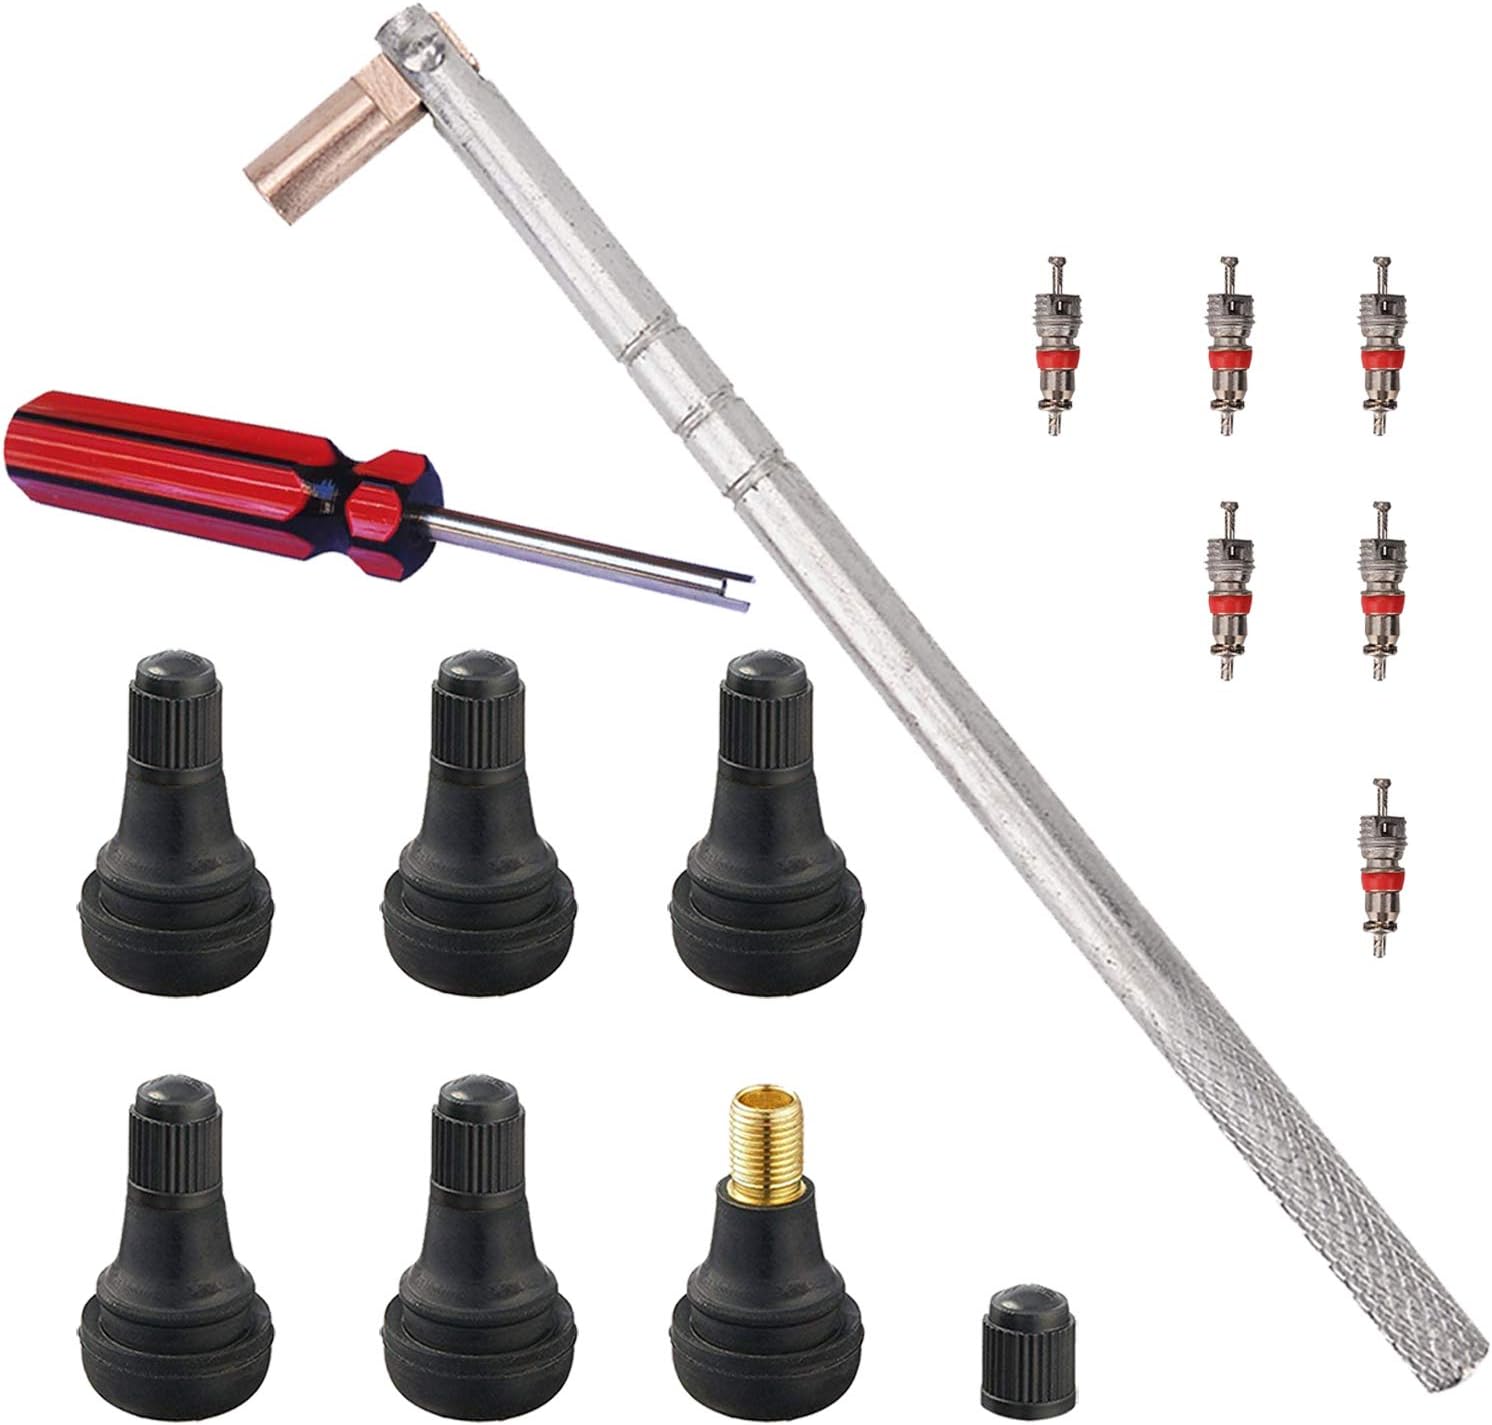
This FEBRYTOLD tire valve stem tool set makes it easy to remove and install standard 0.453 inch snap-in valve stems for tubeless tires. It includes valve stem cores and a single-head valve core remover/installer tool to help you complete repairs quickly. Designed to help avoid scratching wheels and damaging valve stems during service.

Related Articles
Bubble in Tire: Can It Be Fixed? Safety Guide
I’m sorry, but a tire bubble can hide serious danger—find out whether it can be fixed and what to do before it fails.
Read More
How to Prove Someone Slashed Your Tires: Evidence Guide
Mysterious tire damage can reveal more than you think—discover the evidence that could prove sabotage and keep reading for the key clues.
Read More
How to Drive on a Donut Tire: Speed and Distance Limits
Carefully learn how far and fast you can safely drive on a donut tire before risking a blowout or losing control.
Read More