
How to Patch a Tire on a Toyota RAV4: A DIY Method

A tire puncture on your Toyota RAV4 can be repairable, but only if the damage is small, in the tread area, and the tire is still in good condition. The safest permanent repair is not an outside plug or a patch alone; it is a combination plug-and-patch installed from inside the tire after the tire is removed from the wheel.
Quick Answer
To patch a Toyota RAV4 tire safely, first confirm the puncture is no larger than 1/4 inch and located in the tread, not the sidewall or shoulder. Remove the tire from the wheel, inspect it inside and out, then install a proper combination plug-patch repair or have a qualified tire shop do it.
Key Takeaways
- Only tread punctures up to 1/4 inch are normally repairable; sidewall and shoulder damage require tire replacement.
- A plug alone or a patch alone is not considered a proper permanent repair by the U.S. Tire Manufacturers Association.
- The tire must be removed from the wheel so the inside can be inspected for hidden damage.
- RAV4 AWD models may need special attention if one tire is replaced, because tire diameter differences can affect drivetrain performance.
- After any repair, check tire pressure, watch for leaks, and drive cautiously until you confirm the repair is holding.
At a Glance
| Time Required | 30–60 minutes for a proper off-wheel repair |
| Difficulty | Intermediate to advanced; professional service is recommended for permanent repairs |
| Tools Needed | Jack, jack stands, lug wrench, tire machine or shop service, puncture probe, reamer, innerliner scraper, buffing tool, rubber cement, combination plug-patch, stitcher, soapy water, tire pressure gauge |
| Cost | Usually about $20–$50 at many tire shops, depending on location and tire condition |
Understanding the Importance of Tire Repair on Your RAV4
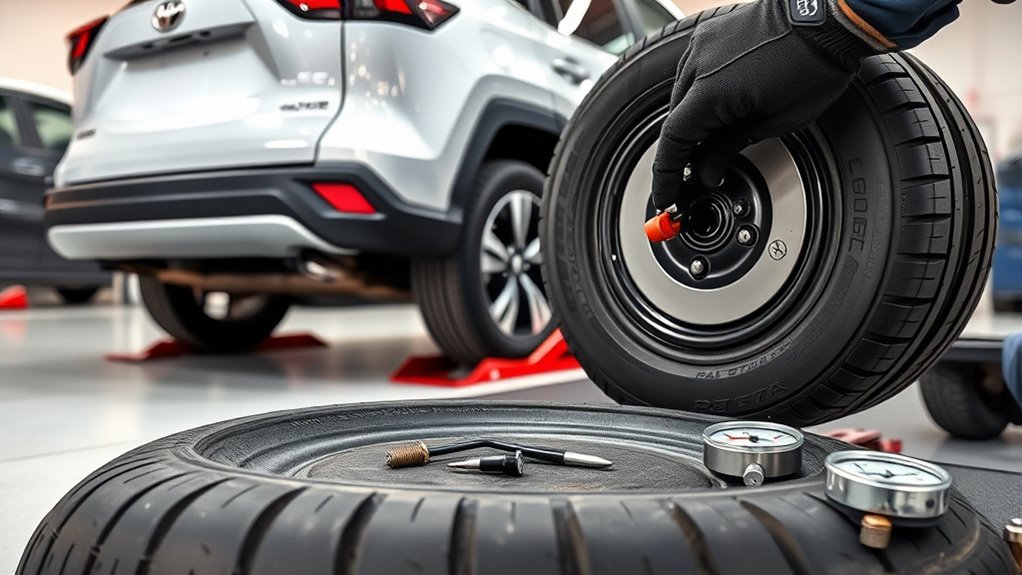
Tire maintenance is essential for the safety, handling, braking, and fuel efficiency of your Toyota RAV4. A properly repaired tire can restore safe service after a small tread puncture, while a poor repair can lead to slow leaks, belt damage, or sudden air loss.
Your RAV4’s tire pressure monitoring system can alert you when pressure drops, but Toyota notes that TPMS does not replace routine tire inflation checks. You should still check tire pressure with a gauge and follow the pressure shown on the driver-side door placard or in your owner’s manual.
Warning: Do not treat a roadside plug as a permanent repair. A plug installed from the outside may help you reach a tire shop, but a permanent repair requires removing the tire, inspecting the inside, and sealing both the injury channel and the innerliner.
[Products Worth Considering]

This VEVOR tire bead breaker uses a slide-hammer impact and wedge tip to separate tire beads from rims quickly and efficiently without damaging hub surfaces. The long handle and sturdy steel construction help reduce user strain while providing reliable, portable tire changing for cars, trucks, and more. Ideal for home mechanics and repair shops handling multiple vehicle tire sizes.

This tire repair patch tool kit helps you quickly seal small punctures using upgraded mushroom plugs and a built-in roller system that presses for even penetration. The tungsten buffing wheel and HSS twist drill bits prepare the damaged surface for stronger adhesion, while the crown-angle friendly plugs are designed to keep water and debris out. Ideal for puncture repairs on many vehicle types, from cars and trucks to bikes and scooters.
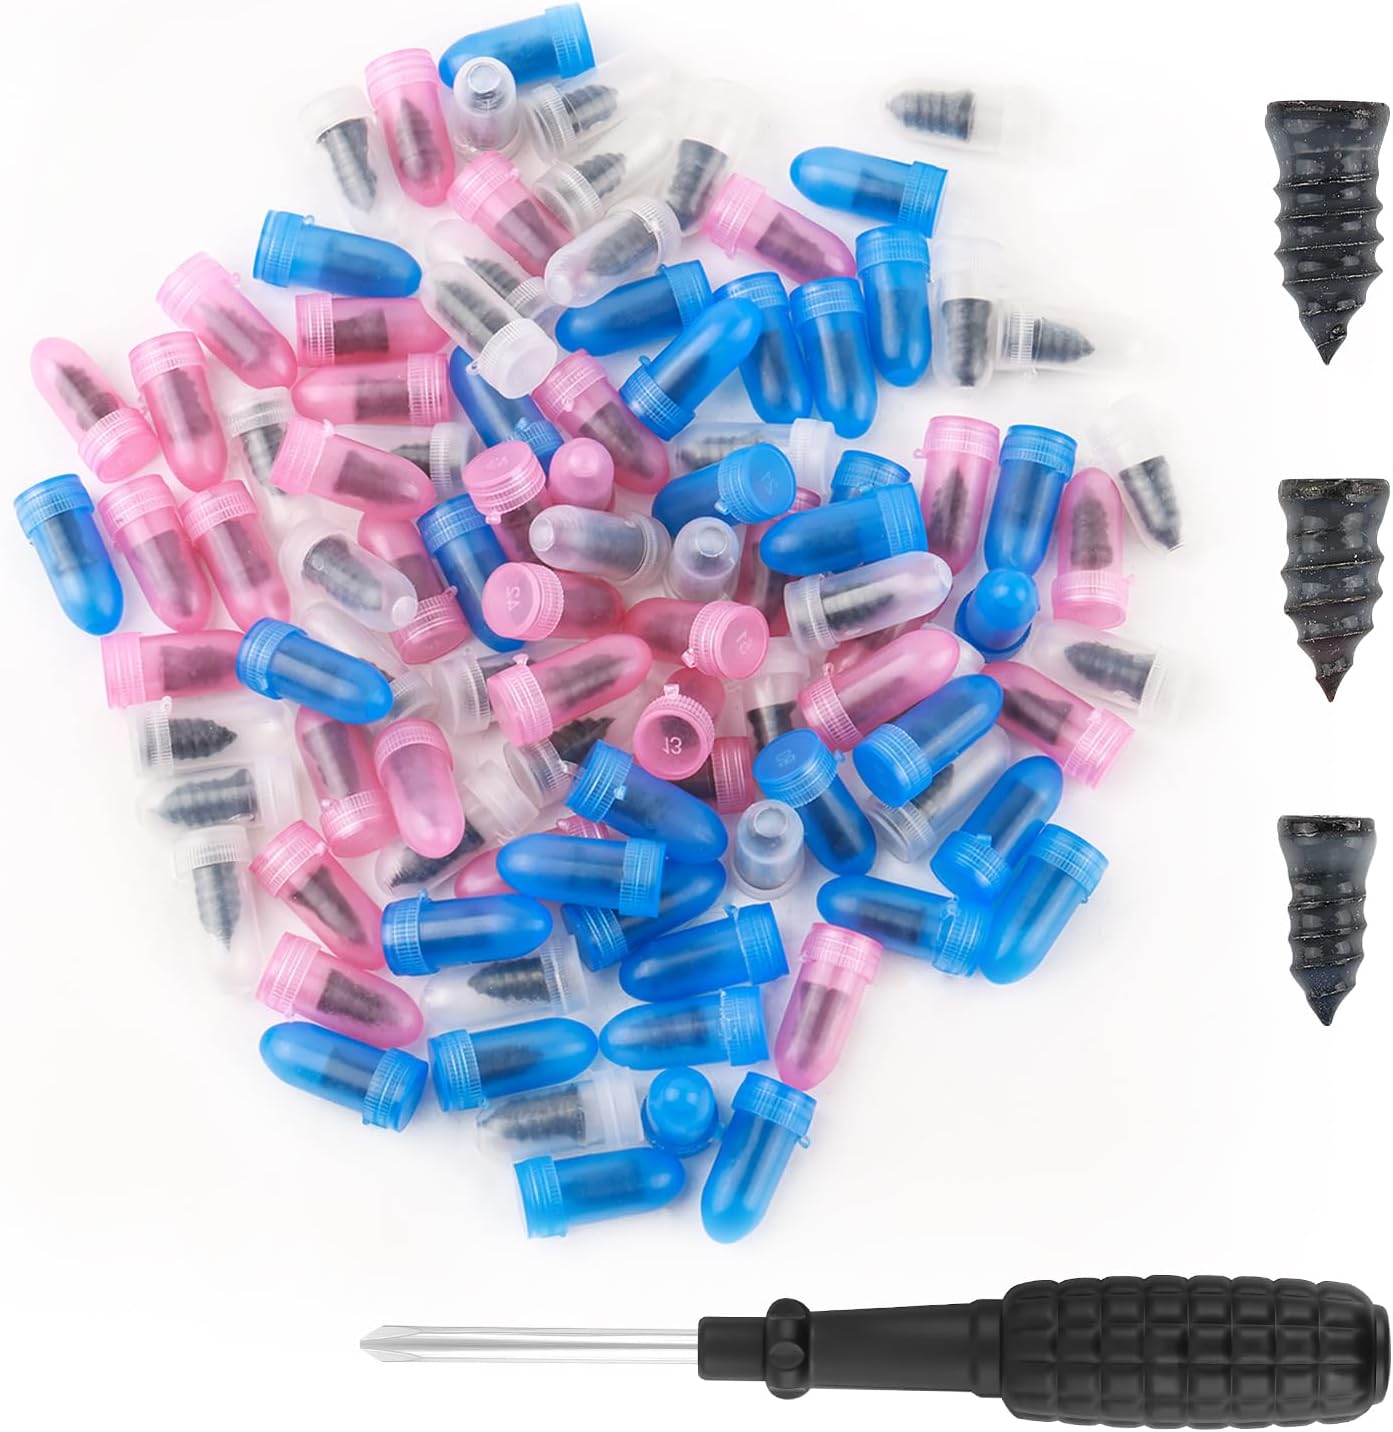
This 100-piece tire repair screw plug kit provides a fast, self-service solution for punctures on the road. Choose the correct plug size, insert it into the break, and screw it in to help seal the puncture and temporarily restore tire pressure. Thickened threads and rubber-wrapped plugs improve bite and sealing while remaining compact and easy to carry.
Repair or Replacement: How to Decide
Before patching a tire, decide whether the tire is repairable at all. The location, size, age, tread depth, and overall condition matter more than the fact that the leak looks small from the outside.
A Tire May Be Repairable If
- The puncture is in the tread area, not the sidewall or shoulder.
- The injury is no larger than 1/4 inch, or 6 mm, in diameter.
- The tire has not been driven flat or severely underinflated.
- The tire does not have cracking, bulging, exposed cords, or separation.
- No previous repair overlaps the new puncture area.
- The tread depth is still safely above the legal minimum and suitable for wet-road grip.
Replace the Tire Instead If
- The puncture is on the sidewall, shoulder, or outer tread edge.
- The hole is larger than 1/4 inch.
- The tire has a bulge, cut, cracked rubber, exposed cords, or internal liner damage.
- You drove on the tire while it was flat or nearly flat.
- The tire has multiple punctures too close together.
- The tread is worn to 2/32 inch or the tread wear bars are flush with the tread.
Repair Cost Considerations
Repairing a tire is usually cheaper than replacing it, but safety comes first. A proper repair requires time, tools, and inspection, so a very cheap quick plug may not be the best option for highway use.
| Option | Best For | Cost Considerations |
|---|---|---|
| Proper plug-patch repair | Small tread punctures | Lower cost than replacement and safer than a plug alone |
| Temporary plug or sealant | Emergency use only | Low upfront cost, but still needs professional inspection |
| Replacement | Sidewall damage, large punctures, worn tires | Higher cost, but safest when repair is not allowed |
| Multiple tire replacement | Some AWD situations | May be needed to keep tire diameters closely matched |
Tire Condition Assessment
Use this quick checklist before you patch a RAV4 tire:
- Tread depth: Use a tread depth gauge if possible. The penny test can help as a rough check, but a gauge is more accurate.
- Damage location: Confirm the puncture is in the central tread area.
- Puncture size: Do not repair cuts, gashes, or punctures larger than 1/4 inch.
- Sidewall condition: Look for bubbles, cracking, cuts, or scuff damage.
- Run-flat signs: Check for powdery rubber inside the tire, creasing, or innerliner damage caused by driving underinflated.
- AWD tire match: If replacing one tire on an AWD RAV4, ask a tire professional whether tread shaving or replacing more than one tire is needed to keep rolling circumference consistent.
Essential Tools for Tire Repair
To patch a Toyota RAV4 tire properly, you need more than a basic roadside plug kit. A safe permanent repair is done from inside the tire, which means the tire must be removed from the wheel.
Necessary Repair Tools
For a proper tire repair, the typical tools and materials include:
- Tire marker: Marks the puncture location before the object is removed.
- Puncture probe: Checks the angle and path of the injury.
- Valve core tool: Safely removes air before demounting the tire.
- Tire machine: Removes the tire from the wheel without damaging the bead or TPMS sensor.
- Innerliner scraper: Cleans mold-release lubricant and dirt from the inside of the tire.
- Low-speed buffing tool: Prepares the innerliner without damaging tire cords.
- Rubber cement or vulcanizing fluid: Helps bond the repair unit to the prepared innerliner.
- Combination plug-patch: Fills the puncture channel and seals the innerliner in one repair.
- Stitcher or roller: Presses the patch firmly into place and removes trapped air.
- Soapy water: Checks for leaks after the tire is inflated.
- Tire pressure gauge: Confirms the repaired tire is inflated to the correct cold pressure.
Safety Gear Essentials
Before working on any tire, wear safety gear and support the vehicle correctly. Use heavy-duty gloves to protect your hands from steel belts, nails, sharp tools, and chemicals. Wear safety goggles when removing the object, buffing the innerliner, or inflating the tire.
Note: If your RAV4 has a TPMS sensor, careless tire removal can damage the valve-mounted sensor. Toyota recommends having tire and wheel service performed by a Toyota dealer or another qualified service shop when TPMS components may be affected.
Step-by-Step Guide: How to Patch a Tire Like a Pro
Patching a tire is not just about sealing a visible hole. A proper repair restores the puncture channel and the air-sealing innerliner. Follow these steps only if you have the correct tools and experience; otherwise, remove the wheel and take it to a qualified tire shop.
1. Park Safely and Inspect the Tire
Park on a flat, stable surface away from traffic. Turn on the hazard lights, set the parking brake, and use wheel chocks. Find the puncture and mark it, but do not pull out the object until you are ready to inspect and repair the tire.
2. Remove the Wheel
Loosen the lug nuts slightly before lifting the vehicle. Use the correct jacking point listed in your RAV4 owner’s manual, support the vehicle safely, then remove the wheel. Never work under or beside a vehicle supported only by a jack.
3. Deflate and Demount the Tire
Remove the valve core to release air fully. Break the bead and remove the tire from the wheel with proper equipment. Be careful around the TPMS sensor and valve stem.
4. Inspect the Inside of the Tire
Check the innerliner for cuts, wrinkles, rubber dust, exposed cords, belt separation, or damage from driving flat. If you see internal damage, do not repair the tire. Replace it.
A proper tire repair must fill the puncture injury and seal the innerliner. That is why a combination plug-patch repair is preferred over a plug alone or patch alone.
5. Prepare the Puncture Channel
Remove the object and use the correct reamer or carbide cutter from the inside out, following the angle of the puncture. Do not enlarge the injury more than necessary, and do not repair if the damage reaches the shoulder or sidewall.
6. Buff and Clean the Innerliner
Lightly buff the repair area inside the tire to create a clean bonding surface. Keep the buffed area large enough for the patch but avoid grinding too deeply. Remove loose rubber dust and debris before applying cement.
7. Apply Rubber Cement
Apply rubber cement or vulcanizing fluid evenly to the prepared surface according to the repair kit instructions. Let it dry until tacky if the product directions call for it. Do not touch the bonding surface with dirty gloves.
8. Install the Combination Plug-Patch
Insert the plug stem through the puncture path from the inside of the tire. Pull it through until the patch sits flat against the innerliner. Press the patch firmly into place, working from the center outward.
9. Stitch the Patch and Trim the Stem
Use a stitcher or roller to remove trapped air and ensure full contact. Trim the plug stem flush with the outside tread. Apply innerliner sealer over the buffed area if required by the repair system.
10. Remount, Inflate, and Check for Leaks
Remount the tire, inflate it to the cold pressure listed on the RAV4’s door placard, and check the repaired area, valve stem, and bead with soapy water. If bubbles appear, the tire is still leaking and should not be driven.
Pro Tip: Mark the repaired tire position and recheck pressure the next morning when the tire is cold. A slow overnight pressure drop means the repair, valve stem, bead, or wheel may still be leaking.
Avoiding Common Pitfalls in Tire Patching
Even a small puncture can become unsafe if it is repaired the wrong way. Avoid these common mistakes:
- Repairing sidewall or shoulder damage: These areas flex too much and are not approved for standard puncture repairs.
- Using only a plug: A plug alone does not properly seal the tire’s innerliner.
- Using only a patch: A patch alone may seal the inside but leave the puncture channel open to moisture.
- Skipping the internal inspection: Hidden damage inside the tire can make a repair unsafe.
- Buffing too aggressively: Cutting into tire cords weakens the tire.
- Ignoring TPMS warnings: A pressure warning after repair means you need to inspect the tire again.
- Driving normally too soon after an emergency repair: A temporary plug or sealant is only meant to get you to service.
How to Check for Leaks After Patching
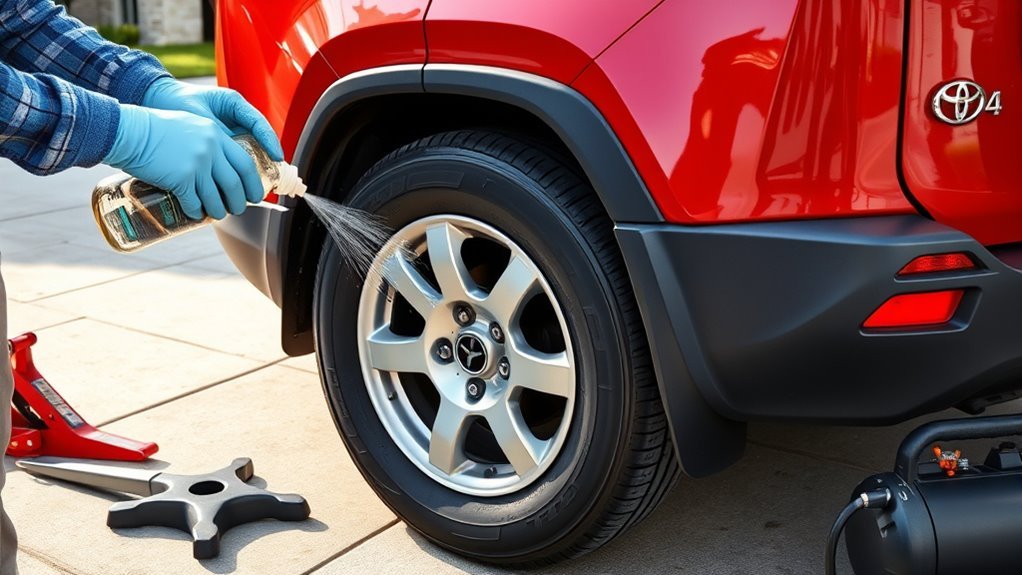
Once the tire is patched and inflated, leak testing is essential. A repair that looks clean can still leak at the puncture, valve stem, bead, or wheel.
- Spray soapy water over the patched area and watch for bubbles.
- Check the valve stem, valve core, and bead seat with soapy water.
- Set the tire to the recommended cold pressure listed on the door placard.
- Recheck pressure after several hours and again the next day.
- Listen for hissing and watch for TPMS warnings while driving.
- Have the tire inspected again if pressure drops more than expected with normal temperature changes.
[Products Worth Considering]
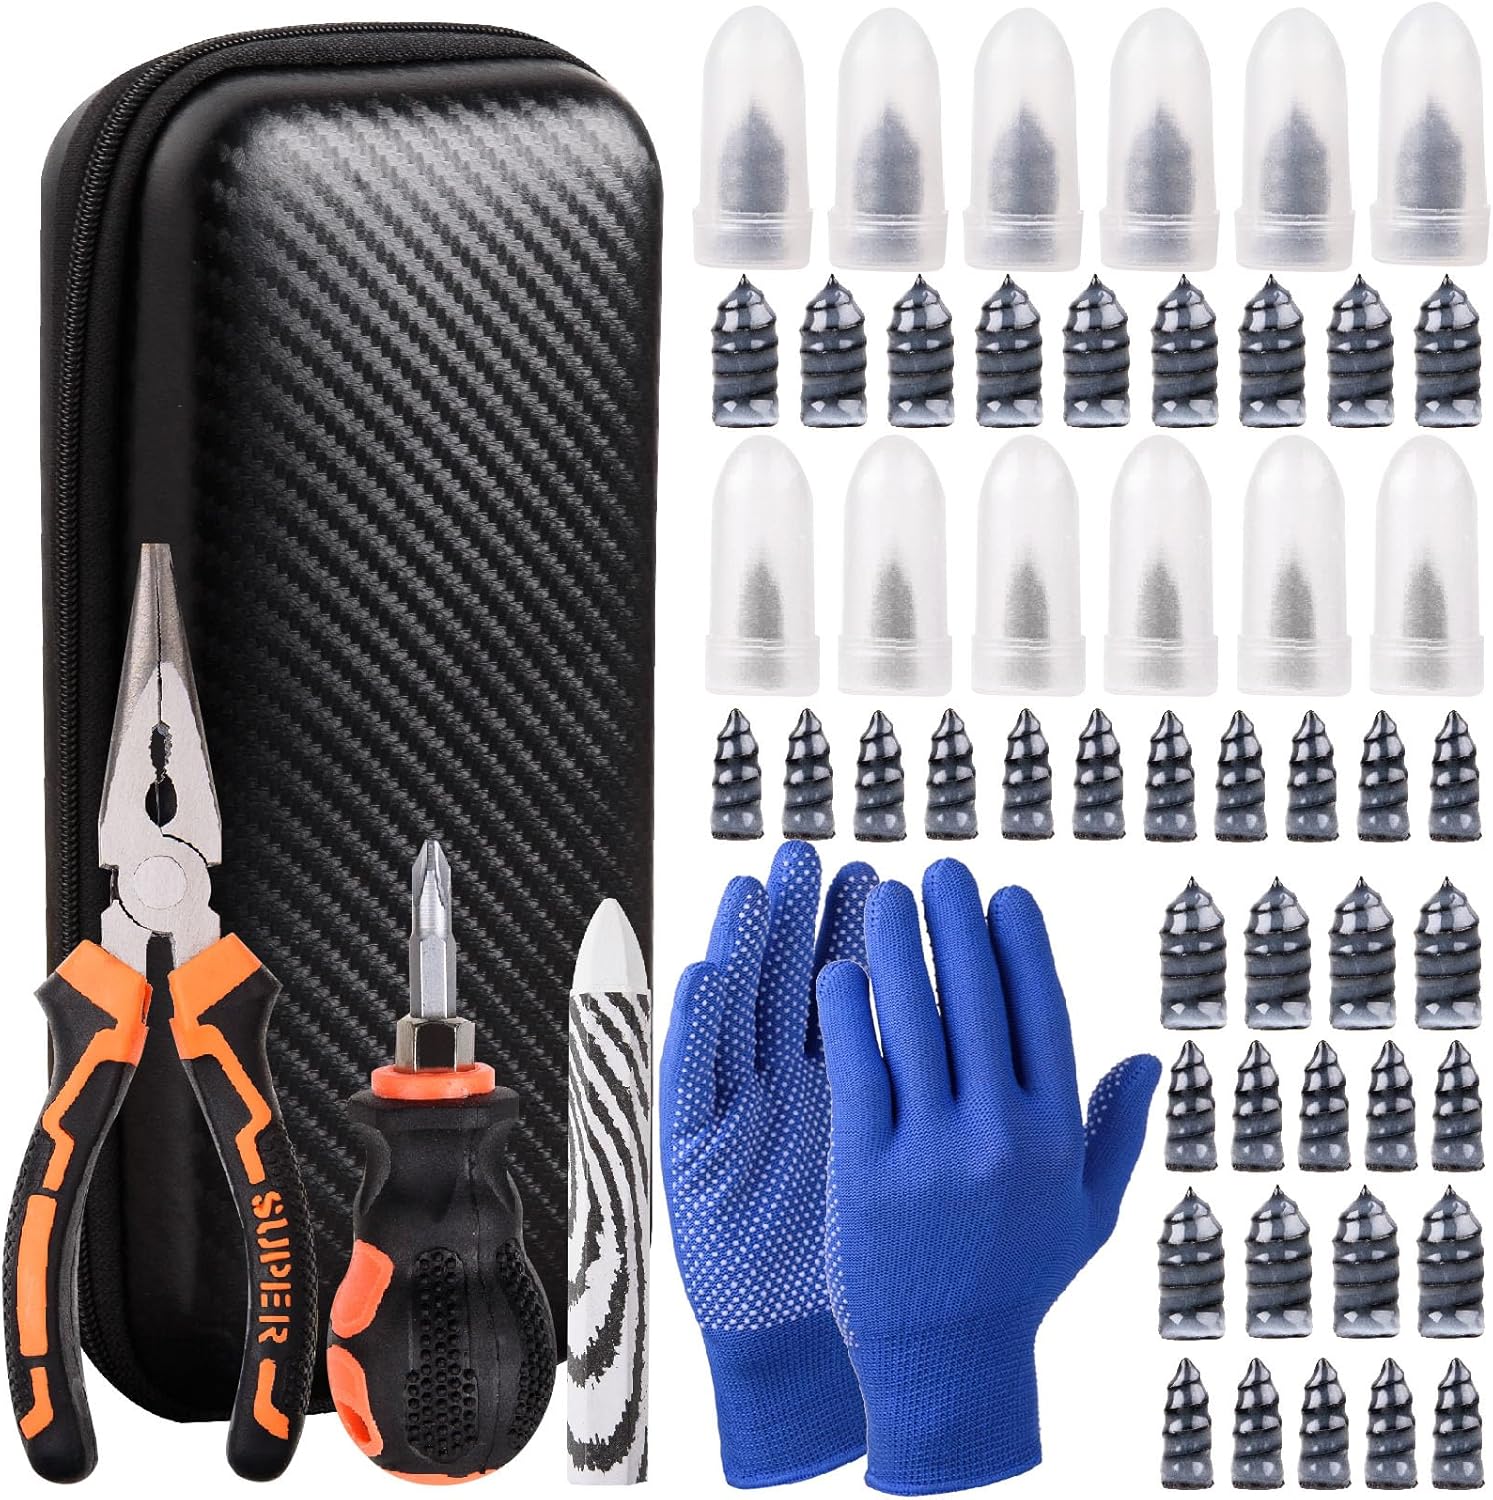
This tire sidewall puncture repair kit fixes flats fast without removing the tire, helping you get back on the road in minutes. It includes self-tapping repair nails, essential tools, gloves, and a portable storage bag for convenient roadside use. Designed for tubeless tires, it helps create a tight, leak-resistant seal for cars, motorcycles, trucks, SUVs, and ATVs.

This AUTOWN flat tire repair kit is designed for quick, reliable puncture repairs using a plug kit and spiral probe tool to simplify installation. Built for durability and safe handling, it offers strong adhesion and flexibility to help maintain tire air tightness. With a portable storage case and a multi-vehicle approach, it’s suitable for cars, motorcycles, ATVs, tractors, lawn mowers, RVs, jeeps, and trucks.
When to Call in the Pros for Tire Repairs
Call a qualified tire shop or Toyota service center if you are unsure whether the tire is safe to repair. Professional service is especially important when the puncture is close to the shoulder, the tire was driven underinflated, or the vehicle is an AWD model.
| Situation | Best Action |
|---|---|
| Damage near the sidewall or shoulder | Replace the tire or get a professional inspection |
| Puncture larger than 1/4 inch | Do not patch; replace the tire |
| Tire was driven flat | Demount and inspect internally before any repair |
| Slow leak after DIY repair | Stop driving normally and have the tire professionally repaired or replaced |
| One tire replacement on AWD RAV4 | Ask about tread depth matching before replacing only one tire |
Essential Tire Maintenance Tips for Safety and Longevity
Good tire care reduces the chance of punctures, blowouts, uneven wear, and poor handling. The National Highway Traffic Safety Administration recommends routine tire pressure checks, tread checks, and tire rotation as part of basic tire safety.
- Check tire pressure monthly: Use a gauge when the tires are cold, and follow the placard on the driver-side door jamb.
- Inspect tread depth: Replace tires that are worn to 2/32 inch, and consider replacement sooner if wet traction is poor.
- Rotate tires on schedule: Many RAV4 maintenance schedules call for tire rotation at regular service intervals, often around 5,000 miles depending on model year and use.
- Watch for uneven wear: Feathering, cupping, or one-edge wear can point to alignment, suspension, or inflation problems.
- Keep valve caps installed: Valve caps help keep dirt and moisture out of the valve core.
- Do not overload the vehicle: Extra weight increases heat and stress on the tires.
- Inspect after rough roads: Check for nails, cuts, bubbles, and rim damage after potholes, gravel roads, or construction zones.
Safe Driving Tips After a Tire Repair
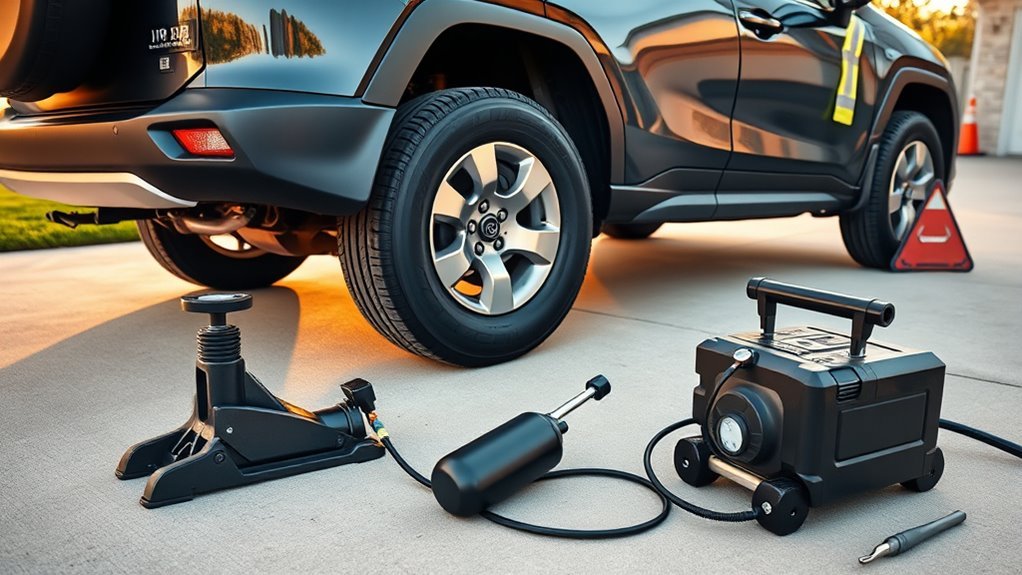
After a tire repair, drive cautiously until you know the tire is holding air. Avoid aggressive cornering, hard braking, heavy loads, and high speeds immediately after service.
| Driving Behavior | Recommended Action |
|---|---|
| Speed | Drive moderately until pressure remains stable |
| Lane Changes | Avoid sudden maneuvers that stress the repaired tire |
| Tire Pressure Checks | Check cold pressure the next day and again during the week |
| Visual Inspections | Look for bulges, cuts, bubbles, or new leaks |
| TPMS Warning | Stop and inspect the tire if the warning light returns |
Warning: If the tire loses pressure again after repair, do not keep refilling it and driving. Repeated pressure loss can overheat the tire and damage the internal structure.
Frequently Asked Questions
How does the Toyota tire repair kit work?
A Toyota emergency tire repair kit usually uses sealant and an air compressor to temporarily seal a small puncture and reinflate the tire. It is meant to help you reach a safe service location, not to replace a proper internal tire inspection and repair.
How much does it usually cost to patch a car tire?
A proper tire patch repair often costs about $20–$50, depending on the shop, location, tire size, and whether the tire needs additional service. Replacement costs more but is necessary when the damage is outside the repairable tread area or the tire is unsafe.
Can I patch a Toyota RAV4 tire myself?
You can handle an emergency temporary repair if you have the right kit and the damage is minor, but a permanent repair should be done from inside the tire with a combination plug-patch. Most drivers should let a qualified tire shop perform the permanent repair.
Can a sidewall puncture be patched?
No. Sidewall and shoulder punctures are not considered safe candidates for standard patch repairs because those areas flex heavily and do not support a reliable repair. Replace the tire instead.
Is a plug-patch better than a plug?
Yes. A plug-patch fills the puncture channel and seals the tire’s innerliner. A plug alone may stop air loss temporarily, but it does not provide the same complete repair.
Do I need to replace all four tires on an AWD RAV4?
Not always, but AWD vehicles are sensitive to tire diameter differences. If one tire must be replaced, ask the tire shop to compare tread depths and confirm whether one tire, two tires, tire shaving, or a full set is the best option for your RAV4.
Conclusion
Patching a tire on your Toyota RAV4 is safe only when the puncture is small, located in the tread area, and repaired with the right method. The best permanent repair is a combination plug-patch installed from inside the tire after a full inspection. If the damage is near the sidewall, larger than 1/4 inch, or caused by driving on a flat tire, replacement is the safer choice.
When in doubt, let a qualified tire professional inspect the tire. A careful repair can save money, but tire safety should always come before convenience.
Sources
- U.S. Tire Manufacturers Association: Tire Repair Basics — supports plug-patch repair guidance, repair area limits, and why plug-only or patch-only repairs are not proper permanent repairs.
- U.S. Tire Manufacturers Association: Puncture Repair Procedures — supports the 1/4-inch puncture limit and the requirement to remove the tire for inspection.
- NHTSA TireWise: Tire Safety Ratings and Awareness — supports tire pressure, tread, rotation, and tire safety maintenance advice.
- Toyota Owners Manual: Tires — supports Toyota’s guidance that TPMS does not replace routine tire pressure checks.
- Toyota Owners Manual: Wheels — supports guidance about TPMS sensor care during tire and wheel service.

Related Articles

Toyota RAV4 TPMS Reset: Easy Steps That Work
Unlock the secrets to resetting your Toyota RAV4's TPMS effortlessly—discover the essential steps to ensure your tires are always safe.
Read More
Toyota RAV4 Tire Rotation: DIY Steps & Pattern
Take control of your Toyota RAV4's tire maintenance with our simple DIY rotation guide—discover the best steps for optimal performance and longevity!
Read More
Mix Tire Brands on a Toyota RAV4? Expert Guide
Keeping your RAV4 safe? Learn when mixing tire brands risks traction, ABS/TCS and AWD damage — and what exact matches you must insist on.
Read More