
How to Use a Manual Tire Changer: Complete Step-by-Step Guide
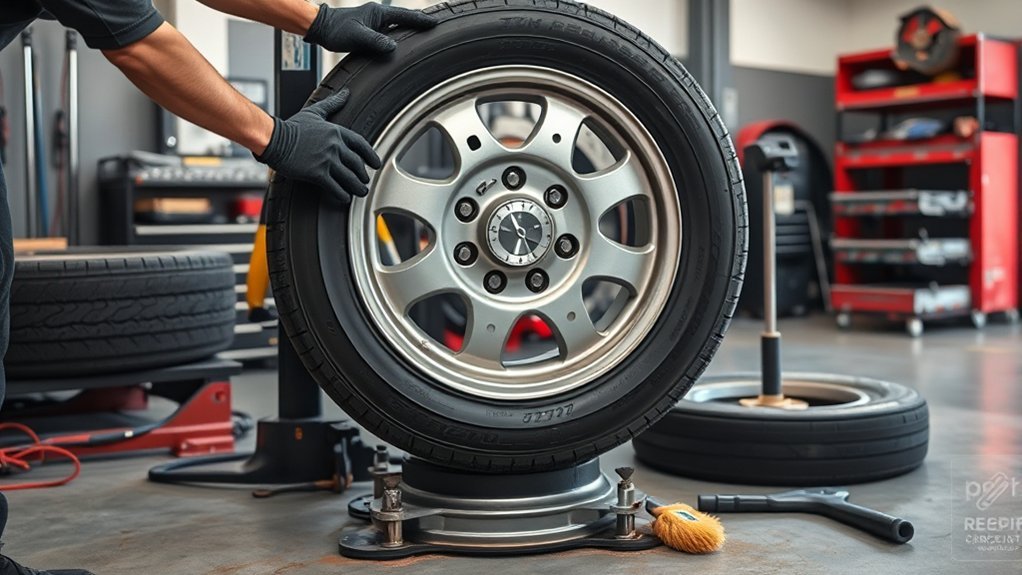
A manual tire changer can save time in a home garage, but tire mounting is not a “just force it” job. The safe process is simple: secure the changer, confirm the tire and rim match, deflate the tire fully, lubricate the bead, work slowly through the drop center, and inflate only with controlled pressure. This guide covers common single-piece passenger and light-truck wheels. Do not use it for split rims, multi-piece wheels, damaged wheels, damaged tires, or any tire your changer is not rated to handle.
Quick Answer
To use a manual tire changer, bolt or secure it on a level surface, fully deflate the tire, lubricate the bead and rim, break both beads, lever the old tire off, keep the new bead in the rim’s drop center, then inflate carefully without exceeding the tire or wheel maker’s bead-seating limit.
Key Takeaways
- Use a manual tire changer only on tire and wheel assemblies the tool is rated to service.
- Fully deflate the tire and remove the valve core before breaking the bead.
- Use approved tire lubricant on the bead and rim; never use petroleum, silicone, antifreeze, ether, or flammable products.
- Keep the opposite bead down in the drop center while mounting so you do not tear the bead or scratch the rim.
- When seating beads, stand clear, use controlled pressure, inspect both sides, and do not exceed the manufacturer’s bead-seating limit.
At a Glance
| Time Required | About 45–90 minutes per wheel for a first-time DIY user; faster with practice and the right changer. |
| Difficulty | Moderate to hard. Run-flat, low-profile, stiff light-truck, corroded, or oversized assemblies may need professional equipment. |
| Tools Needed | Manual tire changer, bead breaker, mount/demount bar or duck-head arm, valve core tool, approved tire lubricant, pressure gauge, clip-on air chuck, regulator, rim protectors, and eye protection. |
| Cost | Low if you already own the changer. Plan for lubricant, valve stems or valve service parts, wheel weights, and balancing if needed. |
Safety and Compatibility Checks Before You Start
Before touching the bead breaker, confirm that the tire, rim, and changer belong together. The tire size must match the wheel diameter and approved rim width. Do not mount a tire on a cracked, bent, welded, heavily corroded, or repaired rim. Do not try to service split rims or multi-piece wheels with a basic home manual tire changer.
Warning: An inflated tire and wheel assembly can release air or parts with explosive force if the bead, rim, or tire fails. Wear eye protection, keep bystanders away, stand out of the inflation path, and stop immediately if the tire, bead, sidewall, valve area, or rim looks damaged.
Check the tool manual for the maximum wheel size, tire type, and mounting method. Some manual changers must be bolted to a concrete floor, heavy bench, or stable pallet before use. If your tool uses a duck-head adapter or center guide, confirm that the adapter fits the center post and that the mounting head clears the rim without scraping it.
Use an approved tire mounting lubricant, not oil, grease, silicone spray, antifreeze, ether, gasoline, or aerosol bead sealer. If the tire has TPMS hardware, inspect the valve stem area and use the vehicle or sensor manufacturer’s service parts.
[Products Worth Considering]

This manual duck head tire changer kit makes tire installation and removal simpler by letting you embed the duck head into the tire with applied pressure. The integrated design and durable steel construction help reduce friction and improve efficiency and safety during use. Suitable for 16–21 inch wheels, it’s convenient for cars, trucks, SUVs, and ATV tires, with 24-hour after-sales support.
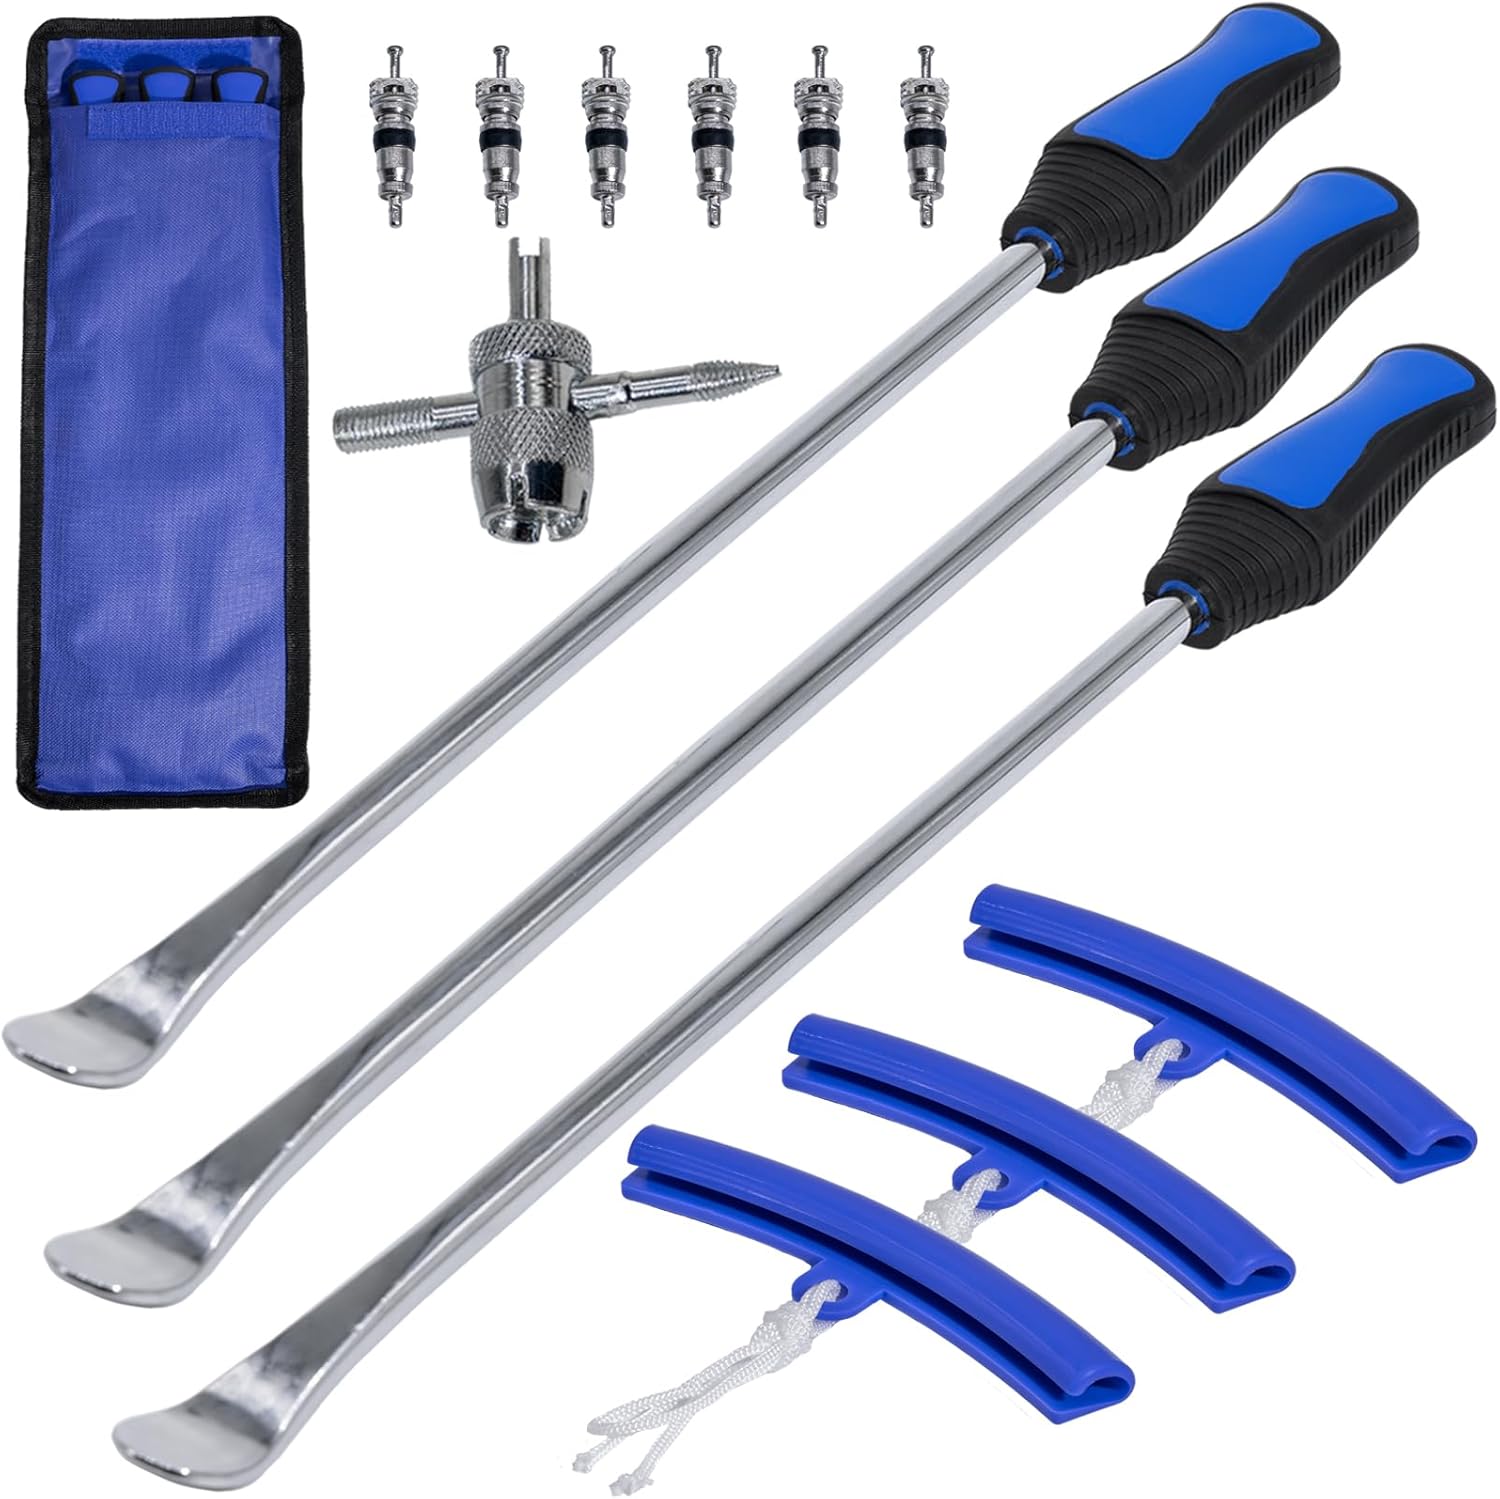
This tire spoon set helps you remove and install motorcycle, dirt bike, lawn tractor, and bicycle tires with extra leverage from a 14.5-inch spoon length. The kit includes tire removal tools, rim protectors, and a valve tool to simplify repairs and help protect rims during changing. Designed for quick, on-the-go service, it’s convenient for garage work, trails, and track-side fixes.

This VEVOR tire bead breaker uses a slide-hammer impact and wedge tip to separate tire beads from rims quickly and efficiently without damaging hub surfaces. The long handle and sturdy steel construction help reduce user strain while providing reliable, portable tire changing for cars, trucks, and more. Ideal for home mechanics and repair shops handling multiple vehicle tire sizes.
Set Up Your Manual Tire Changer
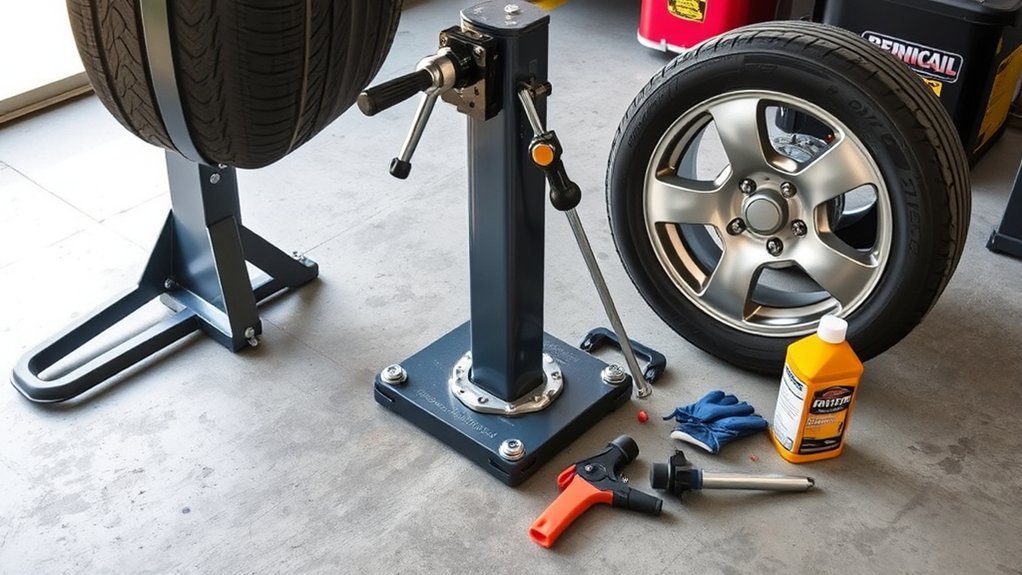
Place the manual tire changer on a stable, level surface and secure it exactly as the manufacturer requires. If the manual says to bolt the changer down, do not use it loose on the floor. A wobbling changer makes bead breaking harder and increases the chance of rim damage or hand injuries.
Install the center post, bead breaker, mount/demount bar, center guide, or duck-head arm according to your model. Tighten the fasteners evenly, but do not over-tighten or modify parts to make an accessory fit. If your duck-head attachment requires a specific post cap diameter, treat that as an adapter requirement, not a universal manual tire changer rule.
Before loading the wheel, swing the arm through its working range. Check that the bead breaker shoe lands near the bead area, the center post is straight, and the mount/demount head can move around the rim without contacting the wheel face.
Tools and Supplies You Need
- Manual tire changer rated for your wheel and tire size
- Valve core tool to fully deflate the tire
- Approved tire lubricant or tire mounting paste
- Mount/demount bar, tire spoons, or duck-head arm
- Rim protectors for painted, polished, or alloy wheels
- Clip-on air chuck, pressure regulator, and accurate pressure gauge
- New valve stem, valve core, cap, or TPMS service kit if required
- Soapy water in a spray bottle for leak checking after inflation
- Eye protection and gloves
Note: A manual tire changer mounts and demounts the tire, but it does not automatically balance the wheel and tire assembly. Plan to balance the assembly before regular road use.
Prepare the Wheel and Tire
Clean the wheel and tire thoroughly so dirt, grit, old lubricant, and corrosion do not interfere with the bead seat. Scrub the rim flange, bead seat area, valve stem hole, and drop center. Inspect the rim for cracks, bends, sharp edges, corrosion, weld repairs, or previous damage. If you see damage, do not proceed.
Remove the valve cap and valve core to let all air out of the tire. Keep the valve stem uncovered while breaking the bead so any trapped air can escape. Once the tire is fully deflated, position it with the valve stem facing upward and away from the bead breaker shoe when possible.
Apply tire lubricant to the bead and rim contact surfaces before breaking or mounting. Lubricant reduces friction, helps protect the bead, and makes it easier to keep the tire in the drop center instead of forcing the sidewall.
Pro Tip: Mark directional tires before removal, and note the outside/inside sidewall on asymmetrical tires. That prevents mounting the new tire backward.
Break the Bead and Remove the Tire
Set the tire on the bead breaker platform or against the tool’s rim stop as your changer manual shows. Place the bead breaker shoe close to the rim edge, not in the middle of the sidewall. Push the breaker handle with steady pressure until the bead separates from the rim. Rotate the tire and repeat around the bead, then flip the assembly and break the second bead.
Keep the Wheel Stable
Lock the wheel securely on the center post or clamp system before using the lever bar. The wheel should not spin, tip, or lift while you pry. If the rim is painted or alloy, use rim protectors and avoid dragging bare metal tools across the wheel face.
Work the Bead Over the Rim
With both beads broken, lubricate again and place the mount/demount bar under the upper bead. Use controlled leverage to lift the bead over the rim lip while rotating around the wheel. Keep the opposite side of the bead pushed down into the drop center. That extra slack is what allows the tire to move without tearing the bead.
After the first bead is off, repeat the process for the lower bead. Do not rush. If resistance suddenly rises, stop, relubricate, and check that the bead is still in the drop center.
Mount the New Tire Correctly
Before mounting the new tire, compare the tire size, load index, speed rating, and construction with the vehicle placard, owner’s manual, or tire manufacturer’s recommendation. Replace snap-in valve stems when appropriate, and service TPMS valve components according to the vehicle or TPMS manufacturer.
Lubricate both tire beads and the rim bead seats. Set the tire over the rim at a slight angle and guide the first bead over the rim. Keep the bead opposite the tool head down in the drop center. If the tire has a balance dot, align it with the valve stem if the tire manufacturer recommends that method.
For the second bead, position the duck head or mount/demount bar so it guides the bead over the rim lip without pinching the sidewall. Rotate slowly and keep steady hand pressure on the tire. If the bead starts to climb out of the drop center, stop and push it back down before continuing.
Warning: Never force a tire that will not mount. A torn bead can fail during inflation or driving. Relubricate, reposition the bead in the drop center, and stop if the tire or rim appears incompatible.
Seat the Bead and Inflate Safely
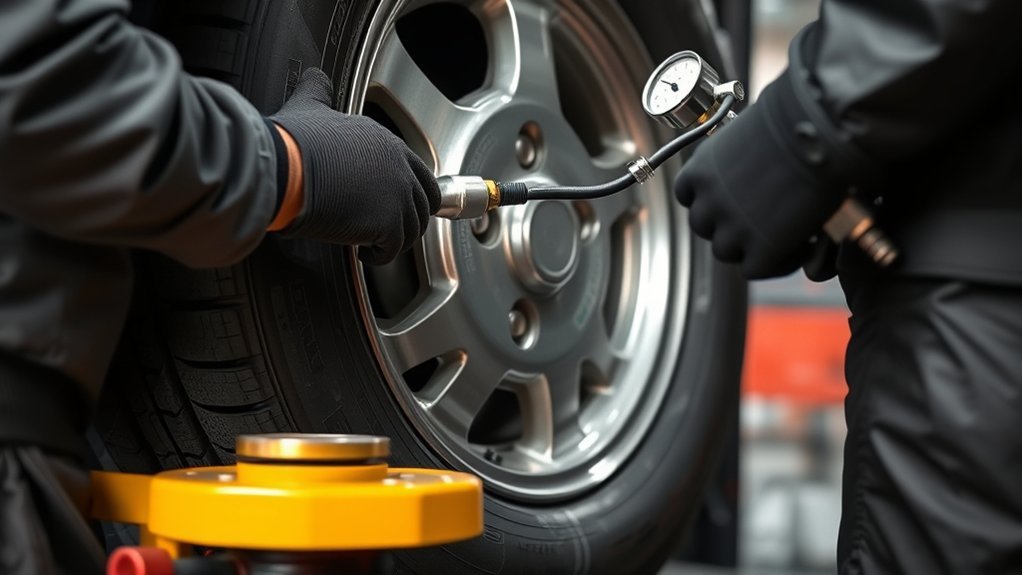
Once the tire is mounted, make sure both beads and rim edges are still lubricated. Secure the assembly on the changer if it has a positive hold-down device. If your equipment does not hold the wheel securely for inflation, use a proper safety cage or have the tire seated by a professional.
Use a clip-on air chuck with a pressure regulator and an accurate gauge. Stand to the side, not over the tire. Inflate in short, controlled bursts while watching both beads. A pop may happen when a bead moves into place, but do not rely on sound alone. Inspect both sides of the tire to confirm the beads are evenly seated.
Follow the tire or wheel manufacturer’s maximum bead-seating pressure. If no lower manufacturer limit applies, do not exceed 40 psi while trying to seat the beads. If the beads are not seated by that point, deflate the tire completely, relubricate, reposition the tire, and try again. If repeated attempts fail, stop and contact a tire professional or the tire/wheel manufacturer.
After both beads are fully seated, install the valve core if it was removed, inflate to the vehicle’s recommended cold pressure, and install the valve cap. Use the vehicle tire placard, certification label, or owner’s manual for operating pressure; the sidewall number is usually a maximum limit, not the everyday recommended pressure.
[Products Worth Considering]

Camco Trailer Aid Plus tandem tire ramp lifts your trailer for quick, safe tire changes with ample clearance from its 5 1/2-inch lift. It helps you change a flat tire without unloading cargo, making roadside and routine maintenance more efficient. The heavy-duty, waterproof and rustproof polymer design supports up to 15,000 lb and is built for easy portability and storage.

Universal magnetic jack pad with aluminum grooved design to protect vehicle pinch welds during lifting. Durable nylon pad inserts are upgraded and secured with screws to resist damage and keep in place. Designed to fit most single vehicle pinpoint welds for safer, stable jacking when changing tires, repairs, or performing oil changes.
Balance, Reinstall, and Final Checks
After mounting, spray soapy water around both beads and the valve stem. Bubbles mean an air leak that must be corrected before the wheel goes back on the vehicle. Check the tire sidewall for bulges, bead damage, or uneven seating.
Balance the wheel and tire assembly with a bubble balancer, static balancer, or professional wheel balancer. A tire can be mounted correctly and still vibrate if it is not balanced. If the wheel has TPMS, confirm the sensor is not leaking and that the system resets according to the vehicle manual.
When reinstalling the wheel, tighten lug nuts in the correct pattern and to the vehicle manufacturer’s torque specification. Recheck pressure when the tire is cold, then check again after the first drive and after 24 hours.
Troubleshooting Manual Tire Changer Problems
| Problem | Likely Cause | Fix |
| Bead will not break | Old bead seal, corrosion, stiff sidewall, or wrong bead breaker position | Confirm full deflation, relubricate, move the shoe closer to the rim edge, rotate the tire, and stop if the rim is corroded or damaged. |
| Tire will not mount | Bead is not in the drop center or tire/rim size does not match | Recheck size, lubricate both beads, push the opposite bead into the drop center, and avoid forcing the sidewall. |
| Bead will not seat | Dry bead, off-center tire, stiff sidewall, or dirty bead seat | Deflate completely, relubricate, center the tire, clean the bead seat, and never exceed the bead-seating pressure limit. |
| Air leaks after mounting | Dirty bead seat, damaged valve stem, damaged bead, or corroded rim | Leak-check with soapy water, replace valve parts, clean the rim, and do not use a damaged tire or wheel. |
| Rim gets scratched | Bare tools, bad duck-head angle, or too little lubricant | Use rim protectors, adjust the tool head, relubricate, and work slowly around the wheel. |
Avoid Common Manual Tire Changer Mistakes
Most manual tire changer problems come from rushing, skipping lubricant, or using the wrong tool for the tire. Avoid these mistakes:
- Working on a pressurized tire: Always remove the valve core and fully deflate first.
- Using the wrong lubricant: Use approved tire lubricant, not petroleum products or flammable shortcuts.
- Forcing the lever: If the bead will not move, the tire may not be in the drop center.
- Ignoring tool capacity: A small manual changer may not be suitable for wide, stiff, run-flat, or oversized tires.
- Standing over the tire during inflation: Stand clear and use a clip-on chuck whenever possible.
- Skipping balancing: Mounting is not the same as balancing.
- Using damaged components: Never mount a tire on a cracked, bent, welded, or severely corroded rim.
Maintain Your Manual Tire Changer
A clean, solid changer is easier to use and less likely to damage wheels. After each job, wipe away dirt, grit, old lubricant, and rubber residue from the bead breaker shoe, center post, mount/demount bar, duck head, and clamp surfaces.
Regular Cleaning
Clean high-contact areas with a soft cloth and mild detergent. Avoid harsh chemicals that can damage rubber pads, coatings, or plastic tool heads. Keep the turntable, post, and mounting arm free of grime so the tool moves smoothly.
- Wipe the mount/demount head and lever after every use.
- Clean the bead breaker shoe and rim-contact points.
- Inspect the center post, pins, bolts, and clamps before storage.
Lubrication and Inspection
Lightly lubricate pivot points and moving joints according to your tool manual. Inspect bolts, pins, welds, and handles for looseness, cracks, bending, or binding. Replace worn rim protectors or plastic duck-head inserts before they scratch a wheel.
If your changer is pneumatic or air-assisted, follow the machine manual for oiler, regulator, hose, and water separator maintenance. A purely manual changer may not have those parts, so do not apply air-tool maintenance steps unless your model uses them.
Frequently Asked Questions
Can a manual tire changer work on run-flat tires?
Sometimes, but it is not a good beginner job. Run-flat tires have stiff sidewalls and may require equipment designed for run-flat or extended-mobility tires. Use a manual changer only if the tire manufacturer and tool manufacturer allow it. Otherwise, take run-flats to a professional tire shop.
Which tires are too large for a manual tire changer?
Any tire that exceeds your changer’s wheel diameter, tire width, center-post, clamp, or bead-breaker capacity is too large. Wide low-profile tires, heavy light-truck tires, off-road tires, and stiff sidewalls can also overwhelm basic manual changers even when the diameter seems to fit.
How much force should break the bead?
There is no safe universal force number. Bead-breaking effort depends on tire age, sidewall stiffness, rim corrosion, bead seal, and tool leverage. If the bead will not release with steady controlled pressure, deflate again, relubricate, reposition the bead breaker, and stop before bending the rim or damaging the tire.
Do all wheel sizes need the same adapter?
No. Adapters, cones, clamps, duck heads, and center guides vary by changer design and wheel size. Check the tool manual and adapter instructions before use. Do not force a cone, clamp, or post adapter that does not fit squarely.
Can I use a manual changer without tire lubricant?
You should not. Dry mounting increases friction, bead stress, rim scratches, and the chance of tearing the bead. Use approved tire mounting lubricant or paste. Avoid petroleum products, silicone sprays, antifreeze, ether, gasoline, and flammable bead-seating tricks.
Do I need to balance the tire after using a manual tire changer?
Yes, for normal road use. A manual tire changer mounts the tire but does not balance the wheel and tire assembly. Use a balancer or have a shop balance it before driving at road speed.
Why won’t the bead seat?
Common causes include too little lubricant, a dirty or corroded bead seat, the tire not being centered, stiff sidewalls, or the bead not sitting in the drop center during mounting. Deflate, relubricate, center the tire, and try again without exceeding the bead-seating pressure limit.
Is a manual tire changer safe for TPMS wheels?
It can be, but you must know where the TPMS sensor sits and avoid hitting it with the bead breaker or lever. Use the correct valve service kit, follow the vehicle manual, and stop if the sensor, valve stem, or stem hole leaks.
Conclusion
A manual tire changer works best when you treat it as a precision tool, not a pry bar. Secure the changer, inspect the wheel, deflate the tire fully, lubricate the bead, use the rim’s drop center, and inflate with strict pressure control. If the tire will not mount or seat safely, stop and get professional help. A careful tire change protects the bead, the rim, the tool, and you.
Sources
- U.S. Tire Manufacturers Association, Tire Information Service Bulletin Vol. 5 No. 3 — approved lubricant, bead seating, inflation, and tire mounting safety guidance.
- U.S. Tire Manufacturers Association, TISB Vol. 46 No. 4 — low-aspect-ratio passenger and light-truck tire mounting guidance, 40 psi bead-seating warning, and bead seating troubleshooting.
- NHTSA TireWise — tire safety, tire maintenance, and consumer tire information.
- NHTSA Tire Safety Checklist — monthly pressure checks, tire inspection, and vehicle placard guidance.
- USTMA Tire Care & Safety Guide — tire pressure, sidewall markings, tire inspection, replacement, and run-flat cautions.
- OSHA 29 CFR 1910.177 — workplace rim wheel servicing definitions, training, restraining device, and trajectory safety concepts.

Related Articles
How to Use a Tire Spoon: Pro Technique for Mounting Tires
Careful technique makes tire mounting easier, but the real pro trick for using a tire spoon starts with one overlooked step.
Read More
How to Unmount a Tire: Tools, Steps & Pro Tips for Clean Removal
Start unmounting a tire with the right tools and pro tricks, then discover the cleanest way to avoid costly damage.
Read More
How to Tie a Tire Swing: Safe Knot & Hanging Guide
D**iscover the safest knot, rope, and branch choices for a tire swing, plus expert tips that could prevent a dangerous mistake.
Read More