
Valve Stem Leaking Air: Quick Diagnosis & Repair Steps
If your tire’s losing air at the valve stem, confirm the leak by removing the cap, listening for hiss, or applying soapy water to spot bubbles. Tighten or replace the valve core with a core tool (3.5–5.5 in‑lb), swap cracked caps, and inspect for corrosion at the stem and rim bead. Inflate to the correct PSI and recheck for bubbles. Use temporary sealant only as a stopgap; continue below to get full repair and safety guidance.
Confirm the Valve Stem Is Leaking
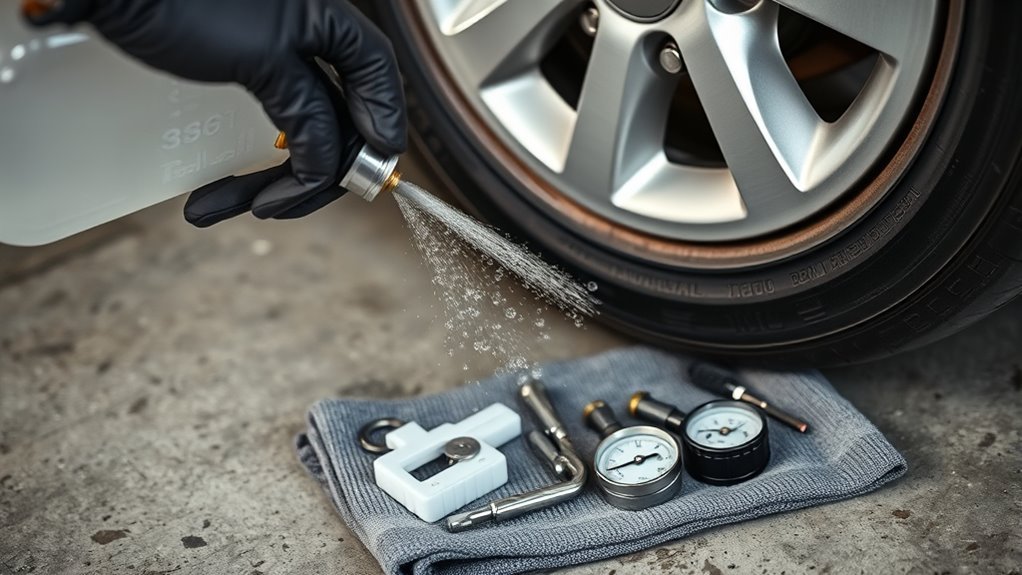
Want to know if the valve stem is leaking? Start a focused valve stem inspection: remove the valve cap and listen for a hissing sound or feel for escaping air with your hand. If you hear or feel air, you’re confirming an active leak. Next, apply soapy water to the stem; bubbles mean air’s escaping and pinpoint the leak location. Check the valve cap for cracks or damage—damaged caps can be an overlooked contributor to air loss causes. Verify the stem is properly tightened; a loose stem won’t seal and can mimic other failures. Inspect for corrosion or debris on the stem and base; contamination often creates channels for slow leaks. You want clear evidence before moving to repair, so document what you find and rule out external pressure changes or rim leaks. This practical, technical approach gives you decisive proof of a leaking valve stem and prepares you to reclaim control.
Tools for Fixing a Leaky Valve Stem
You’ll want a small kit of essential valve tools: a valve core remover, safety glasses, and a tire inflator to refill pressure. Keep several inexpensive replacement valve cores on hand so you can swap a faulty core in about five minutes. Use soapy water as a leak detector to pinpoint where air is escaping before and after the repair.
Essential Valve Tools
Three simple tools will get most leaky valve stems fixed quickly: a valve core tool for removing and installing cores, replacement valve cores to swap in for worn or damaged ones, and a tire inflator to restore proper pressure afterward. For efficient valve maintenance tips, carry that valve core tool and a few replacement cores in your kit — they’re inexpensive and let you regain control fast. Add safety glasses to protect your eyes from debris while you work. Keep a small bottle of soapy water to pinpoint leaks; apply it to the stem and watch for bubbles. The tire inflator finishes the job by returning the tire to spec. These essential tools free you from dependency on shops.
Replacement Valve Cores
After you’ve got a valve core tool and a couple of spare cores in your kit, swapping a worn core is the quickest way to stop a slow leak. You’ll remove the old core in about five minutes with the tool, wear safety glasses, then install a replacement that restores an airtight seal. Choose cores by valve core types and valve core materials—brass or nickel-plated steel are common—and match the thread and pressure rating to the valve stem. Don’t over-tighten; snug is enough to prevent damage. Replacement cores are inexpensive, so carry extras and replace suspect cores rather than pause for slow loss. If soapy water bubbles at the stem after fitting, re-seat the core and retest.
Leak Detection Supplies
A few basic tools will let you locate and fix a leaky valve stem quickly: a valve core tool and spare cores, a tire inflator, safety glasses, and a soapy-water spray for leak testing. You’ll use the valve core tool to remove and inspect cores; replacements are cheap and snap in quickly, a straightforward DIY leak solution that puts control back in your hands. Wear safety glasses to guard against debris or sudden air release when you depress the core. Use soapy water as a primary leak detection method—apply, watch for bubbles, and pinpoint escaping air. Finish by topping pressure with a tire inflator and rechecking. These supplies keep repairs fast, safe, and independent.
Install or Tighten a Valve Core (Step‑by‑Step)
Start by removing the valve cap and using a valve core tool to test the core for looseness; if it’s loose, tighten to 3.5–5.5 in‑lb. If the core is damaged or corroded, wear safety glasses, remove it with the tool, inspect and clean the threads, then install a new core snugly. Refill the tire, check for leaks with soapy water, and reinstall the valve cap.
Check Valve Core Tightness
Grab a valve core tool and remove the cap, then check the core for snugness—tighten it to about 3.5–5.5 inch‑pounds without over‑torquing to stop leaks. You’re doing valve core maintenance that directly supports reliable air pressure monitoring and vehicle autonomy. Wear safety glasses; expect a brief rush of air when you loosen the core. If the core’s loose, torque it to spec and recheck; if it’s corroded or blocked, don’t force it — replace it (covered later). After snugging, inflate to recommended pressure and inspect for leaks with soapy water. Keep torque modest: over‑tightening damages threads or core seats. Record the action for maintenance logs so you control your equipment and avoid repeat leaks, preserving mobility and freedom.
Install New Valve Core
Remove the old core with a valve core tool, letting any remaining air escape, then inspect the valve stem threads for corrosion or debris before installing the new core. You’ll choose valve core materials rated for your application (brass or nickel-plated steel) and follow precise installation techniques to restore airtight integrity.
- Seat the new core into the stem by hand, aligning threads; don’t cross-thread.
- Use the valve core tool to snug the core—tighten firm but stop before over-torquing to avoid thread or pin damage.
- Reinflate to the recommended pressure, then apply soapy water at the stem; look for bubbles indicating leaks.
- Replace the valve cap to protect against dirt and moisture, preserving your repair and freeing you from repeat failures.
Check Valve Stem and Rim Edge for Corrosion or Damage
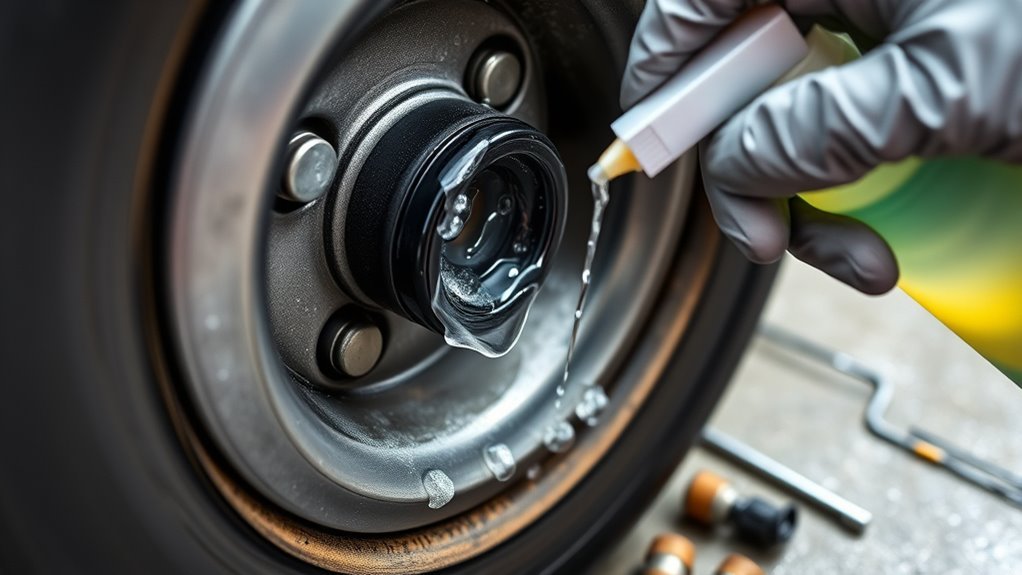
Inspect the valve stem and rim edge closely for corrosion, cracks, or embedded debris, since damage in either area can break the bead seal or let air escape. Use valve maintenance tips: keep the valve cap intact and replace it if cracked, and wipe the stem base to expose hidden corrosion. Probe for hairline cracks around the stem and at the stem/rim junction; any visible defect means replacement.
Apply rim cleaning techniques: remove rust, dirt, and old sealant from the rim edge so the bead seats uniformly. Spray soapy water on the valve stem and rim edge while pressurized; watch for bubble formation to pinpoint microleaks. Reassess after exposure to salt, mud, or impact—those conditions accelerate deterioration. Record findings and act decisively: replace corroded stems or repair rim damage before continuing. These steps protect your autonomy on the road and prevent repeated roadside compromises.
Refill the Tire and Re‑Check for Leaks

Reconnect your inflator and charge the tire to the manufacturer’s recommended PSI (check the owner’s manual or the placard on the driver’s door jamb), then immediately spray soapy water around the valve stem and rim bead to spot any escaping air—bubbles mean you need to re‑tighten, reseat, or re‑replace the stem or address a rim seal. After inflation, watch closely for bubbles and listen for hissing; that confirms a leak detection result requiring action. Replace the valve cap securely to keep dirt and moisture out. Monitor tire pressure monthly to catch slow leaks before they ground your freedom.
Reconnect and inflate to spec, spray soapy water for bubbles, tighten or replace leaking valve, then cap and monitor monthly.
- Inflate to specified tire pressure and stabilize for 2–5 minutes.
- Apply soapy solution to valve core, stem base, and rim bead; observe for bubbles.
- If bubbles appear, torque the stem nut or remove and reseat/replace the stem; retest.
- If leak persists, consult a professional tire technician for advanced inspection.
Temporary Fixes and When to Drive to a Shop
When a valve stem starts leaking, you can often stop the escape long enough to get to a shop by tightening the valve core with a valve‑core tool, checking the cap for cracks, and—if the leak is small—injecting a compatible tire sealant; apply soapy water after each step to confirm whether bubbles persist. Use these temporary solutions only to reach a professional: tighten the core snugly (don’t overtighten), replace a cracked cap, and follow sealant instructions and compatibility with TPMS. After each action, recheck pressure and watch for recurring bubbles.
If bubbles continue or pressure drops rapidly, avoid long trips. Driving precautions are critical: keep speed low, limit distance to the nearest repair shop, and monitor tire temp and pressure. Low pressure increases heat and blowout risk. If you doubt safety or the leak is large, call roadside assistance. These measures free you from immediate risk but aren’t a substitute for a permanent stem replacement.
Prevent Valve Leaks: Caps, Checks, and When to Replace
Because small problems at the valve often lead to slow leaks, check stems regularly for cracks, corrosion, or missing caps and use soapy water to confirm any suspected leak. You want reliable valve maintenance to protect your autonomy on the road and preserve tire safety. Inspect visually, test with bubbles, and act immediately if you find defects.
- Replace caps: keep spares and fit caps snugly to block dirt and moisture that degrade the stem.
- Perform leak tests: apply soapy water around the core and base; bubbles mean seal failure and require attention.
- Schedule replacements: swap valve stems every 5–10 years or sooner if you see cracks, corrosion, or persistent leaks.
- Prioritize safety: if leaking persists after cap replacement and testing, replace the stem or visit a shop to avoid sudden loss of pressure.
Stick to this routine; it’s efficient, technical, and frees you from preventable roadside compromises.
Frequently Asked Questions
What to Do if Air Is Leaking Around the Valve Stem?
You inspect the valve stem: remove the cap, listen for air, use soapy water to spot bubbles, tighten or replace the valve core with a tool, then restore proper air pressure—practical valve maintenance to free you from constraints.
How Much Does It Cost to Fix a Leaking Valve Stem?
A shop charged $18 to replace one stem after a leak; you’ll pay $5–$30 per valve replacement depending on cost factors like labor, location, tire removal, and whether it’s done during installation.
What Would You Spray Around a Valve Stem and Core to Detect Air Leaks?
You’d spray a 2% soapy water solution to detect leaks; you’ll coat the valve stem and core evenly, watch for bubbles, and perform this Leak Detection step as part of proactive Valve Maintenance for safer, liberated mobility.
Conclusion
Now that you’ve pinpointed and repaired a leaking valve stem, keep it simple: tighten or replace the core, inspect the stem and rim for corrosion, then refill and recheck with soapy water. If you’re unsure or see damage, don’t risk a blowout—drive to a shop. Want predictable tire pressure and fewer roadside hassles? Use caps, check stems regularly, and replace aging valves to stay safe and avoid repeat leaks.
Related Articles
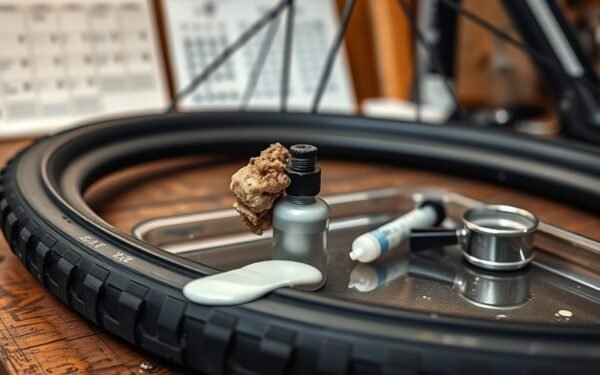
When to Replace Tubeless Sealant: Timing & Signs
Be warned: tubeless sealant can fail in weeks or months—learn the signs, testing tips, and exact replacement timing to avoid flats.
Read More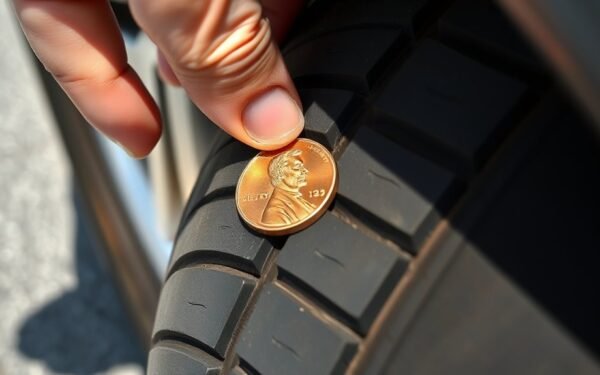
The Penny Test for Tread Depth: How to Do It Right
Better learn the penny test correctly—discover when Lincoln’s head reveals dangerous tread wear and what to do next.
Read More
Tire Rotation Schedule: How Often & Why It Matters
Optimizing tire life? Discover why rotating every 5,000–8,000 miles matters for safety and savings—read on to learn exact patterns and tips.
Read More