Tire Width & Rim Width Compatibility: Fitment Rules
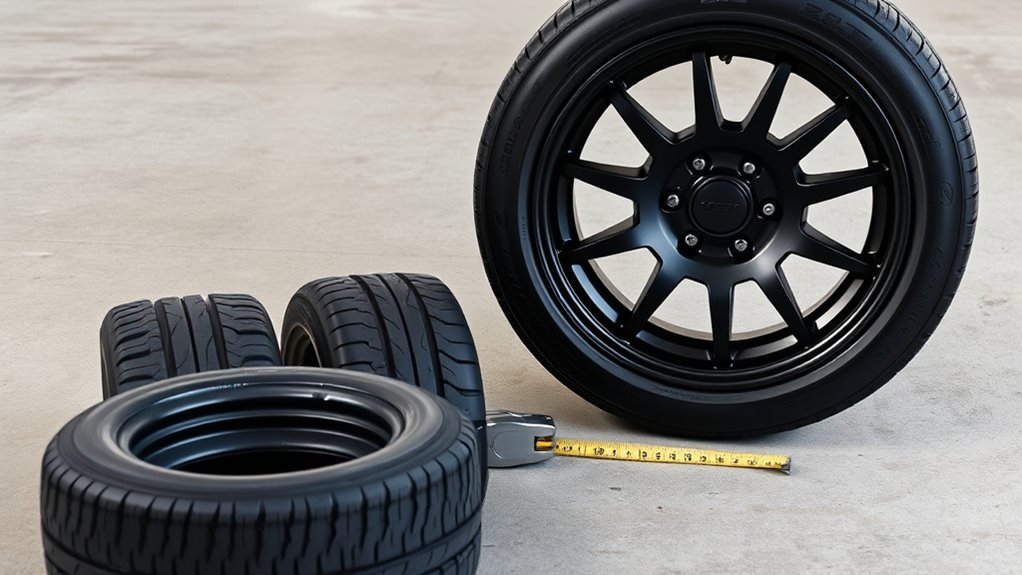
You need a rim inner width roughly 1.4–2.2× your tire’s ETRTO section to guarantee safe seating, predictable handling, and correct rolling circumference. Measure the tire’s section width (mm) and match it to manufacturer charts—filled = ideal, dotted = usable, empty = not recommended. Wider rims square the tire, altering grip and pressure distribution; narrower rims increase pinch‑flat risk. Observe hookless/tubeless ratings and max pressures. Keep checking compatibility charts and specs to learn practical pairing, pressure, and clearance tips.
Who This Guide Is For and How to Use It
If you’re a cyclist, mechanic, or wheel enthusiast trying to match tires to rims, this guide gives the technical rules and practical charts you need to choose safe, high‑performing combinations. You’ll use ETRTO‑based standards and compatibility charts to determine ideal, acceptable, and not‑recommended pairings. Read the charts to find the recommended tire section range for each rim inner width and avoid guesses that compromise safety or performance. You’ll learn how to apply rim selection criteria when specifying wheels and how tire maintenance practices affect long‑term fit and behavior. The guide separates measurement systems to prevent confusion between inches and millimeters, so you can identify sizes correctly before fitting. Follow the provided rules to assess clearance, pressure ranges, and handling tradeoffs. This section tells you who benefits and how to use the rest of the resource efficiently: consult charts first, verify ETRTO numbers, then apply routine inspection and maintenance to preserve safe, liberated riding.
Reading ETRTO Sizes: Tire Section and Rim Inner Width
Read ETRTO markings as two parts: the first two digits give the tire section width in millimeters and the last three give the bead-seat diameter. Check the rim inner width—the narrowest distance between bead hooks—against manufacturer compatibility charts to confirm the tire will mount and inflate safely. Also note whether the rim is hooked or hookless, since that affects the acceptable tire-width range.
Decoding ETRTO Markings
When you see an ETRTO marking like “50‑584” it tells you two precise measurements: the first (50) is tire section width in millimetres and the second (584) is bead seat diameter. You use ETRTO standards to match tire sizing to rim profiles, ensuring safe, efficient fitment without compromise.
| Marking element | Meaning |
|---|---|
| 50 | Tire section width (mm) |
| 584 | Bead seat diameter (mm) |
| i25 example | Inner rim width label (mm) |
Follow guidelines that map section widths to inner rim widths; compatibility charts give the safe, ideal ranges. You’ll pick tires based on these numeric cues, not marketing names, freeing your setup from guesswork while meeting performance and safety goals.
Identifying Rim Inner Width
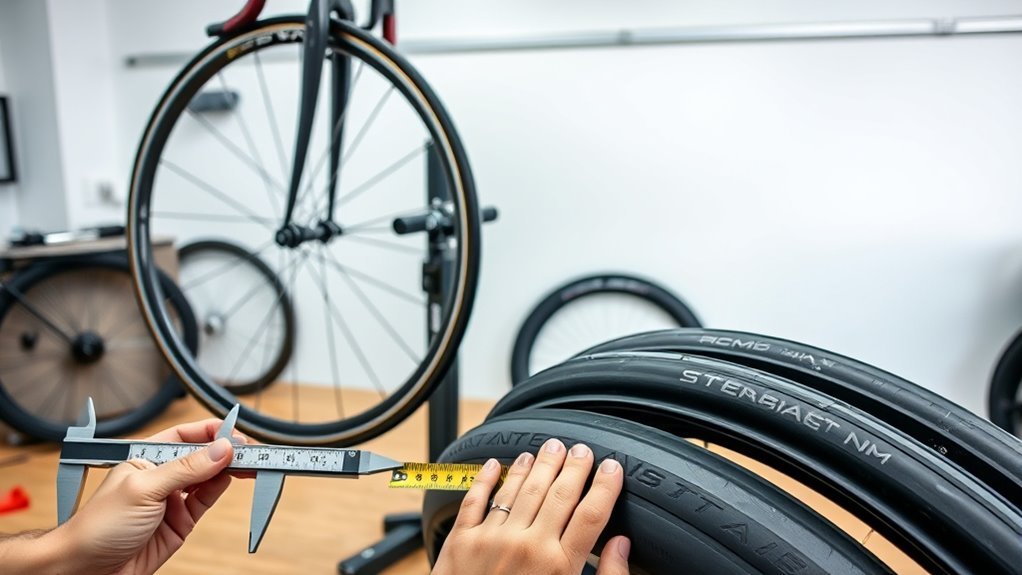
Because rim inner width (the narrowest distance between bead hooks) directly determines how a tire’s section width will seat and perform, you should read the rim label (e.g., i25) as a millimetre measurement and match it to the tire’s ETRTO section width (the first number in the XX‑XXX code). Use precise rim measurement techniques: measure between bead hooks at the rim’s internal flange, confirm manufacturer’s i‑value, and cross‑check against the tire’s ETRTO width. Then consult compatibility charts to classify pairings as ideal, compatible, or not ideal. This process of determining rim compatibility prevents unsafe fitment and reveals predictable handling. You want freedom from guesswork: rely on measured inner width, verified ETRTO tire section, and established charts to achieve safe, efficient wheel builds.
Quick-Fit: Rim Width Compatibility for Common Tire Sizes
If you pick a tire without matching rim width, you’ll compromise handling and safety; tire section width is the primary determinant and rims should generally be 1.4–2.2× the tire width for ideal profile and load distribution. Quick fit examples simplify selection: a 2.25″ (ETRTO 57‑507) tire pairs best with 20–25mm inner rims per WTB, and a 28mm tire maps effectively to 19–25mm rims following ETRTO guidance. Use these rim size recommendations to avoid pinching or over‑flattening the tire profile.
You’ll prioritize performance: incorrect rim widths alter contact patch, lateral stability, braking feel, and acceleration response. Wider rims than recommended risk pinched beads and premature wear; narrower rims create taller, less stable profiles. Match tire section width to rim inner width within the 1.4–2.2× rule, verify manufacturer limits, and choose the narrower acceptable band for liberated control and safety without sacrificing durability.
How to Read a Compatibility Chart (Optimal, Compatible, Not Recommended)
When you read a compatibility chart, use the symbols to quickly identify each tire–rim pairing: filled boxes mean ideal, dots mean compatible, and empty boxes mean not recommended. You’ll assess performance categories by matching your tire width row to the rim width column and noting whether the symbol indicates best fit, acceptable fit with trade-offs, or a safety risk. Follow the chart’s guidance to avoid mismatches that increase wear or compromise handling.
Interpreting Chart Symbols
Although compatibility charts look simple, you need to read their three symbols precisely: filled boxes, dots, and empty boxes are your chart symbols and performance indicators. You’ll use them to match tire section width to inner rim width per ETRTO guidance and manufacturer charts. Interpret each symbol with intent.
- Filled box — ideal: delivers best safety, handling, durability; choose this for control and freedom.
- Dot — compatible: will work but may increase wear or risk; accept compromise cautiously.
- Empty box — not recommended: avoid to prevent unsafe tire profile and poor handling.
- Cross-check — always verify brand-specific charts and discipline requirements before fitting; don’t assume universal rules.
Assessing Performance Categories
Because compatibility charts use three clear performance categories—ideal (filled boxes), compatible (dots), and not recommended (empty boxes)—you’ll read them as direct signals about safety and performance. You’ll prioritize ideal pairings for predictable tire handling, grip, and longevity; these combinations minimize adverse performance impacts and align with WTB’s extended recommendations beyond basic ETRTO limits. Compatible entries are conditional: they may function but can degrade handling precision, increase wear, or demand adjusted pressures and riding style. Not recommended cells flag unacceptable risk—mounting difficulty, blowout potential, poor handling, and accelerated tire failure—and you should avoid them. Always measure tire width accurately and compare to rim internal width on the chart. Use the categories to liberate choices within safe performance margins.
How Rim Width Changes Tire Shape, Handling, and Safety
If you fit a wider rim under a given tire, the bead seating and carcass spread change so the tire adopts a squarer profile that increases lateral contact patch and cornering grip. You’ll notice altered tire deformation and handling dynamics: a squarer tread reduces sidewall bulge, quickens turn-in, and raises lateral stability. Pressure distribution shifts across the footprint, so you may lower pressure for comfort but must avoid underinflation that amplifies pinch-flat risk. Safety depends on compatible rim–tire pairing and correct seating; mismatch risks blowouts or sudden loss of control at speed.
- You crave control — wider rims sharpen cornering, empowering confident maneuvers.
- You demand resilience — incorrect pairing raises puncture and blowout hazards.
- You seek comfort — increased air volume can smooth rough roads without surrendering grip.
- You choose freedom — follow compatibility charts to liberate performance without risking safety.
Rules of Thumb for Upsizing and Downsizing Rims and Tires
When you upsize or downsize rims and tires, follow clear rules of thumb to preserve handling, safety, and tire life: Keep rim sizing within the tire maker’s recommended range and within about 10mm of the ideal rim width to retain intended tire performance and handling geometry. If you increase rim diameter by 1 inch, plan to increase tire width roughly 0.5–1 inch so the tire maintains contact patch shape and sidewall support. When downsizing tires for winter, narrower section widths often improve traction on snow and ice; choose tires whose section width stays inside the rim manufacturer’s compatible range. Always verify new combinations against ETRTO/WTB or equivalent compatibility charts and the rim’s published allowable tire widths. Don’t assume clearance or load capacity remains unchanged—check vehicle fitment, rolling circumference, and speedometer calibration. These rules let you assert control over ride quality and safety while pursuing liberated fitment choices.
Special Cases: Tubeless/Hookless Rims and High-Pressure Road Tires
Although tubeless and hookless rims offer weight and sealing advantages, they demand precise tire-to-rim pairing to stay safe at high pressures. You must follow ETRTO sizing and manufacturer specs: mismatched widths compromise tire seating and undermine blow off prevention. Hookless designs cut tire-retaining friction ~30%, so you’ll need tires whose bead profiles and widths are explicitly rated for hookless rims.
Tubeless and hookless rims save weight—but require exact ETRTO-matched tires and hookless-rated bead profiles for safe high-pressure use.
- Inspect manufacturer charts: confirm rim internal width vs. tire width for certified seating.
- Respect pressure limits: hookless rims often have lower max pressures—don’t exceed them.
- Use correct bead profile: tubeless setups rely on exact bead-to-rim geometry to prevent leaks and guarantee safety.
- Prioritize tested combinations: only fitted, validated pairs deliver reliable blow off prevention at road pressures.
You’ll gain freedom to ride faster and lighter, but only by choosing matched components and adhering to validated tire seating practices—safety and liberation are inseparable.
Troubleshooting Fit Issues and When to Consult a Pro
Because rim and tire markings don’t always reflect the mounted reality, always verify ETRTO designations and then measure the tire once it’s seated—section width can change with rim internal width and affect clearance with frames and brakes. Start troubleshooting by confirming inner rim width vs. the tire’s nominal section; use a caliper to record mounted width. Inspect for clearance issues at the chainstay, fork crown, brake calipers, and fenders during full suspension travel or steering sweep. Compare measurements to manufacturer compatibility charts (WTB, ETRTO) and torque specs. If rubbing persists despite correct specs, check bead seating, tire seating, and whether a tire inflated to max pressure exceeds expected width. Don’t force a marginal fit; material deformation can damage frames or brake hardware. When unresolved or you suspect structural interference, seek professional advice from a bike mechanic to assess risks, recommend alternate tire/rim combinations, or perform precise installations that protect your freedom to ride safely.
Frequently Asked Questions
Does Tire Width Need to Match Rim Width?
Yes — you should match tire width to rim sizing: follow fitment standards to avoid adverse performance impact, monitor tire sidewall behavior, and you’ll preserve handling, safety, and freedom to ride confidently without unnecessary risk.
What Is the 105% Rule on Tires?
The 105% rule says your tire width must not exceed 105% of the rim’s internal width, ensuring ideal tire performance and preserving tread design integrity; you’ll avoid poor handling, pinch flats, and uneven wear by following it.
Conclusion
You’ve now got the concrete rules to match tire section to rim inner width and predict handling, ride quality, and safety. Use ETRTO numbers, prioritize the ideal compatibility column, and remember tubeless/hookless and high-pressure road tires need extra caution. When in doubt, don’t wing it: measure, check manufacturer charts, and consult a pro for unusual combos. Small changes matter—make them deliberately and you’ll keep performance and safety aligned.
Related Articles
26 Vs 27.5 Vs 29 Inch Tires: Which Wheel Size & Why
Wheel size changes acceleration, traction, and handling—discover which of 26, 27.5, or 29-inch wheels suits your riding style and why.
Read More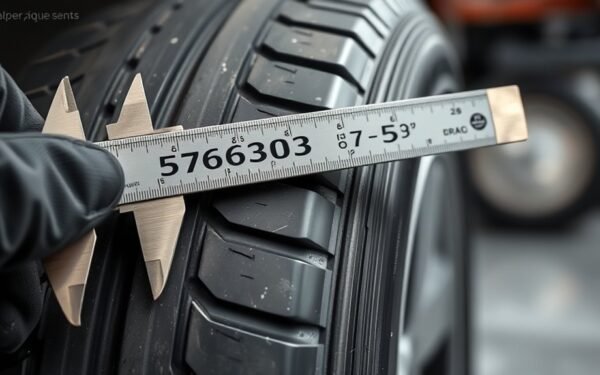
Tire Section Width Meaning: First Number on Your Tire
Broaden your understanding of tire section width—the first tire number that dictates fitment, handling, and clearance—discover how it truly affects performance.
Read More