
Tire Stuck on Rim: Tips to Remove a Stubborn Tire
If a tire’s stuck on the rim, fully deflate it, push the bead into the rim center for slack, then clamp the tire with C-clamps or ratcheting clamps to hold that slack. Pry the bead with metal levers (use plastic for carbon rims), spray penetrating lubricant around the bead, let it soak, and use a bottle jack or dedicated bead breaker for steady pressure. Work carefully to avoid rim damage — follow the next steps for tools, tricks, and when to call a pro.
Roadside Fixes for a Stuck Tire
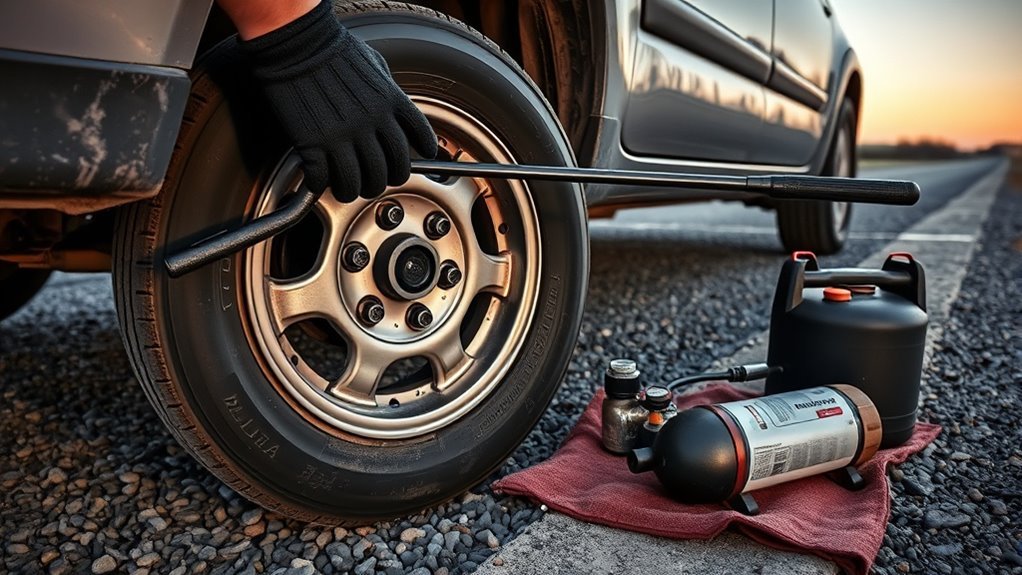
If your tire’s stuck at the roadside, start by fully deflating it and use tire levers at the valve to pry the bead off the rim—that gives you the most slack to work with. You’ll rely on compact roadside tools and clear emergency techniques: work methodically with levers to lift the bead a few inches, shifting around the rim until one side clears. If the bead resists, clamp it with a C-clamp or ratcheting hand clamp to compress and break the seal; position clamps opposite each other and tighten incrementally. Carry a spare tube and tire plugs so you can patch punctures without fighting removal. If clamps fail, spray the bead with a penetrating lubricant like WD40 to reduce adhesion, then reapply leverage. As a last-resort, use a bottle jack between wheel studs to force the bead off—place cushioning to protect the rim and pump slowly. These techniques keep you mobile and self-reliant.
Why Tires Stick to Rims (And What’s Risky)
Because tubeless systems rely on an airtight, close-tolerance seal, tires can bond tightly to rims—especially when liquid sealant dries or when beads and rim walls are manufactured to tight tolerances that match poorly across brands. You’ll encounter strong tire adhesion when sealant effects create a gummy interface between bead and rim. Manufacturing variance can turn a normally snug fit into a stuck one; beads cut to minimal tolerances lock against rim walls and resist levering.
Environmental factors change material stiffness: heat can soften rubber and increase contact area, cold can harden compounds and let sealant become tacky. That combination raises removal force and the risk of damaging bead, rim tape, or the rim’s braking surfaces. Regular maintenance—using talcum powder at install and checking sealant age—reduces future sticking and preserves your autonomy. Know the mechanics, respect the risks, and prepare mitigation steps before you commit to tire removal.
If Roadside Fixes Fail: Break the Bead Safely Step-by-Step
One clear approach when roadside tricks fail is to work methodically: push the bead into the rim center to create slack, clamp the tire to hold that slack, and then apply lubricant and controlled force to break the seal. First, assess the tire’s position—move the bead inward, especially near the valve, to concentrate slack where you’ll work. Clamp the tire securely to prevent rebound; this holds your progress and limits risk during bead breaking. Spray penetrating oil around the bead to cut friction and let it seep several minutes. Position a bottle jack between wheel studs or another solid contact point to exert steady, measured pressure; pump slowly and watch for even tire separation from the rim. Maintain alignment and avoid sudden jerks. If the bead won’t budge or the rim shows damage, stop and seek professional assistance—local bike shops have dedicated tools and expertise. You’ll preserve the wheel and regain freedom without unnecessary harm.
Tools for Tire Removal : Levers, Clamps, and Bead Breakers
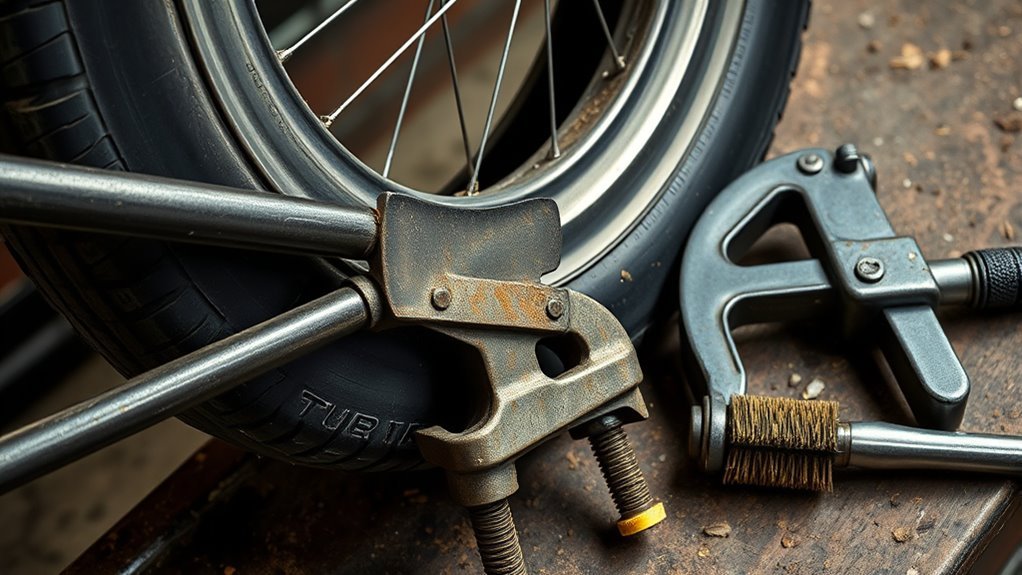
Tools matter when a tire won’t budge: choose metal levers for stubborn beads and plastic ones for carbon rims to prevent damage, use heavy-duty C-clamps or bar clamps to compress the bead and hold slack, and employ a dedicated bead breaker when available to apply controlled force without stressing the rim. You’ll pick lever types based on rim material and tire stiffness: metal for stubborn rubber, plastic for fragile finishes. Check clamp sizes to match the bead width and rim diameter; larger bar clamps or C-clamps deliver stable, even compression and resist bending. A purpose-built bead breaker concentrates force at the seal, reducing pry torque and rim stress. Work methodically: seat the bead into the rim well with clamps, then use levers to roll the bead over the rim edge, alternating if needed. Invest in heavy-duty hardware—durability equals safety and speed. These tools free you to reclaim control without risking costly rim damage.
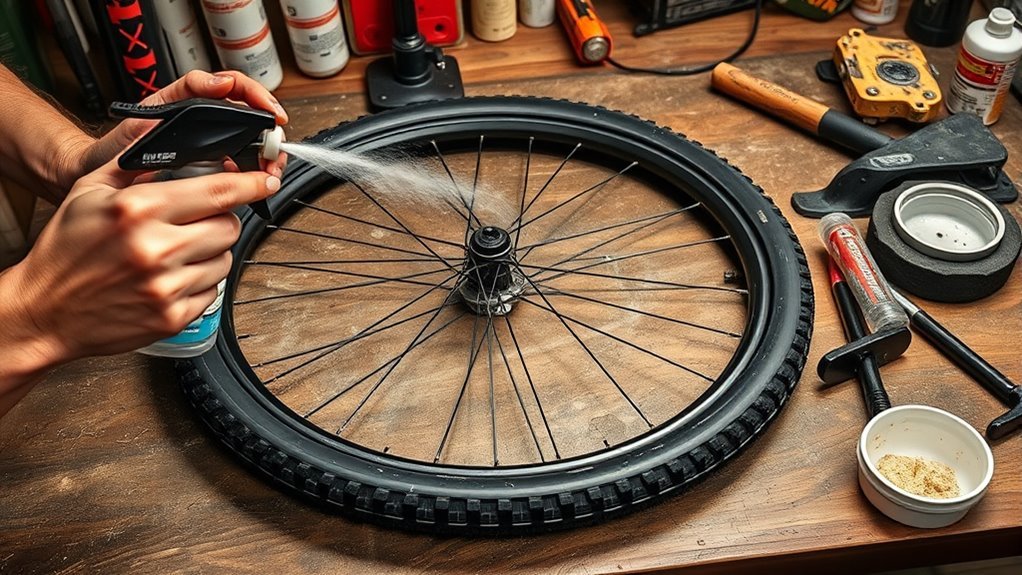
Lubricants, Powders, and Tricks That Free Stubborn Beads
Start by applying a lubricant or solvent like WD‑40 or PB Blaster around the bead to break the seal and let solvent soak into the rim-tire interface. For installation and future service, dust the bead with talcum powder to reduce friction and prevent adhesion. Combine wet lubricants with mechanical aids—clamps or levers—to compress the bead and work it off the rim more predictably.
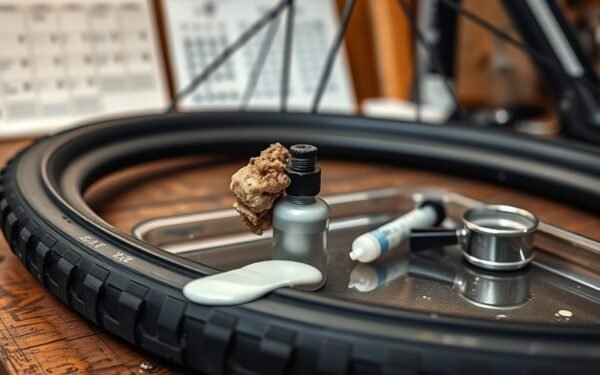
Talcum Powder Benefits
A light dusting of talcum powder on the rim and inside the tire reduces friction and helps the bead slide free, making stubborn tires far easier to remove. You’ll apply talcum powder during tire installation to prevent the bead sticking from sealant or debris and to create a release barrier for future removals. The powder acts as a dry lubricant, lowering friction without introducing wet residues that attract grime. Use a modest, even layer around the bead seating area and inside the cavity; excessive powder offers no added benefit. This simple, low-cost technique cuts the force needed to break a seal and lowers risk of rim or bead damage. Make talcum powder a standard step so you’re liberated from jammed tires.
Lubricants And Solvents
Talcum powder helps reduce friction, but when beads stubbornly stick you’ll need stronger tactics: targeted lubricants, solvent cleanup, and mechanical compression can all free a sealed bead. Start by evaluating lubricant types: penetrating sprays (WD40, PB Blaster) reduce adhesion; soaping mixtures provide temporary slickness without residue. Apply lubricant to the bead seam, allow dwell time, then work the bead with levers. For tubeless setups, check sealant buildup—solvent effectiveness matters: isopropyl alcohol or dedicated sealant removers dissolve residues that glue bead to rim; avoid harsh solvents that damage rubber. Use C-clamps or bar clamps to compress the bead and break the vacuum, then combine leverage tricks (plank-and-truck or bottle jack) if needed. Clean and dry before reinstalling.
When to Cut the Tire or Call a Pro : Avoid Rim Damage
If repeated bead-breaking and lubricant tricks fail, weigh whether cutting the tire with a zip cut or machete is worth the risk to the rim. Check the rim for bends, cracks, or corrosion—if you see damage or you don’t have the right tools and steady hands, call a professional. Always wear gloves and eye protection and compare replacement costs and your time before proceeding.
Assess Rim Damage Risk
Before you try anything aggressive, inspect the rim for dents, cracks, or visible deformities and note any areas that could be worsened by prying or cutting. Perform a focused rim inspection and damage assessment: clean the bead seat, rotate the wheel, and use a bright light to reveal hairline cracks or bent lips. If you see structural compromise, stop—don’t risk worsening the rim with levers or blades. Keep tubeless sealant buildup in mind; thick residue can glue tire to rim and mimic mechanical seizure. Use proper tools—bead breakers, clamps—and controlled force only. If methods fail or you lack tools or confidence, call a professional. Choosing restraint preserves your wheel and keeps you free to ride without costly repairs.
When Cutting Is Safe
When other removal techniques have failed and you’ve thoroughly checked the rim for cracks, dents, or vulnerable materials like carbon, cutting the tire can be a controlled last resort—but only with the right tools and precautions. You’ll limit damage by planning each cut, keeping tools shallow, and prioritizing rim protection while you work. If sealant has glued the bead or the rim is carbon, reconsider—cutting risks irreversible harm.
- Choose precise cutting techniques (zip cut, machete with edge control) and avoid stabbing motions.
- Protect the rim with padding, a thin metal strip, or tape to prevent blade contact.
- Work slowly, make small incisions, and rotate the wheel for predictable progress.
- Have a bead breaker or pro contact as a backup if resistance spikes.
When To Seek Professional
How do you know it’s time to stop trying and call a pro? You stop when repeated attempts fail, tire adhesion is extreme, or you risk warping the rim. Cut only as last resort with a clear plan; otherwise get professional expertise.
| Situation | Decision |
|---|---|
| Multiple failed attempts | Call a pro |
| Extreme adhesion from sealant | Call a pro |
| No bead-breaker tool | Call a pro |
| Costly rim at risk | Call a pro |
A technician has tools and judgment to separate rubber from metal without creating costly damage. Weigh repair costs vs. service fees. If you value freedom from risk, don’t gamble with DIY cuts—use trained hands and avoid irreversible rim harm.
Preventive Install Steps to Make Future Removal Easy
If you want future tire removal to be painless, take a few preventive steps during installation: During tire installation you control how easily that tire will come off later. Use talcum powder on the tire beads to reduce friction and keep beads from bonding to the rim. Pinch the beads into the rim bed as you fit the tire so there’s slack for dismounting. Confirm even bead seating around the rim to prevent areas that’ll stick or deform. Consider a removable-friendly tire sealant that resists hard adhesion, and inspect rims and beads regularly to catch problems early.
- Dust talcum powder on beads to lower friction and ease future removal.
- Pinch beads into the rim bed during fitting to create dismount slack.
- Verify uniform bead seating and tire installation to avoid sticky spots.
- Use a tire sealant formulated for easy removal and inspect components regularly.
These steps give you practical control and freedom from stubborn, glued-on tires.
Frequently Asked Questions
How to Get a Stubborn Tire to Bead?
Inflate quickly while angling the wheel to snap the bead; use tire lubrication techniques like soapy water, apply bead sealing methods or a ratchet strap for pressure, and use a compressor or CO2 for the rapid burst you’ll need.
Conclusion
When a tire sticks to the rim, stay calm, stay safe, and stay methodical. Try roadside fixes: deflate, lube, pry gently. If that fails, break the bead with the right tool, protect the rim, and work evenly around the wheel. Use clamps, levers, or a bead breaker; avoid sharp prying or cutting unless you accept rim damage. Prevent future problems by cleaning, using proper lube, and seating the bead correctly during installation.
Related Articles
When to Replace Tubeless Sealant: Timing & Signs
Be warned: tubeless sealant can fail in weeks or months—learn the signs, testing tips, and exact replacement timing to avoid flats.
Read More
The Penny Test for Tread Depth: How to Do It Right
Better learn the penny test correctly—discover when Lincoln’s head reveals dangerous tread wear and what to do next.
Read More
Tire Rotation Schedule: How Often & Why It Matters
Optimizing tire life? Discover why rotating every 5,000–8,000 miles matters for safety and savings—read on to learn exact patterns and tips.
Read More