
How to Plug a Tire on a Toyota Tundra: Quick Roadside Fix Explained

A tire plug can help you get your Toyota Tundra moving again when a small nail or screw punctures the center tread, but it is not the same as a permanent tire-shop repair. Use a DIY plug only as a temporary roadside fix, then have the tire inspected from the inside and repaired or replaced by a qualified tire technician as soon as practical.
Quick Answer
You can temporarily plug a Toyota Tundra tire only if the puncture is small, straight, and located in the repairable tread area. Do not plug sidewall, shoulder, large, torn, or previously damaged areas. A proper permanent repair requires tire removal, inside inspection, and a plug-patch repair.
Key Takeaways
- A string plug is a temporary roadside repair, not a final fix.
- Only plug a small puncture in the center tread area; never plug the sidewall or shoulder.
- Stop if the tire was driven flat, has a bulge, visible cords, a long cut, or overlapping damage.
- Inflate the tire to the cold pressure listed on your Tundra’s tire placard or owner’s manual, then check for leaks.
- Have the tire professionally inspected and repaired with a proper internal plug-patch, or replaced if it is not repairable.
At a Glance
| Time Required | About 20–40 minutes for a temporary roadside plug, plus a professional inspection afterward |
| Difficulty | Moderate; stop and call for help if the truck is unstable, traffic is close, or the puncture is not clearly repairable |
| Tools Needed | Tire plug kit, needle-nose pliers, tire pressure gauge, portable air compressor, jack, lug wrench, wheel chocks, gloves, flashlight, and soapy water |
| Cost | Low if you already carry a kit and compressor; professional repair or replacement cost varies by tire and shop |
Can You Safely Plug a Toyota Tundra Tire?
You can use a plug kit only for a temporary repair on a simple tread puncture. Industry guidance from the U.S. Tire Manufacturers Association says a proper repair requires the tire to be removed from the wheel, inspected from the inside, filled with a rubber stem or plug, and sealed with an inner patch. The Tire Industry Association also treats outside string plugs as temporary because the inside of the tire cannot be fully inspected while it is still mounted.
Warning: Do not plug a tire with sidewall damage, shoulder damage, a slash, a bulge, exposed cords, a puncture larger than 1/4 inch / 6 mm, or damage from being driven flat. Install the spare or call roadside assistance instead.
Why You Should Learn to Plug a Tire

Learning how to plug a tire can save time when you are far from a tire shop and the puncture is minor. It can also help you control the situation instead of waiting on the shoulder with a slow leak. The key is knowing the limits: a plug can help you reach a safer place, but it should not be treated as a permanent repair.
For a Toyota Tundra, this skill is especially useful because the truck may be used for towing, hauling, job sites, camping, or remote roads where immediate tire service is not nearby. A small nail in the tread can often be handled temporarily, while a sidewall cut or damaged tire should be replaced with the spare.
Know What Tire Damage Can and Cannot Be Plugged
Before you open the plug kit, decide whether the tire is a candidate for a temporary repair. If you are unsure, choose the safer option: install the spare tire or call for help.
| Temporary plug may be reasonable | Do not plug; replace, use spare, or tow |
| Small nail or screw hole in the center tread | Sidewall, shoulder, or belt-edge puncture |
| Straight puncture no larger than 1/4 inch / 6 mm | Large hole, long cut, torn rubber, or angled damage toward the shoulder |
| Tire still held some air and was not driven flat | Tire was driven severely underinflated, has a bulge, shows cords, or has inner damage suspected |
| No previous repair close to the puncture | Overlapping repairs, worn-to-indicator tread, or repeated leaks |
[Products Worth Considering]
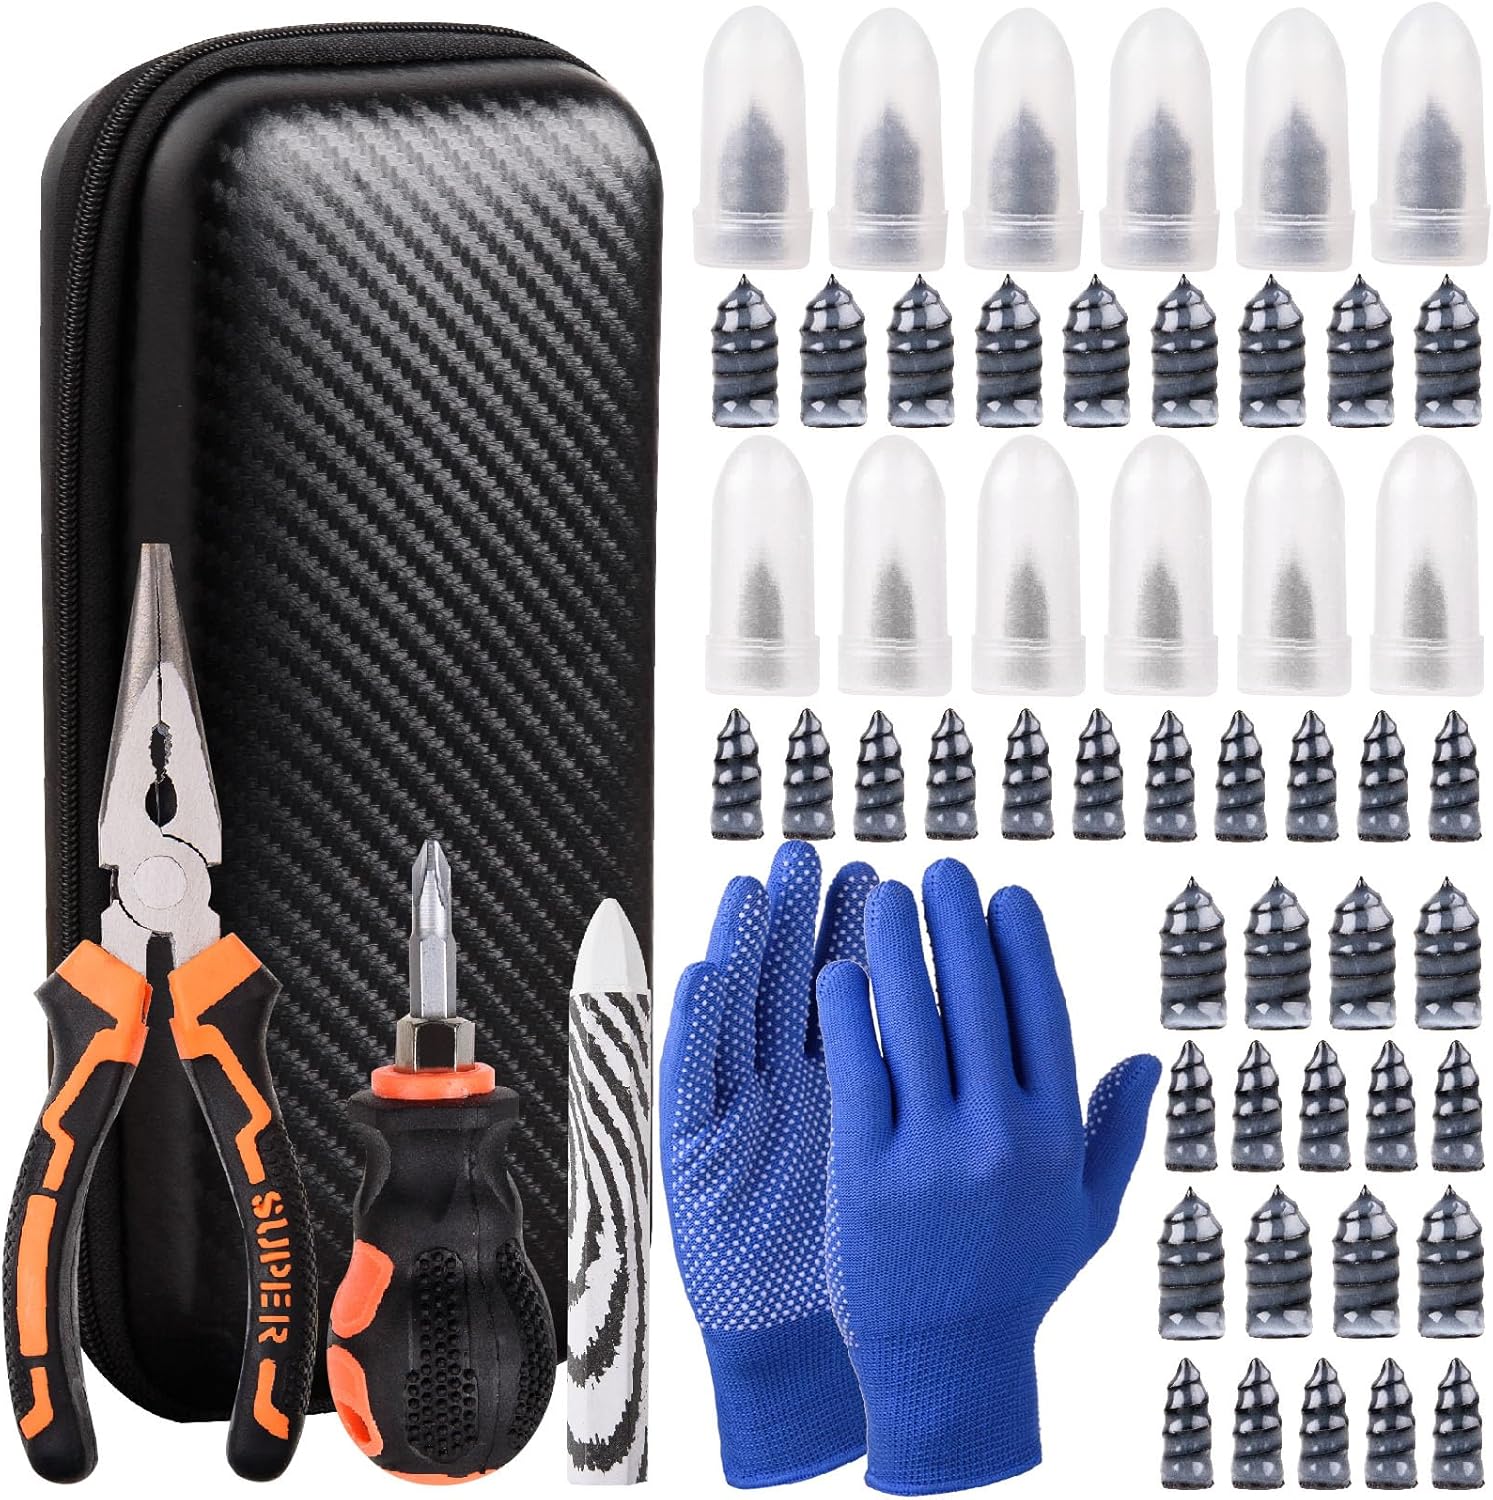
This tire sidewall puncture repair kit fixes flats fast without removing the tire, helping you get back on the road in minutes. It includes self-tapping repair nails, essential tools, gloves, and a portable storage bag for convenient roadside use. Designed for tubeless tires, it helps create a tight, leak-resistant seal for cars, motorcycles, trucks, SUVs, and ATVs.

This tire repair kit provides fast emergency puncture repair without removing the tire from the rim, helping you get back on the road quickly. Its screw plug system is designed for punctures in both tread and sidewall and includes a complete patch plug tool set with essential accessories. A portable storage bag makes it easy to carry for cars, trucks, SUVs, motorcycles, and heavy-duty applications.

This portable cordless tire inflator delivers up to 160 PSI with fast 17 L/min airflow to help you quickly top up tires and get back on the road. It features dual power mode, running on a 21V rechargeable battery or a 12V DC adapter for convenient roadside use. An automatic shut-off with digital pressure gauge helps prevent overinflation, and a built-in LED light improves visibility in low-light conditions.
Gather Your Essential Tools for Tire Repair
Before you work on your Toyota Tundra tire, gather everything you need and move the truck to a safe location. A basic roadside kit should include:
- A tire plug kit with plugs, reaming tool, and insertion tool
- Rubber cement only if your plug kit instructions call for it
- Needle-nose pliers for removing a nail or screw
- A tire pressure gauge
- A portable air compressor or tire inflator
- Soapy water in a spray bottle for leak checking
- Gloves, flashlight, and eye protection
- Wheel chocks, jack, and lug wrench if you need to lift the truck or remove the wheel
- A usable spare tire in case the puncture is not safe to plug
Toyota recommends checking tire condition and spare tire pressure as part of tire maintenance. The Toyota Tundra owner’s manual tire section also reminds owners to check the spare tire condition and pressure if it is not rotated.
Pro Tip: Keep the plug kit, tire gauge, compressor, and gloves together in one small bag. A plug kit is not much help if the compressor or insertion tool is missing when you need it.
[Products Worth Considering]

EVOULTES heavy duty tire inflator with an integrated gauge delivers accurate pressure readings from 10–120 PSI, helping you inflate, deflate, and check tires in one tool. The 16.5-inch extended dual-head air chuck with swivel base reaches hard-to-access dual wheel valves on trucks and RVs. A brass trigger core and side-mounted air release valve make operation smooth, with standard 1/4" NPT threading and quick-connect compatibility for easy setup.

This roadside assistance kit helps drivers and passengers in urgent situations after an accident or breakdown, providing practical support while waiting for help. It includes a lightweight, compact tire inflator for fast inflation of standard vehicle tires, plus reinforced jumper cable protection for safer handling. Ideal for winter weather, road trips, camping, and travel, with everything stowed neatly in a trunk bag.
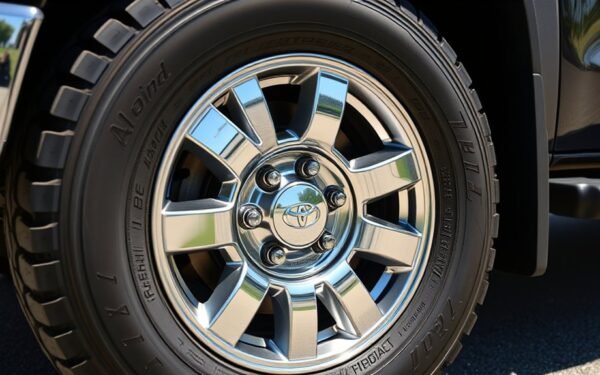
Identify the Puncture Location on Your Tire
Start with a careful visual inspection. Look for a nail, screw, staple, shard, or other object in the tread. If you cannot see the leak, inflate the tire enough to listen for escaping air, then spray soapy water across the tread. Bubbles usually mark the leak.
If the object is near the outer edge of the tread, shoulder, or sidewall, do not plug it. If the tire has a bulge, cut, cracked area, visible cords, or signs that it was driven flat, stop and use the spare. A temporary plug should only be used when the puncture is clearly in the repairable tread area.
Lift Your Toyota Tundra Safely With a Jack
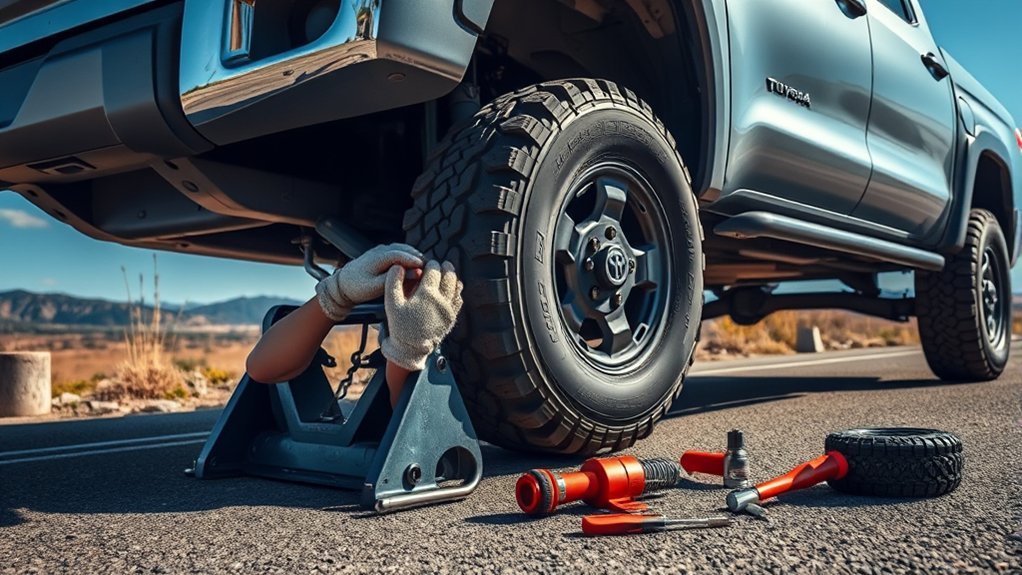
You may be able to plug the tire while it is still on the truck if the puncture is easy to reach. If you need to rotate the tire or remove the wheel, lift the Tundra only on a flat, stable surface and only at the jacking points listed in your owner’s manual.
Choose a Safe Location
Pull as far away from traffic as possible. Turn on the hazard lights, set the parking brake, and avoid working on a soft shoulder, steep slope, or uneven dirt. If traffic is too close, do not attempt the repair; call roadside assistance.
Position the Jack Correctly
Place wheel chocks against the tires that will stay on the ground. Position the jack at the correct Toyota jacking point and raise the truck slowly. Never place any part of your body under the vehicle while it is supported only by a jack.
Secure Vehicle Stability
If you remove the wheel, loosen the lug nuts slightly before the tire leaves the ground. After the temporary repair, reinstall the wheel and tighten the lug nuts in a star pattern. Use the torque specification in your Tundra owner’s manual or have a shop torque the lug nuts correctly as soon as possible.
Note: Toyota Tundra procedures and equipment can vary by model year and trim. Use your own owner’s manual for jack location, spare tire instructions, lug nut torque, and tire pressure.
Remove the Object Causing the Tire Leak
Once you confirm the puncture is in the repairable tread area, mark the location with chalk or a marker. Keep the tire inflated if possible because a little internal pressure helps you locate and seal the hole.
Assess Damage Carefully
Look closely before pulling the object out. If the hole is large, ragged, near the sidewall, or angled toward the shoulder, do not plug it. If the tire lost all air and you drove on it, the sidewall may have internal damage that you cannot see from the outside.
Use Needle-Nose Pliers
Grip the nail or screw with needle-nose pliers and pull it out in the same direction it entered. Avoid twisting aggressively because that can enlarge the puncture. Once the object is removed, be ready to ream and plug the hole before the tire loses too much air.
Prepare the Hole for the Plug
Insert the reaming tool from your plug kit into the puncture and move it in and out to clean and size the hole. Follow the plug kit instructions closely. The goal is to prepare the puncture enough for the plug to seal, not to make the damage larger than necessary.
If your kit calls for rubber cement, apply it as directed. If your kit uses pre-coated plugs, do not add extra cement unless the instructions say to. Using the kit correctly matters because plug materials and installation steps vary.
How to Insert a Tire Plug Properly
Thread the plug through the insertion tool so equal lengths of plug material sit on each side. Push the plug into the puncture with firm, steady pressure until most of the plug is inside the tire and a small amount remains outside.
| Step | Action |
|---|---|
| 1 | Clean and size the puncture with the reaming tool |
| 2 | Load the plug into the insertion tool |
| 3 | Push the plug into the puncture with steady pressure |
| 4 | Pull the insertion tool straight out so the plug stays in place |
| 5 | Trim excess plug material close to the tread surface |
Pull the insertion tool out quickly and straight. The plug should remain in the tire. Trim the extra plug material so it does not slap the road or pull loose while driving.
Inflate the Tire to the Correct Pressure
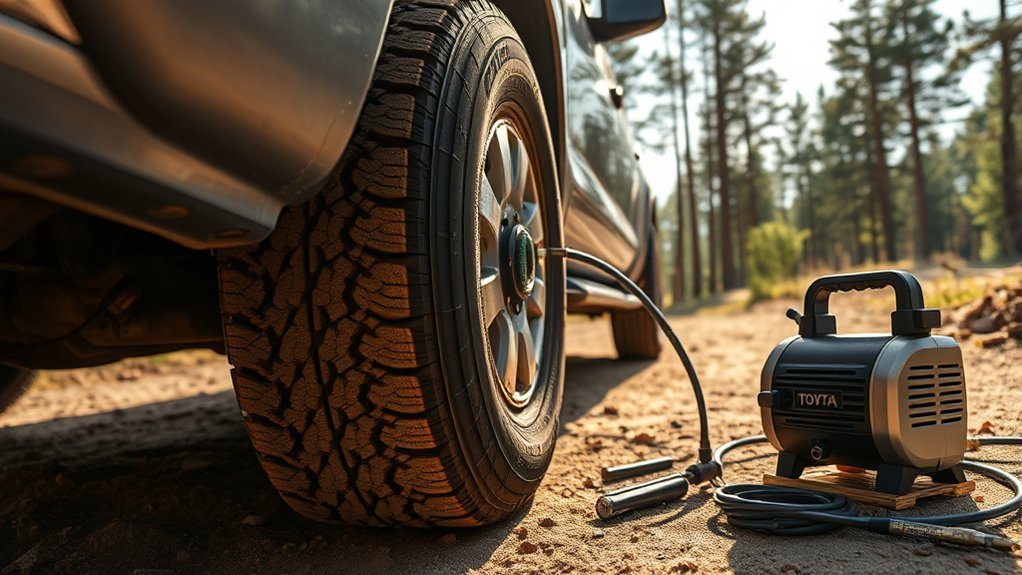
Use a portable compressor to inflate the tire to the recommended cold tire pressure for your specific Toyota Tundra. Do not use the maximum pressure printed on the tire sidewall as your target. Instead, check the tire information placard on the driver’s door jamb or the owner’s manual. Toyota’s Tundra tire inflation guidance warns that proper inflation is critical for tire performance and safety.
The National Highway Traffic Safety Administration recommends measuring tire pressure when tires are cold or using the manufacturer’s cold inflation pressure if you must add air after driving.
Test for Leaks Before You Drive
After the plug is installed and the tire is inflated, spray soapy water over the repair. If bubbles continue to form, the plug is leaking and the tire should not be driven except to move the truck to a safer spot. Install the spare or call for help.
If the plug holds air, reinstall the wheel if removed, lower the truck, remove the wheel chocks, and check the pressure again. Drive cautiously and avoid towing, hauling heavy loads, off-roading, and high-speed driving until the tire has been professionally inspected.
A temporary plug can help you leave the roadside; a proper repair is done from inside the tire after the technician confirms the tire is still structurally safe.
Knowing When DIY Isn’t Enough
DIY is not enough when the puncture is outside the tread area, the tire will not hold air, the TPMS light returns, the truck shakes, or the damage looks larger than a simple nail hole. It is also not enough if you plan to tow, haul, or drive long distances immediately after the repair.
In those cases, use the spare tire or request roadside help. Toyota Roadside Assistance lists services such as tire change and towing to a Toyota dealer or repair facility when needed. AAA flat tire service similarly describes changing the flat if a usable spare is available or towing if not.
Frequently Asked Questions
Does roadside assistance plug a tire?
Usually, roadside assistance changes the tire, reinflates it, or tows the vehicle rather than performing a permanent tire repair on the shoulder. Some mobile tire services may offer repairs, but coverage depends on the provider, location, tire condition, and policy.
How does instant tire repair work?
Instant tire repair products usually use sealant and air pressure to slow a small tread leak. They are emergency products, not long-term repairs. Tell the tire shop if you used sealant because the inside of the tire, wheel, valve stem, and TPMS components may need cleaning or inspection.
How long will a plug last in a run-flat tire?
Do not judge run-flat tire safety by how long a plug appears to hold air. Run-flat tires can have manufacturer-specific repair limits, especially if they were driven with low or no pressure. Have the tire inspected by a qualified technician and follow the tire manufacturer’s repair policy.
Can I plug a Toyota Tundra tire sidewall?
No. Sidewall and shoulder damage should not be plugged, patched, or treated as repairable. Those areas flex heavily while driving, and a failed repair can cause rapid air loss. Replace the tire or install the spare.
Should I still get the tire patched after plugging it?
Yes. A temporary outside plug does not let you inspect the inner liner or seal the tire from the inside. If the tire is repairable, a technician should demount it, inspect it, and install an internal plug-patch repair.
Can I tow or haul after plugging a Tundra tire?
Avoid towing, hauling heavy loads, off-roading, and high-speed driving on a temporary plug. The safe move is to drive carefully to a tire shop or install the spare, then have the damaged tire inspected before returning to normal truck use.
Conclusion
Knowing how to plug a Toyota Tundra tire can help you handle a minor tread puncture without being stranded, but safety comes first. Use a DIY plug only for a small, repairable tread puncture, then confirm the tire holds air and drive cautiously to a tire professional. If the damage is on the sidewall, shoulder, large, torn, or uncertain, skip the plug and use the spare or call for help.
Sources
- U.S. Tire Manufacturers Association — Tire Repair Basics — repairable area, 1/4-inch limit, demounting, plug-patch requirements
- Tire Industry Association — Tire Repair — why on-the-wheel string plugs are temporary and why internal inspection matters
- NHTSA TireWise — Tire Safety — cold inflation pressure and tire pressure safety guidance
- Toyota Owners — 2025 Tundra Tire Inflation Pressure — Toyota tire pressure safety guidance
- Toyota Owners — 2025 Tundra Tires — tire and spare tire inspection guidance
- Toyota Support — Roadside Assistance — tire change and towing services
Related Articles
Toyota Tundra Tire and Wheel Package: What to Consider Before Buying
Unlock the secrets to choosing the perfect tire and wheel package for your Toyota Tundra—essential tips await to enhance your ride.
Read More
Do Bigger Tires Void a Toyota Tundra Warranty? Magnuson-Moss Act Explained
Bigger tires might not void your Toyota Tundra warranty, but understanding the Magnuson-Moss Act is crucial—discover how to protect your investment effectively.
Read More
Toyota Tundra Tire Rack Setup: Garage Storage Ideas for Seasonal Sets
Better tire storage for your Toyota Tundra awaits—discover essential tips to maximize space and protect your seasonal sets in the garage!
Read More