
4Runner Fender Trimming for Tire Clearance: A Simple Guide
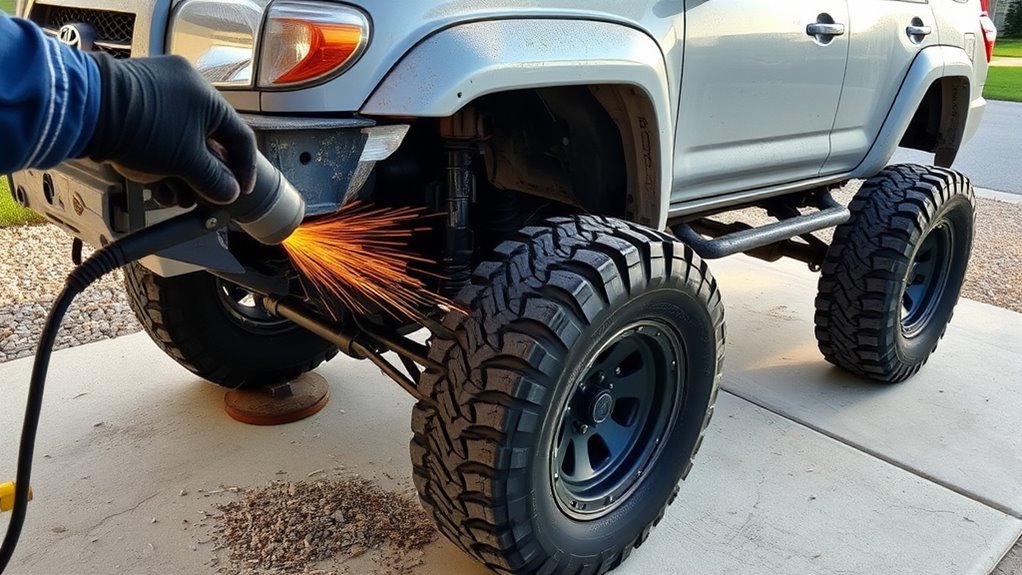
Trimming fenders on a 5th-gen Toyota 4Runner is a permanent body modification, so treat it as a measured clearance job, not a quick cosmetic cut. This guide is written for 2010–2024 5th-gen 4Runners. If you have a 2025 or newer 4Runner, verify fitment separately because Toyota redesigned the 4Runner for the sixth generation and some factory models use different tire, suspension, and body packaging.
Quick Answer
To trim 4Runner fenders for bigger tires, first find the exact rub points at full steering lock and suspension compression. Remove the inner liner, tape the cut line, trim only the plastic or metal that contacts the tire, smooth every edge, seal exposed steel, reinstall the liner and flares, then retest clearance under vehicle weight.
Key Takeaways
- A 285/70R17 tire is the common 33-inch-class 4Runner upgrade; a 285/75R17 is closer to a 34-inch-class tire and usually needs more clearance work.
- Rubbing depends on tire model, wheel offset, spacers, lift height, caster, mud flaps, bumper position, and how hard you use the suspension off-road.
- Trim plastic first when possible. Cut metal only after you confirm the tire touches that exact point.
- Seal every exposed steel edge with primer, paint, and undercoating to reduce rust risk.
- For 34- to 35-inch tires, expect more than flare trimming. You may need a body mount chop, bumper trim, alignment work, or professional fabrication.
At a Glance
| Time Required | 2–5 hours for minor liner and flare trimming; longer if cutting metal, fabricating brackets, or doing a body mount chop |
| Difficulty | Moderate for plastic trimming; advanced for sheet metal, pinch weld work, or body mount cutting |
| Tools Needed | Painter’s tape, marker, socket set, trim tools, Dremel, oscillating multi-tool, grinder or flap disc, 80- to 120-grit sandpaper, primer, paint, undercoating, replacement clips, gloves, safety glasses, face shield, hearing protection, and dust mask |
| Cost | About $30–$150 for clips, blades, abrasives, paint, and sealant if you already own the tools |
Warning: Cutting or grinding metal creates sparks, sharp edges, and dust. Wear safety glasses, a face shield, gloves, hearing protection, and a dust mask or respirator. Keep flammable materials away from the work area and keep a fire extinguisher nearby. If you are not comfortable cutting body metal or modifying a body mount, use a qualified fabrication or off-road shop.
Before You Cut: Confirm Your 4Runner Tire and Wheel Setup
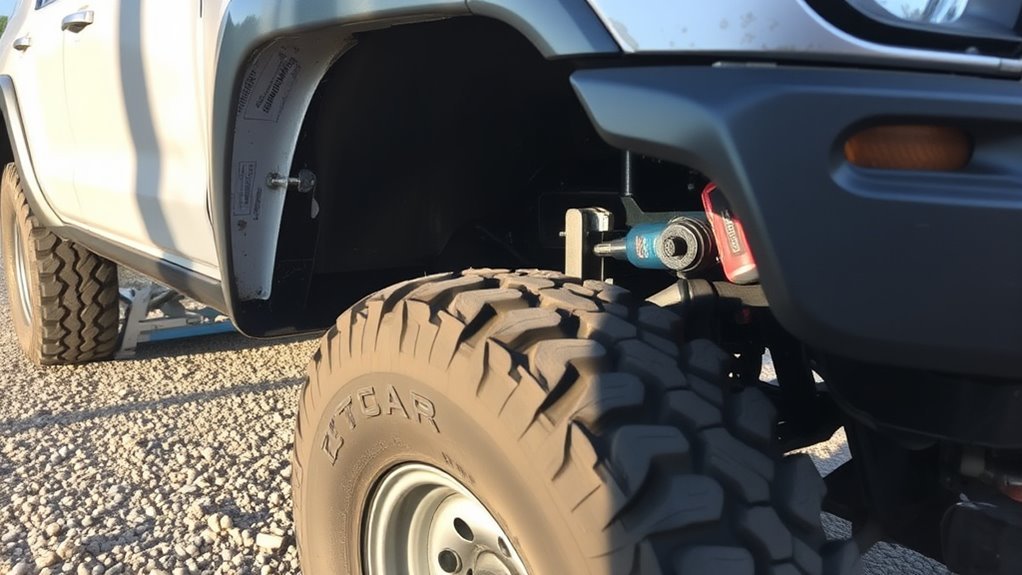
Before you trim anything, confirm your tire size, wheel offset, lift height, and alignment. The same “33-inch” tire can fit differently from one brand to another, and a wheel with more negative offset swings the tire farther into the fender and body mount area during turns.
Also check the tire and load information label on the driver’s door jamb and the owner’s manual before changing tire size. The National Highway Traffic Safety Administration advises using the original tire size or another size recommended by the vehicle manufacturer, and consulting a tire dealer when you are unsure.
| Tire Setup | Typical 5th-Gen 4Runner Clearance Need | Notes |
|---|---|---|
| 275/70R17 | Usually minor liner or mud-flap adjustment | Depends on wheel offset and tire tread shape |
| 285/70R17 | Common 33-inch-class setup; often needs liner push, mud-flap removal, and light plastic trimming | More rubbing with spacers or negative-offset wheels |
| 285/75R17 | 34-inch-class setup; usually needs more trimming | May require bumper, flare, liner, and body mount clearance work |
| 35×12.50R17 | Major clearance work | Often requires body mount chop, bumper trimming, lift, alignment changes, and careful testing |
The 2025+ Toyota 4Runner is different. Toyota says the all-new Trailhunter uses 33-inch Toyo Open Country A/T tires with matched Old Man Emu suspension components, but that factory setup does not mean the same trim points apply to a 2010–2024 5th-gen 4Runner.
[Products Worth Considering]

Universal magnetic jack pad with aluminum grooved design to protect vehicle pinch welds during lifting. Durable nylon pad inserts are upgraded and secured with screws to resist damage and keep in place. Designed to fit most single vehicle pinpoint welds for safer, stable jacking when changing tires, repairs, or performing oil changes.
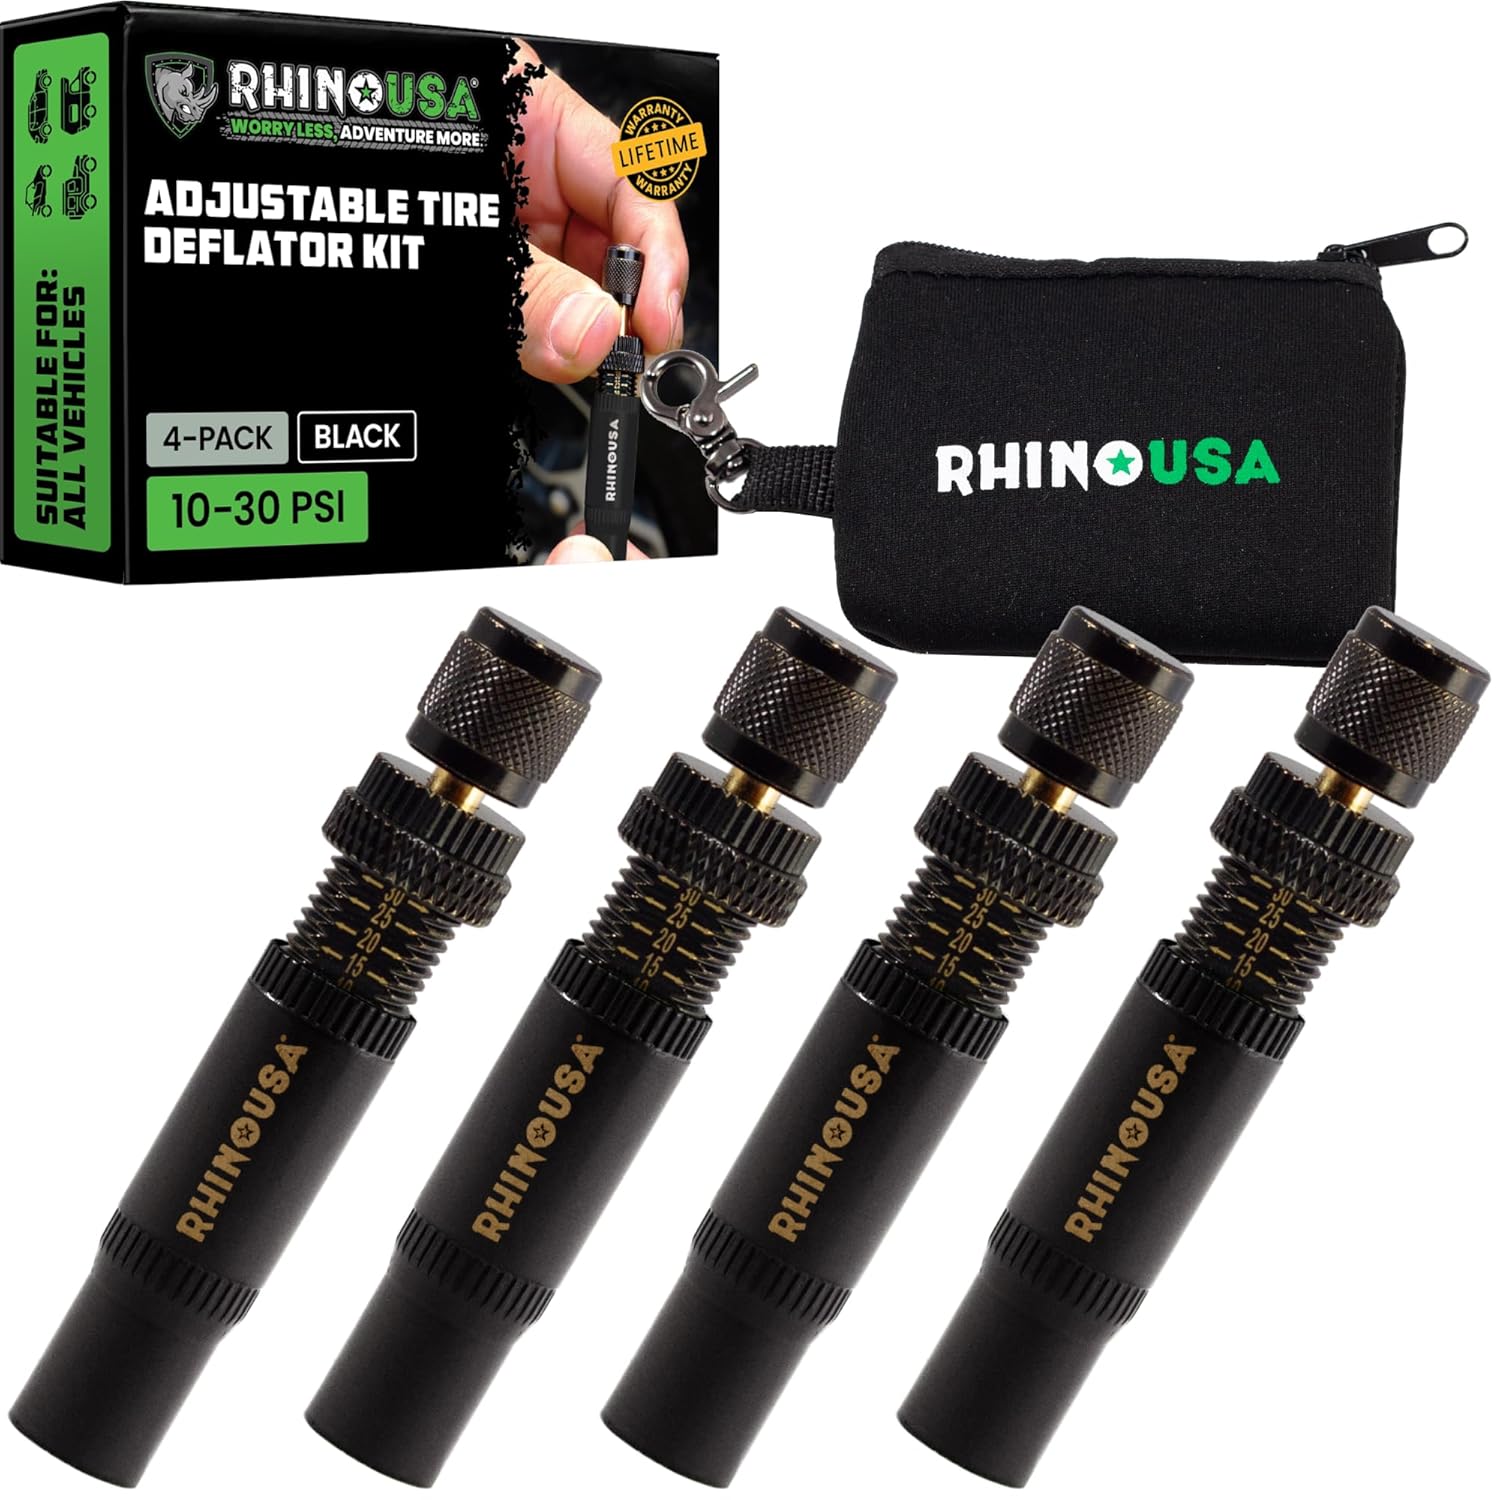
Use the Rhino USA adjustable tire deflators to air down all four tires at once by screwing one deflator onto each valve stem, letting you step away while the tires reach your preset pressure. Each deflator independently adjusts across a 10–30 PSI range with laser-etched indicators for quick setup and verification, making it ideal for beach, sand, and rocky off-road trails.

Make hard-to-reach areas easier to access with the MAXXHAUL truck tire service step featuring an adjustable width and height. The foldable design stores compactly, while the serrated non-slip platform provides secure footing for tire-related maintenance. It fits most stock tire sizes up to 31-inch diameter with a 300-lb capacity.
Find the Rub Points Before Marking Trim Lines
Do not start by cutting a fixed amount of material from the fender. Start by finding the exact contact points. Park on level ground, set the parking brake, and turn the steering wheel fully left and fully right. Look for contact at the front bumper corner, mud flap, inner fender liner, fender flare, pinch seam area, and body mount area behind the front tire.
Next, test the truck under real conditions. Load the 4Runner with the gear you normally carry, then repeat the full-lock check. If possible, drive slowly over a curb, ramp, or uneven ground to compress one side of the suspension at a time. Mark every rub point with painter’s tape or chalk.
Note: Caster can change how the tire sits in the wheel opening. More positive caster can move the tire away from the rear body mount area on some setups, but alignment changes should be done by a qualified shop after the tire and suspension setup is finalized.
Essential Tools for Trimming Fenders
Five tools form the base of a clean 4Runner fender trim: a Dremel with plastic cutting wheels for flare and liner work, an oscillating multi-tool for controlled cuts in tight spaces, painter’s tape for mapping the cut line, a sharp utility knife for softer plastic, and a grinder or flap disc for smoothing metal edges. Add a socket set, trim removal tools, replacement clips, primer, paint, and undercoating before you begin.
| Tool | Best Use | Safety / Maintenance Tip |
|---|---|---|
| Dremel + plastic wheel | Small plastic cuts and edge shaping | Use light pressure and replace glazed wheels |
| Oscillating multi-tool | Controlled liner, flare, and tight-radius cuts | Keep the blade square and let it cut slowly |
| Utility knife | Scoring soft liner plastic | Use a fresh blade and cut away from your hand |
| Grinder or flap disc | Smoothing cut metal edges | Avoid heat buildup and keep sparks away from fuel, wiring, and dry debris |
Inspect the wheel well before cutting. Move wiring, washer fluid hoses, and loose plastic away from the blade path. OSHA’s personal protective equipment guidance is a useful reminder that PPE should match the actual hazard, including flying debris, dust, noise, and sharp edges.
Remove Inner Fender Liners First
Remove the inner fender liners first to gain clear access to the wheel well and to avoid cutting hidden clips, wiring, or washer lines. Use a socket wrench to remove the 10mm fasteners and a trim tool to release the plastic clips. Bag the hardware by side so it does not get mixed up during reassembly.
Access and Visibility
With the liner pulled back, you can see the true rub points instead of guessing from the outside of the fender. You can also clean dirt and adhesive residue from the flare mounting surface before reinstallation.
| What You Expose | Why It Helps | Result |
|---|---|---|
| Full wheel well | Shows the tire’s path at full lock | More accurate trim lines |
| Rub marks | Reveals the first contact point | Less unnecessary cutting |
| Clip and bolt locations | Prevents broken hardware | Cleaner reassembly |
Preventing Clip Damage
Fender liner clips get brittle with age. Work slowly and pull each clip straight out when possible. If a clip breaks, replace it with an automotive-grade clip that fits tightly. Loose clips let the liner sag back into the tire, which can bring the rubbing problem back even after trimming.
- Remove all visible fasteners before pulling the liner.
- Use a plastic trim tool instead of forcing a screwdriver under painted panels.
- Mark clip locations with tape so you know where pressure points are during reassembly.
- Clean dirt from clip holes before snapping the liner back in.
Simplified Cutting Process
Once the liner is loose, hold it in the position you want after trimming. Mark the new edge with painter’s tape. Use the multi-tool or utility knife to cut along the line, then smooth the edge with a Dremel or sandpaper. Refit the liner temporarily and turn the steering from lock to lock again before cutting more.
Pro Tip: Trim in small passes. Removing another 1/4 inch is easy. Putting plastic or metal back after an oversized cut is not.
Pop Off Flares Without Breaking Clips
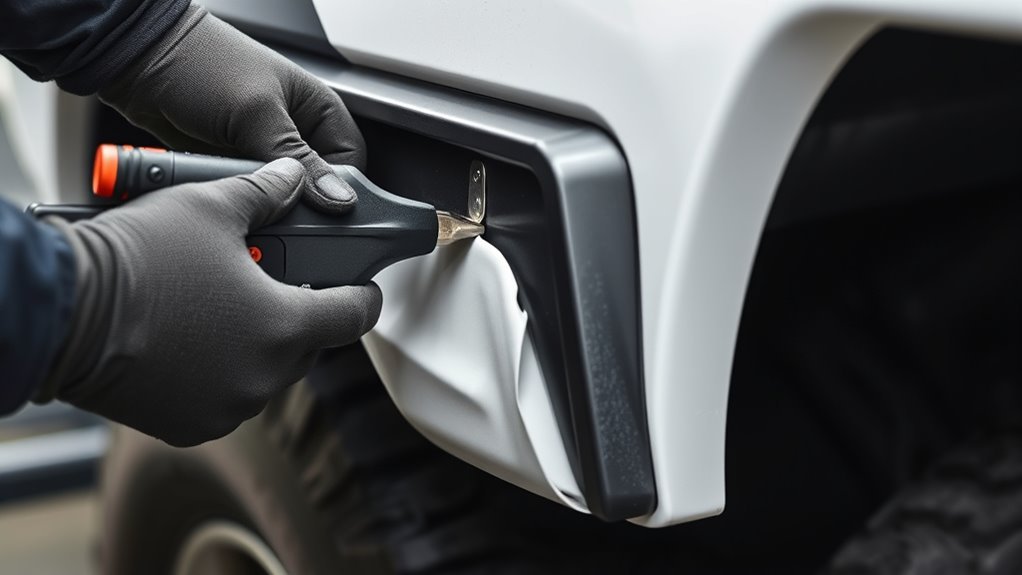
Remove the fender flares only when the rub point or cut line requires it. A plastic pry bar is safer than a metal screwdriver because it spreads pressure and reduces paint damage. Warm the flare with a heat gun on low or a hair dryer if the plastic is cold, but do not overheat or warp it.
Clip Removal Technique
Start at one end of the flare and work slowly around the perimeter. Apply steady outward pressure near each clip instead of yanking from the middle of the flare. If a clip stays stuck in the fender, remove it separately and inspect it before reuse.
- Warm the flare slightly so the plastic is less brittle.
- Insert a plastic trim tool close to the first clip.
- Pull outward with steady pressure until the clip releases.
- Move to the next clip and repeat the same motion.
- Replace cracked, loose, or distorted clips before reinstalling the flare.
Proper Tool Selection
Use tools that protect paint and plastic. A plastic trim pry bar, painter’s tape, heat gun on low, and socket set are enough for most flare removal. Save the flathead screwdriver for hidden screws only, and wrap the tip with tape if it has to touch painted metal.
| Tool | Purpose | What It Protects |
|---|---|---|
| Plastic pry bar | Gentle clip release | Paint, clips, and flare edges |
| Heat gun on low | Softens cold plastic | Brittle flare tabs |
| Painter’s tape | Protects edges and marks cut lines | Painted surfaces |
| Socket set | Removes hidden fasteners | Threaded mounting points |
Preventing Plastic Damage
Cold plastic cracks easily. Work in a warm area when possible, or warm the flare evenly before removal. Never pry hard at one point. If the flare bends sharply, stop and find the next fastener or clip. Most broken flare tabs happen because one hidden clip was still holding while the rest of the flare was forced outward.
Mark Your Trim Lines: Pinch Weld and Clearance Method
Mark the cut line only after you identify the real contact point. On many 5th-gen 4Runner setups, rubbing starts at the mud flap, lower liner, front bumper edge, or rear body mount area before it reaches painted outer sheet metal. The pinch seam or lower rear fender area may need attention on larger setups, but do not cut it just because someone else’s build required it.
Use painter’s tape to create a smooth, visible cutting boundary. Keep the cut line conservative and follow the natural curve of the liner, flare, or wheel opening. If you are trimming metal, leave enough material for strength, fastener support, and rust protection.
The best fender trim removes the tire’s contact point, not a random amount of bodywork.
For 35-inch tires, inspect the body mount behind the front tire. If the tire contacts the mount, plastic trimming will not solve the problem. A body mount chop or relocation is structural fabrication work and should be welded, sealed, and inspected by someone experienced with off-road vehicle modifications.
Cut Sheet Metal and Plastic Flares
Start with plastic whenever possible. Trim the mud flap, lower liner, and plastic flare edge before cutting painted metal. Use light pressure and make several shallow passes instead of forcing the blade through in one cut.
For plastic flares and liners, use the Dremel, multi-tool, or utility knife along the tape line. Keep the tool moving so heat does not melt the plastic into a rough edge. For sheet metal, use an oscillating tool or grinder with a suitable cutting wheel, then stop often to check the line, heat, and nearby components.
- Score the cut line lightly before making the full cut.
- Cut in short sections so the blade does not bind.
- Keep sparks away from wiring, hoses, fuel lines, dry leaves, and undercoating buildup.
- Check both sides of the panel before cutting through metal.
- Vacuum or wipe away metal dust after cutting so it does not rust on painted surfaces.
If you need to fabricate a small bracket to support a trimmed flare or liner, test-fit it before drilling. Use stainless or coated hardware where practical, and avoid leaving a gap that traps water and mud.
[Products Worth Considering]

The TANX hitch bike rack securely fits any 2-inch receiver and carries up to two bikes, including heavy-duty e-bikes and fat tires up to 5 inches wide. Its foldable, smart tilting design lets you access your trunk or tailgate without removing the bikes. An anti-wobble hitch tightener and locking hitch pin help keep the ride stable, while padded, adjustable cradles and straps protect bike finishes during transport.

This VEVOR tire bead breaker uses a slide-hammer impact and wedge tip to separate tire beads from rims quickly and efficiently without damaging hub surfaces. The long handle and sturdy steel construction help reduce user strain while providing reliable, portable tire changing for cars, trucks, and more. Ideal for home mechanics and repair shops handling multiple vehicle tire sizes.
Smooth All Edges to Prevent Tire Contact
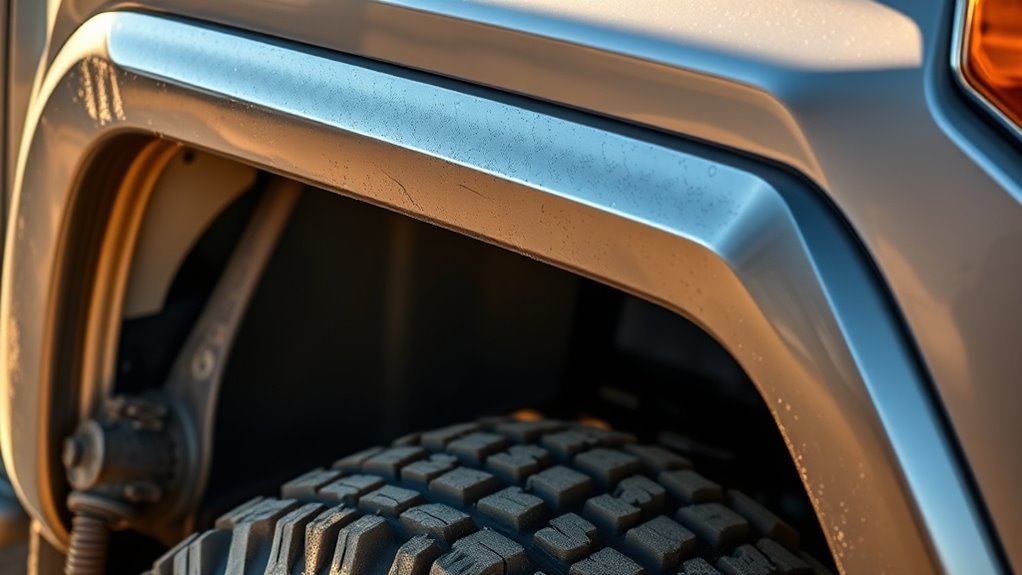
Every cut edge needs to be smooth enough that it cannot catch the tire at full lock or during suspension travel. A sharp plastic edge can slice a sidewall over time, and an unfinished steel edge can start rusting quickly.
Use a Dremel, file, flap disc, or 80- to 120-grit sandpaper to remove burrs. Run a gloved hand along the cut. If the edge catches the glove, keep smoothing. Blend transitions between plastic and metal so there are no steps or hooks near the tire.
After smoothing metal, clean the area with wax and grease remover or rubbing alcohol. Apply rust-inhibiting primer, then paint, then undercoating or seam sealer where appropriate. Let coatings cure before driving through water, mud, or road salt.
Note: Tire safety does not stop at clearance. NHTSA reports that poor tire maintenance can lead to flats, blowouts, or tread separation. After changing tire size, check cold tire pressure, TPMS behavior, alignment, and tire wear regularly.
Reattach Flares With New Clips and L-Brackets
Reinstall the flare and liner only after the cut edges are smooth and sealed. Old clips often lose tension, so use new clips where the flare or liner feels loose. A loose liner can move into the tire and create rubbing even if your trim looked perfect during the first test.
- Line up the flare with the factory mounting points.
- Press each clip straight into place until it seats firmly.
- Use small L-brackets only where extra support is needed after trimming.
- Keep brackets flush so they do not trap water or mud.
- Tighten all fasteners evenly and recheck gaps around the wheel opening.
After the flare is mounted, pull gently around the edge. If it rattles or flexes, add support before trail use. Trail vibration can loosen weak clips quickly.
Test Your Trim: Full-Lock Clearance Check
Now check the work under real vehicle weight. Turn the steering wheel fully left and fully right while the 4Runner sits on the ground. Watch the front and rear side of the tire, the liner, the flare, the bumper edge, and the body mount area. You want visible space through the full steering arc.
If you still have rubbing, mark the contact point with tape or chalk and trim only that spot. Do not keep cutting the whole fender opening. After the static test, drive slowly in a parking lot while turning both directions. Then test again with the suspension loaded or lightly flexed.
| Test | What to Check | Pass / Fail Sign |
|---|---|---|
| Full lock left and right | Front liner, rear liner, body mount, bumper | No scraping, clicking, or shiny contact marks |
| Reverse while turning | Rear of front wheel well | No liner grab or flap contact |
| Loaded vehicle | Clearance with passengers and gear | No rubbing under normal driveway or street turns |
| Light flex test | Suspension compression and articulation | No tire contact through travel |
After the first 50–100 miles, inspect the trimmed areas again. Look for bare metal, cracked paint, loose clips, tire scuffing, or shiny rub marks. Recheck after your first off-road trip and after any alignment, tire, wheel, or suspension change.
Frequently Asked Questions
What is the best fender trim for a 4Runner?
The best fender trim is the smallest trim that removes your actual rubbing point. For many 5th-gen 4Runners on 285/70R17 tires, that may mean moving or trimming the liner, removing the mud flap, and lightly trimming plastic. For 34- or 35-inch tires, you may need more serious work, including bumper trimming and body mount clearance.
How much wider should fenders be than tires?
For clean road use, the tire tread should generally be covered by the fender or flare, but exact requirements vary by location. If your new tires stick out past the factory flare, use wider flares or mud protection and check local road rules before driving on public roads.
What does “NorCal mod” mean on a 4Runner?
The NorCal mod usually refers to trimming and reshaping the lower rear area of the front wheel well to clear larger tires. On some builds, people also use the term when discussing body mount clearance, but a true body mount chop is more serious than plastic trimming and should be done carefully.
Can I fit 33-inch tires on a stock 5th-gen 4Runner without trimming?
Sometimes, but it depends on the exact tire, wheel offset, alignment, and suspension condition. A mild 33-inch-class tire on a conservative wheel may only need liner adjustment, while an aggressive all-terrain tire on a negative-offset wheel can rub hard enough to need trimming.
Do 35-inch tires require a body mount chop?
On many 5th-gen 4Runner builds, 35-inch tires need more than simple fender trimming. A body mount chop, bumper trimming, added lift, caster adjustment, and careful wheel selection may all be needed. Because the body mount is structural, have that work done by an experienced fabricator if you are not trained to cut, weld, and seal it properly.
Conclusion
A clean 4Runner fender trim starts with testing, not cutting. Find the exact rub points, trim plastic before metal, use controlled cuts, smooth every edge, and seal exposed steel before reassembly. Then test the truck at full lock, under load, and after real driving. Done carefully, a fender trim gives larger tires the room they need without making the wheel well look hacked up or leaving the body exposed to rust.
Sources
- Toyota USA Newsroom: 2025 Toyota 4Runner Refines Adventure Ready Heritage — backs up the 2025+ sixth-generation scope and factory Trailhunter 33-inch tire context
- NHTSA TireWise: Tire Safety Ratings and Awareness — backs up tire-size, tire-pressure, tire-maintenance, and safety guidance
- OSHA Personal Protective Equipment — backs up PPE guidance for cutting, grinding, dust, debris, and mechanical hazards
- OSHA Hand and Power Tools: Hazards and Solutions — backs up power-tool hazard awareness and safe work planning

Related Articles

When to Switch From All-Season to Winter Tires on a 4Runner
Ineffective all-season tires in cold weather can jeopardize your safety—discover when to make the crucial switch for better traction and handling.
Read More
4Runner Tire Mileage: How Many Miles Should They Last
Curious about how long your 4Runner tires should last? Discover essential tips and factors that influence tire longevity.
Read More
How Long Do Toyota 4Runner Tires Typically Last
How long do Toyota 4Runner tires typically last? Discover the factors that influence tire longevity and essential tips for maintenance.
Read More