
How to Rotate Tires on a 4Runner the Right Way
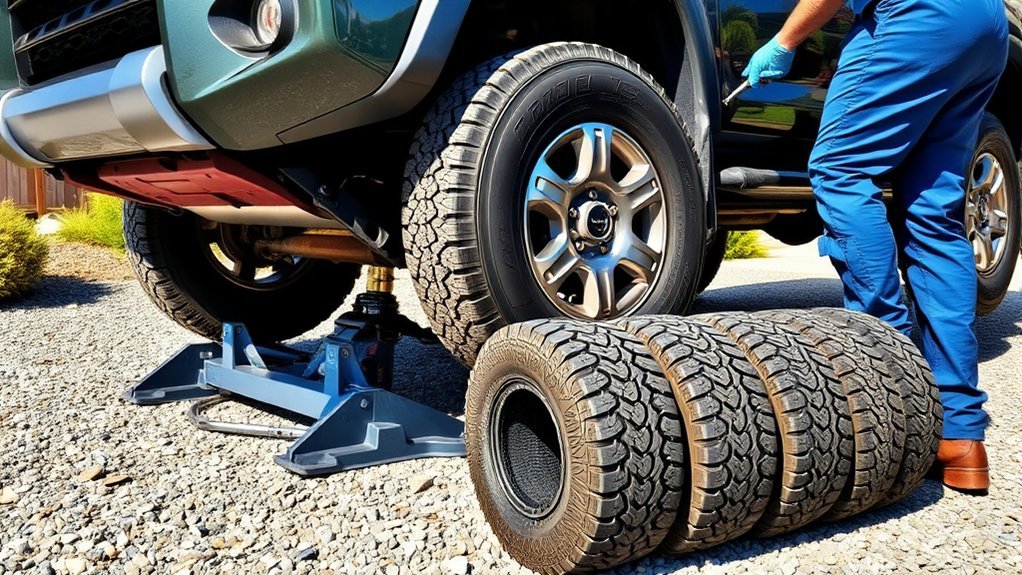
Rotating the tires on a Toyota 4Runner is a simple maintenance job, but it has to be done with the right pattern, safe lifting method, and correct wheel-nut torque for your model year. Most 4Runner owners with same-size, non-directional tires can use a rearward cross pattern, while directional tires, staggered setups, and temporary spares need different rules.
Quick Answer
To rotate Toyota 4Runner tires, first confirm whether the tires are directional, non-directional, staggered, or paired with a matching full-size spare. For same-size, non-directional tires, use a rearward cross pattern: rear tires move straight forward, and front tires cross to the opposite rear positions. Use jack stands and torque the lug nuts to your owner’s-manual specification.
Key Takeaways
- Toyota’s 2024 4Runner maintenance guide lists scheduled maintenance every 5,000 miles or 6 months, and tire rotation appears at those intervals.
- Use rearward cross only for same-size, non-directional tires unless your owner’s manual or tire maker says otherwise.
- Directional tires stay on the same side of the vehicle and move front-to-rear only.
- Only include the spare if it is a matching full-size tire and wheel; never rotate a temporary-use spare into regular service.
- Do not use a generic lug-nut torque range. Use the exact wheel-nut torque specification in your owner’s manual or Toyota service information.
At a Glance
| Time Required | 30–60 minutes for a careful DIY rotation |
| Difficulty | Moderate; safe lifting and torque accuracy matter |
| Tools Needed | Owner’s manual, floor jack, jack stands, wheel chocks, lug wrench or breaker bar, torque wrench, tire pressure gauge, tread depth gauge |
| Cost | Free if you already own the tools; usually low-cost at a tire shop or Toyota dealer |
Understanding Tire Types: Directional vs. Non-Directional

Before you move a single wheel, read the tire sidewall. A tire’s sidewall markings matter more than the tread pattern you see from a distance. Directional tires usually have an arrow or “rotation” marking that shows the required rolling direction. These tires should be rotated front-to-rear on the same side unless a tire professional dismounts and remounts them correctly.
Non-directional tires can usually be rotated in cross patterns when all four tires are the same size and the wheels have the same offset. Many all-terrain and highway tires used on 4Runners fall into this category, but you should still confirm the markings on your specific tires.
Asymmetric tires may have “inside” and “outside” markings. These are not the same as directional arrows. If a tire has both directional and inside/outside markings, both rules must be followed.
Note: The safest rule is simple: follow the tire sidewall first, then your Toyota owner’s manual, then the tire manufacturer’s rotation guidance.
[Products Worth Considering]

Universal magnetic jack pad with aluminum grooved design to protect vehicle pinch welds during lifting. Durable nylon pad inserts are upgraded and secured with screws to resist damage and keep in place. Designed to fit most single vehicle pinpoint welds for safer, stable jacking when changing tires, repairs, or performing oil changes.

EVOULTES heavy duty tire inflator with an integrated gauge delivers accurate pressure readings from 10–120 PSI, helping you inflate, deflate, and check tires in one tool. The 16.5-inch extended dual-head air chuck with swivel base reaches hard-to-access dual wheel valves on trucks and RVs. A brass trigger core and side-mounted air release valve make operation smooth, with standard 1/4" NPT threading and quick-connect compatibility for easy setup.

The JACO FlowPro Tire Inflator measures, inflates, and airs down tires up to 100 PSI with battery-free operation and ±2% accuracy after calibration. It features a glowing pressure dial for night visibility, a heavy-duty steel build with a hybrid hose, and a precision push-to-inflate thumb trigger. The patented Lightning Air Chuck locks on for a secure seal, and the kit includes quick-connect hardware for easy inline use with your air compressor.
Best Tire Rotation Patterns for Toyota 4Runners
The best 4Runner tire rotation pattern depends on tire type, tire size, drivetrain use, and whether the spare is a matching full-size tire. Toyota’s owner manual hub is the right place to confirm the manual for your exact model year.
| Tire / Wheel Setup | Rotation Pattern | What It Means |
|---|---|---|
| Same-size, non-directional tires | Rearward cross | Rear tires move straight forward; front tires cross to the opposite rear positions. |
| Directional tires | Front-to-rear, same side | Left front swaps with left rear; right front swaps with right rear. |
| Different front and rear tire sizes | Limited rotation | Do not move tires front-to-rear if the sizes differ. Follow the tire maker’s guidance. |
| Matching full-size spare | Five-tire rearward cross | Spare enters at the right rear; one tire becomes the new spare. |
| Temporary-use spare | Do not rotate in | A temporary spare is for emergency use only and should not join regular tire rotation. |
Recommended Four-Tire Rearward Cross Pattern
For a 4Runner with four same-size, non-directional tires, the rearward cross pattern is commonly used:
- Left rear moves to left front.
- Right rear moves to right front.
- Left front moves to right rear.
- Right front moves to left rear.
This pattern helps each tire spend time on a different axle and side of the vehicle, which can reduce irregular wear when the tire type allows crossing.
Directional Tire Pattern
If your tires are directional, do not cross them side-to-side during a normal rotation. Use this pattern instead:
- Left front swaps with left rear.
- Right front swaps with right rear.
Crossing directional tires without remounting can make the tread run backward, which may hurt wet-weather performance and wear.
How Often to Rotate 4Runner Tires
For the 2024 Toyota 4Runner, Toyota’s Warranty & Maintenance Guide recommends scheduled maintenance every 5,000 miles or 6 months, whichever comes first, and lists tire rotation in that maintenance schedule. Use your exact model-year guide if you drive an older or newer 4Runner.
Shorter intervals may make sense if you frequently tow, carry heavy loads, air down for trails, drive on rough dirt roads, or notice uneven tread wear. Tire warranties can also have their own rotation interval, so keep receipts or a maintenance log.
Essential Tools for Safe Tire Rotation
Gather everything before lifting the vehicle. Tire rotation is not difficult, but rushing the lifting or torque steps can make it unsafe.
- Owner’s manual: Use it for lift points, wheel-nut torque, tire pressure, TPMS instructions, and spare information.
- Floor jack: Use a jack with enough capacity for an SUV.
- Jack stands: Support the 4Runner securely. Never rely on the jack alone.
- Wheel chocks: Chock the wheels that remain on the ground while lifting.
- Lug wrench or breaker bar: Break the lug nuts loose before the tire leaves the ground.
- Torque wrench: Tighten the lug nuts to the exact Toyota specification for your vehicle and wheel type.
- Tire pressure gauge: Set cold pressure to the door-jamb tire placard or owner’s manual.
- Tread depth gauge: Check tread depth and compare all tires.
- Gloves and a light: Helpful for checking sidewalls, tread damage, and valve stems.
Warning: Work on a flat, solid surface. Set the parking brake, use wheel chocks, lift only from approved lift points, and support the 4Runner with jack stands before removing wheels. If you do not have jack stands and a torque wrench, have the rotation done by a qualified shop.
Step-by-Step Guide to Rotating Your Tires

- Park safely. Park on level pavement, shift into Park, set the parking brake, and chock the wheels.
- Confirm the rotation pattern. Check the tire sidewalls for directional arrows, inside/outside markings, size, and load rating. Then choose the correct pattern.
- Inspect before removal. Look for uneven wear, cupping, cuts, bulges, exposed cords, nails, cracks, and damaged valve stems.
- Loosen lug nuts slightly. Break each lug nut loose about a quarter-turn while the tire is still touching the ground.
- Lift and support the vehicle. Use the correct lift points from the owner’s manual and place jack stands securely before removing wheels.
- Remove the wheels. Keep lug nuts organized and avoid damaging TPMS valve stems.
- Move each tire to its new position. Follow the rearward cross, front-to-rear, or five-tire pattern that matches your setup.
- Hand-start the lug nuts. Thread each lug nut by hand first to avoid cross-threading.
- Snug in a star pattern. Lightly tighten the lug nuts in a crisscross/star sequence so the wheel seats evenly.
- Lower and torque. Lower the tire until it just contacts the ground, then torque the lug nuts in a star pattern to the exact specification in your owner’s manual or Toyota service information.
- Set cold tire pressure. Use the pressure on the driver’s door-jamb placard or owner’s manual. Check the spare too.
- Check TPMS. If the tire pressure warning light stays on after pressure is set, follow your manual’s TPMS reset or relearn procedure.
- Test drive and recheck. Drive slowly at first, listen for noise or vibration, then recheck lug-nut torque if your manual, wheel maker, or shop recommends it.
Pro Tip: Mark each tire’s old position with chalk or tape before removing it. “LF,” “RF,” “LR,” and “RR” make it much easier to follow the pattern without mixing up the wheels.
Including Your Spare in Tire Rotation
A five-tire rotation can help keep tread depth more even across all tires, but only if the spare is a matching full-size tire and wheel. Do not include a temporary-use spare, compact spare, mismatched tire size, or tire with a different construction or load rating.
Spare Tire Rotation Method
For a 4Runner with same-size, non-directional tires and a matching full-size spare, use this five-tire rearward cross pattern:
- Left rear moves to left front.
- Right rear moves to right front.
- Right front moves to left rear.
- Spare moves to right rear.
- Left front becomes the new spare.
This keeps the spare from aging unused while the other tires wear down. It also helps avoid a large tread-depth difference if you need to use the spare later.
Matching Tire Specifications
Before including the spare, confirm that it matches the four road tires in size, construction, load rating, and overall type. Mixing tires with different diameters or construction can affect handling and may stress the drivetrain, especially in four-wheel-drive use.
| Check | What to Confirm |
|---|---|
| Size | The spare matches the road tires, such as the same section width, aspect ratio, and wheel diameter. |
| Type | All-season, all-terrain, mud-terrain, or winter tires are not mixed in a way the tire maker prohibits. |
| Direction | Directional tires still point the correct rolling direction after rotation. |
| Pressure | The spare is checked cold and adjusted before it goes into service. |
| Condition | No cracking, bulges, exposed cords, punctures, or age-related damage. |
Avoid Common Mistakes in Tire Rotation
Most tire-rotation mistakes happen because the pattern is chosen before the tire type is checked. Avoid these problems:
- Crossing directional tires: Directional tires should stay on the same side unless remounted by a professional.
- Using a temporary spare: A temporary-use spare should not join a regular rotation pattern.
- Mixing tire sizes: Different front and rear sizes restrict rotation options.
- Skipping lug-nut torque: Tightening “by feel” is not accurate. Use a calibrated torque wrench.
- Using the wrong lift point: Always follow the lift points in your owner’s manual.
- Ignoring uneven wear: Rotation does not fix a bad alignment, worn suspension, or tire imbalance.
- Forgetting tire pressure: Adjust cold tire pressure after rotation, including the spare if it enters service.
Rotation helps tires wear more evenly, but it is also an inspection opportunity. Every time the wheels come off, check tread depth, sidewalls, valve stems, and brake components you can safely see.
[Products Worth Considering]
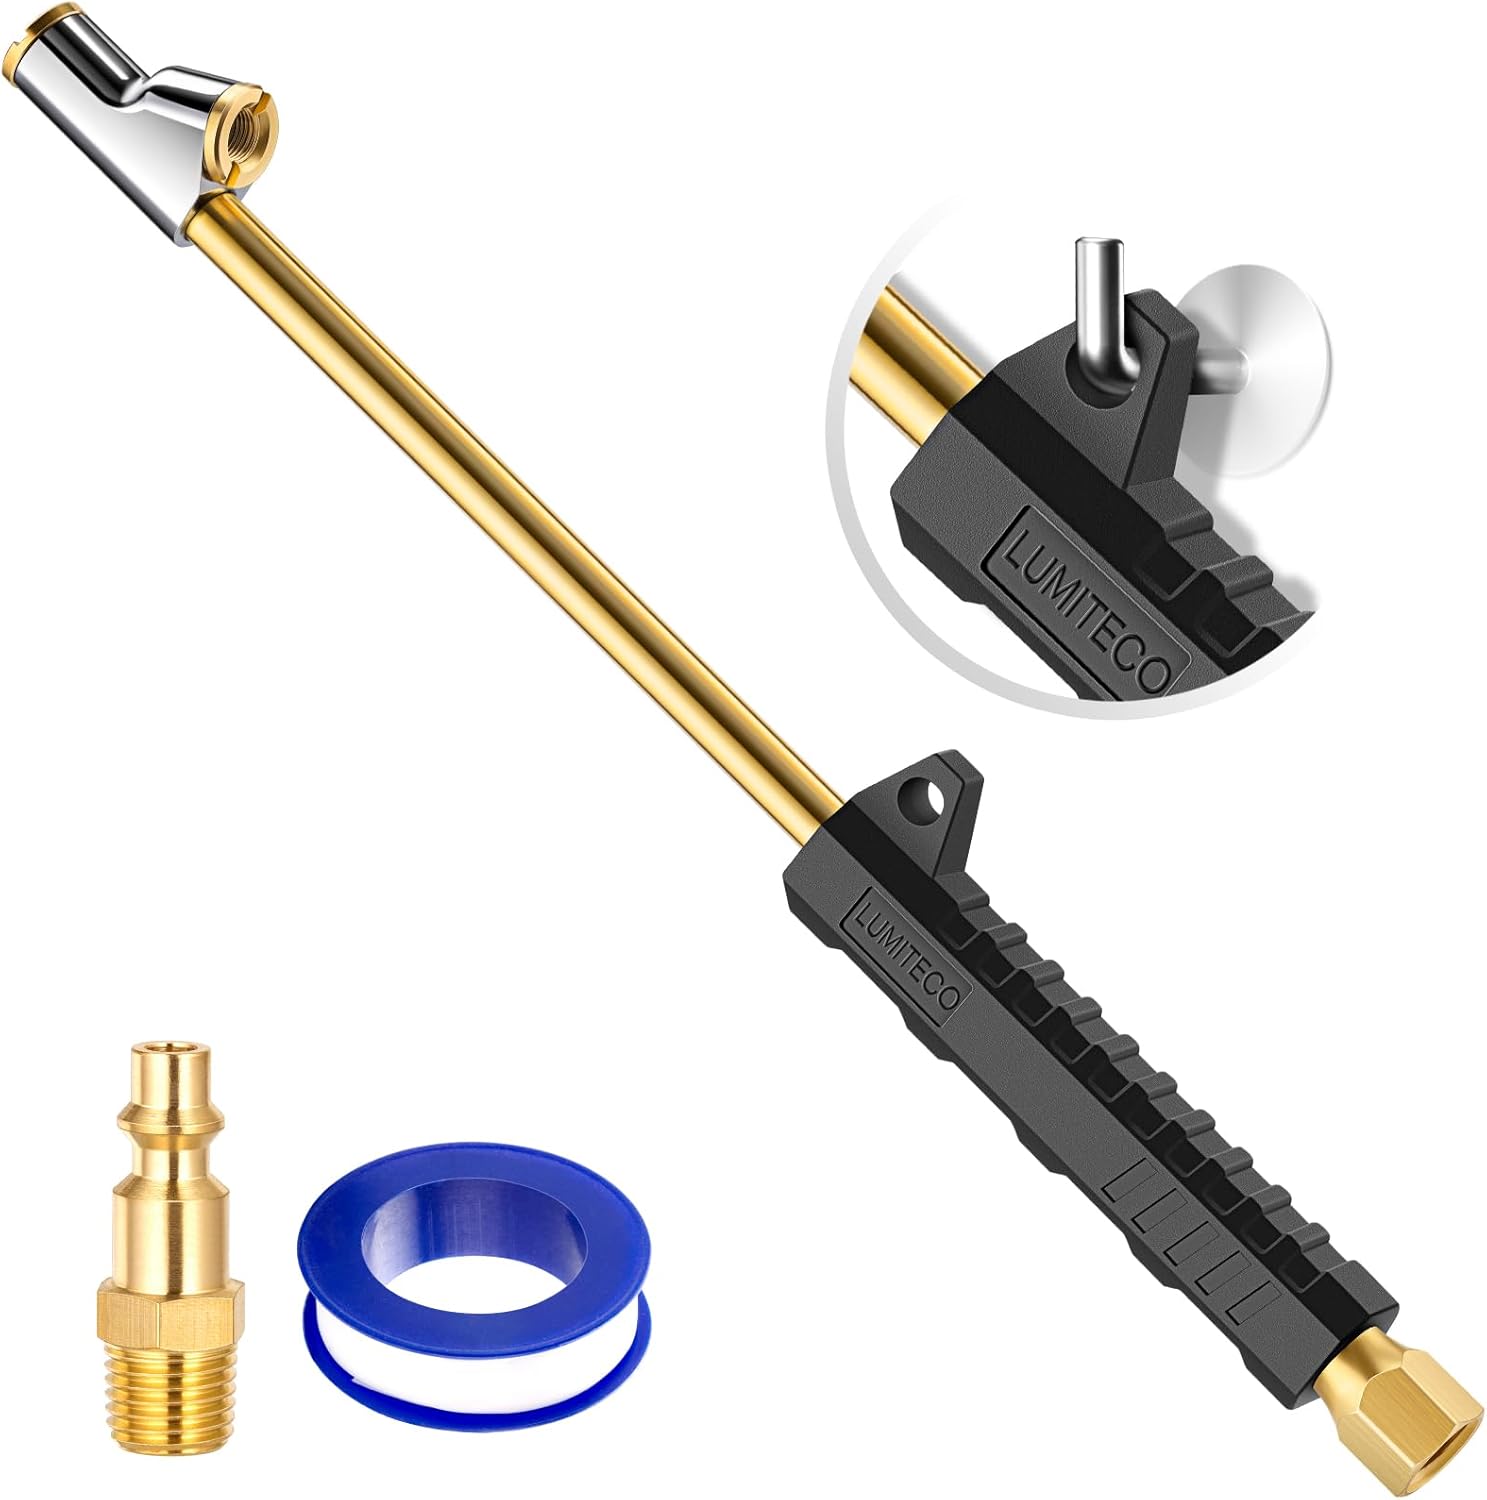
The LUMITECO 12" extended reach dual head air chuck is designed for hard-to-reach truck, RV, and bus dual wheels, making tire inflation quick and easier. It features a straight foot lock-on chuck for inner tires and a 30° reverse chuck for outer valves, with a closed-flow design that only allows air when engaged. Built with a brass body and ergonomic rubber grip, it connects easily using a 1/4" FNPT thread plus a standard quick plug for compressor-ready inflation.

Secure your trailer or RV tires with a scissor-style wheel chock stabilizer that applies opposing force to help prevent wheel shift. It fits tight wheel gaps from 3.5 inches up to 12 inches and works for travel trailers, campers, fifth wheels, toy haulers, and heavy-duty trucks. The surface uses new electrophoretic technology to help prevent rust for reliable travel use.
How to Check Tire Pressure, Tread, and Alignment
Check tire pressure when the tires are cold, meaning the vehicle has been parked for several hours or driven only a short distance. The correct pressure is on the Tire and Loading Information Label on the driver’s door area or in the owner’s manual, not on the tire sidewall. The sidewall number is usually a maximum tire rating, not the recommended vehicle pressure.
NHTSA’s TireWise guidance recommends checking all tires, including the spare, at least once a month. It also notes that TPMS warnings usually appear only when a tire is significantly underinflated, so a manual pressure check is still important.
Use a tread depth gauge across several points on each tire. Replace tires when they reach the legal wear bars or 2/32 inch tread depth, and consider replacement earlier if wet traction is poor, the tire is damaged, or the manufacturer recommends it.
Watch for alignment symptoms after rotation:
- The 4Runner pulls left or right on a straight, level road.
- The steering wheel is off-center.
- One shoulder of a tire is wearing faster than the other.
- The tread looks feathered, cupped, or scalloped.
- You feel vibration that was not present before rotation.
If you see these signs, schedule a professional alignment, tire balance, or suspension inspection before the tire wear gets worse.
The Benefits of Regular Tire Rotation for Performance
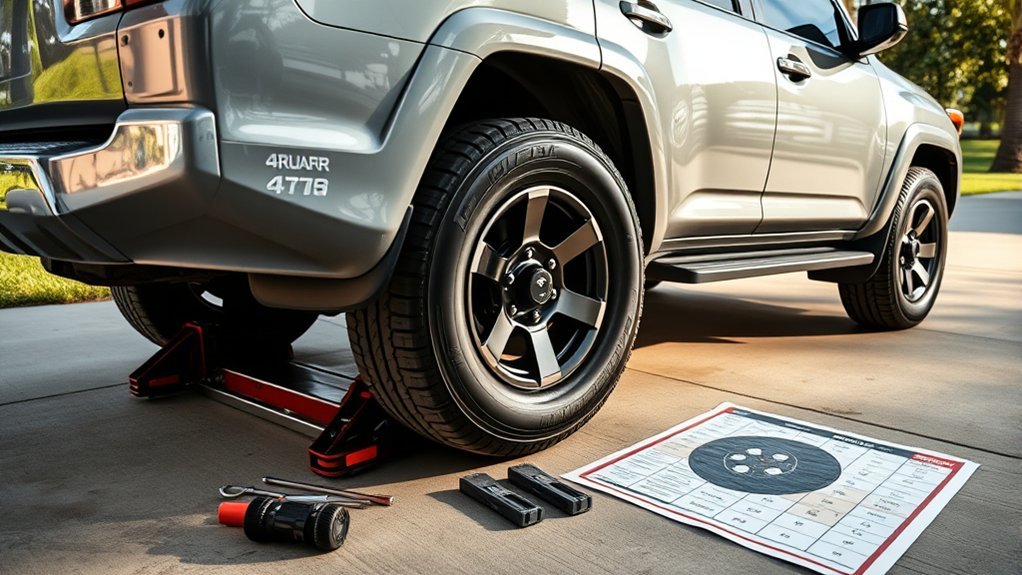
Regular tire rotation helps your 4Runner’s tires wear more evenly, which supports handling, ride comfort, traction, and long-term value. It also gives you a regular chance to inspect tread depth, sidewall condition, air pressure, brake wear, and wheel damage.
Rotation is especially useful on a 4Runner because front and rear tires do different jobs. Front tires handle steering and much of the braking load, while rear tires handle drive forces on rear-wheel-drive and part-time four-wheel-drive models. Moving tires through different positions helps balance those wear patterns over time.
Frequently Asked Questions
What does Toyota recommend for 4Runner tire rotation?
For the 2024 Toyota 4Runner, Toyota’s maintenance guide lists scheduled maintenance every 5,000 miles or 6 months and includes tire rotation in that schedule. Always confirm the interval and procedure in the owner’s manual or warranty and maintenance guide for your exact model year.
What is the best tire rotation pattern for a Toyota 4Runner?
For same-size, non-directional tires, many 4Runner owners use a rearward cross pattern: rear tires move straight to the front, and front tires cross to the opposite rear positions. Directional tires should move front-to-rear on the same side only.
Should I include the spare tire in my 4Runner rotation?
Include the spare only if it is a matching full-size tire and wheel with the same size, construction, and load rating as the four road tires. Do not include a temporary-use spare in a normal tire rotation.
What lug-nut torque should I use on a 4Runner?
Use the exact wheel-nut torque specification in your owner’s manual or Toyota service information for your model year and wheel type. Do not rely on a broad 75–100 lb-ft range, and do not tighten lug nuts by feel.
Do I need to reset TPMS after rotating 4Runner tires?
First set all cold tire pressures to the door-jamb placard or owner’s manual. If the TPMS light stays on, or if your model uses a reset/relearn step after tire service, follow the TPMS procedure in your owner’s manual.
Can I rotate 4Runner tires at home?
Yes, if you have the right tools and know how to lift the vehicle safely. You need a proper jack, jack stands, wheel chocks, a torque wrench, and the correct owner’s-manual procedure. If any of those are missing, use a tire shop or Toyota dealer.
Conclusion
Rotating your 4Runner’s tires is one of the easiest ways to reduce uneven wear, protect handling, and spot tire problems early. The key is choosing the correct pattern before you start: rearward cross for many same-size, non-directional setups, same-side front-to-rear for directional tires, and a five-tire pattern only when the spare is a matching full-size tire. Work safely, use jack stands, set cold tire pressure, and torque the lug nuts to the exact Toyota specification for your vehicle.
Sources
- Toyota Owners — 2024 4Runner Manuals and Warranties — model-year owner manual and maintenance guide hub.
- Toyota 2024 4Runner Warranty & Maintenance Guide — scheduled maintenance interval and tire rotation listing.
- NHTSA TireWise — tire pressure, tread depth, alignment, and rotation safety guidance.
- U.S. Tire Manufacturers Association Tire Care & Safety Guide — rotation intervals, spare-tire rotation, tire inspection, and temporary-spare cautions.
- Bridgestone Tire Rotation 101 — directional tire rules, rotation notes, and torque-to-manufacturer-spec guidance.
- Tire Rack Tire Rotation Instructions — four-tire, five-tire, directional, and staggered rotation pattern guidance.

Related Articles

When to Switch From All-Season to Winter Tires on a 4Runner
Ineffective all-season tires in cold weather can jeopardize your safety—discover when to make the crucial switch for better traction and handling.
Read More
4Runner Tire Mileage: How Many Miles Should They Last
Curious about how long your 4Runner tires should last? Discover essential tips and factors that influence tire longevity.
Read More
How Long Do Toyota 4Runner Tires Typically Last
How long do Toyota 4Runner tires typically last? Discover the factors that influence tire longevity and essential tips for maintenance.
Read More