Tire and Rim Fitment Guide: Ensure a Perfect Match
You can change rim size safely if you match tire diameter, width, load index, speed rating and rim width/offset to your vehicle specs. Use the sidewall code (e.g., 225/45R17) to confirm diameter and aspect ratio, keep overall diameter within ±3%, and guarantee load and speed ratings meet or exceed OEM. Check clearance for brakes and suspension, perform static spin and a road test, and re-torque lug nuts—continue for step‑by‑step fitment and inspection procedures.
Quick Answer: Can You Change Rim Size Safely?
Wondering if you can change rim size safely? You can, provided you respect rim safety by matching new rims to the correct diameter and width for the tires and vehicle. Check tire compatibility against manufacturer specs and fitment guides to prevent mismatches that cause wear or safety risks. Upsizing for aesthetic upgrades can sharpen handling effects by reducing sidewall flex, but you’ll trade ride comfort and fuel economy as road vibrations increase. Downsizing for winter use often improves traction and efficiency when overall tire diameter stays within about 3% of the original. Don’t ignore rim offset: altering it shifts suspension geometry, clearance, and steering feel, so measure and verify before you buy. Consult OEM data, trusted fitment charts, and a qualified installer. If you approach changes methodically, you’ll gain the liberated control you want over appearance and performance without compromising safety or long-term component health.
How to Read Tire Sidewall Codes
You’ll start by reading the numeric size code to identify tire width, aspect ratio, and rim diameter (e.g., 225/45R17). Then check the speed rating and load index to confirm the tire meets your vehicle’s performance and weight requirements. Finally, note the construction letters—R, D, ZR—so you match the tire’s build type to your rim and driving needs.
Decoding Size Numbers
Tire sidewall codes like 225/50R17 give you three key measurements at a glance: the first number (225) is the tire’s width in millimeters, the second (50) is the aspect ratio—sidewall height as a percentage of width—and the “R17” denotes radial construction and a 17‑inch rim diameter. You’ll use tire width to judge traction stability; wider tires grip better, narrower ones help fuel economy. Aspect ratio tells you sidewall height: higher ratios improve ride comfort, lower ones sharpen handling. The R indicates construction types—radial is standard for modern performance and efficiency. After the size, you’ll find load capacity and speed limits markings; check load index to confirm fitment safety. Read these codes precisely so your choices free you from compromise.
Understanding Speed Ratings
Speed ratings on the sidewall—shown as a letter code—tell you the maximum speed a tire can safely sustain under test conditions, so always check that code when selecting replacements. You’ll read a single letter like L (75 mph) through Y (186 mph) or Z (over 149 mph); these codes reflect standardized high-speed tests. Understand the speed rating importance: it governs handling, stability, and performance impact at sustained speeds. Don’t fit lower-rated tires than the manufacturer specifies—doing so risks premature wear, reduced tire longevity, and possible failure. Cross-reference the sidewall code with your vehicle’s specs to maintain safety considerations and ideal driving. Match ratings precisely to preserve performance and your freedom to drive confidently.
Identifying Construction Codes
When you read a sidewall code, start left-to-right: a leading letter like P or LT shows the tire type, the following three-digit number gives tread width in millimeters, the next two- or three-digit figure is the aspect ratio (sidewall height as a percentage of width), and the R denotes radial construction (with ZR used for high-performance, high-speed tires). You’ll then see the rim diameter in inches; it must match the wheel precisely. After size, note load index and speed rating for capacity and safe operation. Construction codes communicate assembly method and implied performance: radial plies, belt layers and bead design determine tire durability and behavior. Inspect markings against vehicle specifications and consider construction materials—rubber compounds, steel belts, textile plies—when choosing tires that free you from compromise.
Check Vehicle Limits: Load Index, Speed Rating, and Clearance
Before you fit new tires, confirm the load index matches or exceeds the manufacturer’s specification so each tire can safely support vehicle weight. Check clearance around suspension, fenders, and brake components to prevent rubbing during steering or suspension travel. Also verify the speed rating meets your vehicle’s requirements and keep overall diameter within about 3% of stock to preserve handling and speedometer accuracy.
Load Index Considerations
Although it might seem like a simple label, the tire load index directly defines how much weight each tire can carry, so you need to match or exceed your vehicle’s specified index and speed rating to maintain safety and handling. Understand load index significance: each numeric index maps to a precise weight capacity (for example, 95 = 1,521 lb). You’ll consult the owner’s manual or tire placard to confirm required load index and speed rating, then choose tires meeting or exceeding both. Consider tire performance impact: speed ratings indicate sustained safe velocity under load, so mismatching either figure compromises braking, steering, and chassis balance. Choose tires that respect manufacturer limits to preserve predictable handling and avoid stress-related failures while freeing yourself from compromise.
Clearance And Fitment
Start by verifying three key limits: load index, speed rating, and physical clearance, since each directly affects safety and fitment. You’ll confirm the tire’s load index meets or exceeds manufacturer specs and choose a speed rating that matches or surpasses vehicle capability to preserve handling. Inspect wheel well clearance and offset so tires don’t rub suspension or bodywork during steering or under load. Match tire diameter precisely to rim size to avoid mounting issues and safety hazards. Consider tire bulge effects on nearby components and how rim material choices influence weight and fitment tolerances. Measure with the vehicle at ride height, test full-lock turns, and account for dynamic suspension travel. Make choices that free your vehicle’s performance without compromising safety.
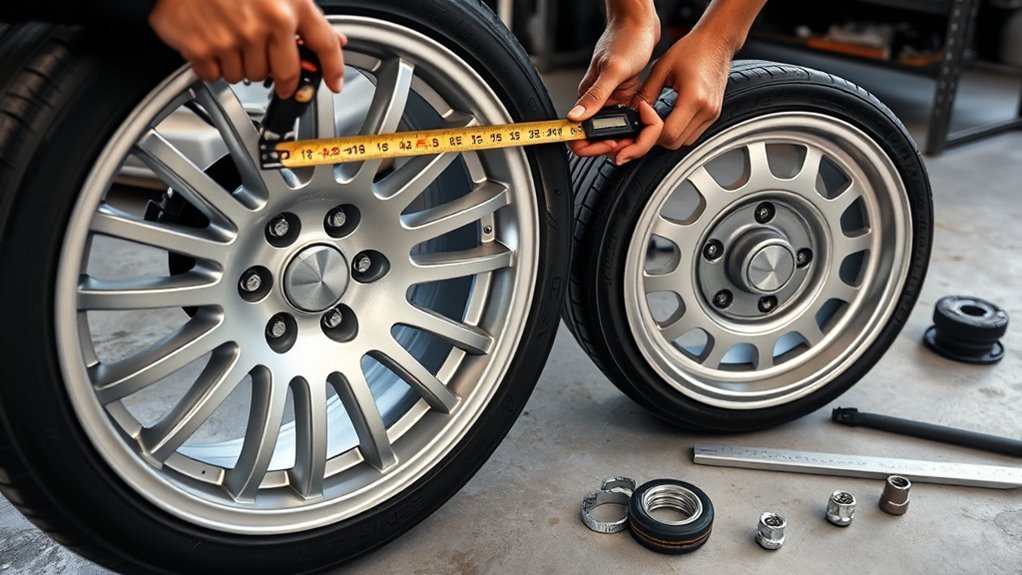
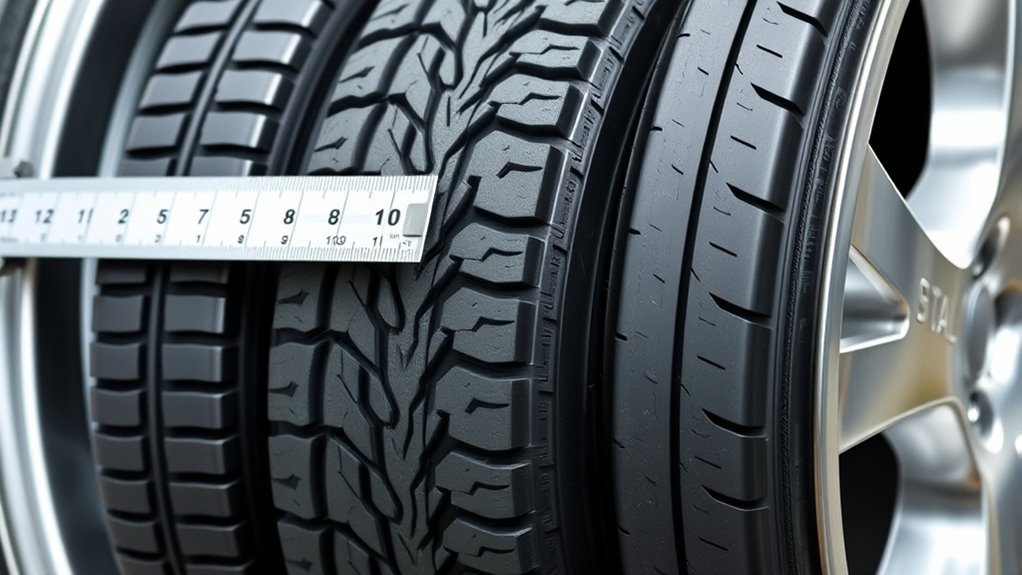
Match Tire Width to Rim Width (Acceptable Ranges)
When matching tire width to rim width, aim for a tire that’s roughly 1.5 to 2 inches wider than the rim to guarantee proper bead seating, handling, and wear characteristics. You’ll follow tire width compatibility and rim width guidelines to select an ideal pair: consult manufacturer charts and the Tire and Rim Association for exact ranges. For example, a 7-inch rim typically accepts 195–225 mm tires; that range gives correct profile, load distribution, and predictable steering response.
Avoid tires that are too narrow, which cause poor handling and accelerated wear, or too wide, which create mounting problems and unpredictable sidewall stress. Use measured conversions and published tables rather than guesswork; record rim and tire widths, allowable tolerances, and recommended pressures. By aligning specs precisely, you free yourself from compromise—safe performance and mechanical clarity, not aesthetics, drive the choice.
When to Upsize vs. When to Downsize Rims
You’ll upsize rims when you need improved lateral grip and steering precision for performance driving, keeping load index and speed rating matched to the vehicle. You’ll downsize for comfort and winter traction, using taller sidewalls to absorb bumps and reduce road harshness. Plan a seasonal wheel strategy that keeps overall tire diameter within ±3% of stock to preserve speedometer accuracy, gearing, and handling.
When To Upsize
If you’re weighing upsizing against downsizing, consider performance goals, seasonal needs, and safety first: choose upsizing when you prioritize performance upgrades and aesthetic choices that yield tangible handling gains. Upsizing increases the contact patch, improving cornering stability and grip; you’ll feel quicker turn-in and firmer response. Verify the new overall diameter stays within ±3% of stock to maintain speedometer accuracy and ABS/traction control calibration. Check load index and speed rating to confirm tires safely support vehicle mass and intended speeds. Factor rim width and offset to prevent rubbing and maintain suspension geometry. Upsize for sportier road performance, track work, or visual liberation, but validate compatibility with braking clearance and steering effort before committing.
When To Downsize
In many cases downsizing your rims—from, say, 18-inch to 16-inch—improves ride comfort, reduces rolling resistance for modest fuel gains, and lets you fit narrower winter tires that cut through snow more effectively. You’ll gain downsize advantages like lower cost, improved comfort, and better winter tire performance, while accepting some loss in ultimate cornering grip. Verify overall diameter stays within 3% of OE to avoid speedometer and clearance issues. Downsizing often reduces rolling resistance, helping tire performance and fuel economy. Choose sizes to preserve handling balance; smaller rims can enhance stability in poor conditions. Balance liberation from expensive, low-profile setups with practical compatibility checks before committing.
| Benefit | Effect |
|---|---|
| Comfort | Softer ride |
| Fuel | Lower rolling resistance |
| Cost | Cheaper tires |
| Winter | Narrower tread cuts snow better |
Seasonal Wheel Strategy
Having weighed downsizing’s comfort and winter traction benefits, it’s time to plan a seasonal wheel strategy that tells you when to upsize or downsize rims. In winter, you should downsize to narrower 16–17 inch wheels to maximize traction benefits and improve tire performance on snow; narrower tires increase contact pressure and reduce rolling resistance, aiding fuel efficiency. In summer, upsize for wider tires and larger rims to sharpen handling characteristics, cornering stability, and grip, delivering performance and visual upgrades. Always verify overall diameter stays within 3% to preserve speedometer accuracy and suspension geometry. Choose winter wheels that resist road debris and summer setups that express seasonal aesthetics without compromising mechanical fitment. Execute swaps to reclaim control and freedom on every road.
Calculate Plus-Size and Equivalent Tire Sizes
Start by determining your vehicle’s original tire diameter and rim size, since plus-sizing raises tire diameter and usually requires larger rims to maintain proper fit and handling. You’ll calculate plus-size options by balancing tire profile adjustments and aspect ratio changes so the overall diameter stays within ±3% of OE. Use a tire size calculator to iterate width and profile combinations, watching load index and speed rating limits.
- Increase width 10–20 mm, lower aspect ratio proportionally to preserve diameter and rim clearance.
- Confirm rim width compatibility and backspacing to avoid rubbing under compression or steering lock.
- Verify the new tire’s load index and speed rating meet or exceed OE specifications.
You’ll document each candidate size, its diameter deviation percentage, and any required rim change. This practical, technical process frees you to choose a clear, liberated upgrade while maintaining safety, handling, and regulatory conformity.
How Changing Diameter Affects Speedometer and Gearing
Because changing tire diameter alters wheel rotations per mile, you’ll see direct effects on speedometer accuracy and drivetrain behavior: larger-diameter tires reduce the number of rotations for a given road speed so the speedometer underreads, while smaller-diameter tires increase rotations and cause the speedometer to overread. You need to evaluate tire circumference and diameter change against OE specs; stay within about 3% to preserve vehicle performance and acceptable speedometer accuracy. Larger diameters increase effective final drive, altering gear ratio feel, reducing apparent engine RPM at speed, and can soften acceleration characteristics. Smaller diameters do the opposite, increasing engine RPM and improving initial acceleration but risking higher fuel use. Significant deviations change load on the transmission, creating transmission strain and potential premature wear, especially under heavy torque. When selecting fitment, quantify percent diameter change, predict speedometer error, and weigh trade-offs between acceleration characteristics and drivetrain longevity to keep your vehicle free and reliable.
Tire Construction and Fitment Implications (Summer, Winter, Run-Flat)
When you select tires, match construction and compound to the driving conditions and vehicle requirements. You’ll choose between summer, winter, and run-flat designs based on seasonal performance and required fitment. Summer tires use softer rubber compounds and aggressive tread patterns to maximize grip levels and crisp handling characteristics in warm conditions; they lose tire flexibility and traction differences increase in cold weather. Winter tires preserve tire flexibility through specialized rubber compounds and deeper grooves, delivering superior traction differences on snow and ice and predictable handling characteristics at low temperatures. Run-flat tires prioritize sidewall strength—reinforced construction lets you continue driving after a puncture but may change ride quality and require compatible rims.
- Summer: softer rubber compounds, optimized tread patterns, high grip levels on dry/wet surfaces.
- Winter: flexible compounds, deep grooves, improved traction differences and control on snow/ice.
- Run-flat: reinforced sidewall strength, limited-range mobility, specific rim fitment and altered handling characteristics.
Common Tire Fitment Mistakes and How to Avoid Them
Choosing the correct tire construction is only part of proper fitment; common mistakes in size, load capacity, offset, and pressure are what actually compromise safety and performance on the road. You must match tire width and aspect ratio to rim width to avoid pinching or over-stretching the bead, which raises failure risk. Check load index and speed rating against your vehicle’s requirements; underspecified tires won’t support weight or dynamic loads. Verify rim offset so suspension, steering and fenders clear through full travel; wrong offset causes rubbing and handling degradation. Adjust tire pressures when upsizing—incorrect psi produces uneven wear and poor grip. Use a tire size calculator to stay within a 3% diameter variance and preserve speedometer accuracy. Consider rim material considerations for heat dissipation and strength; aluminum and steel behave differently under stress. Finally, diagnose and correct tire alignment issues promptly—misalignment accelerates wear and negates other fitment gains.
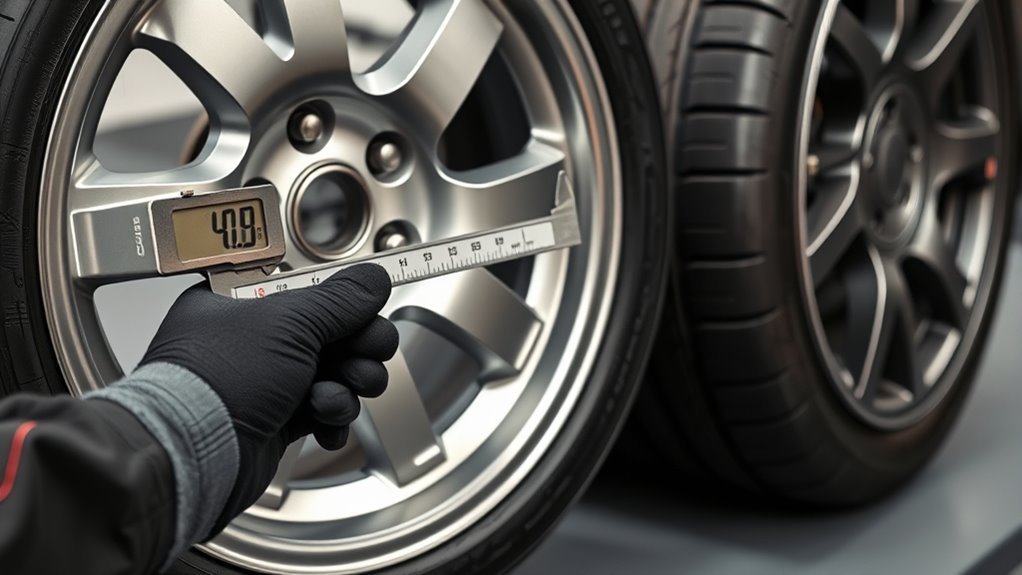
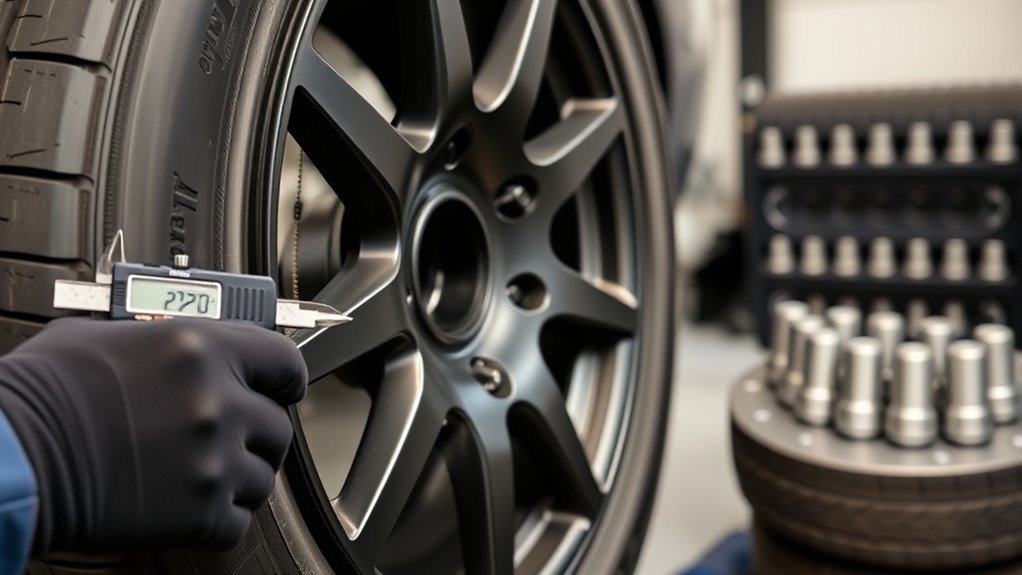
Quick Fitment Checklist: Measure, Verify, Install, Inspect
Start with four checks you can complete before you lift the vehicle: measure rim and tire diameters to confirm an exact match, verify rim width against tire width per manufacturer/Tire and Rim Association specs, confirm load index and speed rating meet or exceed vehicle requirements, and record rim offset/backspacing to guarantee proper clearance.
You’ll follow a concise workflow: measure, verify, install, inspect. Measure twice — rim diameter and effective rim width — and note rim materials to anticipate sealing or corrosion issues. Verify compatibility against specs and confirm load index/speed rating. During install, torque lug nuts to spec and seat the bead; monitor tire pressure while seating. After mounting, perform a static clearance check and spin the wheel to detect rubbing. Finish with a road test for handling and recheck tire pressure and torque.
- Measure diameters and rim width precisely.
- Verify load index, speed rating, and offset.
- Inspect clearance, torque, and tire pressure post-drive.
Frequently Asked Questions
Can I Mix Different Tire Brands on One Axle?
You can, but you shouldn’t mix brands on one axle because differing tire performance and tread design alter grip and response; match sizes and load ratings, test handling, and prioritize consistent traction to stay safe and maintain freedom on the road.
Are Staggered Wheel Setups Compatible With My Vehicle’s Drivetrain?
Think of staggered wheels as tailored boots: they can fit, but drivetrain compatibility depends on axles, differential type and clearance. You’ll weigh staggered benefits versus torque, handling and legal limits, so choose liberatingly and precisely.
Do Aftermarket Spacers Affect Wheel Load Ratings?
Yes — spacers can alter rated wheel loads. You’ll change load distribution across hubs, studs, and bearings; different spacer materials influence stiffness and fatigue life, so you’ll choose robust, well-tested spacers to preserve safety and freedom.
How Does TPMS Compatibility Change With New Rims?
You’ll still need to verify TPMS sensors fit new rim size; they’re not magically compatible. You’ll swap or reprogram sensors when mounting larger or different rims, ensuring correct pressure readings, positioning, and legal compliance for safe freedom.
Can Refurbished Rims Be Safely Used for Highway Driving?
Yes — you can use refurbished rims safely for highway driving if they meet structural inspections, certified repairs, and proper balancing; address refurbished rim safety, monitor highway driving concerns, and replace any compromised rims to maintain freedom and confidence.
Conclusion
Think of changing rim size like swapping a bike chain on a commute: when I once fitted a too-wide rim, the speed wobble taught me that small mismatches matter. You’ll read sidewall codes, verify load and speed ratings, and match tire width to rim width within the specified range; otherwise you risk handling, wear, or failure. Follow clearance, construction, and speedometer rules, and always inspect installation—precision prevents problems.
Related Articles

Flotation Tire Size Meaning: How to Read the Numbers
A clear guide to flotation tire size meanings—learn to read Outside Diameter × Width × Rim and avoid fitment mistakes that could surprise you.
Read More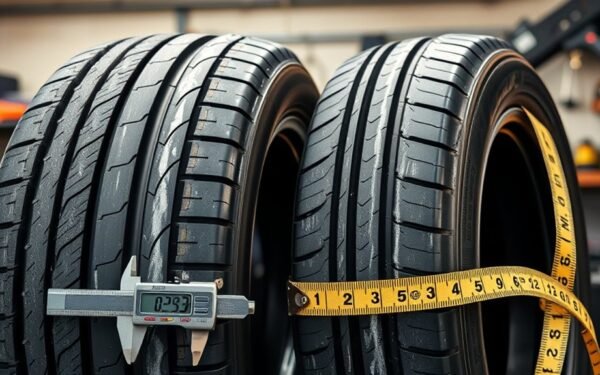
Metric vs Inch Tire Size Conversion: Simple Formula
Nail tire size conversions confidently with a simple metric-to-inch formula that reveals overall diameter and revolutions per mile—discover how it ensures safe swaps.
Read More
Presta vs Schrader Valve Hole Size: Rim Compatibility
Find out why valve hole size matters for Presta vs Schrader rim compatibility — and what happens if you drill the wrong size.
Read More