
How to Use the Tire Repair Kit in a Toyota RAV4
To use a tire repair kit in your Toyota RAV4, pull over safely and gather your tools. Assess the tire for damage, confirming the puncture’s less than ¼ inch and in the tread area. Remove the puncture object with pliers, then clean the hole with the T-handle reamer. Insert a plug using lubricant, trim excess material, and apply rubber cement for durability. Inflate the tire to the correct pressure and check for leaks to guarantee a secure repair. Learn more about best practices.
Ensure Your Safety First

Before you start any tire repair, guarantee your safety first. In roadside emergencies, pulling over to a stable, flat surface away from traffic minimizes risk. Turn on your hazard lights and engage the parking brake to alert other drivers. This simple act can prevent accidents while you work.
Next, make certain the area around your vehicle is clear of obstacles and traffic. This creates a safe working environment essential for effective tire repair. Additionally, keep safety equipment like reflective triangles or vests in your vehicle to enhance visibility, especially in low-light conditions.
Assess the Tire Damage Properly
To assess tire damage properly, start by identifying the puncture source. Make sure the damage is in the tread area, as sidewall punctures are usually irreparable. Additionally, check the size of the puncture; anything larger than ¼ inch typically requires professional attention.
Identify Puncture Source
How can you effectively identify the source of a tire puncture? Start by examining the tire tread for any visible foreign objects like nails or screws. Check the size of the puncture; it should be less than ¼ inch (6mm) in diameter for a viable repair. Confirm the puncture is in the tread area, as sidewall punctures often compromise safety. Look for internal damage, such as bulging, indicating the tire may be unsafe. Document your findings to discuss repair options later.
| Step | Action | Purpose |
|---|---|---|
| Locate the Puncture | Inspect tread for foreign objects | Identify the puncture source |
| Check Size | Measure puncture diameter | Confirm it’s repairable |
| Assess Condition | Verify location and check for damage | Maintain tire safety and integrity |
Check Damage Location
Properly evaluating tire damage is essential for a safe repair. Begin by examining the tire closely to identify the source of the puncture—look for nails, screws, or similar objects lodged in the tread area. Confirm the puncture is less than ¼ inch (6mm) in diameter, as larger punctures may compromise the tire’s integrity. Before inspection, deflate the tire to prevent injury and allow for a thorough assessment. Use diagnostic tools, like a flashlight, to illuminate the area and get a clear view of the puncture location and condition. Additionally, check for any visible internal damage or bulging, especially on the sidewall, as these issues can render the tire unsafe for repair, impacting your tire maintenance efforts.
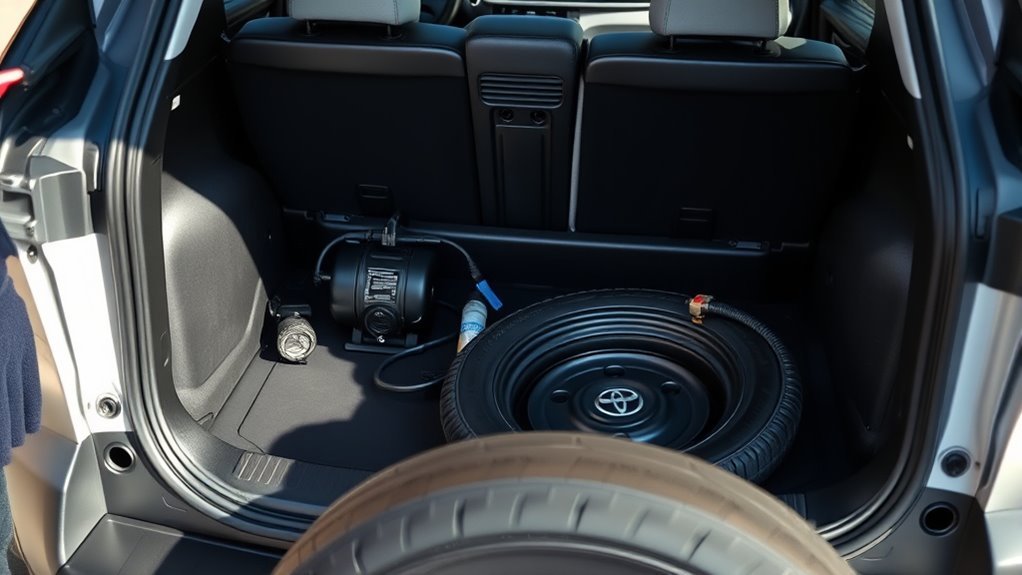
Gather Required Tools for Tire Repair
Before starting your tire repair, it’s essential to gather all necessary tools to guarantee a smooth process. First, check your tire repair kit. You’ll need a T-handle reamer, insertion tool, rubber cement, tire plugs, and pliers. Confirm the kit is within its expiry date for effective use.
For better results, have a lubricant like silicone oil or graphite powder handy for smoother plug insertion. Familiarize yourself with the components of your jack kit, including the jack, jack handle, and lug nut wrench, in case you need to remove the tire.
Lastly, keep a portable air compressor in your vehicle for inflating the tire after repair. Following these tire maintenance tips not only enhances your emergency preparedness but also empowers you to handle unexpected situations efficiently. With the right tools at your fingertips, you’ll be ready to tackle any puncture with confidence.
Remove the Object Causing the Puncture
Before you start the repair, assess the object causing the puncture to guarantee it’s safe to remove. Use pliers to grip the visible part securely, pulling it straight out in one steady motion to minimize further damage. Remember, if the puncture is on the sidewall, it’s best to seek professional help instead of attempting a repair.
Assessing the Puncture Source
When you experience a tire puncture, the first step involves safely pulling over to a stable, flat surface away from traffic. Verify your vehicle’s in park with hazard lights on before you assess the tire. Inspect the tire to identify the source of the puncture; look for objects like nails or screws embedded in the tread area, which shouldn’t exceed ¼ inch (6mm) in diameter. Grip the exposed part of the object securely with pliers, and pull it out straight to minimize further damage. Be cautious; sudden movements can enlarge the puncture or cause internal damage. After removing the object, visually check the area to confirm no additional damage exists. Keep these puncture prevention tips and tire maintenance advice in mind for future protection.
Using Pliers Effectively
Grip the exposed part of the object causing the puncture firmly with pliers. Use the appropriate pliers types for the task—needle-nose pliers work best for small or difficult-to-grasp objects, giving you better control. Pull the object straight out with a steady motion to avoid enlarging the puncture; this preserves the tire’s integrity. If the object is deeply embedded, gently wiggle it back and forth while pulling to ease it out without causing additional damage. After removal, inspect the puncture location carefully to verify no leftover debris could hinder the repair process. Regular pliers maintenance is essential, so check your tools for wear and tear, guaranteeing they’re always ready for effective use in emergencies.
Minimizing Further Damage
To minimize further damage to your tire, make certain your vehicle is on a stable, flat surface and activate the hazard lights for safety. Use pliers to grip the exposed part of the object and pull it straight out. Avoid sudden movements; they can enlarge the puncture, complicating repairs. Check the puncture’s location to confirm it’s in the tread area and less than ¼ inch (6mm) in diameter for effective repair. After removal, inspect the puncture hole for internal damage, which may need professional assistance.
| Step | Action | Notes |
|---|---|---|
| 1 | Confirm stability | Flat surface, hazard lights |
| 2 | Grip with pliers | Pull straight out |
| 3 | Avoid sudden movements | Prevents enlarging puncture |
| 4 | Check puncture location | Tread area, < ¼ inch |
| 5 | Inspect for internal damage | Seek professional help if needed |
Get the Puncture Hole Ready for Repair
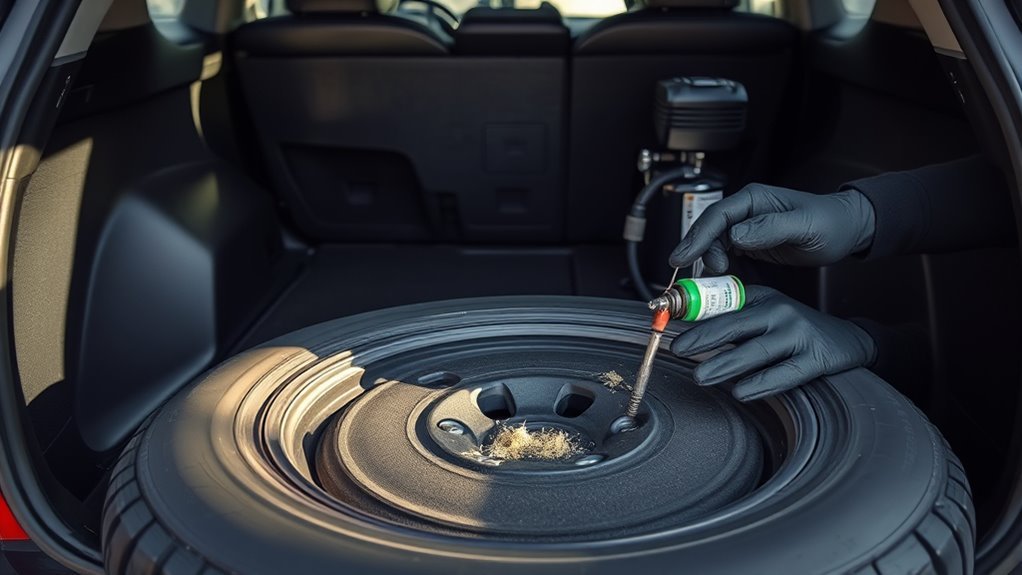
Start by identifying the puncture in your tire, ensuring it’s within the tread area and less than ¼ inch in diameter for a successful repair. Once located, use pliers to carefully remove the object causing the puncture. Be cautious not to enlarge the hole during this process. Next, insert a T-handle reamer into the puncture and twist it clockwise and counterclockwise to clean the hole and slightly widen it, preparing for the plug. To facilitate smoother insertion, apply a lubricant such as silicone oil or graphite powder to the puncture hole. Before moving forward, check for any internal damage; if you see any, further repairs may be necessary. Incorporating these tire maintenance habits can enhance your driving experience, while following puncture prevention tips can help you avoid similar issues in the future.
Insert the Tire Plug Correctly
Align the insertion tool with the puncture hole, then insert the prepared tire plug into the eye of the tool. Push the plug into the hole until a small portion remains visible. Swiftly pull the insertion tool straight out to secure the plug, guaranteeing it creates an airtight seal for effective repair.
Check that the plug is properly seated in the puncture before moving on. Common mistakes include not inserting the plug deep enough or pulling out the tool at an angle, which can compromise the seal.
To enhance durability, you can apply a thin layer of rubber cement around the plug, following the manufacturer’s instructions. Finally, trim any excess plug material to guarantee a smooth surface that won’t interfere with the tire’s performance. Employing these plugging techniques will help you achieve a reliable repair, allowing you to reclaim your drive with confidence.
Seal the Plug for Better Durability
Sealing the plug effectively is vital for enhancing the durability of your tire repair. To achieve this, utilize proper plug sealing techniques by applying rubber cement around the inserted plug. Use a small brush or applicator to evenly coat the plug, making sure you avoid excess to facilitate faster drying and better adhesion. It’s critical to verify the plug is seated correctly before applying the rubber cement; a misaligned plug can lead to further air leaks.
Follow the manufacturer’s instructions for drying time to maximize the effectiveness of the seal. Regularly inspect the repaired area for any signs of failure or air leaks, as this helps maintain tire safety and performance. By taking these steps, you reinforce the repair, guaranteeing a tighter fit against air leakage and extending the life of your tire.
Inflate the Tire to Proper Pressure
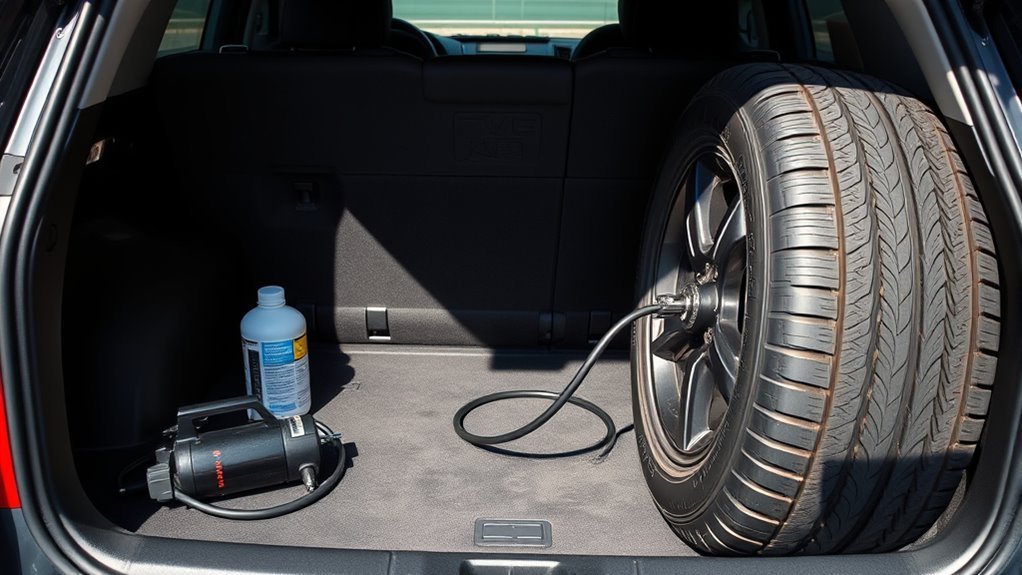
Once you’ve sealed the plug for improved durability, the next step is to inflate the tire to the proper pressure. Start by locating the tire’s valve stem and removing its cap. Securely attach the inflator nozzle before you begin the inflation process. Use inflation techniques that allow you to monitor the pressure gauge closely; this guarantees you reach the recommended tire pressure, which is typically listed on the driver’s side door jamb. Inflate the tire gradually, stopping once you hit the desired pressure to avoid over-inflation. After inflating, don’t forget to replace the valve stem cap, as this prevents dirt and moisture from entering the valve. Regularly checking your tire pressure, especially after using a repair kit, is vital for maintaining safety and performance on the road. Staying proactive with these steps liberates you from potential issues down the line.
Check for Leaks After Repair
How can you assure your tire repair is effective? Start by conducting leak detection to confirm your repair holds. Mix a solution of soap and water, then apply it to the repaired area. Watch for bubble observation; any persistent bubbles indicate escaping air and suggest your repair isn’t airtight.
Give it a moment, as small bubbles might form initially but can stabilize shortly after. This waiting period is vital for accurate results. If you spot leaks despite your repair efforts, it’s important to seek professional assistance to maintain safety on the road.
Regularly check the condition of the repaired area after use to prevent future issues and verify the tire’s integrity. By diligently observing for leaks post-repair, you empower yourself to drive with confidence, knowing your tire is secured and ready for the journey ahead.
Get a Professional Inspection After Repair
After using a tire repair kit, you need a professional inspection to guarantee your repair is secure and effective. This step is essential for identifying any underlying issues that could compromise your tire’s safety. Regular inspections help maintain long-term performance and prevent future problems.
Importance of Professional Inspection
While using a tire repair kit can provide a temporary fix, it’s essential to get a professional inspection afterward. This step guarantees your tire’s integrity and adherence to safety standards. A professional can identify internal damage that might not be visible, which could jeopardize performance. They’ll also verify that the plug has created an airtight seal, minimizing air leakage risks while driving. Regular inspections not only enhance tire longevity but also prevent potential blowouts from improper repairs. Toyota recommends reaching out to a local Toyota Centre for thorough assessments, guaranteeing your tires meet safety regulations and are maintained properly. Prioritize this inspection to safeguard your driving experience and maintain your vehicle’s reliability.
Ensuring Long-Term Safety
To guarantee long-term safety after using a tire repair kit, you must schedule a professional inspection. This step is important for confirming the integrity of the repair and guaranteeing overall vehicle safety. Professional inspections can identify hidden internal damage that a DIY approach might miss, reducing the risk of tire failure while driving. Remember, many tire repair kits provide only temporary solutions; a thorough check confirms your tire meets safety standards for continued use. Regular inspections are crucial maintenance tips that help detect wear or damage early, enhancing tire longevity. Keep documentation of all repairs and inspections; it not only aids in maintaining your vehicle’s safety but also boosts its resale value. Prioritize safety—it’s significant for your freedom on the road.
Identifying Underlying Issues
Even if you’ve successfully used a tire repair kit, it’s essential to get a professional inspection to uncover any underlying issues that could jeopardize your safety. A thorough inspection is critical for identifying internal damage that may not be visible from the outside, which is important for maintaining tire integrity. Relying on a temporary repair can be risky; an assessment can determine if a complete replacement is necessary. Regular professional evaluations not only prevent future tire failures but also enhance your vehicle’s overall safety. Additionally, documenting any repairs and inspections is beneficial, providing technicians with valuable information for future maintenance checks. Prioritizing these steps can liberate you from potential hazards on the road.
Frequently Asked Questions
How Does the Toyota Tire Repair Kit Work?
The Toyota Tire Repair Kit works by applying tire sealant during the puncture repair process, filling tread punctures under ¼ inch. This allows for immediate inflation, enabling you to drive safely until professional inspection.
What Is the Toyota Tire Mobility Kit?
Imagine cruising without worries—Toyota’s Tire Mobility Kit is your solution. This compact kit offers quick tire repairs, enhancing mobility and safety. Remember tire maintenance tips for excellent performance and kit longevity; your freedom depends on it.
Conclusion
Using a tire repair kit in your Toyota RAV4 is like stitching up a wound; it’s essential to do it right for lasting results. Just as a careful seam can prevent further injury, a proper tire repair keeps you safe on the road. Remember to check for leaks and consider a professional inspection afterward. With the right approach, you can get back on your journey, confident that your tire is as strong as it should be.
Related Articles

Upsizing Wheels on a Toyota RAV4: Pros, Cons, and Considerations
Boost your Toyota RAV4's performance with larger wheels, but discover the hidden trade-offs that could impact your ride before you decide.
Read More
Can I Change Tire Size on My Toyota RAV4? Rules and Recommendations
Are you considering changing the tire size on your Toyota RAV4? Discover the essential rules and recommendations before making a decision.
Read More
What to Do If the TPMS Light Comes On in Your RAV4
Understand the steps to take when the TPMS light illuminates in your RAV4, as overlooking it could lead to serious tire problems.
Read More