How to Seat a Tubeless Tire Bead Without a Compressor
You can seat a tubeless bead without a compressor by prepping the rim and tire, removing the valve core, adding 1–2 oz of sealant, and positioning both beads in the rim’s center channel. Use a high‑volume track pump, CO2 burst, or aggressive hand pump to deliver a fast, powerful blast until the bead snaps into place; listen for escaping air and reseat stubborn sections with soapy water or tire levers. Continue for troubleshooting and finishing steps to guarantee a reliable seal.
Quick Answer : Seat a Tubeless Bead Without a Compressor
Start by removing the valve core to maximize airflow, then seat the bead with rapid inflation from a high-volume track pump, CO2 canister, or a standard track pump used aggressively. You’ll prep the rim and tire, confirm compatibility (wider rims seat easier), and apply a soap-and-water mix at the bead to lubricate and spot leaks. With the core out, deliver a short, powerful burst of air—CO2 or aggressive track-pumping—until you hear the bead pop into place and both sides seal. Reinstall the valve core, top to the correct pressure, and check for slow leaks. These tire maintenance steps and inflation techniques reduce wasted time and failed attempts, letting you reliably seat tubeless beads without a compressor.
What You Need: Pumps, Valve Tools, and Sealant
Equipment matters: you’ll want a high‑volume floor pump (Silca Terra or similar) that can deliver a quick burst of air, a valve-core remover to eject the core for faster fill, tubeless sealant (about 1–2 oz depending on tire size), and a few tire levers to help seat stubborn beads; also mix a little soapy water to lubricate the bead and spot leaks.
| Item | Purpose |
|---|---|
| High‑volume pump | Rapid pressure rise to seat bead |
| Valve tools | Remove/reinstall core for faster fill |
| Sealant & levers | Seal leaks; assist bead placement |
Choose pump types that provide volume over extreme max PSI. Use valve tools to clear the airway during inflation. Inject 1–2 oz sealant after seating. Apply soapy water at bead to aid seating and detect leaks.
Prep Rim and Tyre: Tape, Valve Cores, and Bead Positioning
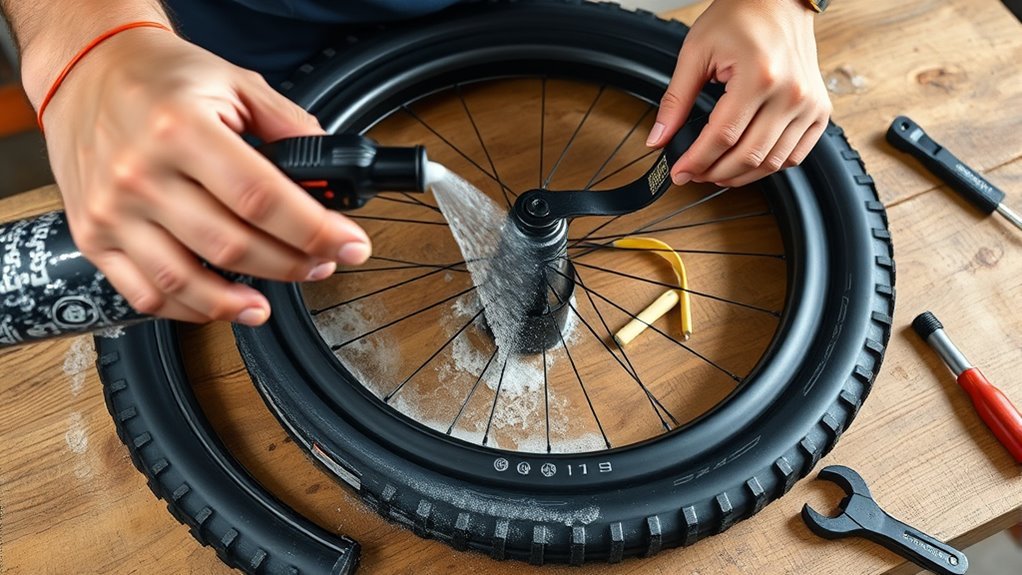
Start by cleaning the rim bed and applying tubeless tape so there are no gaps over the spoke holes. Remove the valve core to maximize airflow during the rapid inflation that helps the bead pop into place. Position both beads in the rim’s center channel and hold them there while you inflate so they seat evenly.
Clean Rim Bed
A clean rim bed is essential: wipe away grease, dirt, and old sealant so the bead and tape can make full contact. You’ll perform rim maintenance to guarantee tubeless tape adheres and spoke holes are sealed. Inspect the channel for nicks and residue, then clean with isopropyl alcohol. Position the bead with precise bead alignment in the rim’s center channel before inflation and lubricate lightly with soap solution to aid seating.
| Task | Tool | Acceptable Result |
|---|---|---|
| Clean rim bed | Isopropyl alcohol, rag | Bare, residue-free surface |
| Apply tape | Tubeless rim tape, roller | Full spoke-hole coverage |
| Check bead placement | Hands/visual | Bead centered in channel |
Proper prep prevents leaks and eases seating without a compressor.
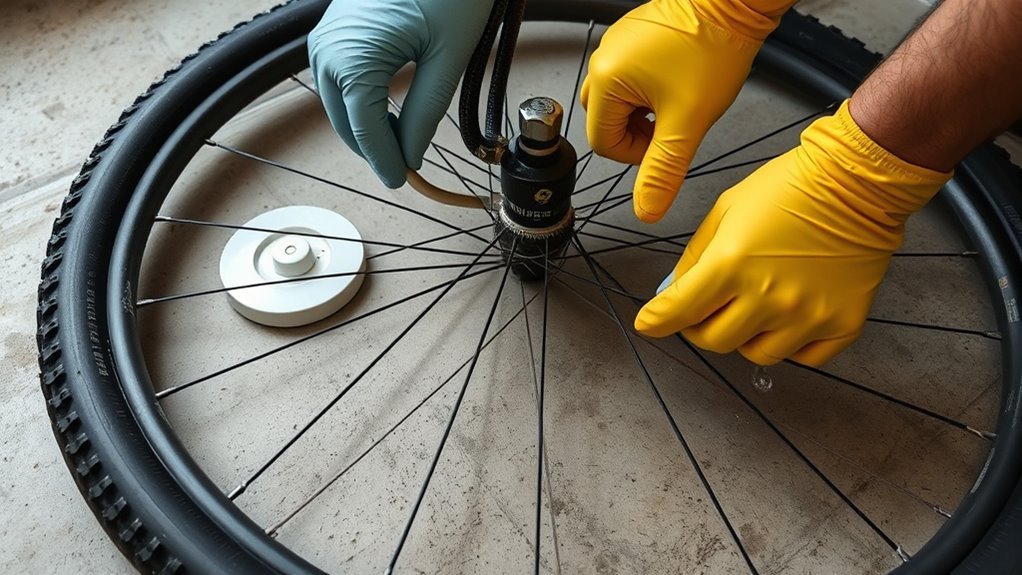
Remove Valve Cores
Loosen and remove the valve core with a core remover so you get maximum airflow for a rapid, forceful blast of air to help the bead snap into the rim’s center channel. With the core out, you’ll get the highest possible flow rate from a floor pump or CO2, improving the chance the bead will seat quickly. Check valve threads and stem for damage as part of valve maintenance; replace bent or corroded stems before inflating. Keep a spare core for quick core replacement if the one you removed is worn or clogged. After seating, reinstall and tighten the core to the manufacturer’s torque, then add sealant and rotate the wheel to distribute it. Test for leaks and adjust pressure as needed.
Seat Bead In Channel
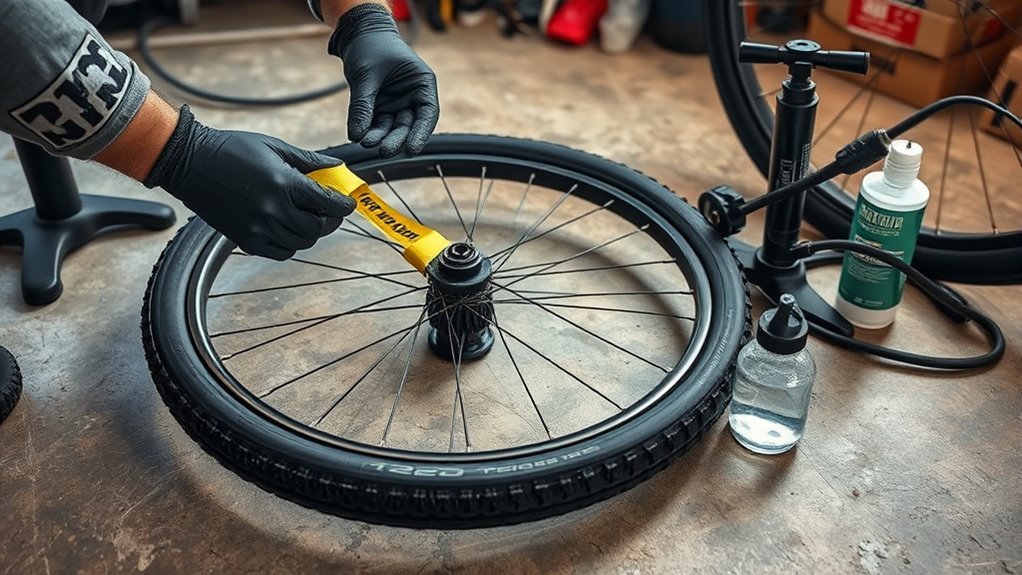
With the rim taped, valve core removed, and bead lubricated, position the tire so both beads sit in the rim’s center channel and hold them there as you inflate; that central valley gives the slack needed for the bead to pop into the hook. Keep hands or tire levers on the beads to maintain bead alignment; prevent beads from slipping onto the rim shoulder. Inflate steadily, monitoring tire pressure and listening for the dual pops. Once one bead seats, repeat for the opposite side if needed. Reinstall valve core and top to recommended tire pressure.
| Task | Tool | Goal |
|---|---|---|
| Tape rim | Tubeless tape | Airtight seal |
| Hold bead | Tire lever/hand | Center channel alignment |
| Inflate | Pump | Correct tire pressure |
3 Ways to Seat a Tubeless Tyre Bead Without a Compressor
You can seat a tubeless bead without a compressor by using high-flow, short-duration sources that force the bead onto the rim quickly. Try rapid pump inflation with the valve core removed for narrow tires, or use an air chamber pump to deliver a controlled burst for wider sections. CO2 cartridges give an instant, high-volume hit that’s handy in the field but use caution with temperature and single-use limits.
Rapid Pump Inflation
Try a rapid pump inflation when you don’t have a compressor: a quick, forceful blast of air from a track pump or CO2 can seat the bead by snapping it into the rim’s center channel. You’ll focus on bead alignment and effective inflation techniques: remove the valve core to maximize volume, confirm pump compatibility, and listen for a clear ping indicating seating. For higher-volume MTB tires this may fail; a pump with an air chamber gives a stronger, controlled rush. Use soapy water to help beads slip into place and inspect both sides to guarantee full seating.
- Remove valve core to maximize air volume
- Use pump with air chamber for a stronger blast
- Confirm pump fits valve without restriction
- Listen for a distinct ping/pop
- Use soapy water to aid bead alignment
CO2 And Air Chambers
Although a compressor gives the most reliable blast, CO2 canister discharges and pumped air chambers are the best portable alternatives for seating a tubeless bead, because they deliver a quick, high-volume pulse that snaps the bead into the rim’s center channel. You’ll appreciate CO2 efficiency for emergency setups: a single canister delivers an instant high-pressure burst without removing the valve core, so you can seat the bead fast and move on. For larger-volume tires, understand air chamber mechanics: pump a chamber (or a chamber-equipped inflator), connect, then dump its stored volume to produce a controlled rush that helps the bead seat. Always verify tubeless-ready rim/tire fit and center the bead before using either method to maximize success.
Add Sealant, Reseat the Valve, and Finish Inflation
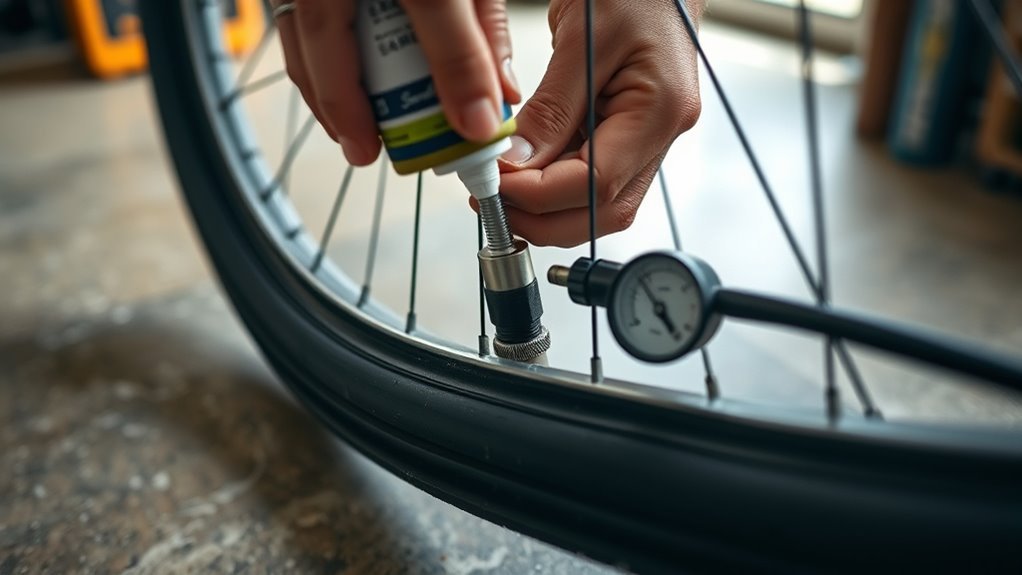
- After seating the bead, remove the valve core for sealant application—inject about 1–2 ounces depending on tire size, then reinstall the valve core tightly to avoid air loss.
- Inflate the tire to roughly 80–90% of max riding pressure so the bead stays seated while you work.
- Shake the wheel side to side and give it a few spins to distribute the sealant evenly across the casing and bead area.
- Inspect the bead line and valve area visually for sealant coverage and immediate leaks.
- If you see leaks, note their location but don’t attempt major fixes here; verify the tire holds air first.
- Let the tire sit upright for a few minutes so the sealant settles before final pressure top-up and a brief test ride.
Troubleshooting: Leaks, Stubborn Beads, and When to Seek Help
If your tubeless tire won’t hold air or the bead won’t seat, start by isolating the problem area so you can apply the right fix quickly. Inspect valve, bead, and rim bed; verify the valve core is fully reinstalled after sealant injection to avoid leaks. For air escaping through spoke holes, apply additional sealing like Scotch tape to the rim strip for immediate leak prevention. If the bead resists seating, position both beads in the rim’s center channel, use quick pump bursts, and wet the bead with soapy water to help it slide and seal. Confirm full seating around the circumference before final inflation. If repeated attempts fail, stop and get professional assistance at a bike shop to avoid damaging the tire or rim.
Frequently Asked Questions
Can I Seat a Tubeless Bead Using CO2 Cartridges?
Yes — you can seat a tubeless bead using CO2 cartridges; bead seating works if you deliver a rapid high-volume burst. CO2 advantages include portability and speed, but cartridges may cool, reducing pressure and sealing reliability.
How Do I Convert Non-Tubeless Rims Safely?
You convert non-tubeless rims safely by confirming tire compatibility, preparing the rim thoroughly (cleaning, deburring, applying tubeless tape and proper valve), then installing bead locks or running sealed tubes if conversion risks or manufacturer prohibits tubeless.
Is Rim Tape Reusable Between Tires?
Like clockwork, you shouldn’t reuse rim tape between tires. You’ll reduce rim tape longevity and risk poor tire bead maintenance; always replace tape after removal, using fresh, properly sized tape for reliable seal and safety.
Can Sealant Damage My Rim or Brakes?
Generally no—most sealant types won’t harm rims or brakes if cleaned promptly, but latex or corrosive additives can. You should use rim protection, wipe spills, and avoid long exposure to prevent staining or component degradation.
How Often Should I Top up Sealant After Seating?
Right off the bat, once sealed and riding, you’ll check every 2–6 months depending on sealant types and climate; heavier particles last longer, boosting tire longevity, so top up as soon as levels dip or leaks reappear.
Conclusion
You’ve got the tools, the steps, and the patience—now bring the bead to life. Like a stubborn zipper that finally clicks, a tubeless bead rewards steady pressure, correct valve work, and a little sealant coaxing. Use a high-volume pump or track pump, seat one side, add sealant, reseat and top off. If it still won’t bite, check tape, rim strip, and bead alignment; don’t force it—get pro help to avoid damage.
Related Articles

How to Read Motorcycle Tire Size: Complete Breakdown
Often misunderstood, this guide decodes motorcycle tire sizes like 180/55ZR17—learn what each number and letter means to ensure safe, perfect fitment.
Read More
How to Read Bicycle Tire Size: Inches, Metric & ISO
Get the essential trick to decoding ETRTO/ISO codes so you’ll always pick rim-compatible tyres—discover what to check next.
Read More
How to Read Tire Size Numbers: Decode the Sidewall
Step-by-step guide to decode tire sidewalls—sizes, load, speed, DOT and winter symbols—so you’ll know what fits and when to replace.
Read More