
How to Patch a Tire on a Toyota RAV4: A DIY Method
To patch a tire on your Toyota RAV4, first assess the damage and verify it’s repairable, ideally located in the tread. Gather essential tools like a tire patch, rubber cement, and a scuffer. Begin by roughening the area, applying cement, and securing the patch. Check for air leaks with soapy water and confirm the bond is strong. Monitor the tire pressure post-repair. For more detailed steps and tips, you’ll find additional guidance below.
Understanding the Importance of Tire Repair on Your RAV4
Tire maintenance is essential for the performance and safety of your Toyota RAV4. Proper tire repair not only extends tire life but also enhances safety by guaranteeing optimal performance and minimizing blowout risks. Your RAV4’s robust tires are designed for various terrains, making timely repairs critical for maintaining traction and handling. Monitoring tire tread condition is crucial; adequate tread depth is necessary for effective braking, especially in adverse weather.
Utilizing DIY repair techniques can yield significant tire longevity benefits. When patching a tire, always opt for internal patches instead of plugs for a more durable and safer solution. Regularly checking tire pressure and addressing repairs promptly helps prevent uneven wear, improving your vehicle’s fuel efficiency. By embracing these maintenance practices, you can liberate yourself from costly replacements and guarantee your RAV4 operates at its best.
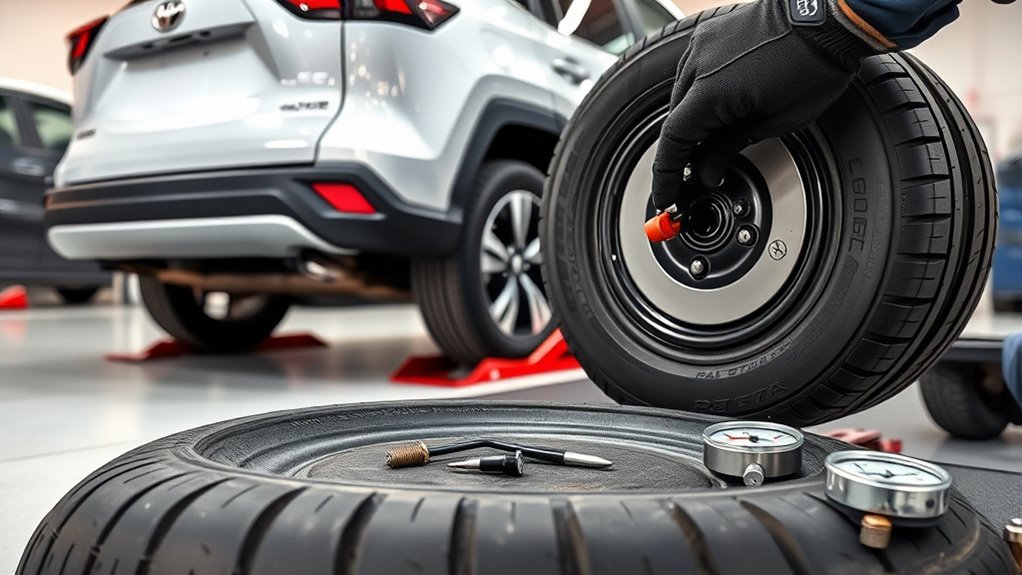
Repair or Replacement: How to Decide?
When deciding between repair and replacement, assess the tire’s condition and the cost implications. If the damage is minor and the tread is still viable, a repair can save you money. However, if the puncture is near the sidewall or the tire shows significant wear, replacement may be the safer option.
Repair Cost Considerations
Deciding between repairing or replacing a tire can greatly impact your budget, especially if you own an AWD vehicle like a Toyota RAV4. Repairing often proves cost-effective when the tread remains in good condition, saving you from buying new tires. However, damage near the sidewall can lead many shops to recommend replacement due to safety concerns.
Here’s a quick comparison to help you decide:
| Option | Cost Considerations |
|---|---|
| Repair | Lower initial cost |
| Replacement | Higher cost, especially if multiple needed |
| Minor Damage | Repair benefits outweigh costs |
| Major Damage | Replacement often safer |
| Tire Type | Low-profile may limit repairs |
Ultimately, weighing repair costs against potential benefits is essential for informed decision-making.
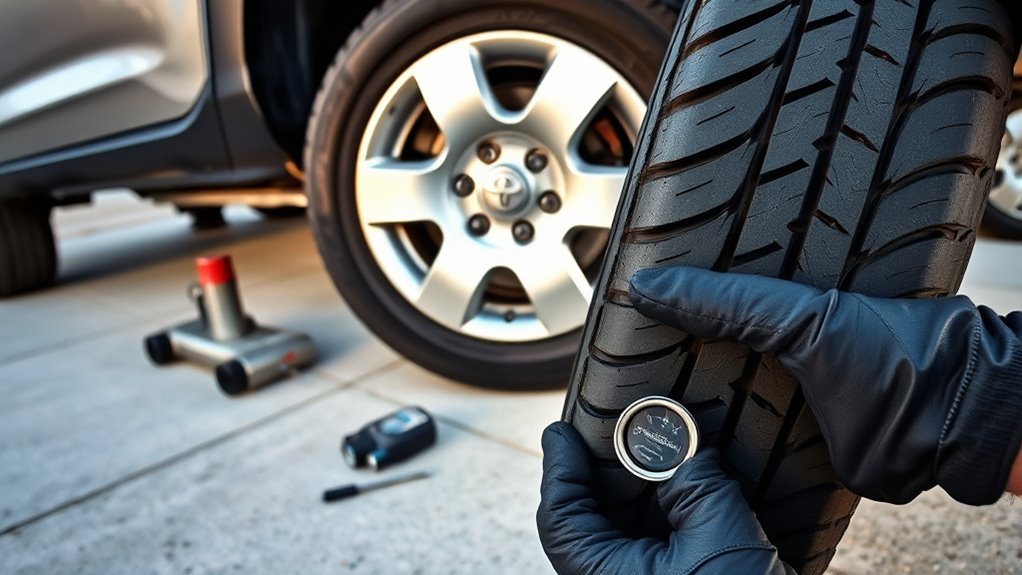
Tire Condition Assessment
After weighing the costs of repair versus replacement, understanding how to assess your tire’s condition is essential. Here’s how to determine if you should repair or replace:
- Tread wear: Check if the tread is still adequate; a depth of 2/32″ or more is generally acceptable.
- Repairable area: Confirm damage is located in the tread, as sidewall damage usually disqualifies a tire from repair.
- Puncture severity: Minor punctures can often be patched, but larger ones typically require replacement.
- Tire type: Remember that low-profile tires tend to suffer more damage and might need replacement sooner.
- Professional advice: Always consult a tire expert if you’re uncertain; safety should be your top priority.
Essential Tools for Tire Repair
To successfully patch a tire on your Toyota RAV4, you’ll need specific tools to guarantee a proper repair. Essential items include a tire marker for pinpointing the patch location, a scuffer tool for preparing the surface, and rubber cement for a secure bond. Don’t forget to wear safety gear to protect yourself during the process, as a clean workspace and good lighting are also key to achieving an effective repair.
Necessary Repair Tools
When tackling a tire repair on your Toyota RAV4, having the right tools at your disposal is essential for a successful fix. Here’s what you’ll need for effective tire patching techniques:
- Tire Marker: To mark the exact patch location.
- Scuffer Tool: For roughening the tire surface, creating a crosshatch pattern within 1/2 inch of the puncture.
- Buffer Tool: To guarantee the patch is stitched down securely.
- Tire Patch: Make sure it’s the appropriate size for the puncture.
- Rubber Cement: Use the right patch adhesive types and apply evenly to enhance the bond between the patch and tire.
Confirm the patch edges are firmly attached and let it dry completely before remounting and inflating.
Safety Gear Essentials
Before you begin patching your tire, it’s important to equip yourself with the proper safety gear. Start with heavy-duty gloves; they protect your hands from sharp objects and chemicals. Next, wear safety goggles to shield your eyes from debris that may fly during the repair process. A tire marker is essential for accurately identifying the puncture location, ensuring precision in your work. Use a scuffer tool to roughen the surface around the puncture, which enhances patch adhesion. Rubber cement is crucial for creating a strong bond between the tire and patch material, while a buffer tool helps seal the patch firmly against the tire, removing trapped air for a secure fit. Don’t overlook this protective equipment—your safety depends on it.
Step-by-Step Guide: How to Patch a Tire Like a Pro
Patching a tire isn’t just about sealing a hole; it requires precision and the right techniques to guarantee a long-lasting repair. Here’s a step-by-step guide to patching your tire like a pro:
- Mark the puncture location with a tire marker.
- Use a scuffer tool to roughen the area in a crosshatch pattern, extending within 1/2 inch of the puncture.
- Apply rubber cement evenly to the roughened surface after removing any loose debris.
- Carefully remove the patch backing, avoiding contact with the adhesive, and position it over the puncture, pressing firmly.
- Use a buffer tool to stitch down the patch and eliminate trapped air, ensuring a secure bond.
Allow the patch to dry completely before remounting the tire and inflating it to the recommended pressure. Master these tire patching techniques and choose the right patch adhesive types for ideal results.
Avoiding Common Pitfalls in Tire Patching
Even with the right techniques for patching a tire, certain common pitfalls can jeopardize your repair efforts. First, always inspect the tread condition and verify the puncture isn’t near the sidewall; otherwise, your tire may not be suitable for patching. A common mistake is neglecting to use a scuffer tool to roughen the area around the puncture. Make certain to create a crosshatch pattern that extends at least 1/2 inch beyond the damage for ideal patch adhesion. When applying rubber cement, do it evenly, and press the patch firmly to avoid air leaks. Finally, monitor the patched tire for any slow leaks or pressure alerts. Following the manufacturer’s guidelines on patch types is essential; always use U.S. Tire Manufacturers Association approved patches for reliability. By sidestepping these pitfalls, you’ll enhance your tire patching techniques and guarantee a safer ride.
How to Check for Leaks After Patching
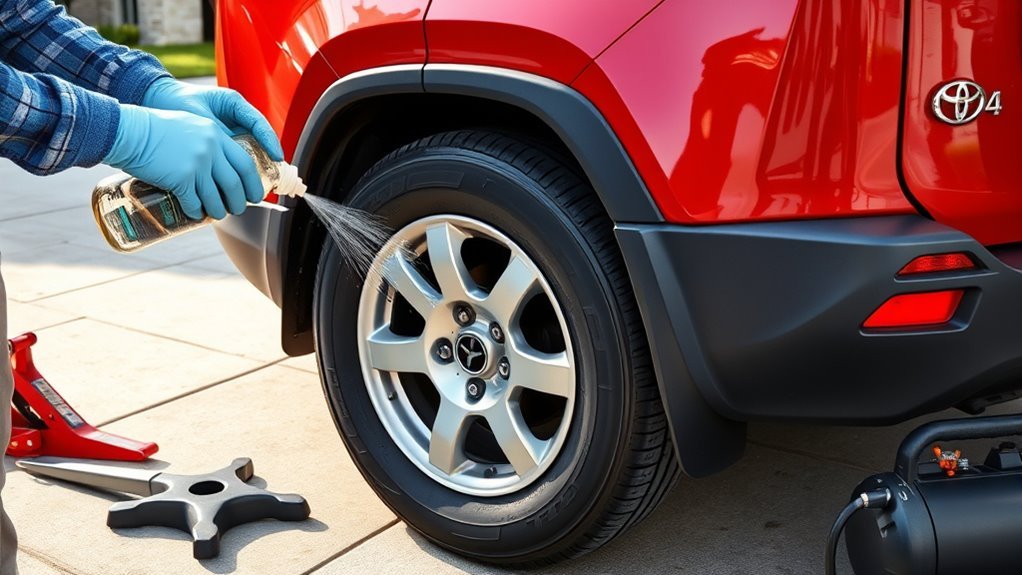
Once you’ve patched the tire, it’s essential to check for leaks to guarantee your repair was successful. Effective leak detection guarantees your safety and the integrity of the patch. Here’s how to confirm your work:
After patching a tire, checking for leaks ensures the repair’s success and your safety.
- Visually inspect the patch and surrounding area for any signs of air leakage or damage.
- Apply soapy water to the patched area; watch for bubbles, which signal air escaping.
- Monitor tire pressure regularly over the next few days. Significant drops can indicate a leak.
- Drive slowly and listen for hissing sounds that might suggest air is escaping from the patch.
- Recheck the patch if you find any signs of leakage or consult a professional for safety.
When to Call in the Pros for Tire Repairs?
When should you consider calling in the professionals for tire repairs? Certain situations demand expert intervention to guarantee tire safety. Here’s a quick reference:
| Situation | Action |
|---|---|
| Damage near the sidewall | Seek professional help |
| Significant tread wear | Consider replacement |
| Slow leaks post-DIY repair | Consult a professional |
If you notice sidewall damage, it’s usually beyond DIY fixes. For tires with considerable wear, repairs might not offer long-term safety. Persistent pressure alerts after a DIY patch signal that a professional evaluation is necessary. Additionally, if you’re dealing with multiple tires on an AWD vehicle, expert advice can help maintain balanced handling. If you’re inexperienced, calling in the pros can prevent potential blowouts and guarantee compliance with safety standards for highway driving. Prioritize your safety; don’t hesitate to seek help when in doubt.
Essential Tire Maintenance Tips for Safety and Longevity
Maintaining your tires is essential for ensuring both safety and longevity, as proper care can prevent costly replacements and enhance performance. Follow these tire longevity tips and tire safety practices to keep your tires in prime shape:
Proper tire maintenance is crucial for safety and longevity, preventing costly replacements while enhancing overall performance.
- Check tire pressure regularly to match the manufacturer’s recommendations, boosting fuel efficiency and extending tire life.
- Inspect tread depth using the penny test; if Lincoln’s head is visible, it’s time to replace the tire for peak traction and safety.
- Rotate tires every 5,000 to 7,500 miles to promote even wear and increase lifespan.
- Maintain proper wheel alignment to prevent uneven wear, improving handling in your Toyota RAV4.
- Keep tires free from foreign objects and monitor for any signs of damage or wear, addressing issues promptly to avoid hazards.
Safe Driving Tips After a Tire Repair
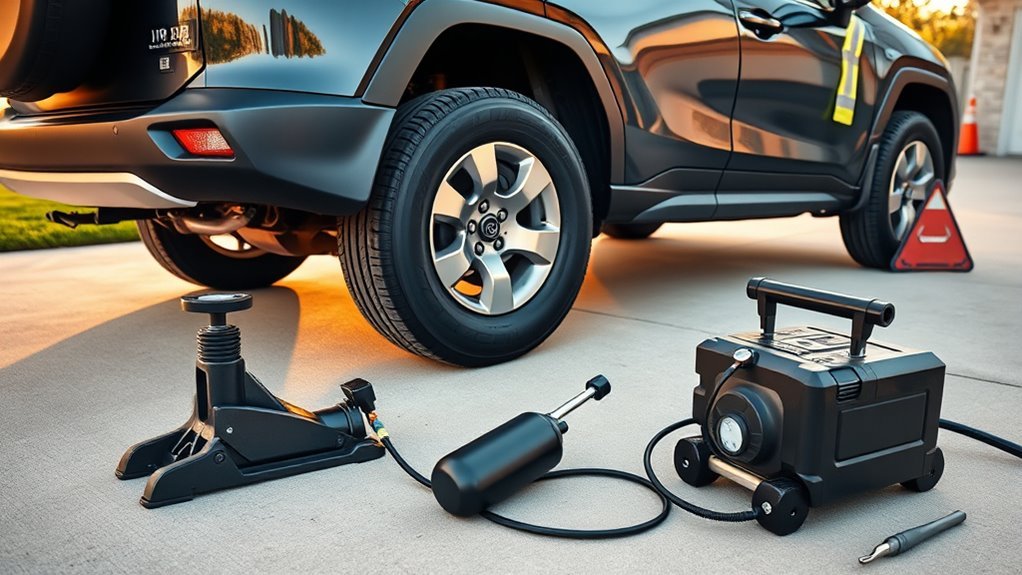
After a tire repair, it’s crucial to adopt safe driving practices to guarantee your patch or plug remains effective. Begin by monitoring your tire pressure regularly; keeping it within the manufacturer’s recommended levels can help identify potential leaks or seals gone awry. For the first 50 to 100 miles, drive at moderate speeds to allow the repair to bond properly. Avoid sudden lane changes or aggressive maneuvers, as they can stress the patched area.
Pay attention to any unusual vibrations or noises while driving; these may indicate issues with the repair. Inspect your tire frequently for signs of bulging or slow leaks, especially in the weeks following the repair.
| Driving Behavior | Recommended Action |
|---|---|
| Speed | Moderate speeds (50-100 miles) |
| Lane Changes | Avoid sudden changes |
| Tire Pressure Checks | Regularly monitor |
| Visual Inspections | Frequent checks for issues |
Frequently Asked Questions
How Does the Toyota Tire Repair Kit Work?
The Toyota tire repair kit combines tire sealant options and repair tools to fill punctures. As the tire rotates, the sealant works to seal leaks, allowing temporary use until you can seek professional assistance.
How Much Does It Usually Cost to Patch a Car Tire?
Typically, tire patching repair costs range from $10 to $50. You’ll find prices vary based on location and shop. If damage is near the sidewall, replacing the tire might be necessary, increasing expenses.
Conclusion
To sum up, mastering the art of tire patching can save you time and money while keeping your Toyota RAV4 on the road. Did you know that nearly 80% of tire blowouts are due to improperly maintained tires? By following the steps outlined and maintaining your tires, you’ll not only enhance your safety but also prolong their lifespan. Remember, a little DIY knowledge goes a long way in ensuring a smooth and secure driving experience.
Related Articles

Upsizing Wheels on a Toyota RAV4: Pros, Cons, and Considerations
Boost your Toyota RAV4's performance with larger wheels, but discover the hidden trade-offs that could impact your ride before you decide.
Read More
Can I Change Tire Size on My Toyota RAV4? Rules and Recommendations
Are you considering changing the tire size on your Toyota RAV4? Discover the essential rules and recommendations before making a decision.
Read More
What to Do If the TPMS Light Comes On in Your RAV4
Understand the steps to take when the TPMS light illuminates in your RAV4, as overlooking it could lead to serious tire problems.
Read More