How to Install a Rim Strip on a Bicycle Wheel Properly
Gather a clean rag, rim tape sized ~2mm wider than the inner rim, a small screwdriver, and a well-lit space. Remove the tire and old strip, clean the rim bed with alcohol, and inspect spoke holes for burrs. Align the tape’s valve cutout with the rim hole, press the tape in evenly without wrinkles, trim ends flush, and recheck for gaps or overlaps. Replace if cracked or loose; follow on for tips on materials, tricks, and roadside fixes.
Quick: Fit a Rim Tape in 5 Steps
Start by cleaning the rim bed thoroughly and checking for any sharp edges around the spoke holes that could pierce the tape or tube; a clean, smooth surface guarantees the tape will stick and reduce the risk of flats. Then follow five clear steps: 1) Select rim tape slightly (~2mm) wider than the inner rim width for full coverage. 2) Align the tape’s valve hole with the rim valve hole before pressing down. 3) Apply the tape with even tension, smoothing it into the rim bed to avoid bubbles. 4) Trim excess tape so ends meet flush without overlapping for a neat finish. 5) Inspect the installation; confirm adhesion and even placement. These installation tips highlight rim tape benefits: puncture protection and secure seating.
Know When to Replace a Rim Strip
When you notice repeated flats or have trouble seating a tire, it’s time to inspect the rim strip closely and likely replace it. Check for cracks, tears, fraying or any areas where the strip no longer covers spoke holes or sharp edges. If you see damage or the strip has shifted, remove it and fit a new one immediately to restore puncture prevention. During every tire change, verify adhesion and alignment in the rim bed; loose or misaligned strips reduce rim strip durability and invite failures. Multiple rapid flats are a clear signal the strip’s protective role has failed. Replace a strip that’s the wrong thickness or won’t stay seated—don’t gamble with tube damage.
Choose Rim Tape: Material & Width by Rim Type
Pick a tape material—rubber, adhesive cloth, or tough plastic—based on the durability and weight trade-offs you need. Measure your inner rim width and choose tape that’s about 2mm wider so it fully covers spoke holes and sharp edges. Check your rim manufacturer’s specs for any specific tape type or width recommendations before you fit it.
Material Types Overview
Although choosing rim tape can seem small, the material and width you select directly affect wheel safety and ease of mounting, so match tape type and thickness to your rim’s inner width and manufacturer specs. Start by evaluating options: rubber offers high rim tape durability and puncture resistance but adds rim tape weight; adhesive cloth and synthetic tapes balance durability with low weight, making mounting easier. Tough plastic strips resist cuts but can be stiff; use when manufacturer recommends. Electrical tape works as a temporary fix but lacks long-term durability. Choose thickness that protects spoke holes without making tire seating difficult. Always confirm the tape width exceeds inner rim width by about 2mm and follow your rim maker’s specs for material and thickness.
Correct Width Measurement
You’ve already matched tape material to your rim—now get the width right. Measure the inner rim width with calipers or use the manufacturer’s spec. Choose rim tape 2mm wider than that measurement so the tape covers spoke holes and edges fully. Don’t rely on vague labels like “medium”; pick a specific millimeter value from brands such as Schwalbe or Effetto Mariposa for accurate tape compatibility.
Cut the tape to length, center it, and press firmly into the bed, ensuring no gaps over spoke holes. For performance setups favor lightweight, durable options but keep the 2mm rule. After installation, inspect for complete coverage and replace worn tape promptly to prevent flats and protect the inner tube.
Rim-Specific Recommendations
When selecting rim tape for a specific rim type, match material and width to the rim’s construction and your riding needs so the tape protects spoke holes, eyelets, and sharp edges without adding unnecessary weight. Choose lightweight synthetic tape for performance rides and adhesive cloth or rubber if you want rim tape durability for commuting or rough roads. Measure inner rim width and add ~2mm to select tape width; this guarantees full coverage and rim type compatibility. For drilled rims, fit the tape snugly around each eyelet; for reinforced eyelet rims, use specialized, thicker tape. Align the valve hole precisely. After mounting, inspect tape edges and around eyelets for wear regularly and replace immediately if you see damage to prevent flats and mounting issues.
Tools & Prep for Fitting Rim Tape

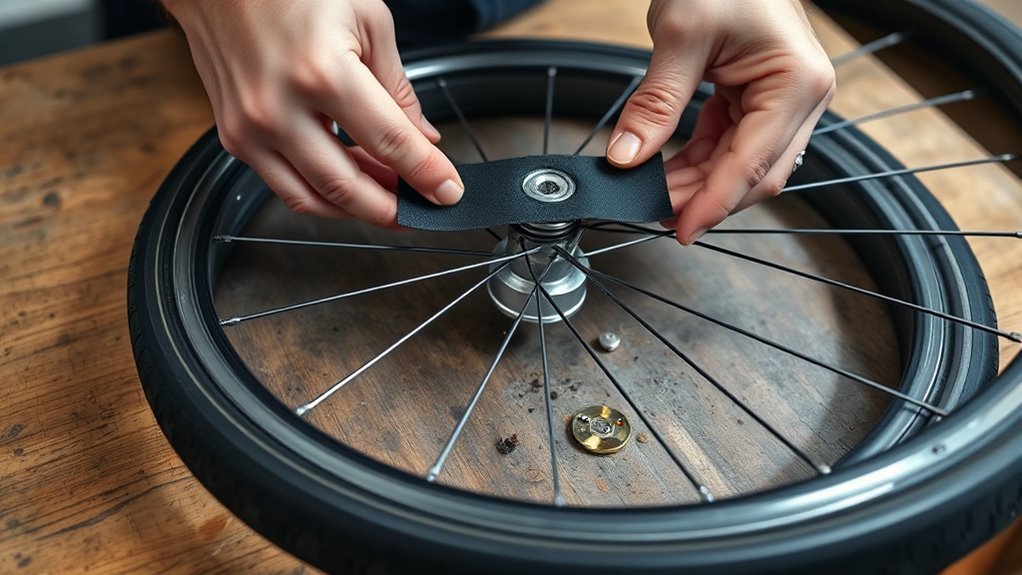
Before you start, gather the essential tools—rim tape of the right width, a small screwdriver, and a clean rag—and clear a well-lit workspace so you can work precisely. Inspect and clean the rim bed with the rag, removing dirt and old adhesive so the tape will stick. Check for burrs or sharp edges around spoke holes and use the screwdriver to seat any loose spoke ends; this prevents punctures. Measure the rim’s inner width and pick rim tape about 2mm wider to reduce slipping. Note the valve hole position and plan your starting point. When you apply the tape, pull it with even tension, smoothing as you go to avoid wrinkles. These installation tips make a reliable, long-lasting fit.
Apply Self‑Adhesive or Tubeless Tape
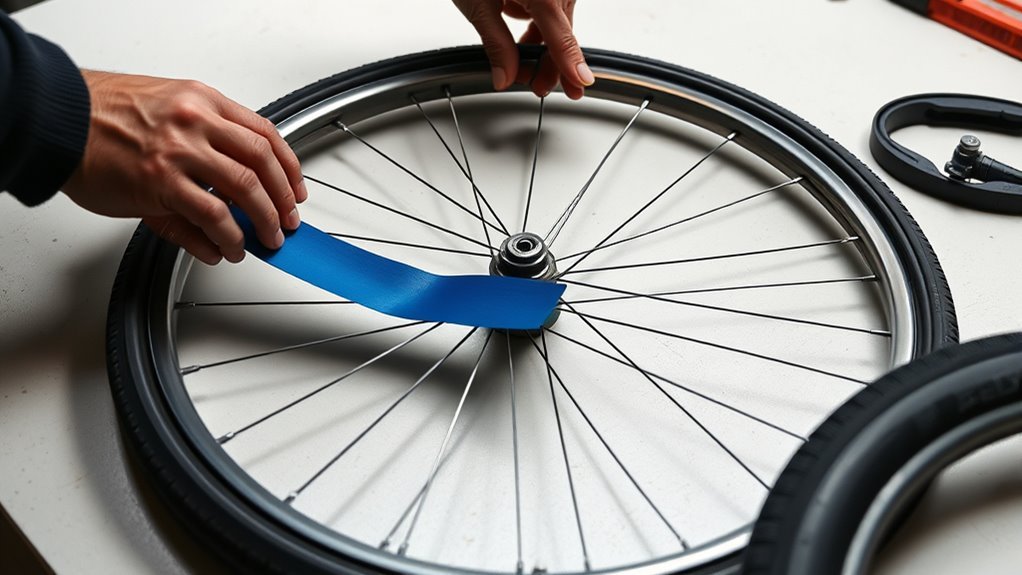
Match the tape’s valve cutout to the rim’s valve hole, then press the self-adhesive or tubeless tape into the rim bed with even tension so it seats without wrinkles or overlaps. You’ll use tape adhesion techniques by smoothing from the valve outward, keeping steady tension to avoid bubbles and guarantee full coverage of spoke holes and sharp edges. Trim excess tape flush with scissors so ends meet without overlapping; overlaps can create bumps and reduce rim tape benefits. After trimming, inspect adhesion and alignment around the entire circumference and re‑smooth any areas that lift. For tubeless rims, consider a second layer for added height, applied with the same technique, to prevent tyre bulges and secure a reliable, airtight seal.
Fit a Looped Rim Strip Correctly
Align the looped rim strip so its valve hole matches the rim’s valve hole before you start seating it. Hold even tension and use a screwdriver to lever the strip into the rim bed, taking care to cover all spoke holes and sharp edges. Finish by inspecting the strip for flat, even placement with no overlaps or slack.
Align Tape With Valve
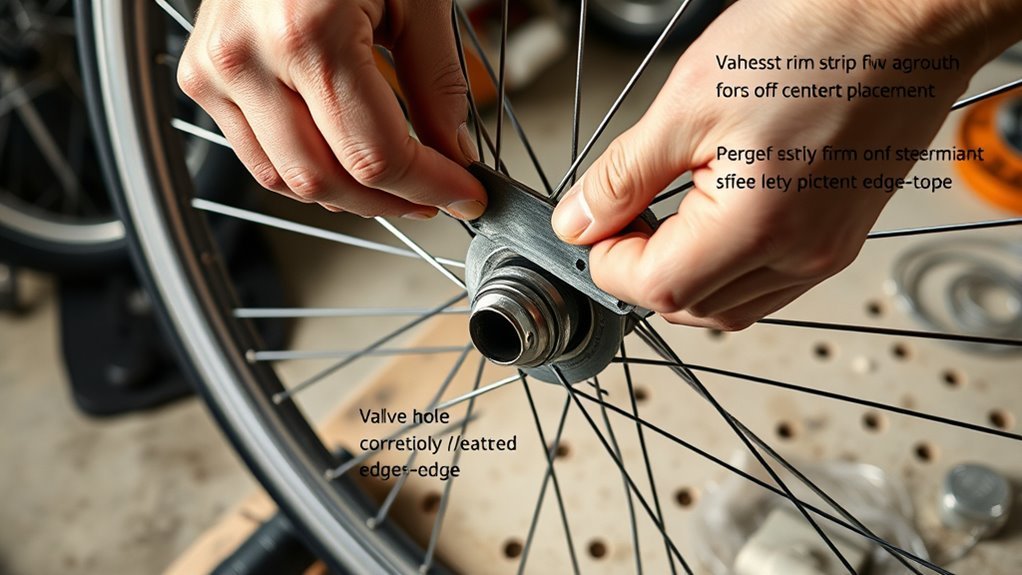
Start by lining the looped rim strip so its valve hole sits exactly over the rim’s valve hole, keeping steady tension as you press the tape into the rim bed so it seats without bulges. Verify valve alignment before you proceed; hold the tape with consistent tape tension and work around the rim. Use a screwdriver to secure and nudge the last section into place so the hole remains centered. Inspect the strip visually to confirm it covers all spoke holes and sharp edges with no overlaps. Trim excess with scissors for a clean finish. If you need to adjust, lift only the small section near the valve and reseat under tension.
| Check | Action |
|---|---|
| Valve alignment | Center hole |
| Coverage | No gaps |
| Finish | Trim excess |
Maintain Tension While Seating
Keep steady tension on the looped rim strip as you press it into the rim bed, holding the strip taut with one hand while you work around the wheel so it won’t slip or fold. Begin by aligning the valve hole, then use these tension techniques to seat the strip evenly. Work methodically, keeping strip alignment visible and consistent.
- Hold the strip taut and push it into the rim bed with your thumb.
- Use a screwdriver to guide tight sections, keeping pressure away from the valve hole.
- Rotate the wheel slowly, checking for folds or gaps as you go.
- Inspect the full circumference, reseating any loose edges with the screwdriver while maintaining tension.
Finish by confirming the valve still aligns and the strip sits flush.
Cut the Valve Hole and Finish Cleanly
Before cutting, position the rim strip so the valve stem lines up exactly with the rim’s valve hole, then use a sharp utility knife or strong scissors to make a snug, neat opening that just fits the valve stem. Check valve alignment from both sides before you cut to avoid misplacement and potential leaks. Use precise cutting techniques: small incremental cuts work better than one large slice, and a fresh blade minimizes fraying. After cutting, press the tape flat around the hole so it adheres evenly and doesn’t bulge. Rotate the wheel and inspect the entire strip for gaps, overlaps or uneven seating. If anything looks off, lift and reseat that section, then recheck alignment and the snug fit of the valve.
Top Rim Tape Errors and How to Fix Them
Once the valve hole is cut and the tape sits flush, check for common rim-tape mistakes that can still cause flats or poor seating. You want to preserve rim tape benefits, so correct these errors promptly.
Once the valve hole is cut and tape sits flush, inspect and fix rim-tape errors before mounting the tire.
- Wrong width: use tape 2mm wider than the inner rim width; replace if too narrow or wide.
- Poor adhesion: clean the rim with alcohol, dry thoroughly, then reapply to prevent slipping.
- Tension issues: pull tape taut as you lay it to avoid bunching or gaps that expose spoke holes.
- Overlap and wear: butted ends should meet flush—no overlaps—and inspect periodically for damage.
Fix each issue before mounting the tire to guarantee reliable sealing and dispel common misconceptions.
Roadside Fixes, Lifespan, and When to Visit a Shop
If you get a puncture miles from a shop, you can temporarily cover exposed spoke holes with electrical or gaffer tape (or cloth/synthetic tape in a pinch) to protect the tube until you can replace the rim strip properly. For roadside repairs, clean the rim bed, press tape smooth over spoke nipples, trim excess, and reinstall the tube and tire carefully to avoid pinches. Note temporary fixes won’t match proper rim tape adhesion—plan to replace it at home or a shop. Perform regular lifespan checks: inspect for cracks, misalignment, thinning, or sticky residue each few months or after a crash. If flats recur, tires mount poorly, or tape looks compromised, visit a local bike shop for professional replacement and wheel assessment.
Frequently Asked Questions
What Is the Difference Between Rim Strip and Rim Tape?
You’ll choose based on purpose: Rim strip materials are thicker rubber or nylon for durable spoke hole protection, while Rim tape applications use thin cloth/plastic to seal the rim cavity and save weight for performance bikes.
How Many Layers of Rim Tape?
Usually one layer suffices, but you’ll use two for tubeless or thin rim tape thickness; check rim strip types and manufacturer specs, ensuring full rim bed coverage and valve alignment for a reliable seal and safety.
Conclusion
You’ve now got the steps to fit rim tape cleanly and avoid flats—do it right and you’ll cut pinch‑flat risk by up to 60% versus worn or misaligned strips. Inspect tape each few months, replace if torn, and keep a narrow, snug fit with a properly centered valve hole. For quick roadside fixes, carry a spare strip or self‑adhesive tape. If you’re unsure, bring the wheel to a bike shop for a fast check.
Related Articles

How to Read Motorcycle Tire Size: Complete Breakdown
Often misunderstood, this guide decodes motorcycle tire sizes like 180/55ZR17—learn what each number and letter means to ensure safe, perfect fitment.
Read More
How to Read Bicycle Tire Size: Inches, Metric & ISO
Get the essential trick to decoding ETRTO/ISO codes so you’ll always pick rim-compatible tyres—discover what to check next.
Read More
How to Read Tire Size Numbers: Decode the Sidewall
Step-by-step guide to decode tire sidewalls—sizes, load, speed, DOT and winter symbols—so you’ll know what fits and when to replace.
Read More