How to Apply Tubeless Rim Tape: Proper Technique Guide
Pick tape 2–5 mm wider than your rim’s internal width, plus scissors, alcohol wipes, a tubeless valve and optional heat gun. Strip old tape, wipe the bed with isopropyl and dry fully. Start about 10 cm before the valve hole, stretch and smooth the tape under tension over spoke holes, overlap ends 10–15 cm and cut at 45°. Press firmly, align the valve, add sealant and test with soapy water; follow the next steps for troubleshooting and maintenance.
Quick Answer: What Tubeless Rim Tape and Tools to Use
For a reliable tubeless setup, pick rim tape about 2–5 mm wider than your rim’s internal width—brands like Tesa 4289 or DT Swiss are proven—and gather scissors, alcohol wipes, a tubeless valve, and optionally a heat gun to improve adhesion. You’ll choose tape types based on thickness and adhesive strength; thicker tape fills deeper rim bed cavities, high-adhesion tape resists peeling. Application tips: clean the rim thoroughly, then start the tape about 10 cm before the valve hole, keep tension to avoid wrinkles, and smooth over spoke holes. Overlap ends by at least 15 cm and cut a precise valve hole beneath the tape. Finish by seating the valve and checking for leaks with soapy water; adjust if needed.
Prep the Rim: Clean, Remove Old Tape, and Inspect
Start by stripping any old tape and wiping the rim thoroughly with isopropyl alcohol to remove grease and adhesive residue. Let the rim dry completely so the new tape can bond properly. Carefully inspect the bed and spoke holes for cracks, sharp edges, or thin tape remnants that could compromise the seal.
Clean And Degrease
Before applying new tubeless tape, clean and degrease the rim thoroughly: wipe the bed and bead seats with isopropyl alcohol to remove grease, dirt, and old adhesive, dry the surface completely, and use a hair dryer to soften and peel away any remaining tape or thin spoke-hole covers so you’re left with an undamaged, residue-free rim for ideal adhesion. Next, work methodically around the rim with alcohol wipes or a lint-free cloth until no film or tacky residue remains. Remove all old tape and thin spoke-hole covers; remnants will compromise the seal. Let the rim air-dry or speed-dry with heat, then verify a clean, dry surface. Effective rim preparation informs your adhesive selection and guarantees the new tape bonds reliably.
Inspect For Damage
Once the rim’s clean and dry, closely inspect every inch for damage that could ruin a tubeless seal. You’ll use rim inspection techniques to find dents, cracks, and leftover adhesive that can prevent tape from bonding. Run a fingernail along the bead and bed to feel rough spots and check spoke holes for thin tape remnants. Look inside and outside the rim for corrosion or sharp edges that’ll cut tape.
- Dents or bends in the bead that stop uniform seating
- Cracks or splits in the rim wall or bed
- Residual adhesive or thin tape over spoke holes
- Corrosion, burrs, or sharp edges that can pierce tape
Address any common rim issues before applying new tubeless tape for a reliable seal.
Choose the Right Tubeless Rim Tape (Width, Stretch, Brand)
If you want a reliable tubeless setup, pick tape that’s 2–5 mm wider than your rim’s internal width so it fully covers the spoke bed and seals the holes, and choose a product with good stretch and strong adhesive so it conforms to the rim profile without lifting. Check tape material — butyl rubber or reinforced PVC work well — for durability and appropriate thickness. Confirm rim compatibility: some tapes suit narrow road rims, others wider MTB rims. Choose reputable brands like Teravail or DT Swiss for durability, or Tesa 4289 for a budget-friendly option. Avoid tapes that’re too thin or have weak adhesive. Finally, verify the tape will extend slightly up the sidewalls but won’t interfere with the tire bead area.
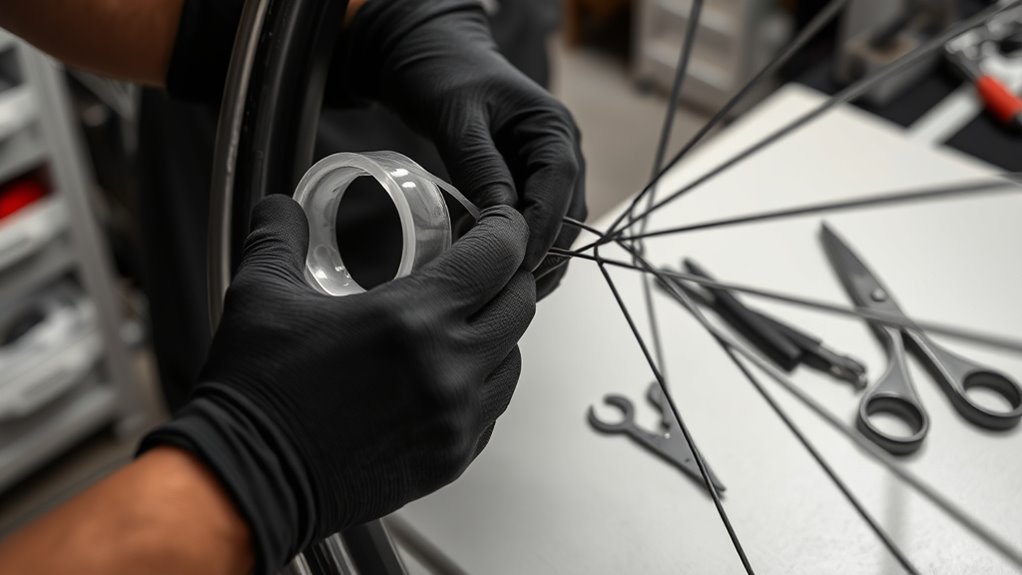
Apply the Tape: Step‑by‑Step (Valve Hole to Overlap)
Start at the valve hole and position the tape end about 10 cm (4 in) before it so the rim gets full coverage when you wrap. Peel and press the tape down under tension while rotating the wheel, paying special attention to spoke holes and smoothing out wrinkles or air bubbles as you go. Finish by overlapping the tape 10–15 cm (4–6 in), cutting the end at a 45° angle, and inspecting the seal before fitting the valve.
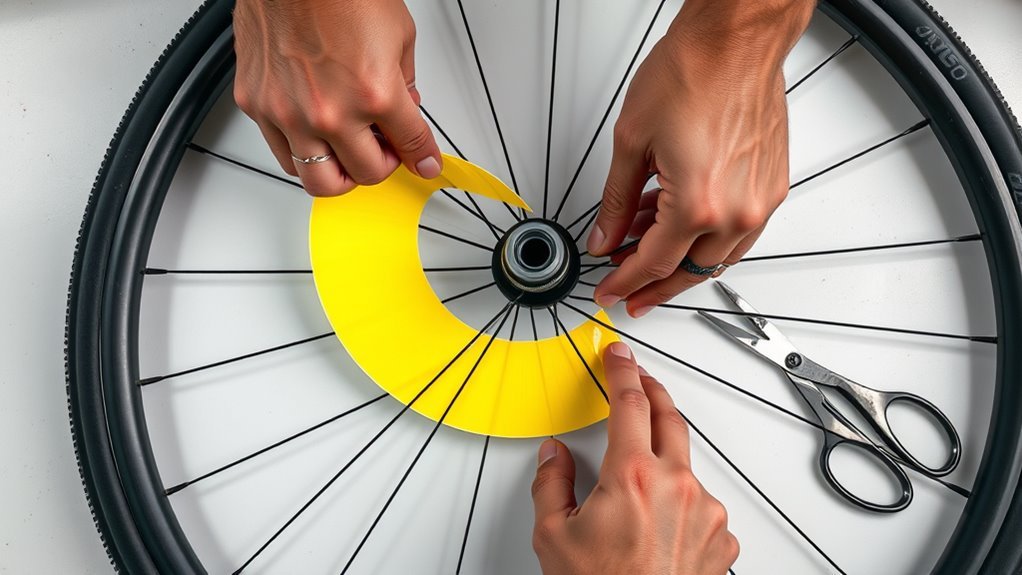
Start At Valve
Locate the valve hole and peel back about 10 cm (4 in) of tape to position the adhesive, then press it firmly around the valve with your thumb to form a tight seal. You’re establishing correct valve placement and initial tape tension here; keep the tape centered over the hole so the stem sits perpendicular when inserted. Hold the tape taut with one hand, smooth with the other, and avoid wrinkles.
- Keep steady tape tension to prevent bubbles.
- Center tape over the valve for consistent sealing.
- Use a thumb or small roller to press around the hole.
- Inspect for gaps before continuing to unroll.
Continue unrolling while smoothing over spoke holes, maintaining tension and firm contact so the tape bonds cleanly to the rim.
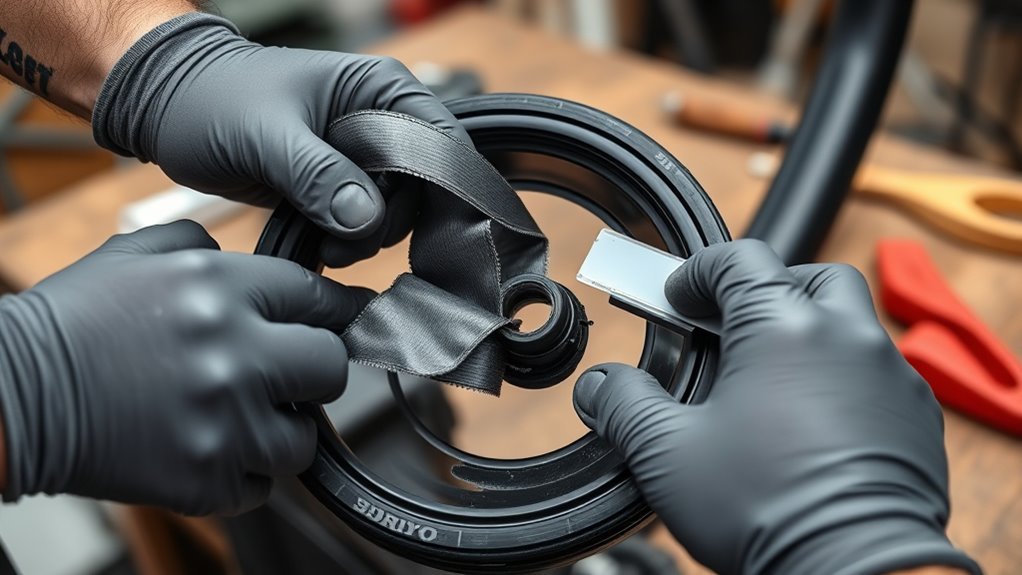
Overlap And Finish
Once you’ve circled the rim and are nearing the starting point, keep the tape under steady tension and overlap the end by about 10–15 cm so the joint seals reliably; cut the tape at a 45° angle and press the overlap down firmly to eliminate any lifts or air gaps. Continue rotating the wheel as you smooth the overlap, using overlap techniques that maintain even adhesive contact and avoid wrinkles. Check that the valve hole alignment remains intact and trim any excess beyond the intended overlap, keeping edges tidy. For finishing touches, run a firm fingertip or a soft tool along the entire tape, especially across the joint, to seat adhesive and confirm there are no pinholes or bubbles before installing the valve and tire.
Leak Testing & Sealant: Soapy Water, Overnight Tube, and Sealant Tips
After you’ve applied the rim tape, check for leaks by spraying soapy water around the bead and valve area and watching for bubbles—any bubbling means you need to re-seat or replace the tape or valve core. Use this leak detection step first, then mount the tire for a quick pressure test. If unsure about adhesion, fit a tube and leave it inflated overnight to seat the tape under even pressure.
- Add recommended tubeless sealant during setup to address small, hidden leaks.
- Rotate the wheel to distribute sealant and pressurize beads fully.
- Recheck with soapy water after sealant application and settling.
- Wait several hours after sealing before a hard ride; monitor regularly after rough use.
Common Mistakes: Wrinkles, Bubbles, Raised Edges-And Fixes
If you feel wrinkles, bubbles, or raised edges when fitting tubeless tape, don’t ignore them—they’ll cause slow leaks or sealant loss; stay tense while unrolling the tape, smooth with a roller or your fingers, and peel-and-reapply any flawed section while keeping steady pressure. For wrinkle prevention keep consistent installation tension from start to finish; stop and reapply any creased area immediately. For bubble avoidance roll outward from the center and press firmly around spoke holes; small rollers or fingertips pop and seat trapped air. For edge sealing clean the rim thoroughly—no grease or old adhesive—then heat the tape lightly with a hairdryer to conform edges. If a defect remains, peel back, clean, and reapply with steady tension until the tape lies perfectly flat.
When to Re‑Tape or Upgrade Tape Brand (Tests and Cost Considerations)
When you notice persistent bubbles, sealant loss, or repeated air loss during rides, it’s time to contemplate re-taping or upgrading your rim tape. Check tape quality and re taping frequency based on symptoms: bubbles or leakage mean re-taping now; slow leaks or age suggest planned replacement. Upgrade to proven brands (Teravail, DT Swiss) or use tape 3–5mm wider than rim to improve coverage.
- Inspect tape before long rides; look for wrinkles, gaps, or adhesive failure.
- Perform a soap-bubble or submersion test to find micro-leaks quickly.
- Factor cost: buy reliable tape over cheap alternatives to reduce future repairs.
- Track re taping frequency by hours ridden or annual maintenance cycles.
Frequently Asked Questions
How Many Layers of Rim Tape?
One layer usually suffices; add a second only if tape materials or rim width require extra thickness or you spot imperfections. You’ll choose high-quality tape materials and consider rim width to guarantee full spoke-hole coverage and sealing.
Does Rim Tape Have to Be Perfect?
No — you don’t need perfection; think of it like a patchwork quilt. You’ll gain rim tape benefits by covering spoke holes and sidewalls; follow installation tips, test for leaks, and use sealant and inspections to fix flaws.
Do You Overlap Rim Tape?
Yes — you should overlap rim tape about 10–15cm; it’s a key tape installation tip. You’ll cover spoke holes, prevent sealant leaks, and gain rim tape benefits. Press firmly, check for bubbles, trim at 45°.
Conclusion
Think of your rim tape as a raincoat for your wheel — thin, simple, but essential. When you clean the rim, pick the right width, and press the tape smooth from valve hole to overlap, you’re stitching waterproof armor. Test with soapy water, or fit a spare tube overnight, then add sealant. Avoid wrinkles and raised edges; replace tired tape like you’d replace torn gear. Done well, it keeps you rolling, sealed and confident.
Related Articles

How to Read Motorcycle Tire Size: Complete Breakdown
Often misunderstood, this guide decodes motorcycle tire sizes like 180/55ZR17—learn what each number and letter means to ensure safe, perfect fitment.
Read More
How to Read Bicycle Tire Size: Inches, Metric & ISO
Get the essential trick to decoding ETRTO/ISO codes so you’ll always pick rim-compatible tyres—discover what to check next.
Read More
How to Read Tire Size Numbers: Decode the Sidewall
Step-by-step guide to decode tire sidewalls—sizes, load, speed, DOT and winter symbols—so you’ll know what fits and when to replace.
Read More