
How to Change a Flat Tire on a Honda Accord Step by Step

A flat tire on a Honda Accord is stressful, but the job is manageable when you stop safely, use the correct jacking point, and confirm whether your Accord has a compact spare tire or a temporary tire repair kit. These steps apply to spare-equipped Accord models; if your exact year or trim uses a repair kit instead, follow the repair-kit section below and your owner’s manual.
Quick Answer
To change a flat tire on a Honda Accord, park on firm level ground, turn on the hazards, set the parking brake, put the car in Park, chock the diagonal wheel, loosen the wheel nuts, lift at the correct jack point, install the compact spare, and tighten the nuts in a crisscross pattern to 80 lbf∙ft.
Key Takeaways
- Stop on a firm, level, non-slippery surface before opening the trunk or setting up the jack.
- Use only the jack points shown in your Accord owner’s manual, and never get under a vehicle supported only by a jack.
- For many spare-equipped Accord models, Honda lists wheel nut torque at 80 lbf∙ft, but you should verify the spec for your exact year and trim.
- A compact spare is temporary. Keep it inflated to the listed pressure, stay under 50 mph, and repair or replace the regular tire as soon as possible.
- Some Accord Hybrid models use a temporary tire repair kit instead of a compact spare; severe damage requires towing.
At a Glance
| Time Required | About 20–35 minutes if the vehicle is safely parked and the spare, jack, and tools are usable. |
| Difficulty | Beginner to moderate. Call roadside assistance if traffic, weather, ground conditions, or stuck lug nuts make the job unsafe. |
| Tools Needed | Honda jack, wheel nut wrench, jack handle bar, compact spare tire, wheel block or rock, tire pressure gauge, flashlight, gloves, and the wheel lock key if your wheels use locking lug nuts. |
| Cost | Usually $0 roadside if your Accord has a usable spare and tools. Tire repair, replacement, towing, or roadside assistance may cost extra. |
First, Confirm What Your Accord Has
Before you start, check the trunk area under the floor lid. Many Honda Accord models have a compact spare tire, jack, wheel nut wrench, and jack handle bar. Some Accord Hybrid models may use a temporary tire repair kit instead of a spare. Your exact owner’s manual is the final source for your model year and trim.
For spare-equipped models, Honda’s flat-tire procedure includes removing the tool case, jack, wheel nut wrench, jack handle bar, spacer cone, and compact spare from the trunk. For current Accord Hybrid tire repair kit guidance, Honda says the kit is only for certain small tread punctures and that the vehicle should be towed for severe damage.
Note: If your Accord does not have a compact spare, do not follow the jack-and-spare steps below. Use the temporary tire repair kit only when the damage fits Honda’s instructions, or call roadside assistance.
Park Safely and Secure Your Vehicle

If the tire goes flat while driving, hold the steering wheel firmly, brake gradually, and pull over as far from traffic as you safely can. Choose a firm, level, non-slippery surface. Avoid soft shoulders, grass, slopes, loose gravel, and narrow highway shoulders where passing traffic is too close.
Once stopped, put the transmission in Park, apply the parking brake, turn on the hazard warning lights, and turn the power mode off. Ask passengers to get out and stand well away from traffic. Do not use the jack with people or luggage inside the vehicle.
Place a wheel block or a heavy rock in front of and behind the wheel diagonal to the flat tire. For example, if the left front tire is flat, block the right rear wheel. This helps reduce the chance of the Accord rolling while it is being lifted.
Warning: Never crawl under a Honda Accord while it is supported only by the factory jack. If the vehicle shifts, the jack can slip. If you cannot work safely away from traffic, call roadside assistance instead.
[Products Worth Considering]

The Milton 555e digital tire inflator delivers fast, accurate pressure readings with a backlit display and multiple unit options, making tire inflation quick and easy. Its durable 20" EPDM rubber hose and grip‑head chuck provide reliable connection, while the ±1 PSI accuracy ensures precise inflation for cars, bikes, and trucks.

The CRAFTSMAN 3-in-1 tire inflator combines a high‑pressure air compressor, car vacuum, and dust blower into one compact tool, delivering up to 160 PSI for quick tire inflation and powerful suction for interior cleaning. Its dual power options—20 V cordless battery or 12 V car plug—provide flexibility for roadside emergencies or garage use, while the LCD display and LED light ensure precise control and visibility in low‑light conditions.
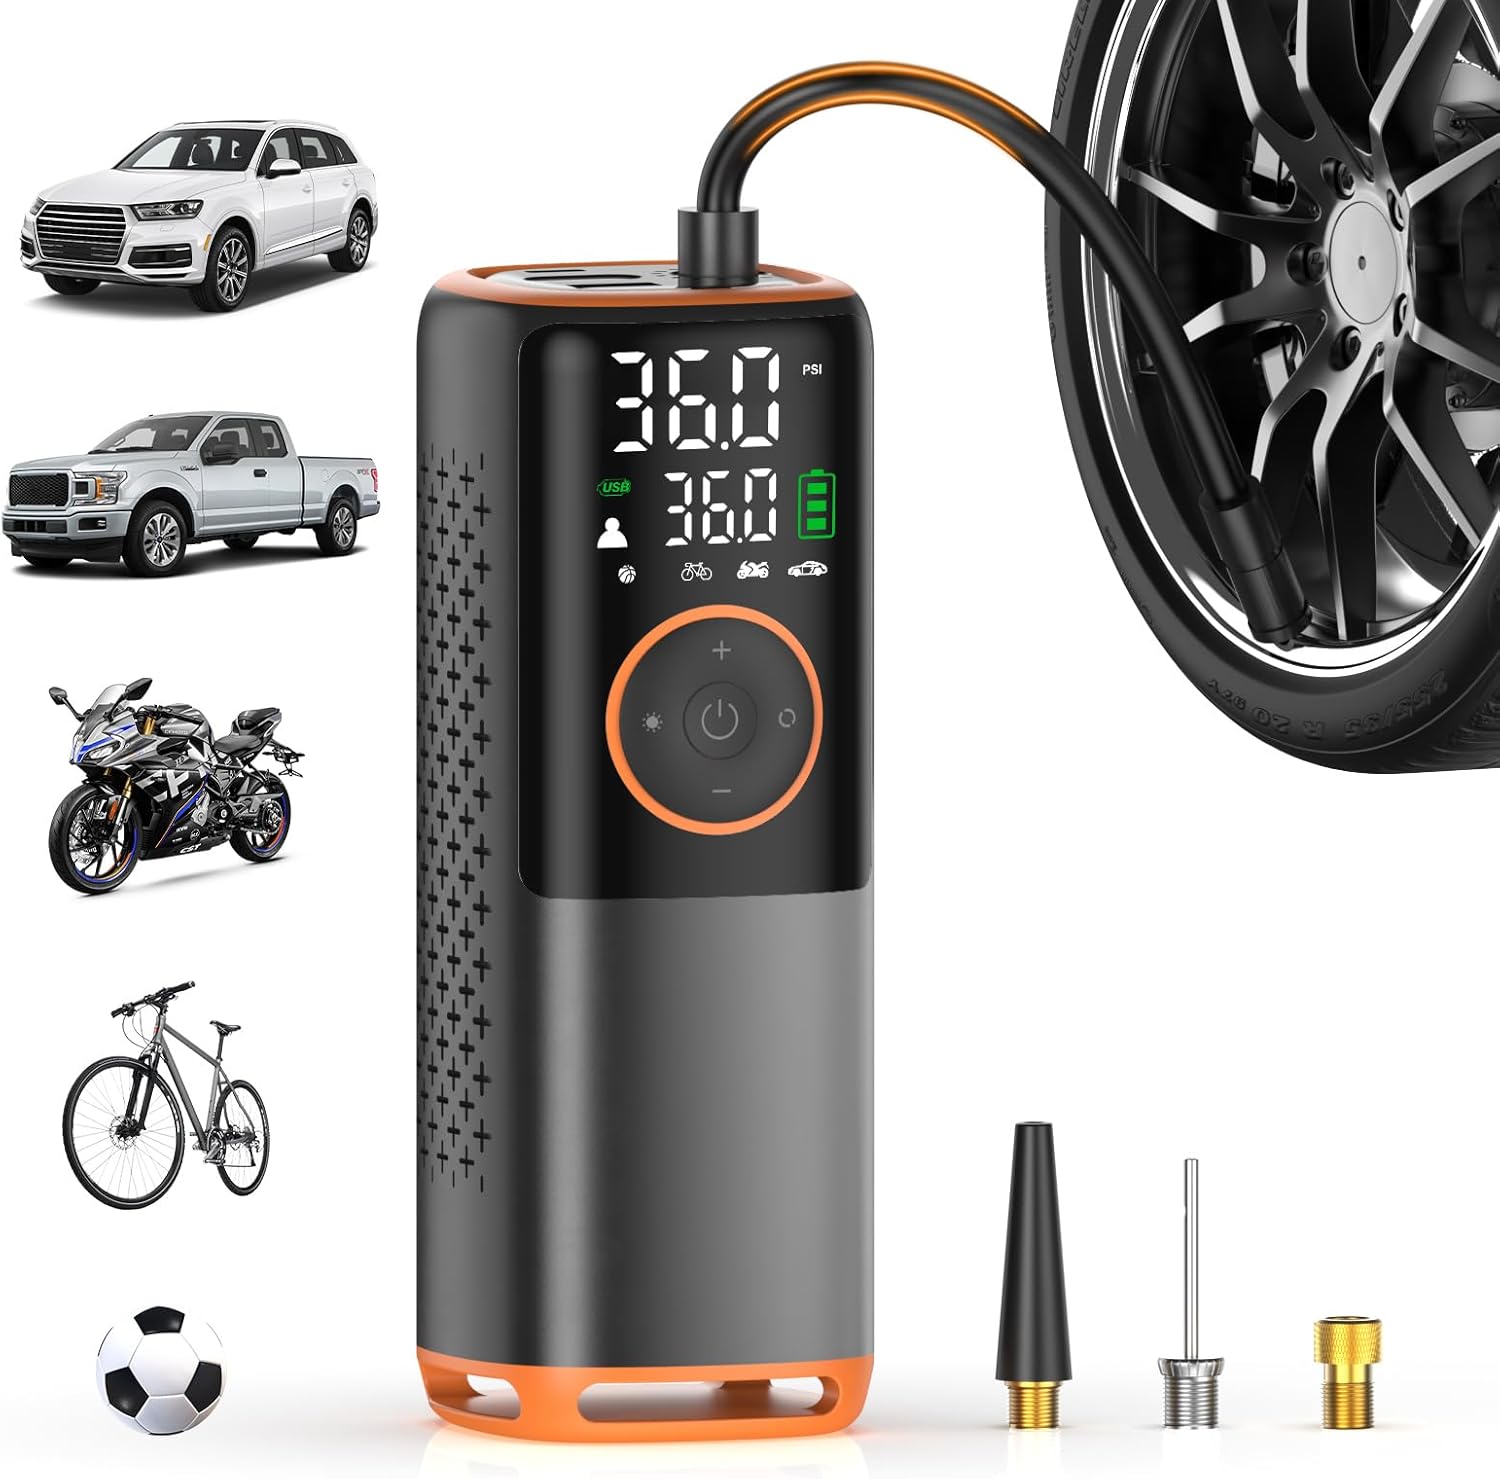
Inflate car, bike, motorcycle tires, balls, and swimming rings quickly with this high-powered 160 PSI portable air compressor. The dual‑screen display shows pressure accurately and lets you switch between PSI, BAR, KPA, and kg/cm² units. It also functions as a power bank and emergency LED light, making it ideal for road trips and emergencies.
Gather Your Tools for Changing a Flat Tire
Open the trunk floor lid and remove the tool case. On spare-equipped Accord models, gather the jack, wheel nut wrench, jack handle bar, compact spare tire, and spacer cone. Keep the tools close enough to reach, but not where they can roll into traffic or under the car.
Essential Tools Required
- Jack: Use the jack supplied with your Accord. Other jacks may not fit the Honda jacking point or support the vehicle correctly.
- Wheel nut wrench: Use it to loosen and tighten the wheel nuts. Turn counterclockwise to loosen and clockwise to tighten.
- Jack handle bar: This connects to the jack so you can raise the vehicle smoothly.
- Compact spare tire: Check that it is present, not damaged, and properly inflated before you rely on it.
- Wheel block or rock: Use it to block the wheel diagonal to the flat tire.
- Wheel lock key, if equipped: If your Accord has locking lug nuts, you need the matching key before the wheel can come off.
Safety Equipment Checklist
- Flashlight or headlamp for nighttime tire changes.
- Gloves to protect your hands from sharp metal, brake dust, and hot surfaces.
- Reflective vest or bright clothing if you are stopped near traffic.
- Tire pressure gauge to check the compact spare before driving.
- Phone with enough battery to call roadside assistance if needed.
Loosen the Wheel Nuts Before Lifting
Before raising the Accord, use the wheel nut wrench to loosen each wheel nut about one turn. Do not remove the nuts yet. Breaking the nuts loose while the tire is still touching the ground helps keep the wheel from spinning.
If the wheel has a cover or center cap that blocks the wheel nuts, remove it carefully and set it aside. If a locking lug nut is present, attach the wheel lock key fully before turning the wrench.
Pro Tip: Keep the wheel nuts together in a pocket, cup holder, or clean spot in the trunk so none roll away while the vehicle is lifted.
How to Lift Your Honda Accord Safely
Correct jack placement is the most important part of the job. The jack must contact the reinforced jacking point closest to the flat tire, not the painted rocker panel, plastic trim, suspension arm, or floor pan.
Proper Jack Placement
- Look under the side of the Accord near the flat tire and find the jacking point shown in your owner’s manual.
- Place the jack directly under that jacking point.
- Turn the jack’s end bracket until the top of the jack contacts the jacking point.
- Make sure the jacking point tab sits securely in the jack notch.
- Raise the vehicle slowly with the jack handle until the flat tire is just off the ground.
Vehicle Stability Checks
Stop lifting if the jack leans, the base shifts, or the vehicle moves. Lower the car carefully and reposition the jack on firmer, flatter ground. Do not start the engine while using the jack, and do not get into the vehicle while it is lifted.
Safety Gear Considerations
Gloves, eye protection, and a flashlight are not required by Honda’s flat-tire steps, but they make the roadside job safer and easier. Wear reflective clothing if visibility is poor. If you are on a busy road shoulder, safety matters more than finishing the tire change yourself.
Detailed Steps for Removing the Flat Tire
With the Accord lifted and stable, remove the loosened wheel nuts completely. Pull the flat tire straight off the wheel hub. If the wheel is stuck from corrosion, do not crawl under the car or shake the vehicle aggressively. Recheck the jack position and call roadside assistance if the wheel will not come off safely.
Before installing the compact spare, wipe the wheel mounting surface with a clean cloth. Dirt, rust flakes, or debris between the wheel and hub can prevent the spare from sitting flat.
For an added safety measure while you work, place the flat tire under the vehicle body near the jacking point, as long as doing so does not require you to put any part of your body under the vehicle.
Install the Spare Tire Securely

Align the compact spare tire with the wheel studs and push it onto the hub until it sits flush against the mounting surface. Install the wheel nuts by hand first. Turn each nut clockwise until it contacts the wheel, then stop. Hand-starting the nuts helps prevent cross-threading.
- Hand-tighten all wheel nuts.
- Lower the vehicle until the spare tire touches the ground lightly but the vehicle weight is not fully on it.
- Tighten the wheel nuts in a crisscross or star pattern.
- Lower the vehicle completely and remove the jack.
- Tighten the wheel nuts again in the same crisscross pattern.
- For many current spare-equipped Accord models, the listed wheel nut torque is 80 lbf∙ft (108 N∙m). Verify the torque in your exact owner’s manual.
Warning: Do not overtighten wheel nuts by jumping on the wrench or adding a pipe for extra leverage. Over-tightening can damage studs or make the next tire change harder.
Before Driving on the Compact Spare
A compact spare is for temporary use only. Check the pressure as soon as practical. Honda lists compact spare pressure at 60 psi for many Accord models, but the correct value for your car is the one in your owner’s manual or on the spare-tire label.
Keep your speed under 50 mph while driving on the compact spare, and avoid hard braking, sharp turns, and long highway trips. Replace the compact spare with a repaired or replacement regular tire as soon as possible.
- Do not mount tire chains on the compact spare.
- Do not use the Accord compact spare on another vehicle.
- Do not use a different compact spare unless your manual confirms it is compatible.
- Expect the TPMS or low tire pressure indicator to behave differently while the compact spare is installed. Recalibrate or reset the system only after the regular tire is repaired or replaced and installed.
If Your Accord Has a Temporary Tire Repair Kit
Some Accord Hybrid models use a temporary tire repair kit instead of a compact spare. The kit is meant for certain small punctures in the tire tread area. It is not a permanent repair, and it is not safe for every type of tire damage.
Do not use the repair kit if the tire sidewall is damaged, the puncture or cut is larger than 3/16 inch (4 mm), more than one tire is punctured, the rim is damaged, the tire bead is no longer seated, the sealant is expired, or the tire was damaged by driving while extremely underinflated. In those cases, call a dealer, towing service, or roadside assistance.
If the repair kit is appropriate, follow your owner’s manual exactly. Honda’s repair-kit guidance includes placing the kit face up on flat ground away from traffic, not removing the nail or screw, and driving carefully after sealant distribution without exceeding 50 mph.
Warning: If the repair kit requires the engine or power system to run for the compressor, use it only outdoors. Never run a vehicle in an enclosed or partly enclosed area because carbon monoxide can build up quickly.
Wrap Up and Store Your Tools Safely
After the compact spare is installed and the jack is removed, store everything before driving. Loose tools, a loose wheel, or an unsecured jack can become dangerous in a sudden stop or crash.
- Remove the center cap from the flat tire if needed.
- Place the flat tire face down in the compact spare tire well.
- Flip or reinstall the spacer cone on the wing bolt as directed by your owner’s manual.
- Secure the flat tire with the wing bolt.
- Put the jack, wheel nut wrench, and jack handle bar back into the tool case.
- Store the tool case securely in the trunk.
Drive slowly and carefully to a tire shop, Honda dealer, or safe repair location. Have the regular tire repaired or replaced, and ask a qualified technician to verify wheel nut torque if you did not use a torque wrench.
Troubleshooting Common Problems
The Lug Nuts Will Not Loosen
Confirm you are turning counterclockwise. If the nuts are stuck, corroded, or over-tightened, do not use unsafe force that could knock the Accord off balance later when it is lifted. Call roadside assistance if you cannot loosen them safely.
The Wheel Lock Key Is Missing
Check the glove box, trunk tool case, center console, and spare tire area. If the key is missing, a Honda dealer, tire shop, or roadside technician may need to remove the locking lug nut with the correct tool.
The Spare Tire Is Flat or Missing
Do not drive on a flat compact spare. If the spare is missing, damaged, or underinflated and cannot be safely inflated, call roadside assistance or arrange a tow.
The Tire Damage Looks Severe
Large cuts, sidewall damage, damaged rims, or a tire that came apart while driving should be handled by towing or professional roadside service. A spare or sealant kit may not be safe in those situations.
Frequently Asked Questions
How do you change a flat tire on a Honda Accord step by step?
Park on firm level ground, turn on the hazards, set the parking brake, put the transmission in Park, block the diagonal wheel, loosen the wheel nuts, place the jack at the correct jacking point, lift the vehicle, remove the flat tire, install the compact spare, hand-tighten the nuts, lower the car, and tighten the nuts in a crisscross pattern.
Where do you put the jack when changing a tire on a Honda Accord?
Place the jack under the reinforced jacking point closest to the flat tire. The jacking point tab must sit in the notch at the top of the jack. Do not lift from plastic trim, body panels, suspension parts, or any point not shown in your owner’s manual.
Can I change a Honda Accord flat tire myself?
Yes, you can change it yourself if the Accord is safely parked, the ground is firm and level, you have the correct tools, the spare is usable, and you feel comfortable doing the work. If traffic, weather, stuck lug nuts, or unstable ground make the job risky, call roadside assistance.
How do you unlock a Honda Accord tire with a locking lug nut?
Use the wheel lock key that matches the locking lug nut. It may be stored in the glove box, trunk tool case, center console, or spare tire area. Seat the key fully on the locking nut before turning the wrench. If the key is missing, contact a Honda dealer or roadside professional.
How fast can you drive on a Honda Accord compact spare?
Keep speed under 50 mph when driving on a compact spare, unless your exact owner’s manual gives a stricter limit. A compact spare is temporary, so drive carefully and replace it with a repaired or replacement regular tire as soon as possible.
What if my Honda Accord does not have a spare tire?
Check whether your Accord has a temporary tire repair kit. Use it only for damage that fits Honda’s instructions, such as certain small tread punctures. If the tire has sidewall damage, a large cut, a damaged rim, or more severe damage, arrange towing or roadside assistance.
Conclusion
Changing a flat tire on a Honda Accord is mainly about safety, correct jack placement, and careful tightening. Stop on firm level ground, secure the vehicle, use the Honda jack points, install the compact spare correctly, and follow the compact-spare limits until the regular tire is repaired or replaced. If your Accord has a tire repair kit instead of a spare, use it only within Honda’s limits and call for help when the damage is too severe.
Sources
- Honda 2025 Accord Owner’s Manual: If a Tire Goes Flat — backs up spare tire steps, jack-point safety, 60 psi compact spare pressure, 50 mph limit, and 80 lbf∙ft wheel nut torque.
- Honda 2025 Accord Hybrid Owner’s Manual: Temporarily Repairing a Flat Tire — backs up repair-kit use, repair-kit limitations, towing situations, and compressor safety warnings.
- NHTSA TireWise — backs up tire safety, tire pressure awareness, tire inspection, and tire maintenance best practices.
- AAA Club Alliance: How to Change a Tire — backs up general roadside tire-changing safety, spare-tire limitations, and when to call roadside assistance.
Related Articles

Honda Accord Lug Nut Replacement: A Step-by-Step Guide
Find out how to safely replace lug nuts on your Honda Accord and discover essential tips for optimal performance. Don't miss these crucial steps!
Read More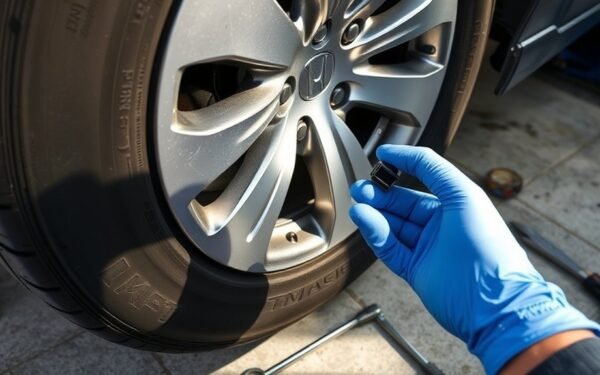
When and How to Replace a Honda Accord TPMS Sensor
Find out when and how to replace your Honda Accord TPMS sensor to ensure safety and performance; discover essential steps you won't want to miss!
Read More
Honda Accord Wheel Rim Damage: Repair vs Replace Guide
In assessing Honda Accord wheel rim damage, understanding when to repair or replace can save you money and ensure safety—discover the key factors to consider.
Read More