
What Is a Tire Plug? How It Repairs Punctures Fast
A tire plug is a sticky rubber stem or string inserted into a tread puncture to slow or stop air loss fast. It can help you get off the roadside, but it is not the same as a proper permanent repair. Industry guidance from the U.S. Tire Manufacturers Association says a safe puncture repair requires the tire to be removed, inspected from the inside, filled with a plug/stem, and sealed with an internal patch.
Quick Answer
Use a tire plug only as a temporary fix for a small, clean puncture in the main tread. Do not plug sidewall, shoulder, large, jagged, or repeat damage. For a lasting repair, have a shop remove the tire, inspect it internally, and install a proper plug-and-patch repair.
Key Takeaways
- A plug can be useful in an emergency, but plug-only repairs are not considered complete permanent tire repairs.
- The puncture must be in the repairable tread area and generally no larger than 1/4 inch or 6 mm.
- Sidewall and shoulder damage should not be plugged or patched; the tire should be replaced.
- A professional plug-and-patch repair requires tire removal so the inner liner and belts can be inspected.
- If the tire loses pressure, bulges, vibrates, or has been driven flat, stop using it and get it inspected.
At a Glance
| Time Required | 10–20 minutes for a temporary roadside plug; longer for a shop repair |
| Difficulty | Easy to moderate for emergency use; professional skill needed for permanent repair |
| Tools Needed | Plug kit, reamer, insertion tool, rubber cement if required, air compressor, pressure gauge, soapy water |
| Typical Cost | DIY kits are usually inexpensive; many professional puncture repairs cost about $20–$50 depending on location and shop policy |
Should You Use a Tire Plug Now? Quick Decision Guide

Before you plug a tire, look at three things: puncture location, puncture size, and tire condition. A temporary plug may be reasonable when the hole is small, clean, and located in the central tread area. If the puncture is in the sidewall, shoulder, near the edge of the tread, larger than 1/4 inch, or paired with visible tire damage, do not plug it.
Warning: Do not use a tire plug as permission to keep driving normally. A plug-only repair can hide internal tire damage, allow moisture into the injury channel, and fail without much warning.
Use this quick rule: a plug may help you reach a tire shop, but a proper repair is a plug-and-patch installed from inside the tire after a full inspection. The Tire Industry Association also notes that a plug by itself or a patch by itself is not an acceptable complete repair because each leaves part of the injury untreated.
What Is a Tire Plug and How It Seals a Puncture
A tire plug is a sticky, flexible rubber piece pushed into a puncture from the outside of the tire. It fills the hole tightly enough to reduce or stop air loss. Most plug kits include rubber plugs, a rasp or reamer, an insertion tool, and sometimes rubber cement or vulcanizing adhesive.
What a Plug Is
Think of a tire plug as a short-term air seal. The rubber material is tacky and flexible, so it can grip the puncture channel while the tire flexes. The repair process usually involves reaming the hole, coating the plug if the kit calls for it, and inserting the plug so part of it remains in the tread.
That quick outside-in process is why plugs are popular for roadside repairs. You often do not need to remove the wheel from the vehicle. The tradeoff is that you also cannot inspect the tire’s inner liner, belts, or cords from the inside.
How Plugs Seal
When installed correctly, the plug compresses inside the puncture channel and blocks air from escaping. The plug’s tackiness, the tire’s pressure, and the tight fit all help hold it in place. For a small tread puncture, that may restore enough pressure to drive slowly to a service location.
A plug does not fully solve every part of the injury. It may not seal the inner liner correctly, and it does not confirm whether the tire was damaged by being driven underinflated or flat. That is why a shop repair should include demounting the tire and inspecting the inside.
Limitations and Risks
The biggest risk with a plug-only repair is false confidence. The outside may look sealed while the inside of the tire has cord damage, belt separation, inner-liner damage, or moisture entering the injury channel. That can lead to air loss, corrosion of steel belts, tread separation, or a blowout.
Use a plug only for a minor tread puncture when a professional repair is not immediately available. Then check tire pressure often and arrange a proper inspection as soon as possible.
When Is a Tire Plug the Right Quick Fix?
A tire plug is the right quick fix only when it is being used as a temporary emergency repair. It is most appropriate when the puncture is in the main tread, the tire is otherwise in good condition, and the hole was made by a small object such as a nail or screw.
- The puncture is in the central tread area, not the sidewall or shoulder.
- The puncture is small, straight, and generally no larger than 1/4 inch or 6 mm.
- The tire has not been driven flat or severely underinflated.
- There are no bulges, exposed cords, cracks, belt separation signs, or major tread damage.
- You only need to drive a short distance at moderate speed to reach a repair shop.
Pro Tip: Mark the puncture location with chalk or tape before the tire is removed. This helps the technician find the injury from both the outside and inside.
What Tire Damage Makes a Plug Unsafe or Unacceptable?
Some tire damage should not be plugged at all. In those cases, the safer answer is professional inspection and usually tire replacement. Repair limits can vary by tire manufacturer, but the common safety rule is simple: repair only small punctures in the repairable tread area.
Sidewall or Shoulder Damage
Do not plug sidewall or shoulder damage. Those areas flex heavily as the tire rolls and carries the vehicle’s weight. A plug placed there is more likely to loosen, leak, or fail suddenly. If a nail, screw, cut, bubble, or tear is in the sidewall or shoulder, replace the tire.
Michelin’s repair guidance also limits safe puncture repair to the tread area only and says the puncture should be no larger than 1/4 inch or 6 mm.
Large or Irregular Punctures
Do not plug a large, jagged, sliced, or angled injury. A plug works best in a small round puncture channel, not a tear. If the hole is bigger than 1/4 inch, if the object entered at a severe angle, or if the rubber is torn, the plug may not seal reliably.
| Condition | Why It Is Unsafe | Recommended Action |
|---|---|---|
| Puncture larger than 1/4 inch or 6 mm | Too large for a reliable standard puncture repair | Replace the tire or follow tire-maker guidance |
| Jagged cut or tear | Plug cannot evenly seal the injury channel | Professional inspection; likely replacement |
| Sidewall or shoulder puncture | High-flex area with poor repair durability | Replace the tire |
| Puncture near a previous repair | Repairs can overlap and weaken the area | Professional inspection; likely replacement |
Multiple or Overlapping Repairs
Multiple repairs close together can weaken the tire and make sealing unreliable. USTMA guidance says tire repairs must not overlap. If the tire already has several repairs, or if the new puncture is close to an old repair, do not keep adding plugs.
- Avoid repeated plug attempts in the same injury.
- Do not repair punctures that overlap previous patches or plugs.
- Replace the tire if repairs are clustered or the tire shows structural weakening.
Tires Driven Flat or Underinflated
A tire that has been driven flat may have hidden internal damage even if the puncture looks small. Heat and sidewall flex can damage the inner liner and cords. If you drove on a flat tire, used a severely underinflated tire, or noticed smoke, odor, shredding, or sidewall scuffing, have the tire removed and inspected before any repair is considered.
Immediate Steps If You Find a Nail or Puncture in Your Tire
Start by moving away from traffic and stopping on a level, safe surface. Turn on your hazard lights. If the tire is rapidly losing air, do not keep driving unless it is unsafe to remain where you are.
- Do not pull the nail or screw out right away. Leaving it in place can slow air loss until you are ready to repair or inflate.
- Check the tire pressure. Use a gauge instead of guessing by appearance.
- Look at the location. If the object is in the sidewall or shoulder, do not plug it.
- Listen for air loss. A hissing sound means the tire may deflate quickly.
- Use soapy water if needed. Bubbles around the puncture confirm a leak.
- Drive only as needed. If the tire holds air, go slowly and directly to a repair shop.
Note: Tire-pressure monitoring systems may not warn you until pressure is already low. Always confirm pressure with a gauge after a puncture.
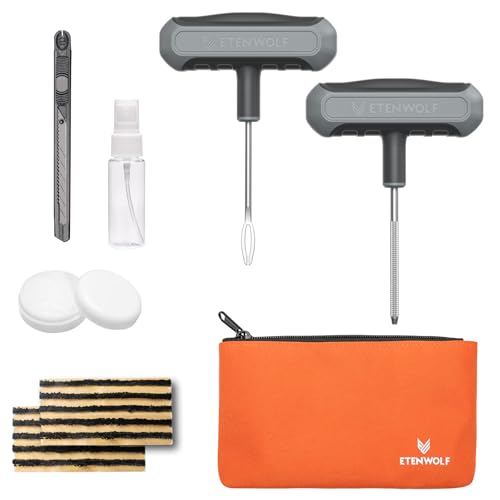
Tools & Materials Technicians Use to Install a Tire Plug
A basic tire plug kit includes the parts needed for an emergency outside-in repair. A professional shop uses additional equipment to remove the tire, inspect the inside, prepare the inner liner, and install a combination repair.
- Rubber plugs or stems: Fill the puncture channel.
- Reamer or rasp tool: Cleans and sizes the puncture channel.
- Insertion tool: Pushes the plug into the tire.
- Rubber cement or vulcanizing adhesive: Used when the kit or repair material requires it.
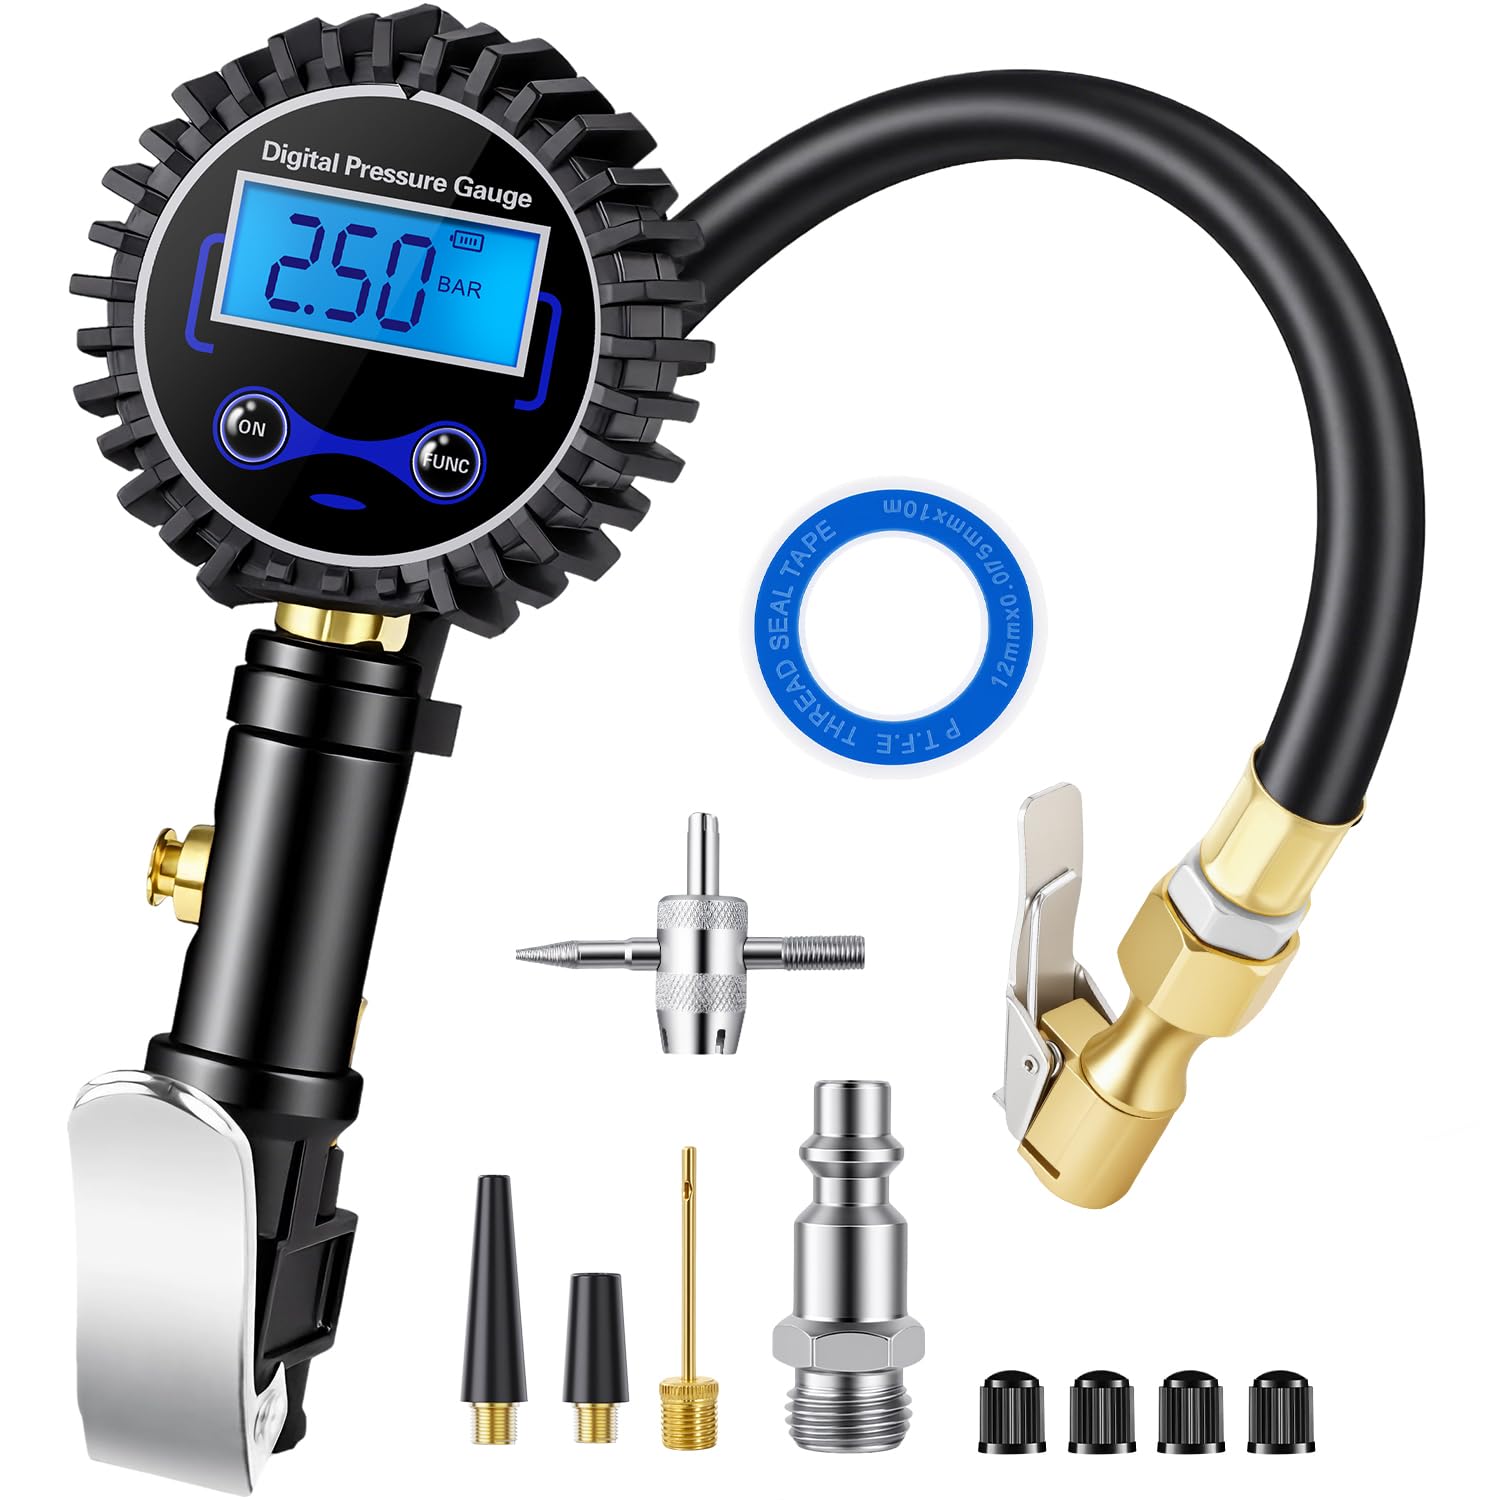
- Air compressor and pressure gauge: Reinflate the tire to the vehicle placard pressure.
- Soapy water: Checks for bubbles and leaks after repair.
- Personal protective equipment: Gloves and eye protection help prevent injury.
[Products Worth Considering]

The Milton 555e digital tire inflator delivers fast, accurate pressure readings with a backlit display and multiple unit options, making tire inflation quick and easy. Its durable 20" EPDM rubber hose and grip‑head chuck provide reliable connection, while the ±1 PSI accuracy ensures precise inflation for cars, bikes, and trucks.

This digital tire pressure gauge combines a sturdy pistol grip inflator with a backlit 0.1 PSI display for quick, accurate readings in any lighting condition. Its 360° swivel gauge and 20" rubber hose make it easy to use and store, while the integrated inflate/deflate trigger and ¼" NPT air inlet provide fast, reliable tire maintenance.

The Milton 507KIT delivers fast, accurate tire inflation, deflation and pressure measurement with a backlit LCD gauge and 14" rubber hose. Its 3‑in‑1 design meets ANSI/ASME standards and provides readings from 0‑250 PSI with 0.1 PSI resolution. The ergonomic pistol‑grip body and brass lock‑on chuck make one‑handed operation effortless, while the auto‑off feature conserves battery life.
How Technicians Install a Tire Plug (Step-by-Step)
These steps describe a temporary plug installation. A complete shop repair adds tire removal, internal inspection, inner-liner preparation, and a plug-and-patch unit or approved two-piece repair.
Safety and Preparation
First, confirm the puncture is repairable enough for a temporary plug. The vehicle should be parked safely, the parking brake should be set, and the tire should be stable. Wear gloves and eye protection.
- Confirm the puncture is in the tread, not the sidewall or shoulder.
- Check that the hole is small and clean, not a tear or large cut.
- Remove the puncturing object only when you are ready to plug the tire.
- Have an air source ready before you start.
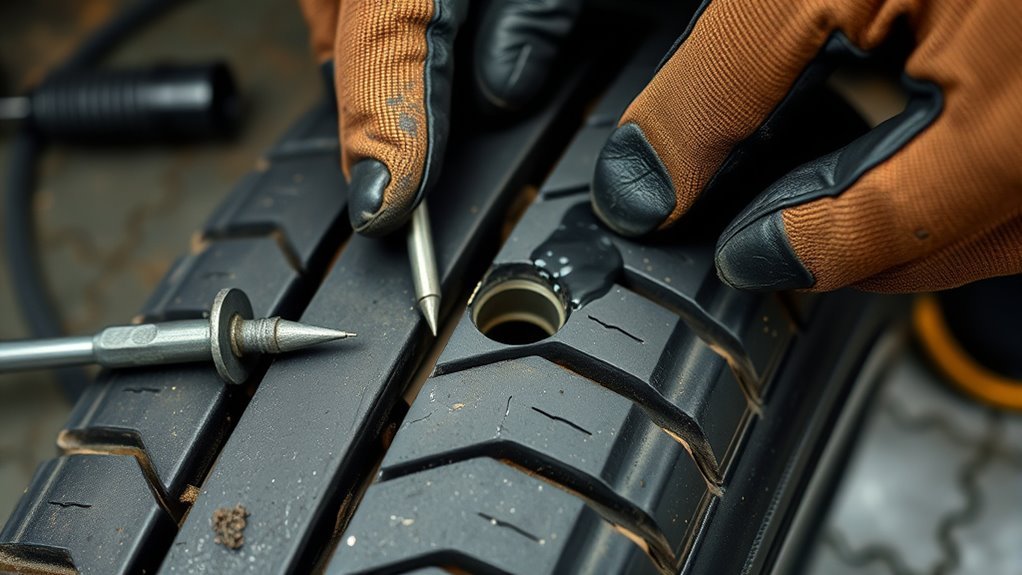
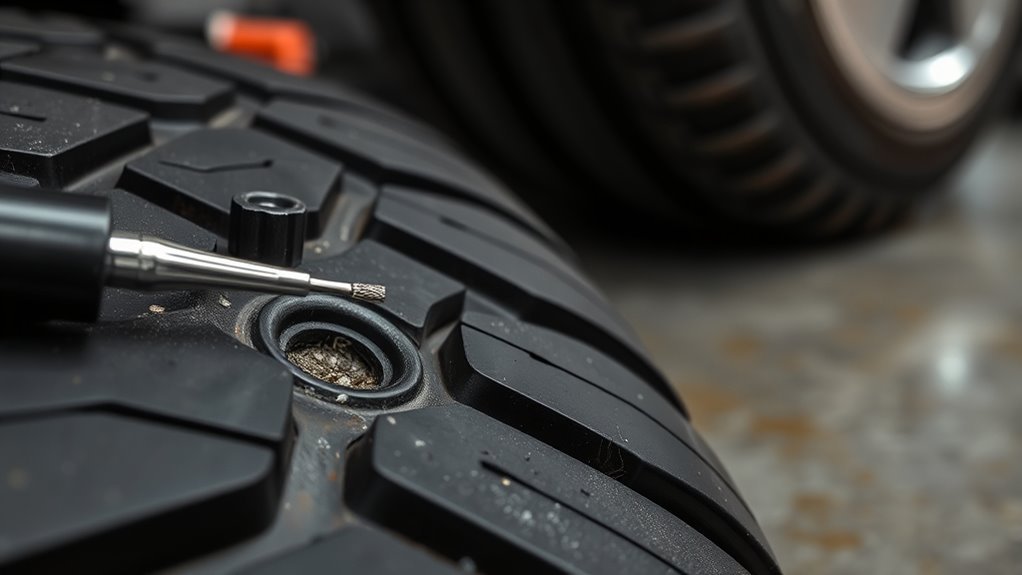
Reaming the Puncture
After removing the nail or screw, push the reamer into the puncture channel and work it in and out with controlled pressure. This clears debris, roughens the rubber, and shapes the channel so the plug can fit tightly. Do not over-ream or turn a small puncture into a larger injury.
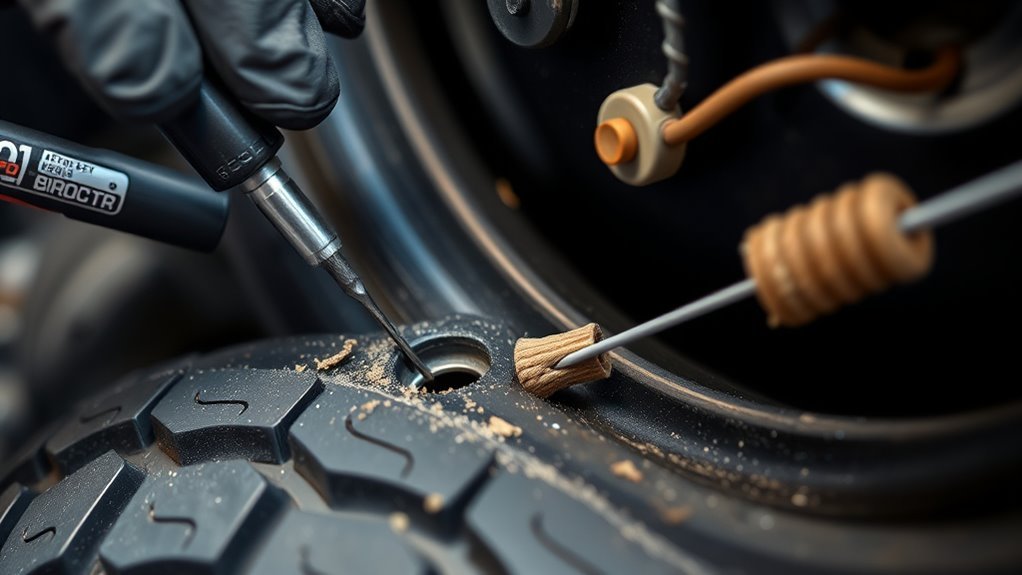
Inserting and Sealing
Thread the plug through the insertion tool, apply adhesive if the kit requires it, and push the plug into the puncture until only a short tail remains outside. Pull the tool out as directed by the kit so the plug stays in place. Trim excess plug material close to the tread surface.
- Inflate the tire to the pressure listed on the vehicle’s door placard.
- Spray soapy water over the repair area.
- Watch for bubbles that show continued air leakage.
- If the plug leaks, do not keep driving on it as if it is fixed. Install the spare, call roadside assistance, or go to a tire shop if the tire still holds air safely.
A proper permanent puncture repair addresses two areas: the puncture channel must be filled, and the tire’s inner liner must be sealed from the inside.
Plug vs. Patch vs. Plug-and-Patch: Which Repair Is Best?
Drivers often use “plug” and “patch” as if they mean the same thing, but they are different repairs.
| Repair Type | How It Works | Best Use | Main Limitation |
|---|---|---|---|
| Plug only | Fills the puncture from the outside | Temporary roadside mobility | Does not inspect or seal the inner liner |
| Patch only | Seals the inner liner from inside | Limited cases based on shop and manufacturer guidance | May leave the puncture channel open to moisture |
| Plug-and-patch | Fills the injury channel and seals the inner liner | Industry-accepted repair for eligible tread punctures | Requires demounting and professional inspection |
For most eligible tread punctures, the plug-and-patch combination is the safest long-term choice. AAA also describes plug-only repairs as temporary and points to the plug-and-patch combination as the correct approach for a proper repair.
[Products Worth Considering]
The Digital Tire Pressure Gauge with Inflator offers precise pressure readings with a high‑resolution LED display and four unit options, making tire maintenance quick and accurate. Built from stainless steel and brass, it includes a durable rubber hose, quick‑connect coupler, and a 3‑year warranty for reliable, everyday use across cars, RVs, bikes, and inflatables.

The Steelman Straight Air Chuck Tire Inflator offers a compact, durable solution for inflating tires with a built‑in gauge and flexible hose. Its push‑on chuck eliminates the need for clamps, while the polished steel casing and brass fittings ensure long‑lasting performance. Compatible with any portable or fixed tank air compressor, it delivers precise pressure readings from 10 to 90 PSI, making it ideal for cars, trucks, and other vehicles.

[🔨PROFESSIONAL QUALITY ] - AUTOWN Tire Repair Kits are made of refined high-quality steel, AUTOWN upgraded tire patch kits comply with exacting standards of audit, can repair the toughest tires on the market.
How Tire Plugs Fail: Warning Signs to Watch For
A tire plug can fail from poor installation, a puncture in the wrong location, heat, tire flex, moisture, or hidden internal damage. Check the tire closely after any plug repair.
- Pressure keeps dropping: The repair is leaking or another leak exists.
- Bubbles appear during a soapy-water test: Air is still escaping.
- Bulge or sidewall distortion appears: The tire may have structural damage.
- Vibration or thumping develops: Stop and inspect the tire immediately.
- Cracking, exposed cords, or tread separation appears: Replace the tire.
- The repair area looks wet, loose, or damaged: The plug may be failing.
Warning: Never ignore repeated air loss. Driving on an underinflated tire creates heat, damages the tire internally, and increases blowout risk.
How Long Do Tire Plugs Last? When to Replace the Tire
A tire plug might hold for days, weeks, or longer, but its lifespan is not the right safety measure. The important point is that a plug-only repair is not a complete permanent repair. Treat it as a short-term way to reach professional service.
Replace the tire instead of repairing it if:
- The puncture is in the sidewall or shoulder.
- The hole is larger than 1/4 inch or 6 mm.
- The tire was driven flat or severely underinflated.
- The tire has a bulge, exposed cords, cracking, or belt/tread separation.
- The puncture overlaps or sits too close to a previous repair.
- The tire is worn to the treadwear bars or below the legal tread limit.
- The tire manufacturer’s repair policy says the damage is not repairable.
Where to Get Professional Tire Plug/Patch Repairs: Cost & What to Expect
For a proper repair, visit a tire shop, dealer service department, or reputable auto repair center that follows industry repair procedures. Ask whether they remove the tire from the wheel, inspect the inside, and use a plug-and-patch combination for eligible punctures.
Typical professional puncture repairs often cost around $20–$50, but pricing depends on your area, tire type, shop policy, and whether the tire needs extra service. Some tire retailers repair tires purchased from them at reduced cost or free under a road-hazard plan.
A good shop will usually:
- Locate the puncture and measure the injury.
- Confirm the puncture is in the repairable tread area.
- Remove the tire from the wheel.
- Inspect the inner liner and tire structure.
- Prepare the injury channel and inner liner.
- Install the approved repair material.
- Reinflate, balance if needed, and leak-check the tire.
[Products Worth Considering]
DURABLE AND COMFORTABLE: The T-handle tools in the tire plug kit are made of stainless steel, allowing you to easily repair most tires on the market. Featuring ergonomic, rubber-coated handles, they provide greater torque and make it easier to apply force while reducing hand fatigue

DURABLE AND COMFORTABLE: The T-handle tools in the tire plug kit are made of stainless steel, allowing you to easily repair most tires on the market. Featuring ergonomic, rubber-coated handles, they provide greater torque and make it easier to apply force while reducing hand fatigue

Heavy Duty Rubber Cement Tire Repair: Vulcanized cement is a chemical agent that can promote the vulcanization of rubber or elastomer materials at room temperature. Ideal for professional tire repair and other applications that require rubber materials to cure without the need for heat. Tire patch glue combined with various repair patches and plugs can quickly solve your tire leakage problem and achieve powerful repair
Frequently Asked Questions
How much does it usually cost to have a tire plugged?
A simple plug may cost about $10–$20 at some shops, while a proper plug-and-patch repair often runs about $20–$50. Prices vary by region, shop, tire type, and whether you have a road-hazard warranty.
Is a tire plug a permanent repair?
No. A plug by itself is best treated as a temporary repair. A proper permanent repair for an eligible tread puncture usually requires tire removal, internal inspection, and a plug-and-patch repair that fills the puncture channel and seals the inner liner.
Can you plug a tire near the sidewall?
You should not plug a tire near the sidewall or in the shoulder area. Those areas flex too much and are not considered safe repair zones. Replace the tire if the puncture is outside the repairable tread area.
Can I drive on a plugged tire?
You can drive a short distance on a properly installed temporary plug if the tire holds air and shows no other damage. Drive slowly, avoid heavy loads and highway speeds when possible, and go directly to a tire shop for inspection.
Should I remove the nail before plugging the tire?
Do not remove the nail until you are ready to repair the tire or have the tire inspected. The nail may slow air loss. Once you remove it, the tire may deflate quickly.
Is tire sealant the same as a plug?
No. Tire sealant is a liquid emergency product that may slow a leak temporarily. A plug physically fills a puncture channel. Neither replaces a proper internal inspection and plug-and-patch repair for a tire you plan to keep using.
Conclusion
A tire plug is useful when you need a fast temporary seal for a small tread puncture, but it is not the safest final repair. Do not plug sidewall damage, shoulder punctures, large holes, jagged cuts, or tires with hidden damage from being driven flat. For long-term safety, have the tire removed, inspected inside, and repaired with an approved plug-and-patch method when the puncture is eligible. If the tire fails inspection, replace it instead of gambling on another temporary fix.
Sources
- U.S. Tire Manufacturers Association: Tire Repair Basics — backs up the need for tire removal, internal inspection, and plug-plus-patch repair.
- Tire Industry Association: Tire Repair — explains why plug-only and patch-only repairs are not complete repairs.
- Michelin: Can My Tire Be Repaired? — supports the tread-only and 1/4-inch/6 mm repair limit guidance.
- AAA: Tire Plug vs. Patch — supports the difference between temporary plugs, patches, and plug-and-patch repairs.
Related Articles

What Does THE P Stand For on a Tire? Full Meaning Explained
I’ll explain what the “P” on a tire really means and why it could change how you choose your next set.
Read More
How to Use a Tubeless Tire Repair Kit: Complete Field Guide
Learn how to fix tubeless tire punctures fast with the right kit, because one small mistake can leave you stranded on the trail.
Read More
How to Tell a Tire’s Diameter: Easy Guide to Reading Tire Size
Want to decode tire sidewall numbers and find the right diameter, but wonder what those hidden digits really mean?
Read More