What Is Tubeless Sealant? How It Works Inside Your Tire
You use a liquid latex-based sealant inside your tubeless tire that flows to punctures and the bead to stop air loss. It contains suspended particles that the escaping air and centrifugal force carry into holes, where the carrier coagulates or dries to form a flexible plug. You add it through the valve core or by unseating the bead, then rotate the wheel to spread it. Keep volumes and top-ups appropriate, and more detail follows if you want.
What Is Tubeless Sealant and Why It Matters
Think of tubeless sealant as an active, internal patch: it’s a liquid compound—usually natural latex with suspended particles—that flows into punctures and around the bead, then dries or coagulates on exposure to air to stop leaks and hold pressure. You’ll rely on its rapid flow and particle adhesion to plug holes and maintain inflation, delivering clear sealant benefits like instant puncture prevention and reduced roadside repairs. The sealant also fills microgaps at the tire bead-rim interface, hardening quickly to stop air loss before you notice a problem. Use the correct volume for your tire type and schedule regular maintenance—topping off every 2–3 months—to preserve effectiveness and prolong the tubeless system’s service life.
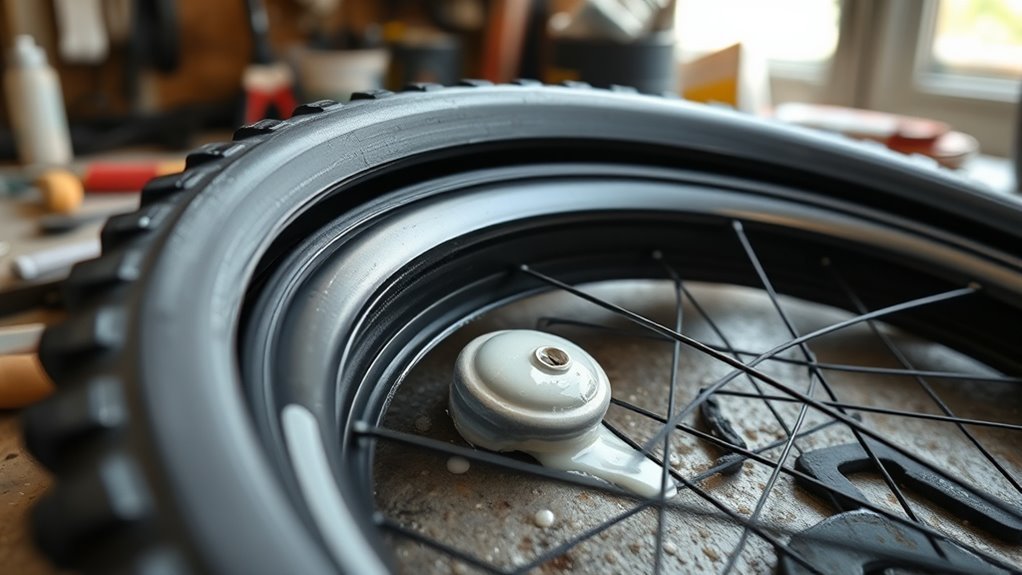
How to Add and Spread Sealant (Valve, Pour, Injector)
Start by deciding which method fits your setup and tooling—valve-core injection, pouring after bead break, or using a syringe/injector—and gather a valve core remover, rag, and the measured sealant dose. For valve-core injection, remove the core, attach the injector or squeeze bottle, and push the recommended volume (about 4–5 oz for gravel/mountain, ~2 oz for road). If you must pour, unseat the bead, add sealant directly into the tire—race sealants with large particulates should be poured to avoid clogging injectors—and reseat the bead carefully. After adding sealant, reseat or inflate the tire then rotate and rock the wheel so the liquid coats the interior evenly. These steps keep sealant application neat and support routine tire maintenance.
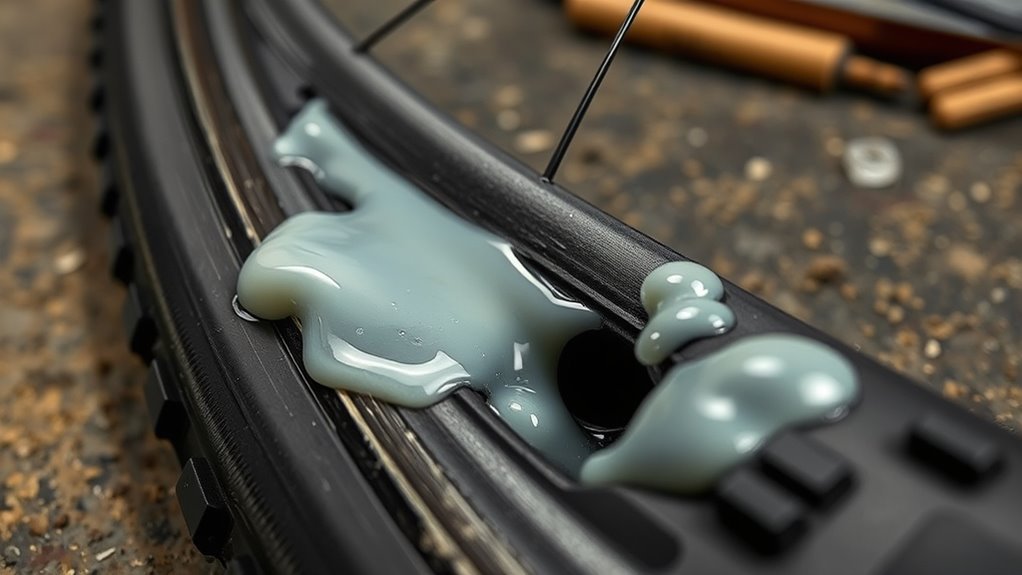
How Sealant Actually Plugs a Puncture
When a puncture opens, sealant rushes toward the leak and the liquid carrier carries suspended particles—latex, rubber, or even carbon fibers—into the gap; as escaping air contacts the sealant the carrier begins to cure or coagulate, leaving those particles to interlock and form a flexible plug that stops the flow. You rely on centrifugal force from rotation to drive sealant into the breach and around the bead-rim interface, so the plug sets under pressure. Different puncture types demand different particulate sizes: small pinholes seal with fine latex suspensions, while larger cuts need coarser race sealant particles that harden quickly. Sealant longevity affects readiness—older, depleted sealant won’t flow or cure effectively, reducing sealing performance.
How Much Tubeless Sealant to Use and When to Top Up

For a reliable tubeless setup, use roughly 4–5 ounces of sealant per new gravel or mountain tire and about 2 ounces for road tires, then plan regular top-ups to keep that level effective. During initial setup you want enough to coat the interior and compensate for absorption by new casings. After that, check every 2–3 months and top off before sealant thins or dries.
When topping off, add roughly 2 ounces for gravel tires up to 2.5″ and 3–4 ounces for 2.5–2.8″ tires; larger casings may need more. If a tire is new or you suspect heavy absorption, double the topping off amount to guarantee coverage. Err on the side of generosity—too little risks ineffective sealing.
Choosing the Right Tubeless Sealant (Quick Troubleshooting Tips)
Now that you’ve got a sense of how much sealant to use and when to top up, pick a formula that matches your riding style, tire type, and maintenance habits. Consider sealant features like particle size: race sealants use larger particles for fast coagulation and bigger punctures; general-purpose formulas balance longevity and flexibility. Use ~4–5 oz for gravel/MTB initial fills, ~2 oz for road. Top off every 2–3 months and follow manufacturer application guidelines to avoid ineffective sealing.
| Situation | Recommendation |
|---|---|
| Racing | Large particle size, rapid cure |
| Gravel/MTB | 4–5 oz, durable formula |
| Road | ~2 oz, low-weight sealant |
| Low maintenance | Long-life sealant |
| Quick fixes | Carbon-fiber enhanced sealant |
Frequently Asked Questions
How Often Do You Need to Top up Tubeless Sealant?
You should top up every 2–3 months; that topping frequency matches typical sealant lifespan. Check levels more often for new tires (double the dose initially) and inspect annually to remove dried residue and refresh completely.
Can I Use a Tubeless Tire Without Sealant?
About 70% of riders avoid flats by using sealant: you technically can ride tubeless without it, but your tire performance will suffer; choose appropriate sealant types to maintain reliability and prevent frequent puncture-related flats.
Conclusion
Tubeless sealant is your tire’s first responder — think of it as liquid bandage that’s always on call. It coats the inside, fills small gaps, and coagulates at punctures to keep you rolling. Add it through the valve, pour, or injector, then spread by rotating the wheel. Check levels seasonally, top up when it looks thin, and pick sealant suited to your climate and riding style for reliable protection.
Related Articles

How to Read Motorcycle Tire Size: Complete Breakdown
Often misunderstood, this guide decodes motorcycle tire sizes like 180/55ZR17—learn what each number and letter means to ensure safe, perfect fitment.
Read More
How to Read Bicycle Tire Size: Inches, Metric & ISO
Get the essential trick to decoding ETRTO/ISO codes so you’ll always pick rim-compatible tyres—discover what to check next.
Read More
How to Read Tire Size Numbers: Decode the Sidewall
Step-by-step guide to decode tire sidewalls—sizes, load, speed, DOT and winter symbols—so you’ll know what fits and when to replace.
Read More