What Is a Vulcanizing Patch? How It Bonds & Seals
A vulcanizing patch is a rubber repair element you use to permanently seal tread-area punctures (up to about 6 mm). You’ll prep the tire by scuffing and cleaning, apply vulcanizing cement so it swells and breaks sulfur cross-links, then place the patch so exposed sulfur atoms recombine and form new covalent bonds as solvents evaporate. Apply firm pressure, cure per kit instructions, and pressure-test for leaks; continue for best-practice steps and troubleshooting.
What Is a Vulcanizing Patch : And When to Use One?
A vulcanizing patch is a rubber repair element that chemically fuses to a tire’s inner liner when used with vulcanizing fluid, and you’ll use it to permanently seal tread-area punctures. You’ll select this method for punctures up to 6 mm (1/4 in.) in the tread; it’s not appropriate for sidewall damage. Follow a procedural workflow: locate puncture, remove foreign object, scuff inner liner, apply vulcanizing fluid, position patch, and cure per material instructions. The vulcanizing patch benefits include durable covalent bonding, restored air retention, and improved structural integrity compared to non-vulcanizing repairs. Observe repair limitations: maximum puncture size and location constraints. For safety and performance, integrate this repair into professional tire service protocols.
How Vulcanizing Cement Bonds Rubber
Having explained when and where to use a vulcanizing patch, we’ll focus on how the cement actually bonds to tire rubber. You apply vulcanizing cement containing rubber compounds and solvents that swell the tire surface and break existing sulfur cross-links in pre-vulcanized rubber. As solvents evaporate the film becomes tacky; this drying window is critical because it sets conditions for effective chemical bonding between patch and substrate. When you press the patch, exposed sulfur atoms recombine with rubber in the cement, forming new covalent bonds and a three-dimensional cross-linked network. That network provides superior adhesive properties and restores durability and flexibility. If you under-press or mistime application, bond formation is incomplete and leaks or failure can occur.
Step-by-Step: Preparing the Tube or Tire for Vulcanizing Repairs
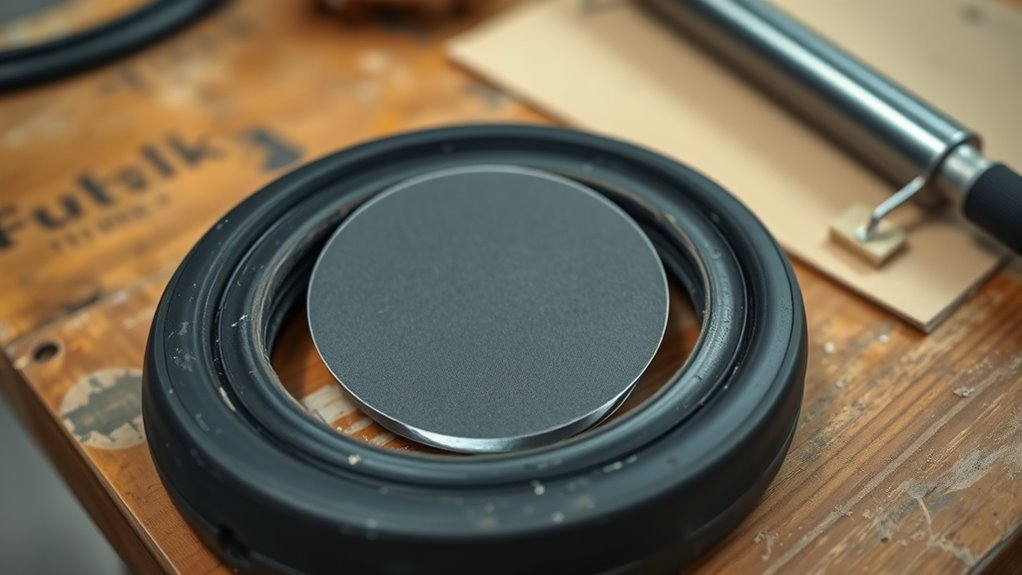
Before you apply any cement, locate the puncture and mark it with four dots so you can place the patch precisely; then lightly abrade the surrounding rubber to dull the surface, wipe it clean with a solvent-soaked rag to remove debris and oils, and let it dry. Start with systematic puncture detection: inspect visually, inflate the tube or tire slightly, and use soapy water to find escaping bubbles; mark with four guide dots. For surface preparation, scuff a circular area around the puncture with fine emery cloth until matte, then remove dust. Wipe the area with alcohol or solvent and allow full evaporation. Finally, apply a thin, even coat of vulcanizing fluid and wait until it becomes tacky before placing the patch to guarantee ideal bond.
How to Apply a Vulcanizing Patch (GP‑2, VP‑1): Timing and Best Practices
Before you apply a GP‑2 or VP‑1 patch, make certain the puncture area is clean, scuffed, and larger than the patch for full contact. Time the adhesive carefully—apply VP‑1 glue and wait until it’s tacky, or for GP‑2 remove the backing and press immediately, then roll firmly to expel air. Follow each kit’s curing recommendations exactly to guarantee a chemical bond and long-lasting repair.
Timing The Adhesive Cures
When you apply vulcanizing solution, time it so the adhesive reaches the proper state—tacky for cold patches, fully cured for hot patches—before seating the patch to confirm a chemical bond rather than a surface seal. Monitor cure times and adhesive properties: cold‑patch adhesives must become uniformly tacky; hot‑patch adhesives require complete cure to activate the vulcanization reaction. For GP‑2, center the patch over the hole after the glue is tacky, then apply firm pressure and roll to expel air. For VP‑1, spread glue evenly and wait the manufacturer‑specified minutes until dry before applying the patch. Never seat a patch early or leave adhesive overcured; both reduce bond strength. Always follow kit instructions for drying/curing intervals to confirm tire integrity.
Surface Prep And Cleaning
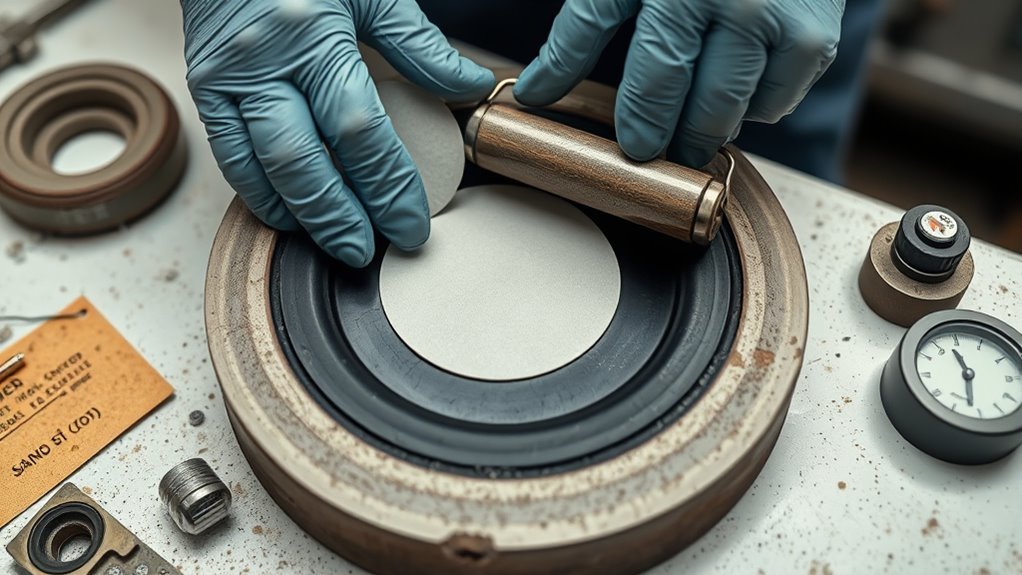
Start by scuffing an area at least 10–15 mm larger than the patch with sandpaper or fine emery cloth to produce a uniformly dull texture, then wipe the area with a clean rag soaked in alcohol or solvent to remove dust, oil, and residue so the vulcanizing fluid can wet the rubber fully. You’ll follow surface preparation and cleaning techniques to guarantee consistent adhesion. Apply vulcanizing fluid, allow it to dry to a tacky state per product timing, then position the patch. Use firm pressure from center outward to expel air. Observe cold vs hot cure drying times for best bond strength.
| Step | Action | Purpose |
|---|---|---|
| 1 | Scuff area | Increase mechanical grip |
| 2 | Clean | Remove contaminants |
| 3 | Apply fluid | Enable chemical bond |
| 4 | Dry to tacky | Maximize vulcanization |
| 5 | Press patch | Eliminate air |
Patch Application Technique
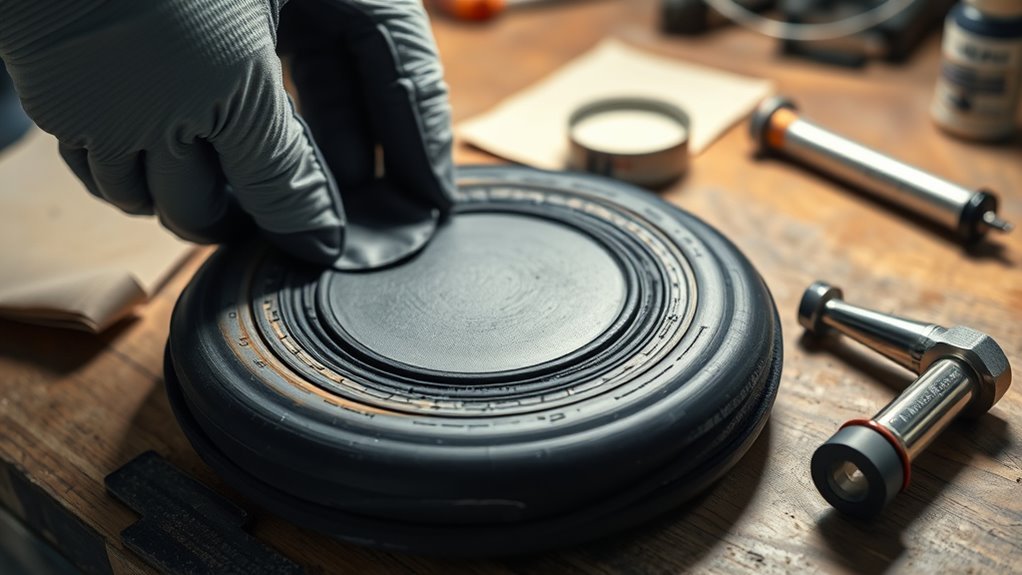
Prepare the prepped area, then center the GP‑2 patch over the hole (peel off backing first) or apply a thin layer of VP‑1 self‑vulcanizing glue and let it dry until tacky before placing the patch; in both cases press firmly from the center outward, paying special attention to the edges to expel air and assure full adhesion, and follow the kit’s specified curing time for a durable, airtight bond. After placement, apply sustained pressure to the perimeter for the time recommended by the kit to make certain the adhesive properties engage fully. Use a roller or blunt tool to detect and remove trapped air. Confirm the patch type and curing window before loading the repaired item. Inspect the bond visually and by touch; do not stress the repair until fully cured.
Temporary Fixes: Using a TB‑2 Tire Boot and When to Replace the Tire
If you get a rip that can’t be safely plugged from the outside, use a TB‑2 tire boot as a temporary seal: clean the interior around the rip, center the TB‑2 over the damage, and press to seat. For temporary tire repairs follow boot installation tips: remove debris, verify dry surface, align boot to cover entire tear with margin. Monitor pressure and condition frequently.
- Replace the tire as soon as practicable; the boot is a stopgap.
- Inspect the booted area daily for air loss, movement, or degradation.
- Limit driving speed and distance until a professional repair or replacement is completed.
You’re relying on a temporary measure; don’t treat a TB‑2 as a permanent fix.
Durability, Common Mistakes, and How to Verify a Permanent Repair
You’ll assess longevity under load by confirming the vulcanized patch has chemically fused and shows no separation when the tire is pressurized and flexed. Watch for common application errors—insufficient scuffing, inadequate drying time, premature bonding, or poor pressure during cure—that weaken the seal. Finally, verify permanence by performing a leak test and visual inspection for full adhesion, no bubbles, and consistent bead contact.
Longevity Under Load
When a vulcanizing patch is applied correctly and the puncture falls within recommended limits (typically up to 6 mm in the tread), the repair can last the remaining life of the tire under normal and high-speed loads; however, durability hinges on strict adherence to procedure, including proper scuffing, adhesive curing, and allowing full vulcanization before pressurizing. You must control variables that affect load resistance and patch integrity: surface prep, correct adhesive activation, and sufficient cure time. After installation, verify permanence through pressure-hold tests, visual inspection for separation, and monitored road use. Regularly inspect repaired tires for creeping leaks or edge lift. Maintain documented test results and follow industry safety limits; if any deterioration appears, remove the tire from service.
- Pressure-hold test over 24–48 hours
- Visual edge/seam inspection
- Monitored high-speed validation run
Common Application Errors
Having confirmed a repair’s ability to hold pressure and endure high-speed validation, you must now focus on common application errors that undermine durability and how to verify permanence. Skip scuffing and you cause weak bonds; this directly reduces patch longevity. Apply the patch before vulcanizing fluid is tacky and you trap solvents, causing adhesive failure. Use insufficient pressure and you prevent proper covalent bonding. Neglect drying time and you increase risk of patch failure.
| Error | Effect |
|---|---|
| No scuffing | Weak bond, short patch longevity |
| Wet solvent | Trapped solvents, adhesive failure |
| Low pressure | Incomplete bonding |
| Insufficient drying | Compromised adhesion |
| No leak test | Undetected failure |
Verify permanence: submerge and watch for bubbles; none means acceptable seal.
Frequently Asked Questions
Is Vulcanizing Fluid the Same as Rubber Cement?
No — you’re using different materials: vulcanizing fluid enables the Vulcanizing Process, chemically fusing patch and tire with specific Adhesive Properties; rubber cement’s non‑vulcanizing adhesive remains pliable and won’t create that permanent bond.
Conclusion
You now know a vulcanizing patch chemically fuses to rubber, so use it only on clean, prepped areas and follow cure times precisely. Test the theory that heat-plus-cement creates a molecular bond: it’s true—you’ll see permanent seal strength if you abrade, solvent-wipe, apply cement, and let it vulcanize under pressure for the specified interval. Skip steps and you’ll get only adhesive contact. Verify repairs by inflation and inspection before returning to service.
Related Articles

How to Read Motorcycle Tire Size: Complete Breakdown
Often misunderstood, this guide decodes motorcycle tire sizes like 180/55ZR17—learn what each number and letter means to ensure safe, perfect fitment.
Read More
How to Read Bicycle Tire Size: Inches, Metric & ISO
Get the essential trick to decoding ETRTO/ISO codes so you’ll always pick rim-compatible tyres—discover what to check next.
Read More
How to Read Tire Size Numbers: Decode the Sidewall
Step-by-step guide to decode tire sidewalls—sizes, load, speed, DOT and winter symbols—so you’ll know what fits and when to replace.
Read More