What Is a Tire Tube? Purpose, Types & How It Works
A tire tube is the inflatable rubber sleeve you put inside a clincher tire to hold pressurized air and provide cushioning, ride control, and a simple repair path. You’ll find tubes with Presta or Schrader valves and bodies made from butyl, latex, or TPU, each trading weight, air retention, and puncture behavior. Size and valve length must match your rim and tire. Install carefully to avoid pinches, carry a spare, and keep learning for sizing, repairs, and system choices.
Who Should Read This Guide (And How to Use It)
Who should read this guide and how will you use it? You’re a cyclist, automotive hobbyist, or technician working with vehicles or gear that use inner tubes. You’ll use this guide as a concise reference for inner tube maintenance, selection, and field repairs. It explains tube functions—holding air and providing cushioning—so you can match tube material (butyl, latex, TPU) to conditions. You’ll get clear sizing, valve-type, and installation criteria to guarantee compatibility and reduce downtime. Practical sections teach inspection routines, preventive care, and step-by-step troubleshooting techniques for punctures, valve failures, and pressure loss. Emergency-preparedness tips equip you to diagnose and repair on the go. Follow the procedures to minimize risk and maintain peak tire performance.
What Is an Inner Tube and How It Differs From Tubeless
You’ll see an inner tube is a doughnut-shaped inflatable sleeve of synthetic rubber that sits inside the tire to hold air and absorb shocks. Unlike tubeless systems, which seal directly between tire and rim, tubes create a separate air chamber and use Presta or Schrader valves. Tubes are repairable with patches and add 0.9–1.5 mm of material, while tubeless setups drop that layer for potential weight and performance gains.
Inner Tube Basics
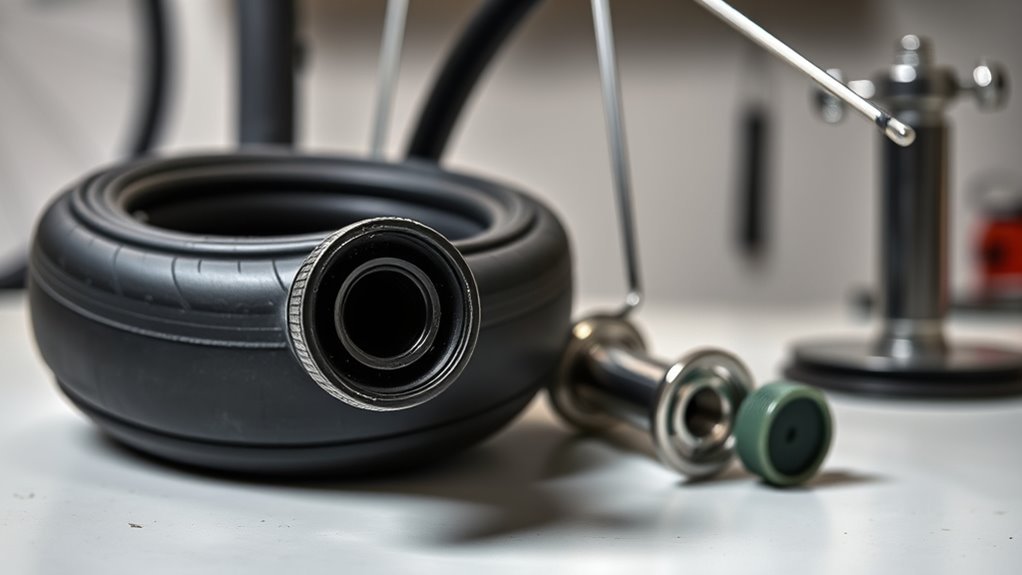
Think of an inner tube as a doughnut-shaped inflatable bladder made of synthetic rubber that sits inside a tire and holds air to provide cushioning and structure. You’ll recognize inner tube history in early pneumatic tire development; tire tube innovations later refined materials, valves, and sizes. Functionally, an inner tube is separate from the tire and rim, so you must guarantee correct diameter and width matching to avoid pinching or overstretching. Tubes use Presta or Schrader valves for inflation; material choices—butyl for durability, latex for lower rolling resistance—affect weight and performance. Installation requires careful seating and inspection for sharp objects. You’ll maintain pressure manually and repair punctures with patches or replacements, keeping spares suited to your wheel and tire specs.
Tubeless Versus Tube
Having covered what inner tubes are and how they work, let’s compare them directly with tubeless systems so you can choose the right setup. You’ll find inner tubes are doughnut-shaped synthetic rubber bladders inflated via Presta or Schrader valves; tubeless tires instead form an airtight seal on the rim and rely on sealant to hold pressure. Tubeless advantages include fewer punctures, the ability to run lower pressures for better comfort and grip, and reduced weight and rolling resistance without a tube. Inner tube drawbacks are greater susceptibility to pinch flats, sudden deflation from punctures, and added weight. Both systems need regular pressure checks and maintenance, but you’ll favor tubeless for performance and tubes for simplicity and easy roadside repairs.
Inner Tube Parts: Valve, Core, Body, and Wall Thickness
Four main elements make up an inner tube: the valve stem, internal valve core, the rubber body, and the tube’s wall thickness—each affects performance and installation. You’ll consider valve types (Presta, Schrader) for rim compatibility and access, and core functions that seal and permit controlled inflation. The valve must be aligned and securely attached during fitment to prevent leaks, pinch flats, and uneven seating.
The tube body is molded seamless—commonly butyl—providing durable, stable air retention. Wall thickness typically ranges 0.9–1.5 mm; thinner walls save weight and improve compliance, thicker walls increase puncture resistance for off-road or heavy loads. When installing, position the valve perpendicular to the rim, inflate slightly to check seating, then finish to specified pressure.
Inner Tube Materials: Butyl, Latex, and TPU – Which to Choose
You’ll choose between butyl, latex, and TPU based on specific material properties like air retention, elasticity, weight, and puncture resistance. Each material trades off durability, rolling resistance, and cost—butyl is durable and affordable, latex is light and fast with higher air loss, and TPU aims to balance weight and resilience. Consider your riding priorities (everyday reliability, racing performance, or a hybrid compromise) to pick the right tube.
Material Properties Compared
When choosing an inner tube, compare butyl, latex, and TPU across three key properties—air retention, rolling resistance, and durability—because each material trades off performance, cost, and installation sensitivity. For material performance, butyl excels in air retention and durability; its 0.9–1.5mm thickness makes it cost-effective and forgiving during installation. Elasticity comparison favors latex: high elasticity yields 10–15% lower rolling resistance and ~5W savings for typical riders, but latex leaks air faster and resists punctures less. TPU sits between and above: lightweight, compact, and resilient, claiming lower rolling resistance than butyl and improved puncture resistance versus latex. For installation sensitivity, latex needs the most care to avoid pinch flats, butyl is most user-friendly, and TPU offers a practical compromise for performance riders.
Performance And Tradeoffs
Having compared air retention, rolling resistance, and installation sensitivity across butyl, latex, and TPU, you can now weigh their real-world performance and trade-offs to choose the best tube for your riding priorities. Use clear performance metrics: air loss rate, rolling resistance percentage, weight, puncture resistance, and cost per unit. Butyl scores highest on air retention and cost-effectiveness but trades off added mass and slightly higher rolling resistance. Latex cuts rolling resistance by 10–15% and is very elastic, improving compliance and speed, but it diffuses air faster and punctures more easily. TPU delivers low weight and improved puncture resistance versus latex, balancing durability and speed at a premium price. This trade off analysis helps you match material choice to racing, commuting, or mixed-use needs.
How to Pick the Right Tube Size and Valve
Although it may seem straightforward, picking the right inner tube requires matching both the tire diameter and width, checking the tire sidewall markings (e.g., “XX x YY”), and choosing a compatible valve type and length for your rim. You’ll read sizes like 700c for road or 26–29″ for MTB; match diameter and width precisely. Use the valve compatibility guide: Presta for most road rims, Schrader for many mountain/hybrid. Measure rim depth to pick valve lengths (42mm, 60mm, 80mm). Verify consistent wall thickness and a secure valve attachment to prevent leaks. Follow tube maintenance tips: inspect valves, check seating, and avoid over-stretching when installing.
| Item | Recommendation |
|---|---|
| Diameter | Match sidewall |
| Width | Match tire |
| Valve type | Presta/Schrader |
| Valve length | Based on rim depth |
Recommended Tire Pressures and How Pressure Affects Ride
Now that you’ve matched tube size and valve to your rim, pay close attention to tire pressure—it’s a primary tuning parameter that changes speed, comfort, and puncture risk. Set pressures by bike type: road tires typically 80–130 PSI, mountain tires 25–50 PSI, adjusted for tire width and terrain. Higher tire pressure lowers rolling resistance for speed on smooth surfaces but reduces contact patch and can worsen traction balance in corners. Lower pressure increases grip and ride comfort on rough ground but raises pinch flats risk if too low. Avoid extremes: over-inflation yields a harsh ride and more punctures; under-inflation risks tube pinching. Check pressures before every ride to optimize performance, tire life, and safety.
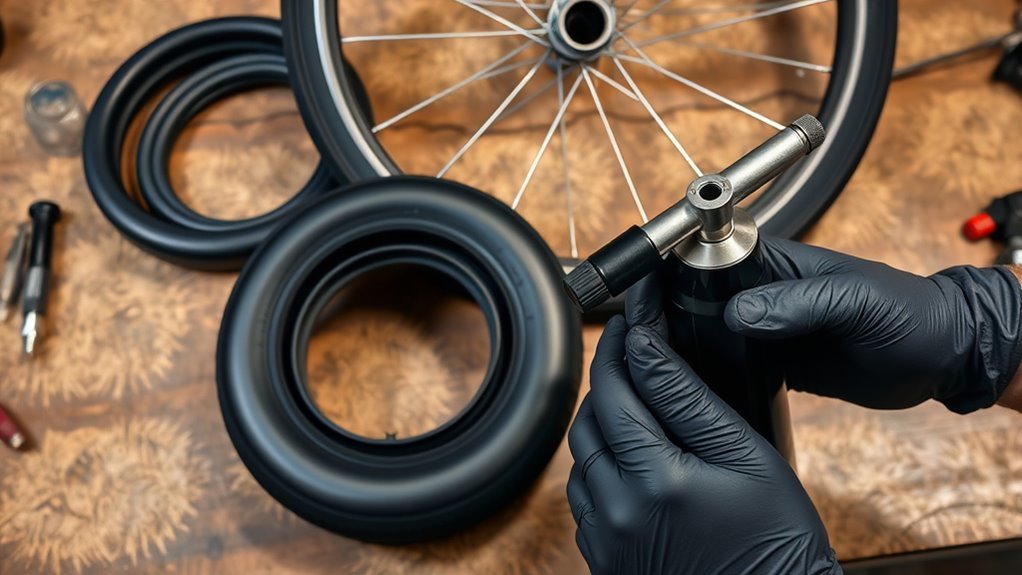
Step‑By‑Step: Install an Inner Tube Correctly
Start by removing the wheel and fully deflating the old tube so the tire bead can lift off the rim without resistance. Use tire levers to pry the bead over the rim edge; work slowly to avoid cutting the tire or scratching the rim. Extract the old tube completely, noting valve type and seating. Slightly inflate the new tube to give it shape, align the valve through the rim hole, and tuck the tube evenly into the tire cavity. Seat one bead, then roll the second bead over the rim, checking that the tube isn’t pinched. Inflate to recommended pressure while watching for proper bead seating and valve straightness. These inner tube installation tips prevent pinch flats and rim damage—common mistakes are rushing and failing to check alignment.
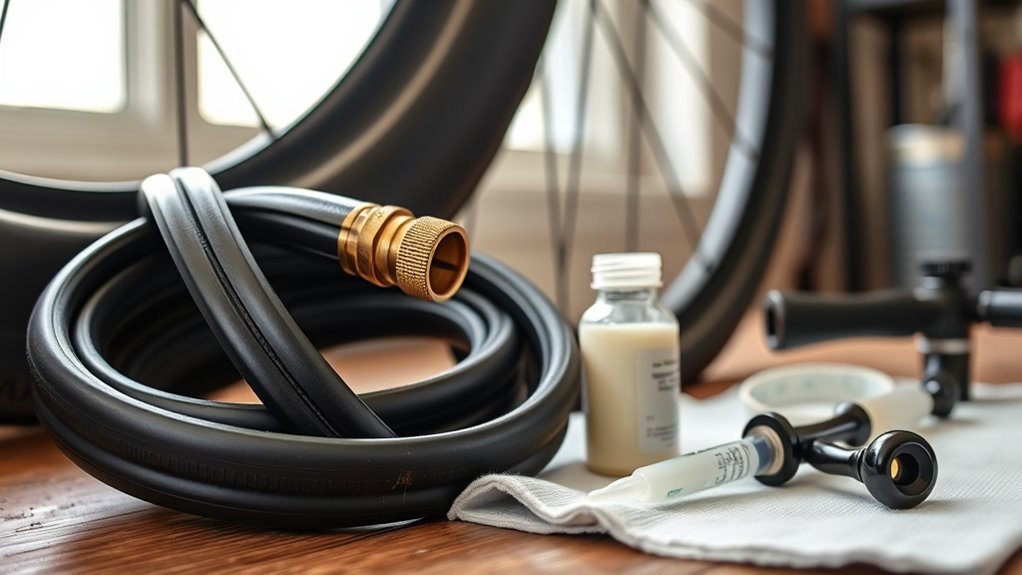
Repair or Replace a Tube on the Road (Patches, Plugs, Spares)
Once you’ve got a new tube seated or the old one removed, you’ll want to decide whether to patch, plug, or swap in a spare depending on the hole size and your kit. For small punctures, use a patch: roughen the rubber with the file, apply adhesive, wait tacky, press the appropriately sized patch and let cure briefly. For larger holes, insert a plug to fill the breach—it’s faster but less reliable long-term. Carry at least one spare inner tube in emergency kits; swapping is quickest and avoids uncertain roadside repairs. Slightly inflate the replacement tube to avoid pinches, inspect the tire carcass for debris, then fully inflate with a portable pump or CO2 inflator and confirm proper seating before riding.
Tube vs Tubeless vs Sealant: How to Choose for Your Ride
Which system fits your ride and maintenance tolerance? You’ll weigh simplicity, performance, and service intervals. Inner tubes are simple: easy to repair or replace on the road, compatible with most rims, and require routine tire maintenance like pressure checks; they’re ideal if you want minimal setup. Tubeless removes the tube, uses sealant to form an airtight interface, lets you run lower pressures and reduces pinch flats—better for off‑road performance—but demands compatible rims/tires and more complex setup and upkeep. Sealant in tubeless systems provides active puncture prevention for small holes but dries out and needs periodic replacement. Choose tubes for low‑maintenance commuting, tubeless+sealant for performance and puncture resistance, matching choice to terrain and how much maintenance you’ll perform.
Where to Buy Tubes, Quality Markers, and Spare‑Kit Checklist
You can buy inner tubes several ways depending on how much help you want: local bike shops offer expert fit advice and brand options, auto-parts stores carry common sizes for quick replacements, and online retailers give the widest selection and competitive prices. Inspect tubes for consistent wall thickness, secure valve attachment, reputable manufacturer marks, and date-stamped packaging to confirm freshness — these are primary quality markers tied to inner tube safety. For tire maintenance and emergency readiness, assemble a compact spare kit: a correctly sized spare tube, tire levers, a pump or CO2 inflator, and a patch kit. Optionally include thorn-resistant or self-sealing tubes based on terrain. Check spare components periodically to guarantee functionality before rides.
Frequently Asked Questions
What Is Better, Presta or Schrader?
Presta valves are better for performance riders seeking lighter weight and higher pressures, while Schrader valves are better for general use and easy pump availability; you’ll choose based on rim depth, pump compatibility, and riding needs.
What Does 700 Mean on an Inner Tube?
700 indicates the tire’s nominal outer diameter in millimeters (700mm). You’ll use that for tire sizing and tube compatibility checks; match the tube’s width range and valve type (Presta/Schrader) to your rim and tire.
What Are Two Types of Inner Tube?
Ironically, you’ll choose between butyl and latex. You’ll pick tube materials based on durability versus weight: butyl offers reliable air retention for everyday bicycle tire use, while latex provides lighter, faster performance but needs care.
Conclusion
Now you know what an inner tube does, how it’s built, and when to choose butyl, latex, or TPU. You’ll size valves, install and repair tubes, and weigh tube vs tubeless for your ride. Keep spares, a pump, patches and plugs in your kit. Like a reliable map in fog, the right tube setup keeps you moving and safe—so pick components for your terrain, practice repairs, and carry essentials every time you head out.
Related Articles

How to Read Motorcycle Tire Size: Complete Breakdown
Often misunderstood, this guide decodes motorcycle tire sizes like 180/55ZR17—learn what each number and letter means to ensure safe, perfect fitment.
Read More
How to Read Bicycle Tire Size: Inches, Metric & ISO
Get the essential trick to decoding ETRTO/ISO codes so you’ll always pick rim-compatible tyres—discover what to check next.
Read More
How to Read Tire Size Numbers: Decode the Sidewall
Step-by-step guide to decode tire sidewalls—sizes, load, speed, DOT and winter symbols—so you’ll know what fits and when to replace.
Read More